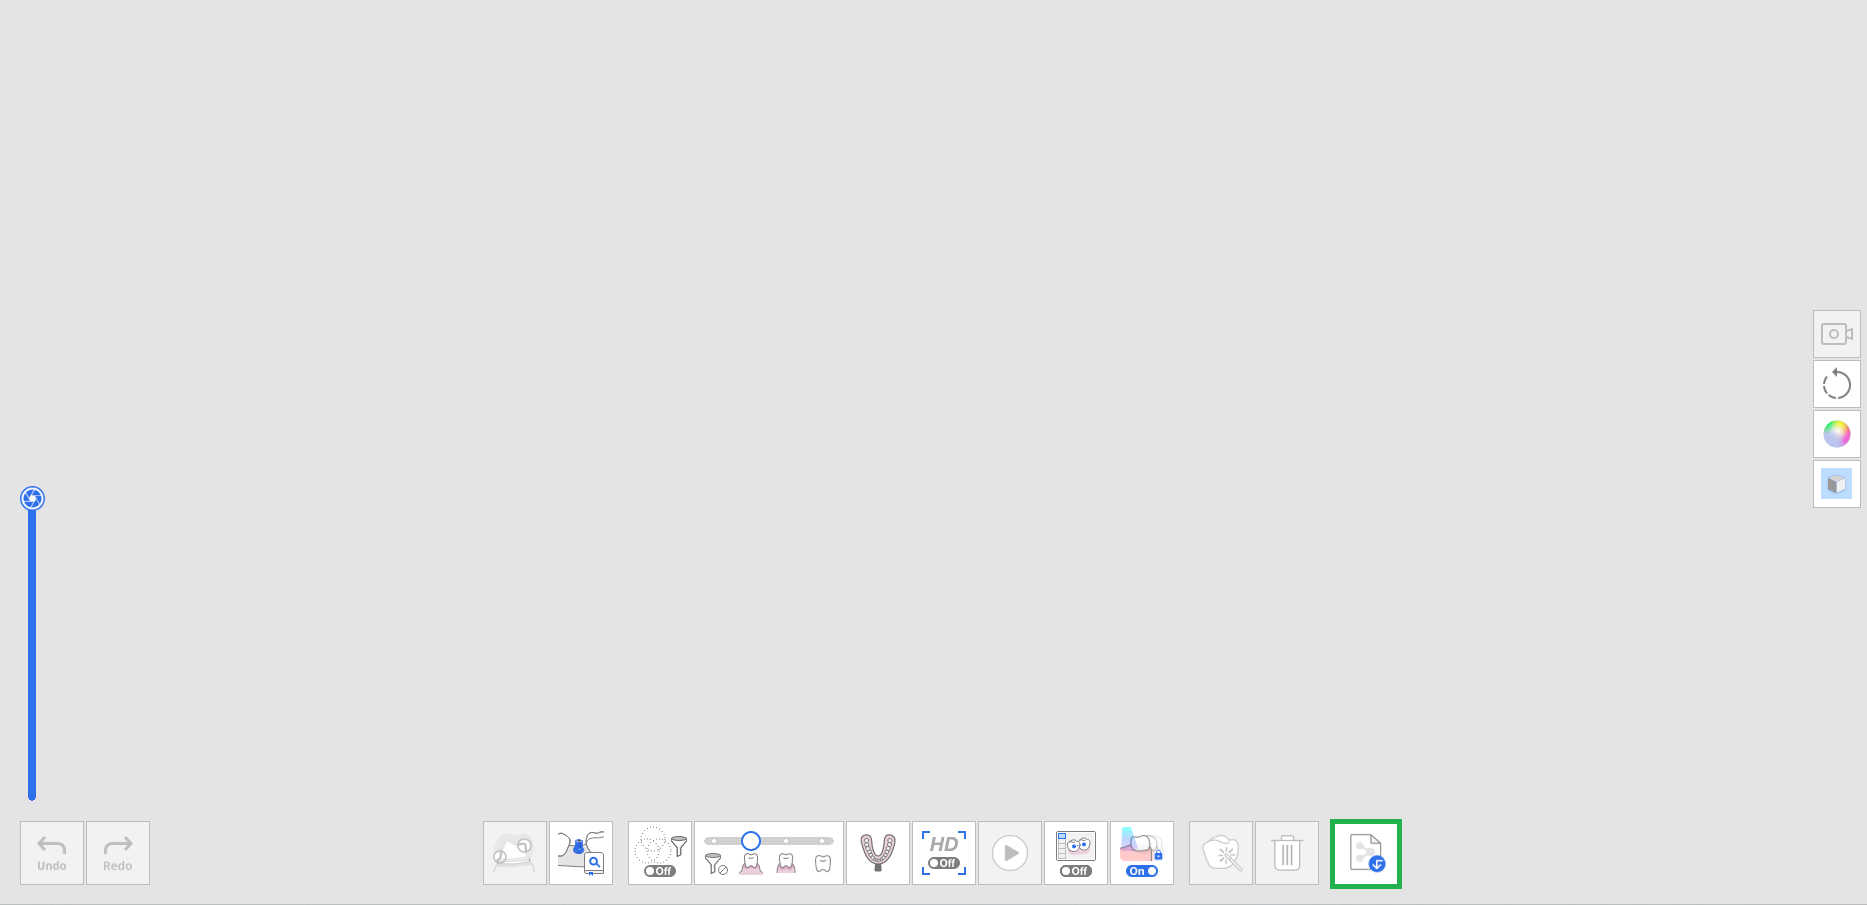
The following tools are provided at the bottom of each scan stage.

Basic Scanning Tools
| Start | Start the scan. |
| Stop | Stop the scan. |
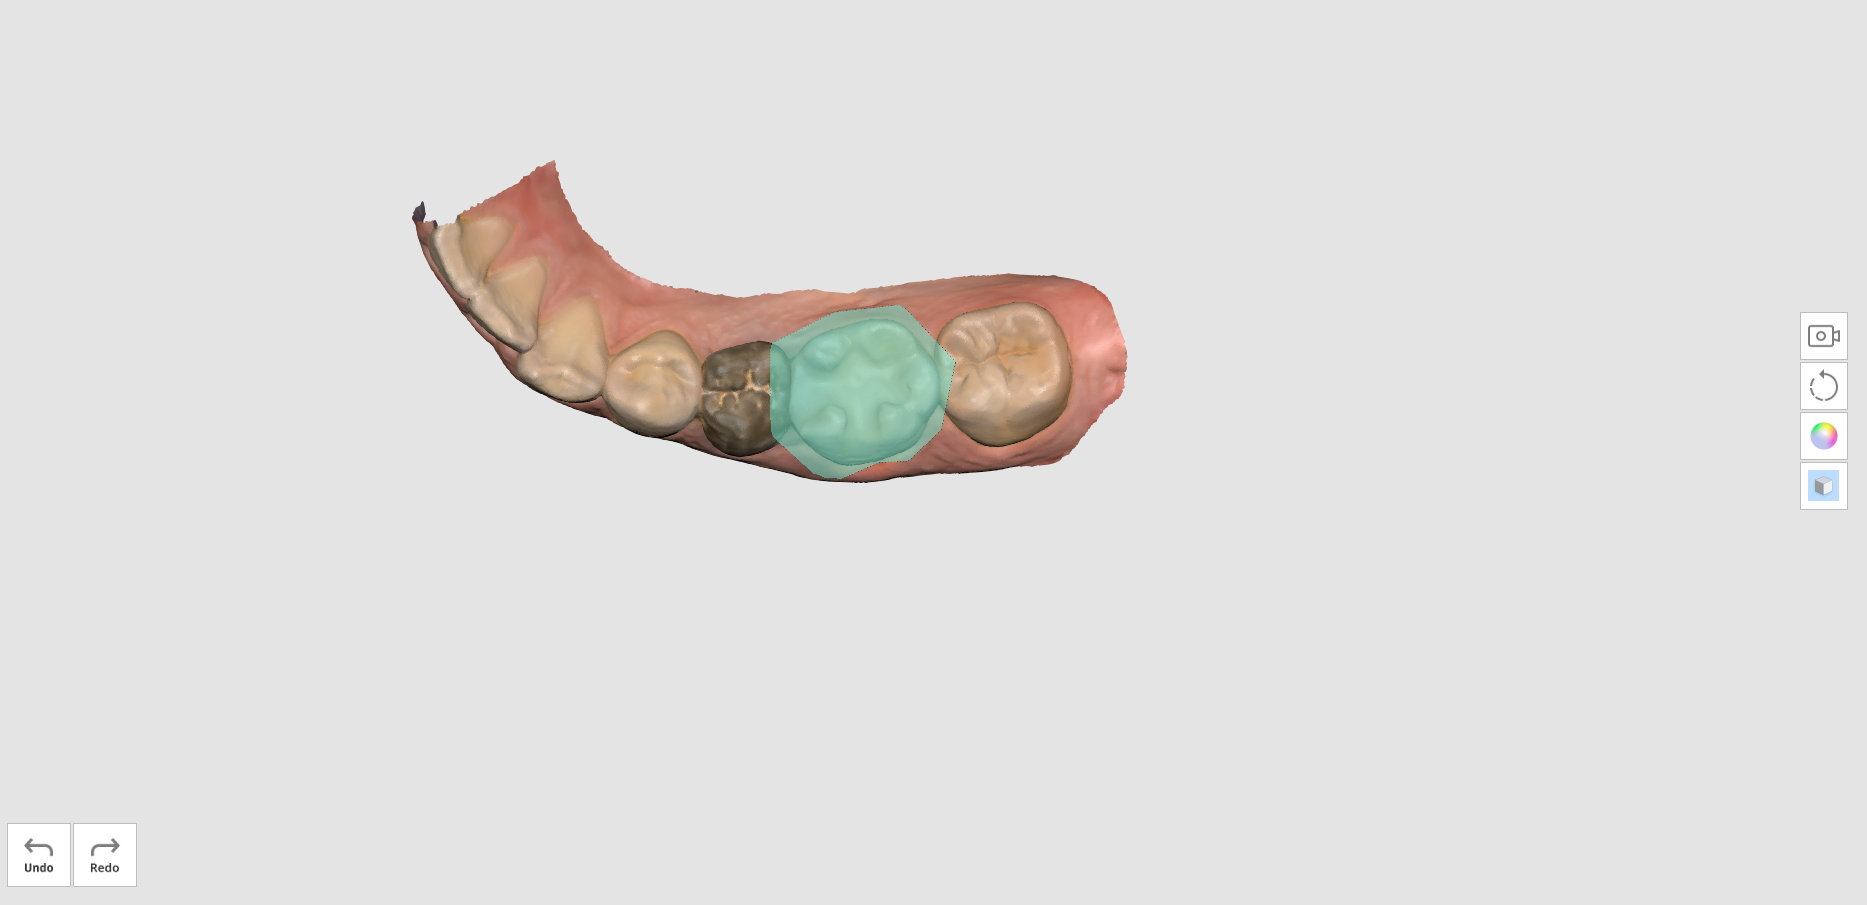
| Optimize | Align 3D images for a more accurate scan. |
| High Resolution Scan | Acquire high-resolution scan data for entire or partial scan data. |
| Import Scan Data | Import 3D data from Medit Link. |
| Delete | Delete scan data for the current stage. |
| Undo | Cancel the previous scan. |
| Redo | Restore the canceled scan. |


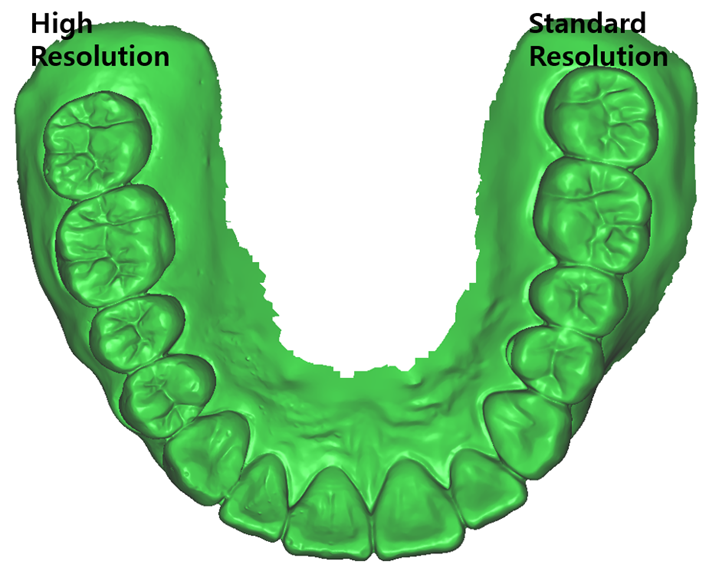
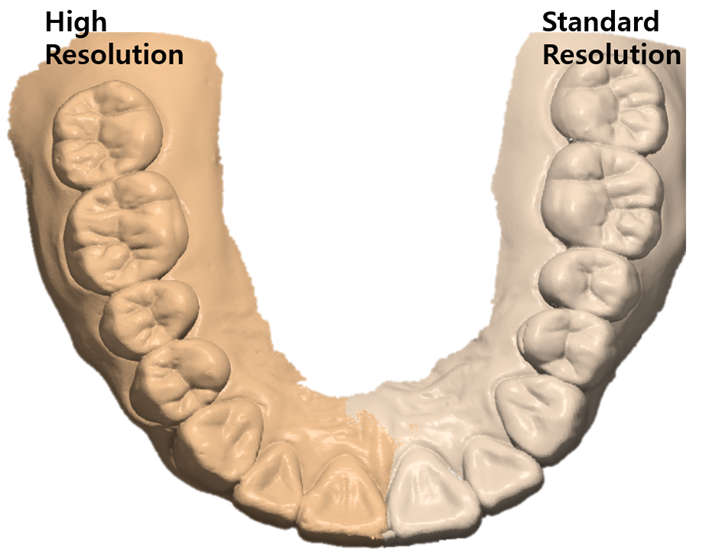
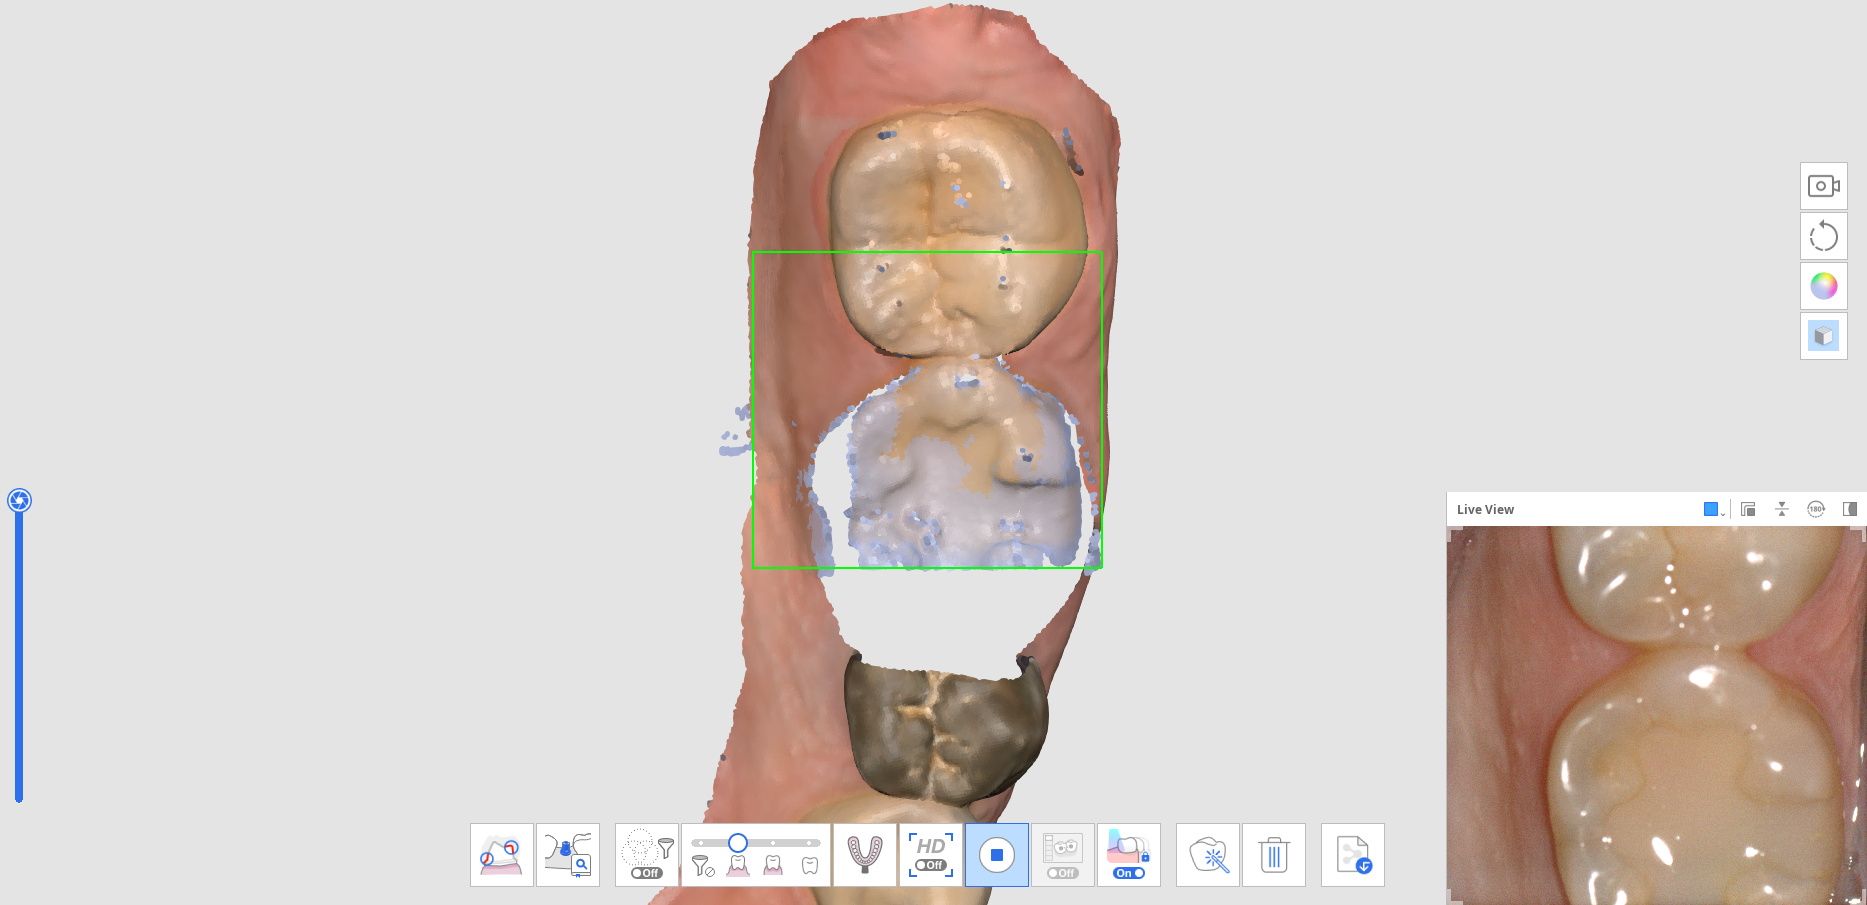
High Resolution Scan
* unavailable with i600
Please refer to the following comparison between the high-resolution and standard-resolution scan data.
|
|
🔎Note
You can set options for high-resolution data processing on Settings > Post-Processing > High-Resolution Data Processing.
You can select whether to apply high-resolution data processing to only HD scan data or both SD and HD scan data.
You can set to apply high-resolution data processing to prepared teeth data.
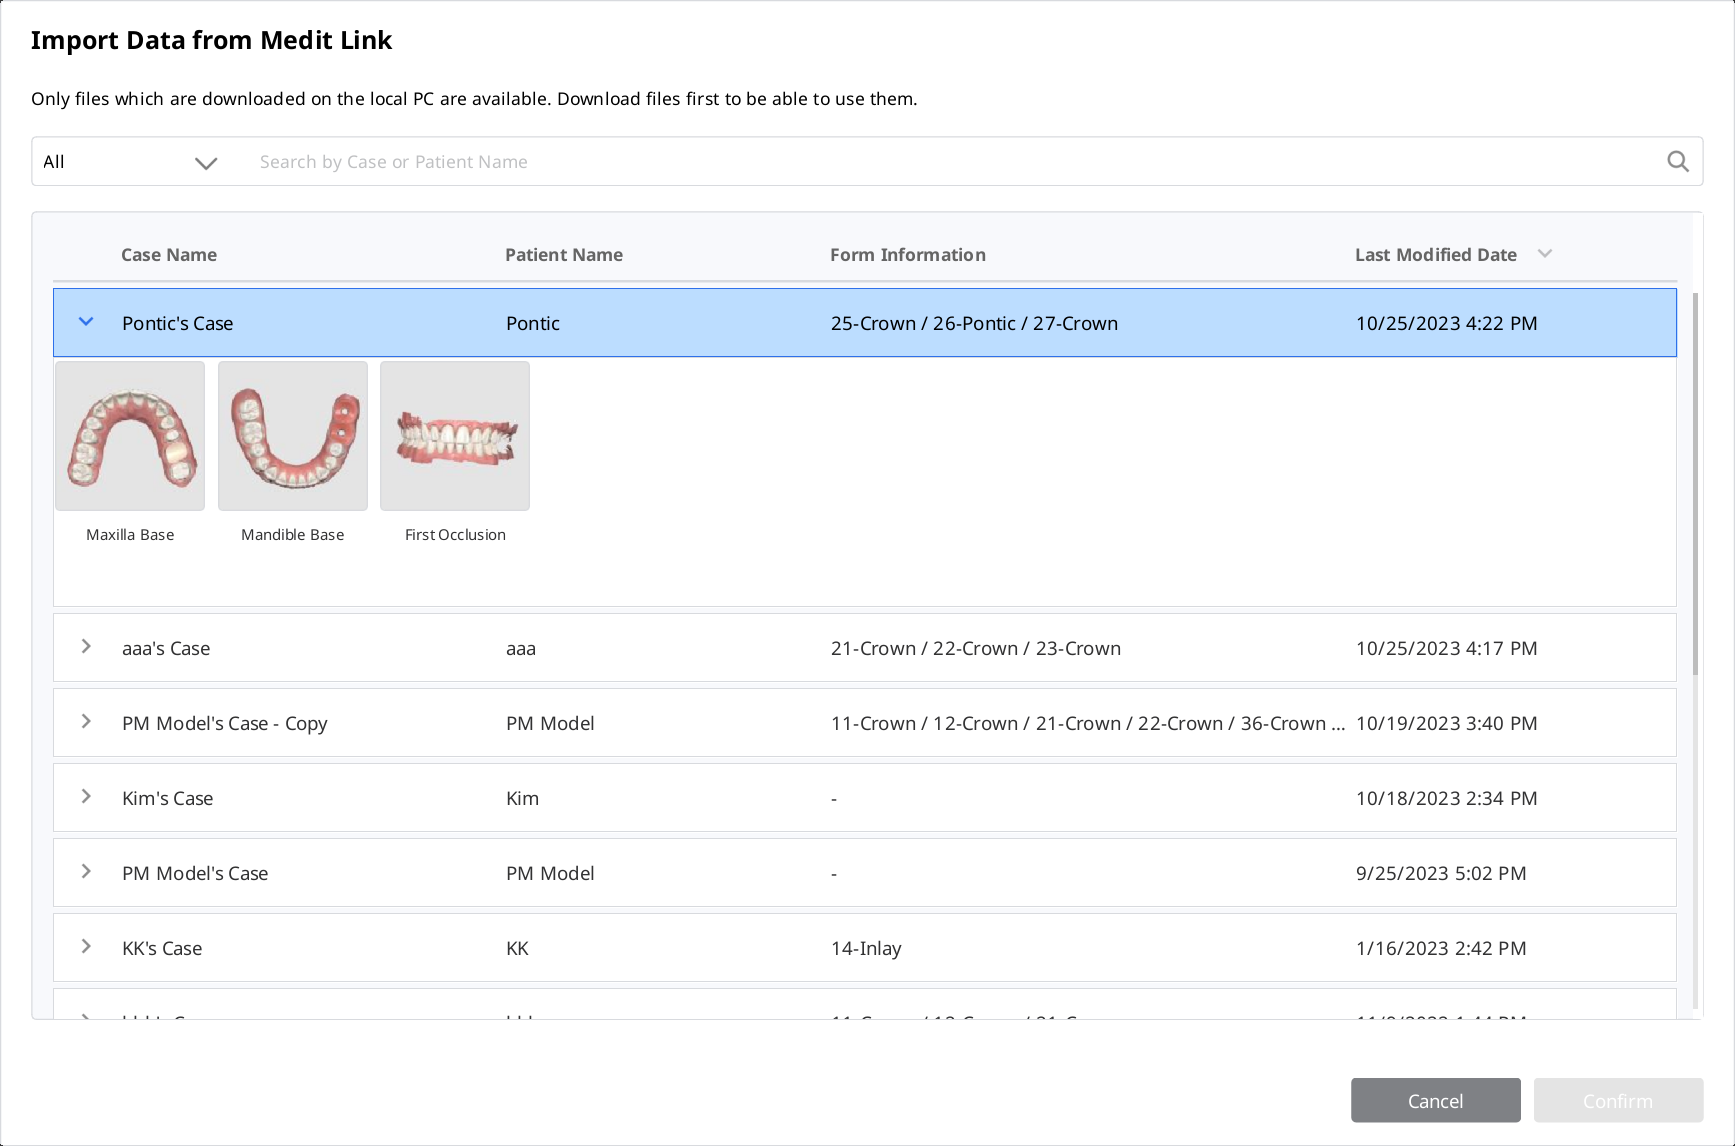
Import Scan Data
This feature allows the users to import scan data acquired by third-party scanners. You can edit the data or perform additional scanning with the imported data.
🔎Note
You can import a previously scanned file from a case in Medit Link
When importing a third-party scan file, make sure to attach it to a case in Medit Link before proceeding.
You can import a file before starting the scanning process or moving on to the next stage.
Click the "Import Scan Data" icon.
Choose a file from a Medit Link case.
Trim the part needing a rescan.
Perform addition scanning.
Filtering Tools
| Smart Scan Filtering | Filter unnecessary soft tissue data while scanning.
|
| Smart Color Filtering | Filter specific colors from being scanned. |
| Smart Stitching | Acquire and align scan data freely, regardless of your scan strategy. |


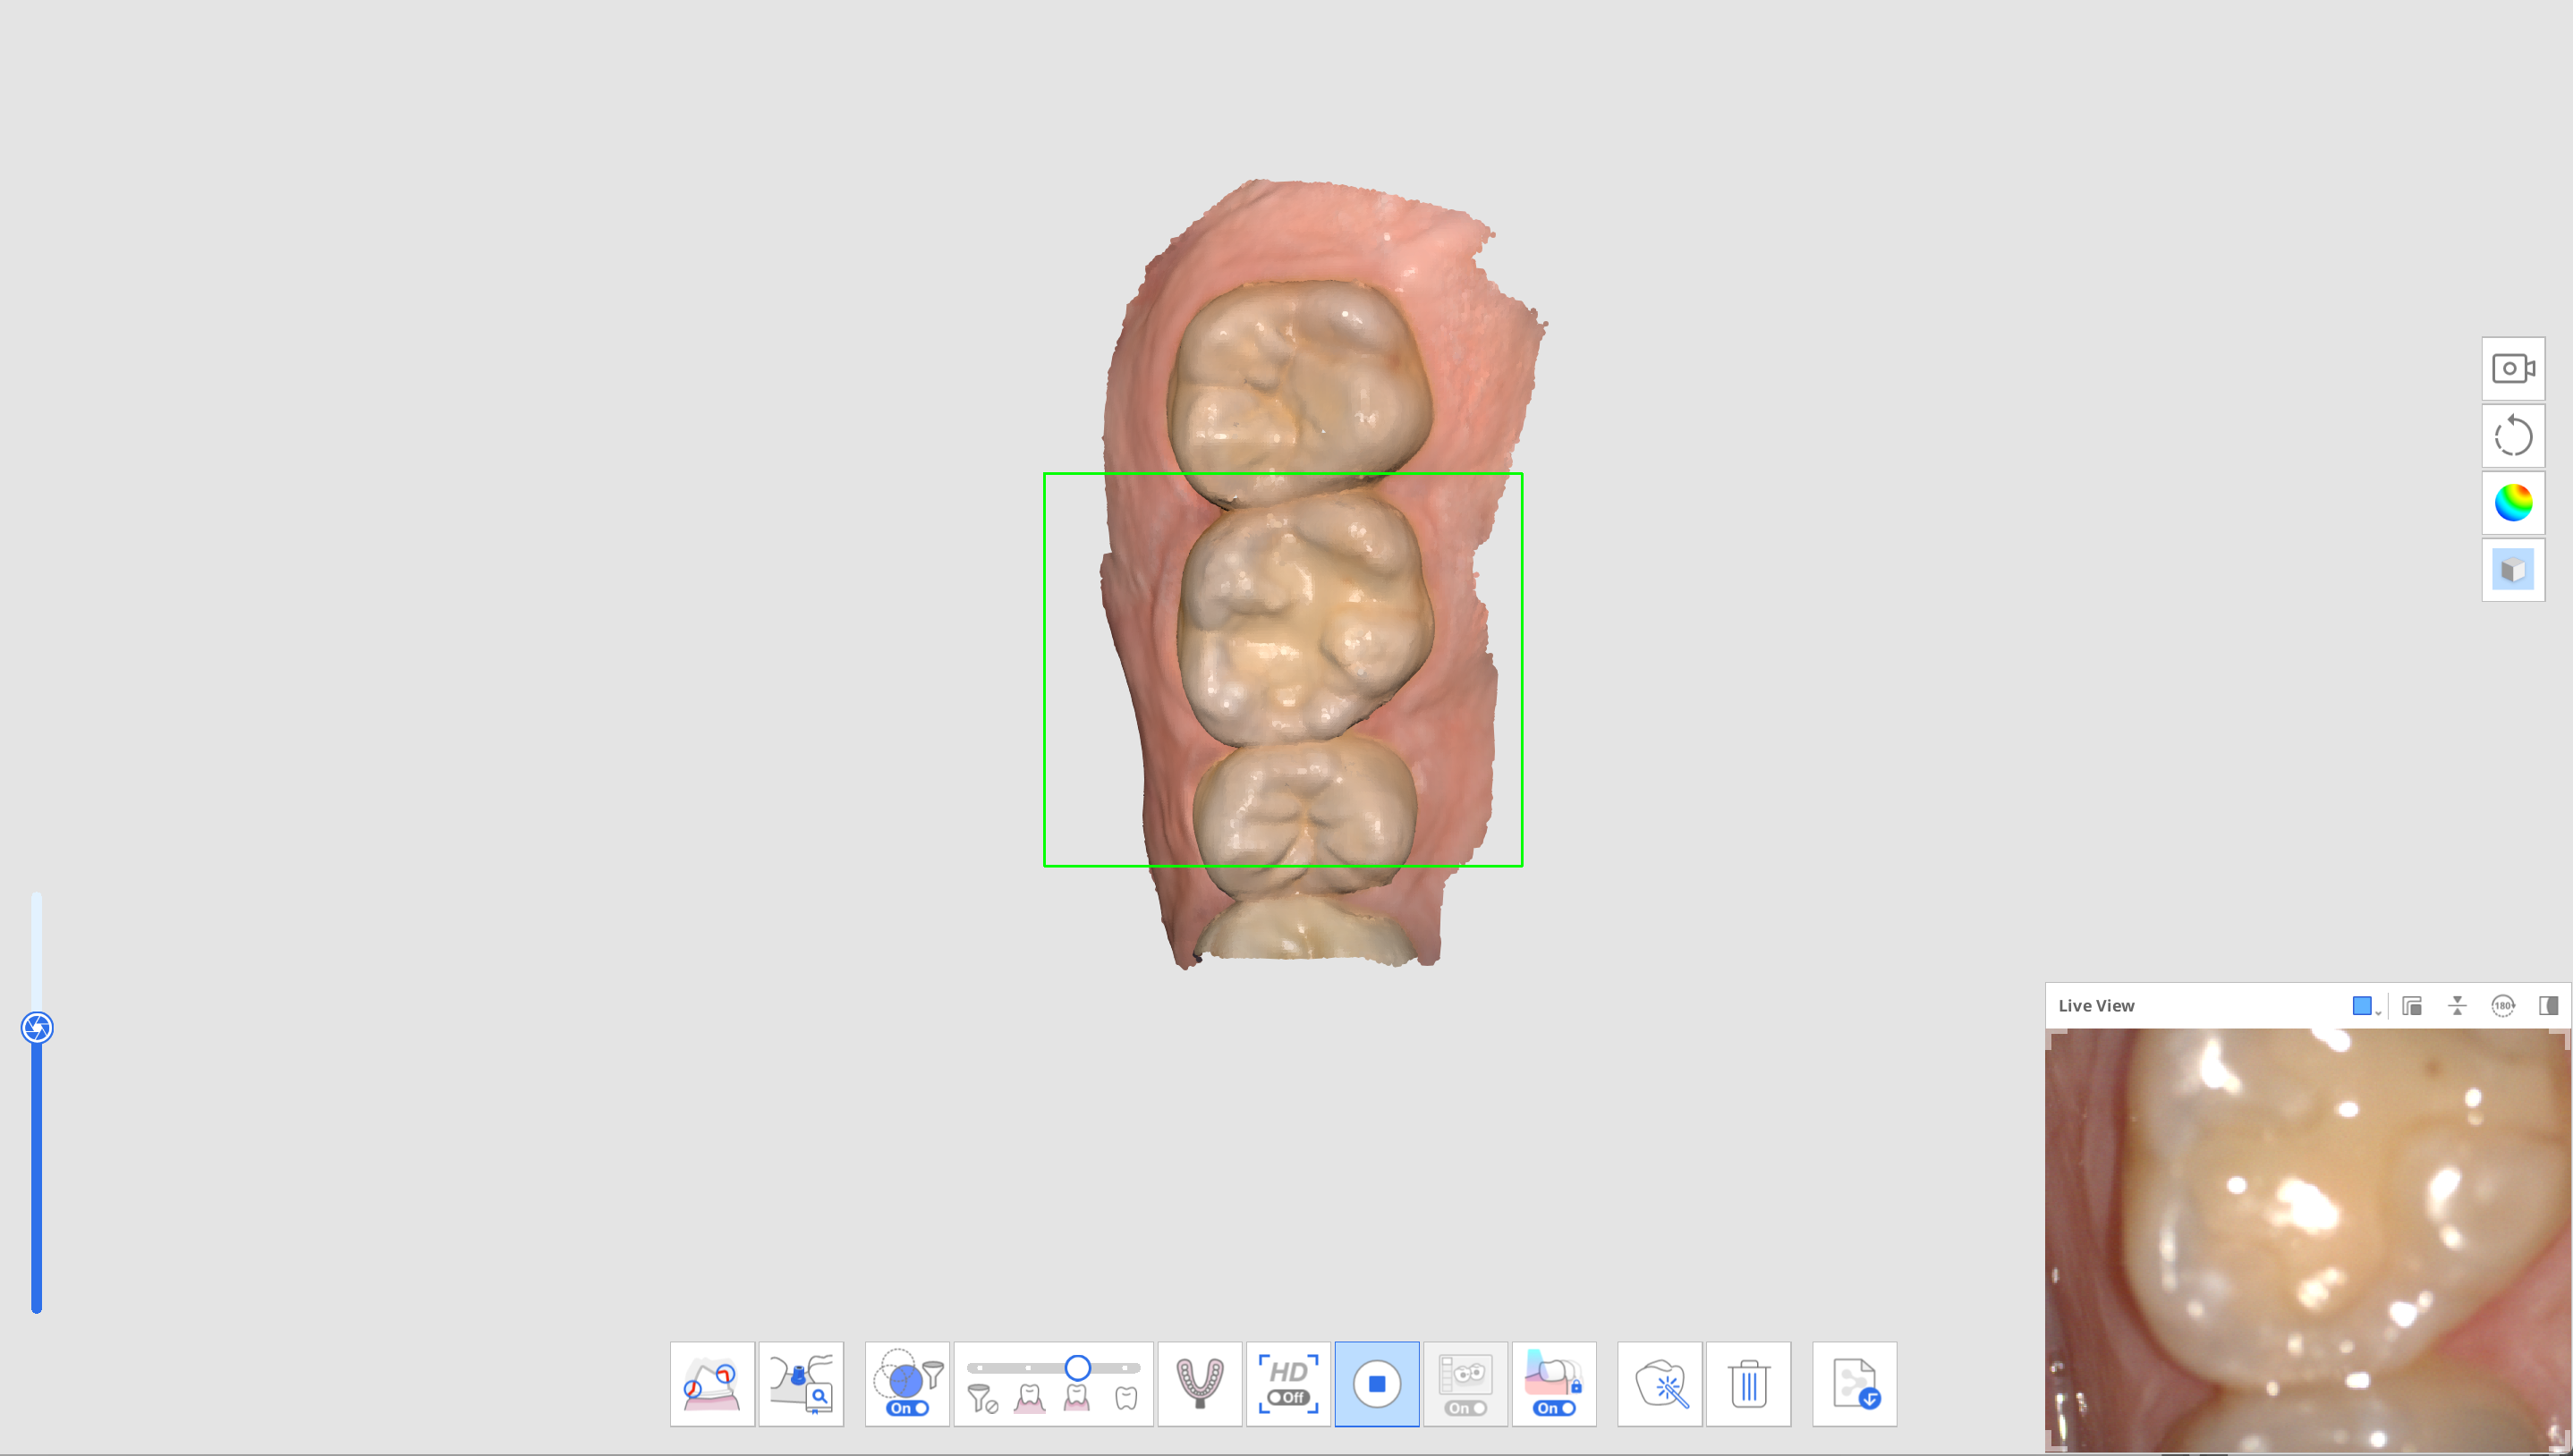
Smart Scan Filtering
This feature removes unnecessary soft tissue data while scanning, depending on the selected filter. Three filters are available for your convenience.
| No Filtering | Soft tissue remains intact. |
| Teeth + Gingiva | Remove soft tissues that interfere with the scan, leaving only the necessary teeth and gingiva. |
| Intense Teeth + Gingiva | Remove soft tissues that interfere with the scan, leaving only the necessary teeth and gingiva. |
| Teeth | Remove all soft tissues and gingiva, leaving teeth only. |


Smart Color Filtering
The "Smart Color Filtering" option prevents the scanning of alien materials (e.g., gloves, etc.) in the intraoral environment by registering their colors. Once the colors are registered, and the option is turned on, the colors will automatically be filtered out during the scanning process.
Turn on filtering by clicking the "Smart Color Filtering" option at the bottom.

To register a new color, click the "Add a Color" icon.

The Smart Color Filtering dialog appears.
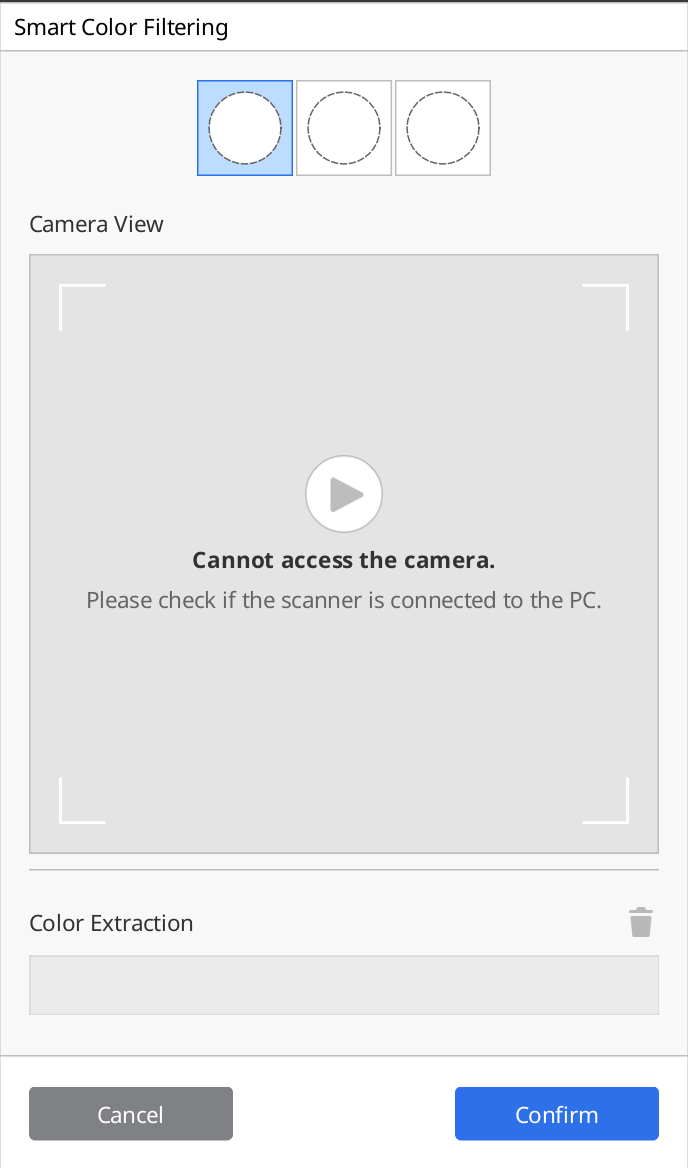
Prepare the material to be filtered out. Then, press the Scan button on the scanner to start the color recognition process.

Click "Confirm" to register the color and complete the color registration.
You can turn on or off each color filter by clicking the color icons.

The registered colors will be shown on the icon and saved for all scan stages unless you change them.

Smart Stitching
🔎Note
Smart Stitching is only supported for the Pre-Op for Maxilla, Pre-Op for Mandible, Maxilla, and Mandible stages.
Smart Stitching is unavailable for the Abutment Library Matching, Impression Scan, and Relined Denture Scan tools.
You cannot use Smart Stitching after using the Abutment Library Matching and Scan Body Liabrary Matching features or after occlusion alignment.
For 3D scanning using the video recording method, it is important to scan continuously so that the camera does not lose focus during the process of acquiring scan data.
This process is highly dependent on the user's skill and the condition of the patient's mouth, but the scanning method supported by Smart Stitching can eliminate this inconvenience.
Turn on the "Smart Stitching" icon at the bottom.

Start scanning in the stage that supports Smart Stitching, Pre-Op.
If the scanner is moved to scan another non-contiguous area, a new separate part of the scan data will be created. At this time, the previously scanned parts of the data are displayed as thumbnails in the lower left corner of the screen.
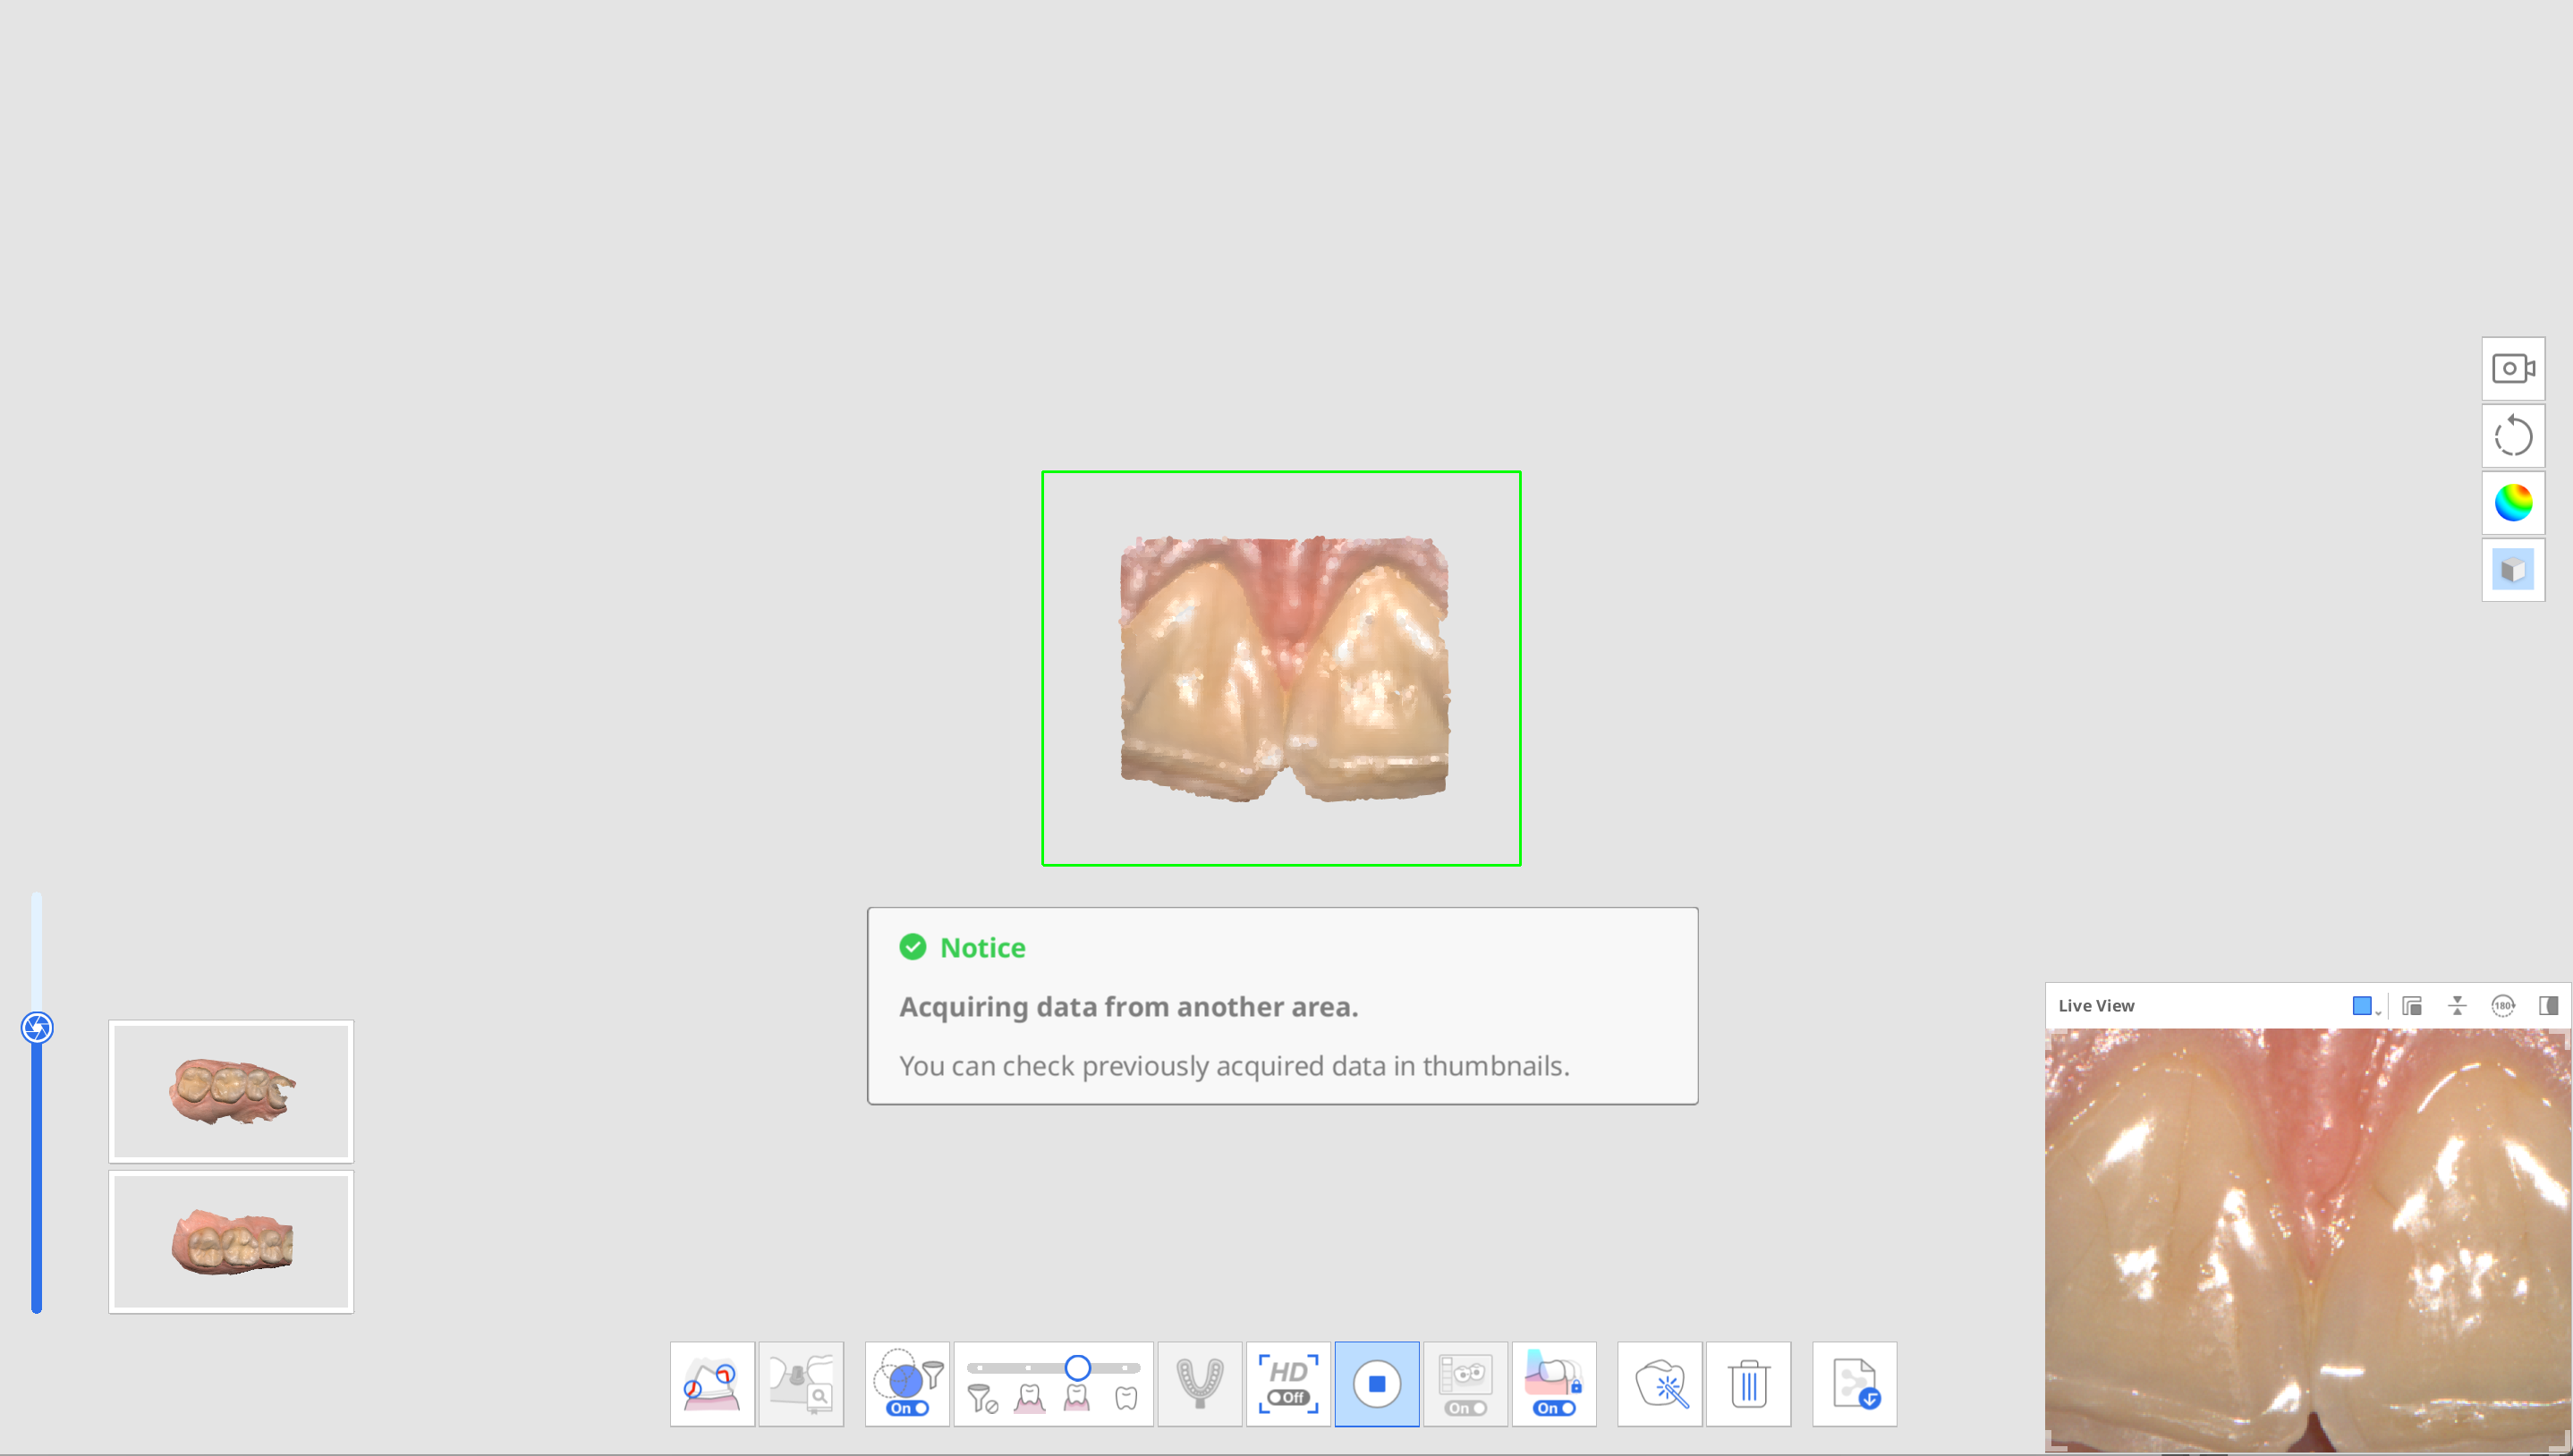
During scanning, if the scanner gets new data in an unaligned scan data area, it will automatically attempt to align, and any thumbnails of aligned data will disappear.
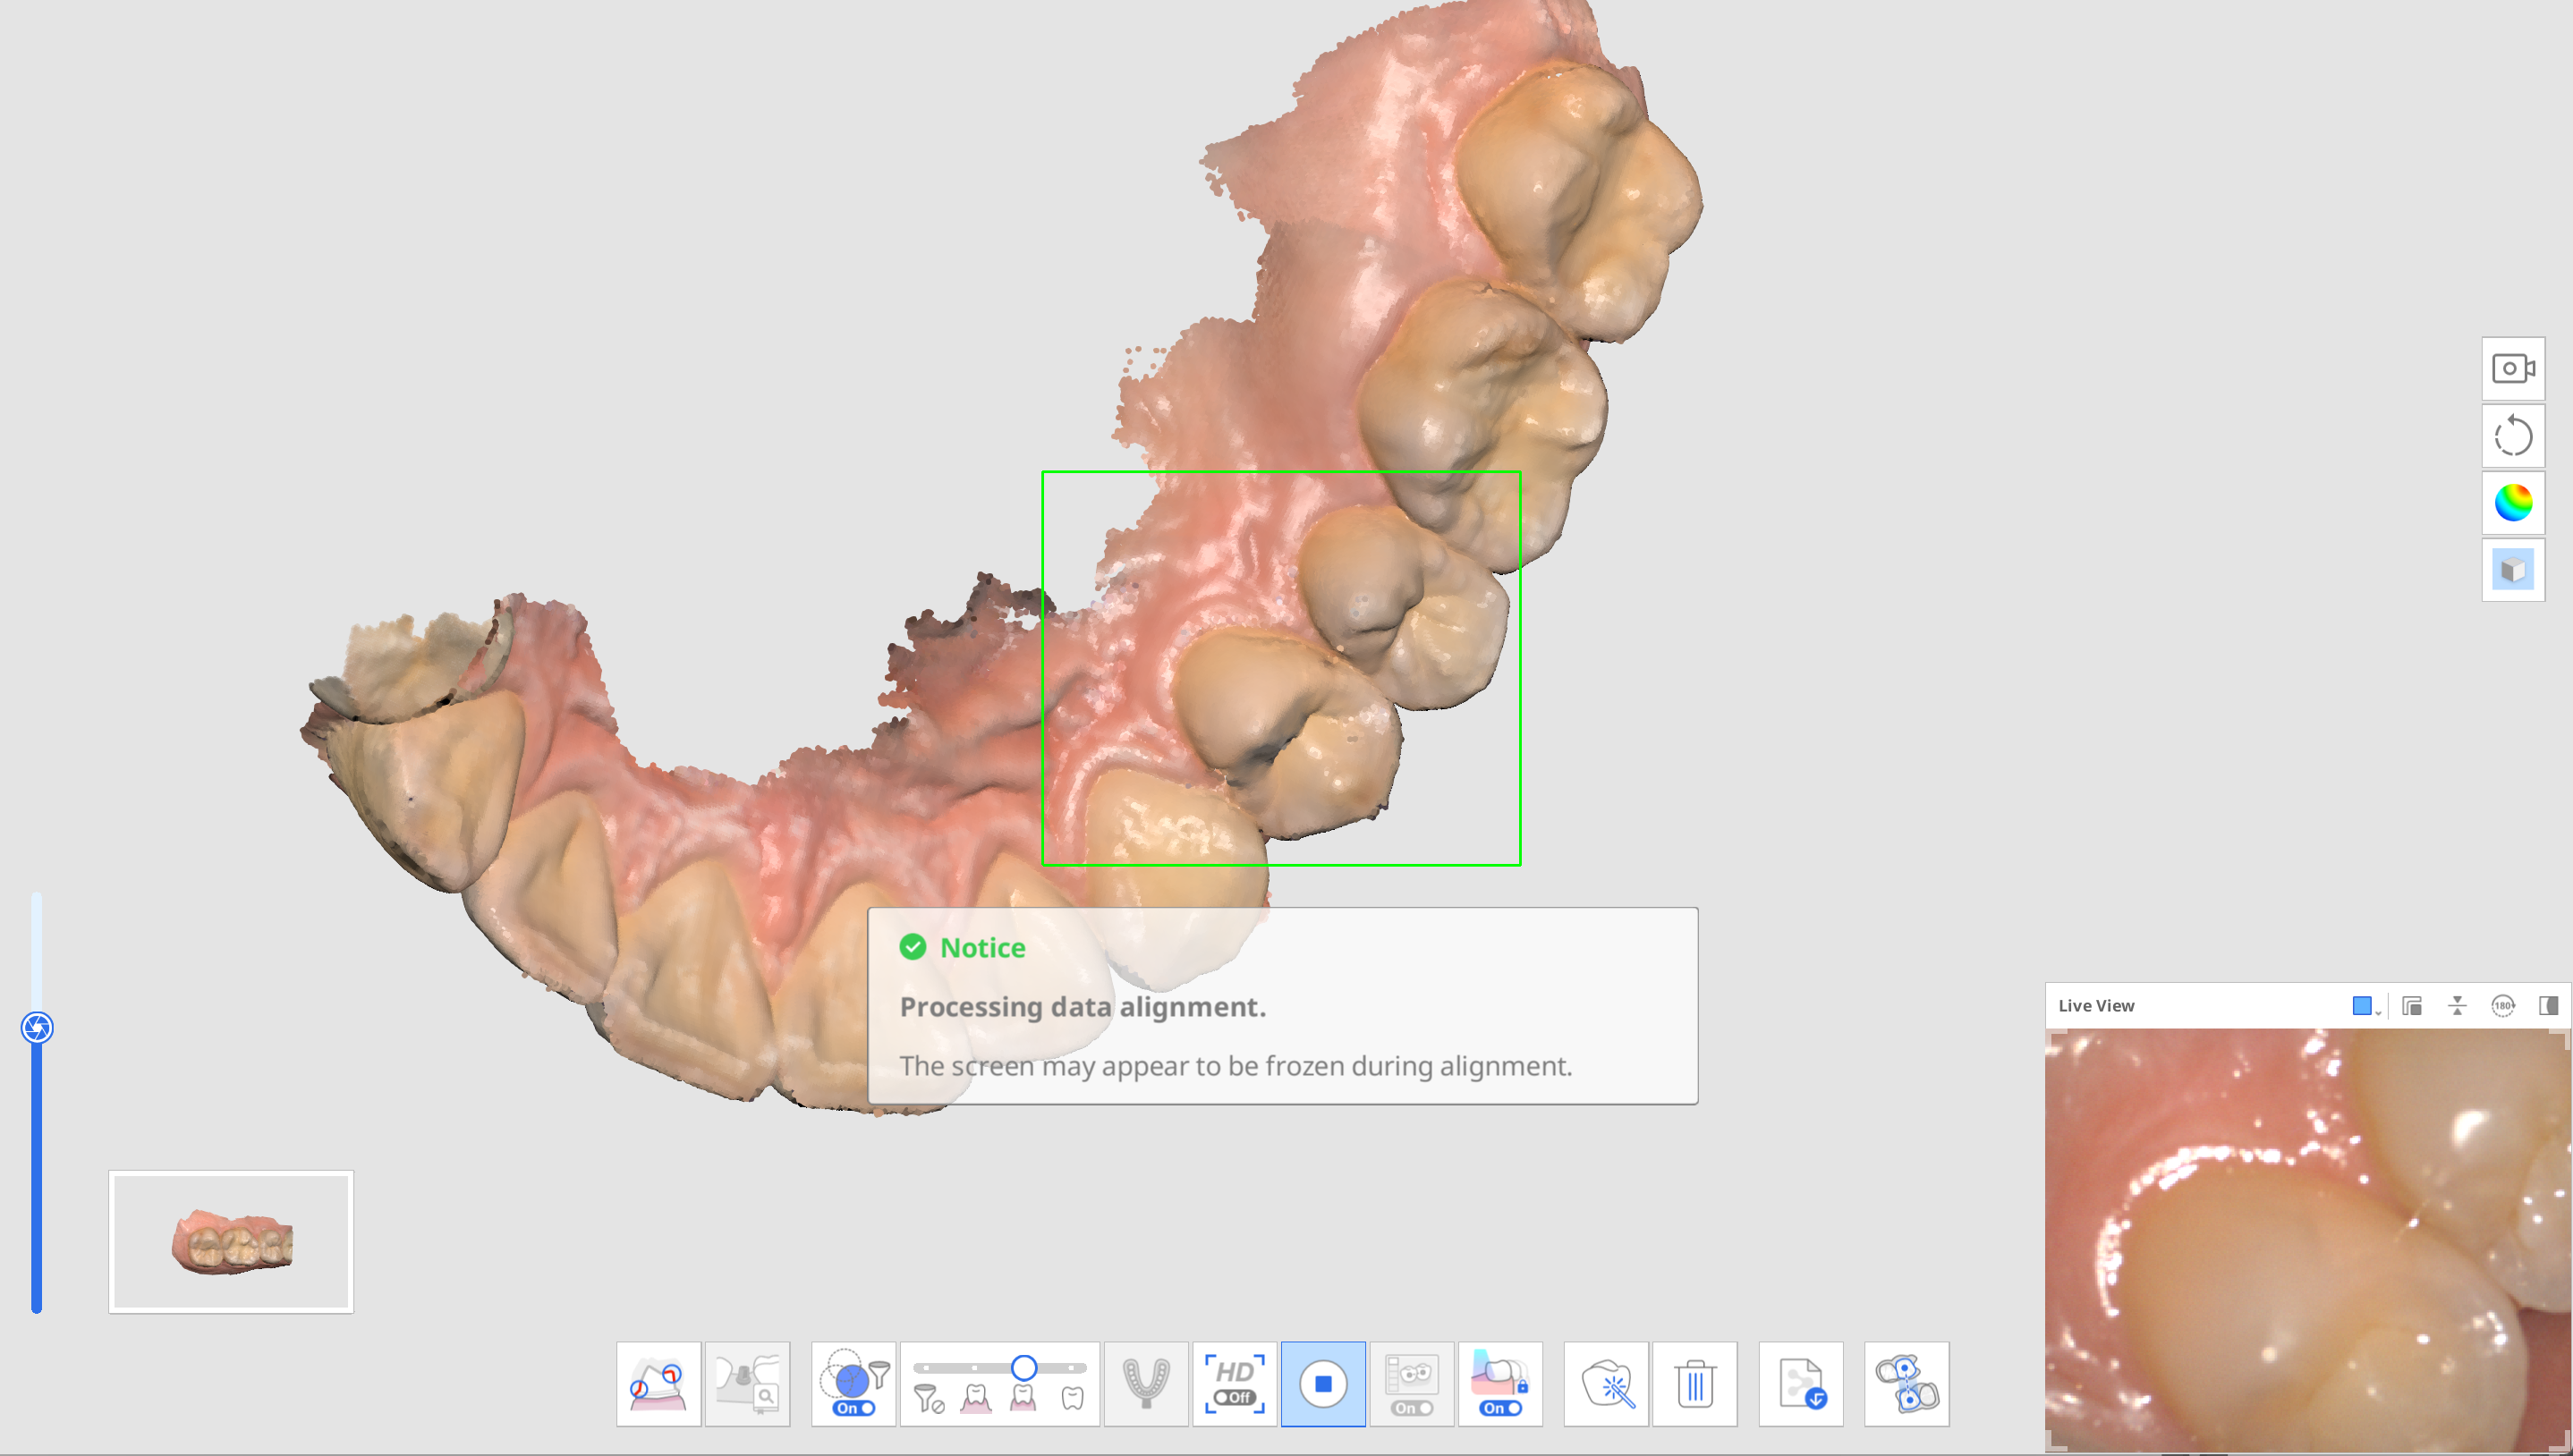
Once you pause to review all the separately captured parts of the data, they are assembled for you on the main screen. Note that all the captured parts of the data must be aligned into a single scan before moving to another scan stage.
.png)
To align all scan data, conduct one of the following:
Scan additional data to get more data for automatic alignment.
Use the Manual Alignment tool to align data.
Data acquisition is completed when all unaligned scan data is aligned, as shown below.
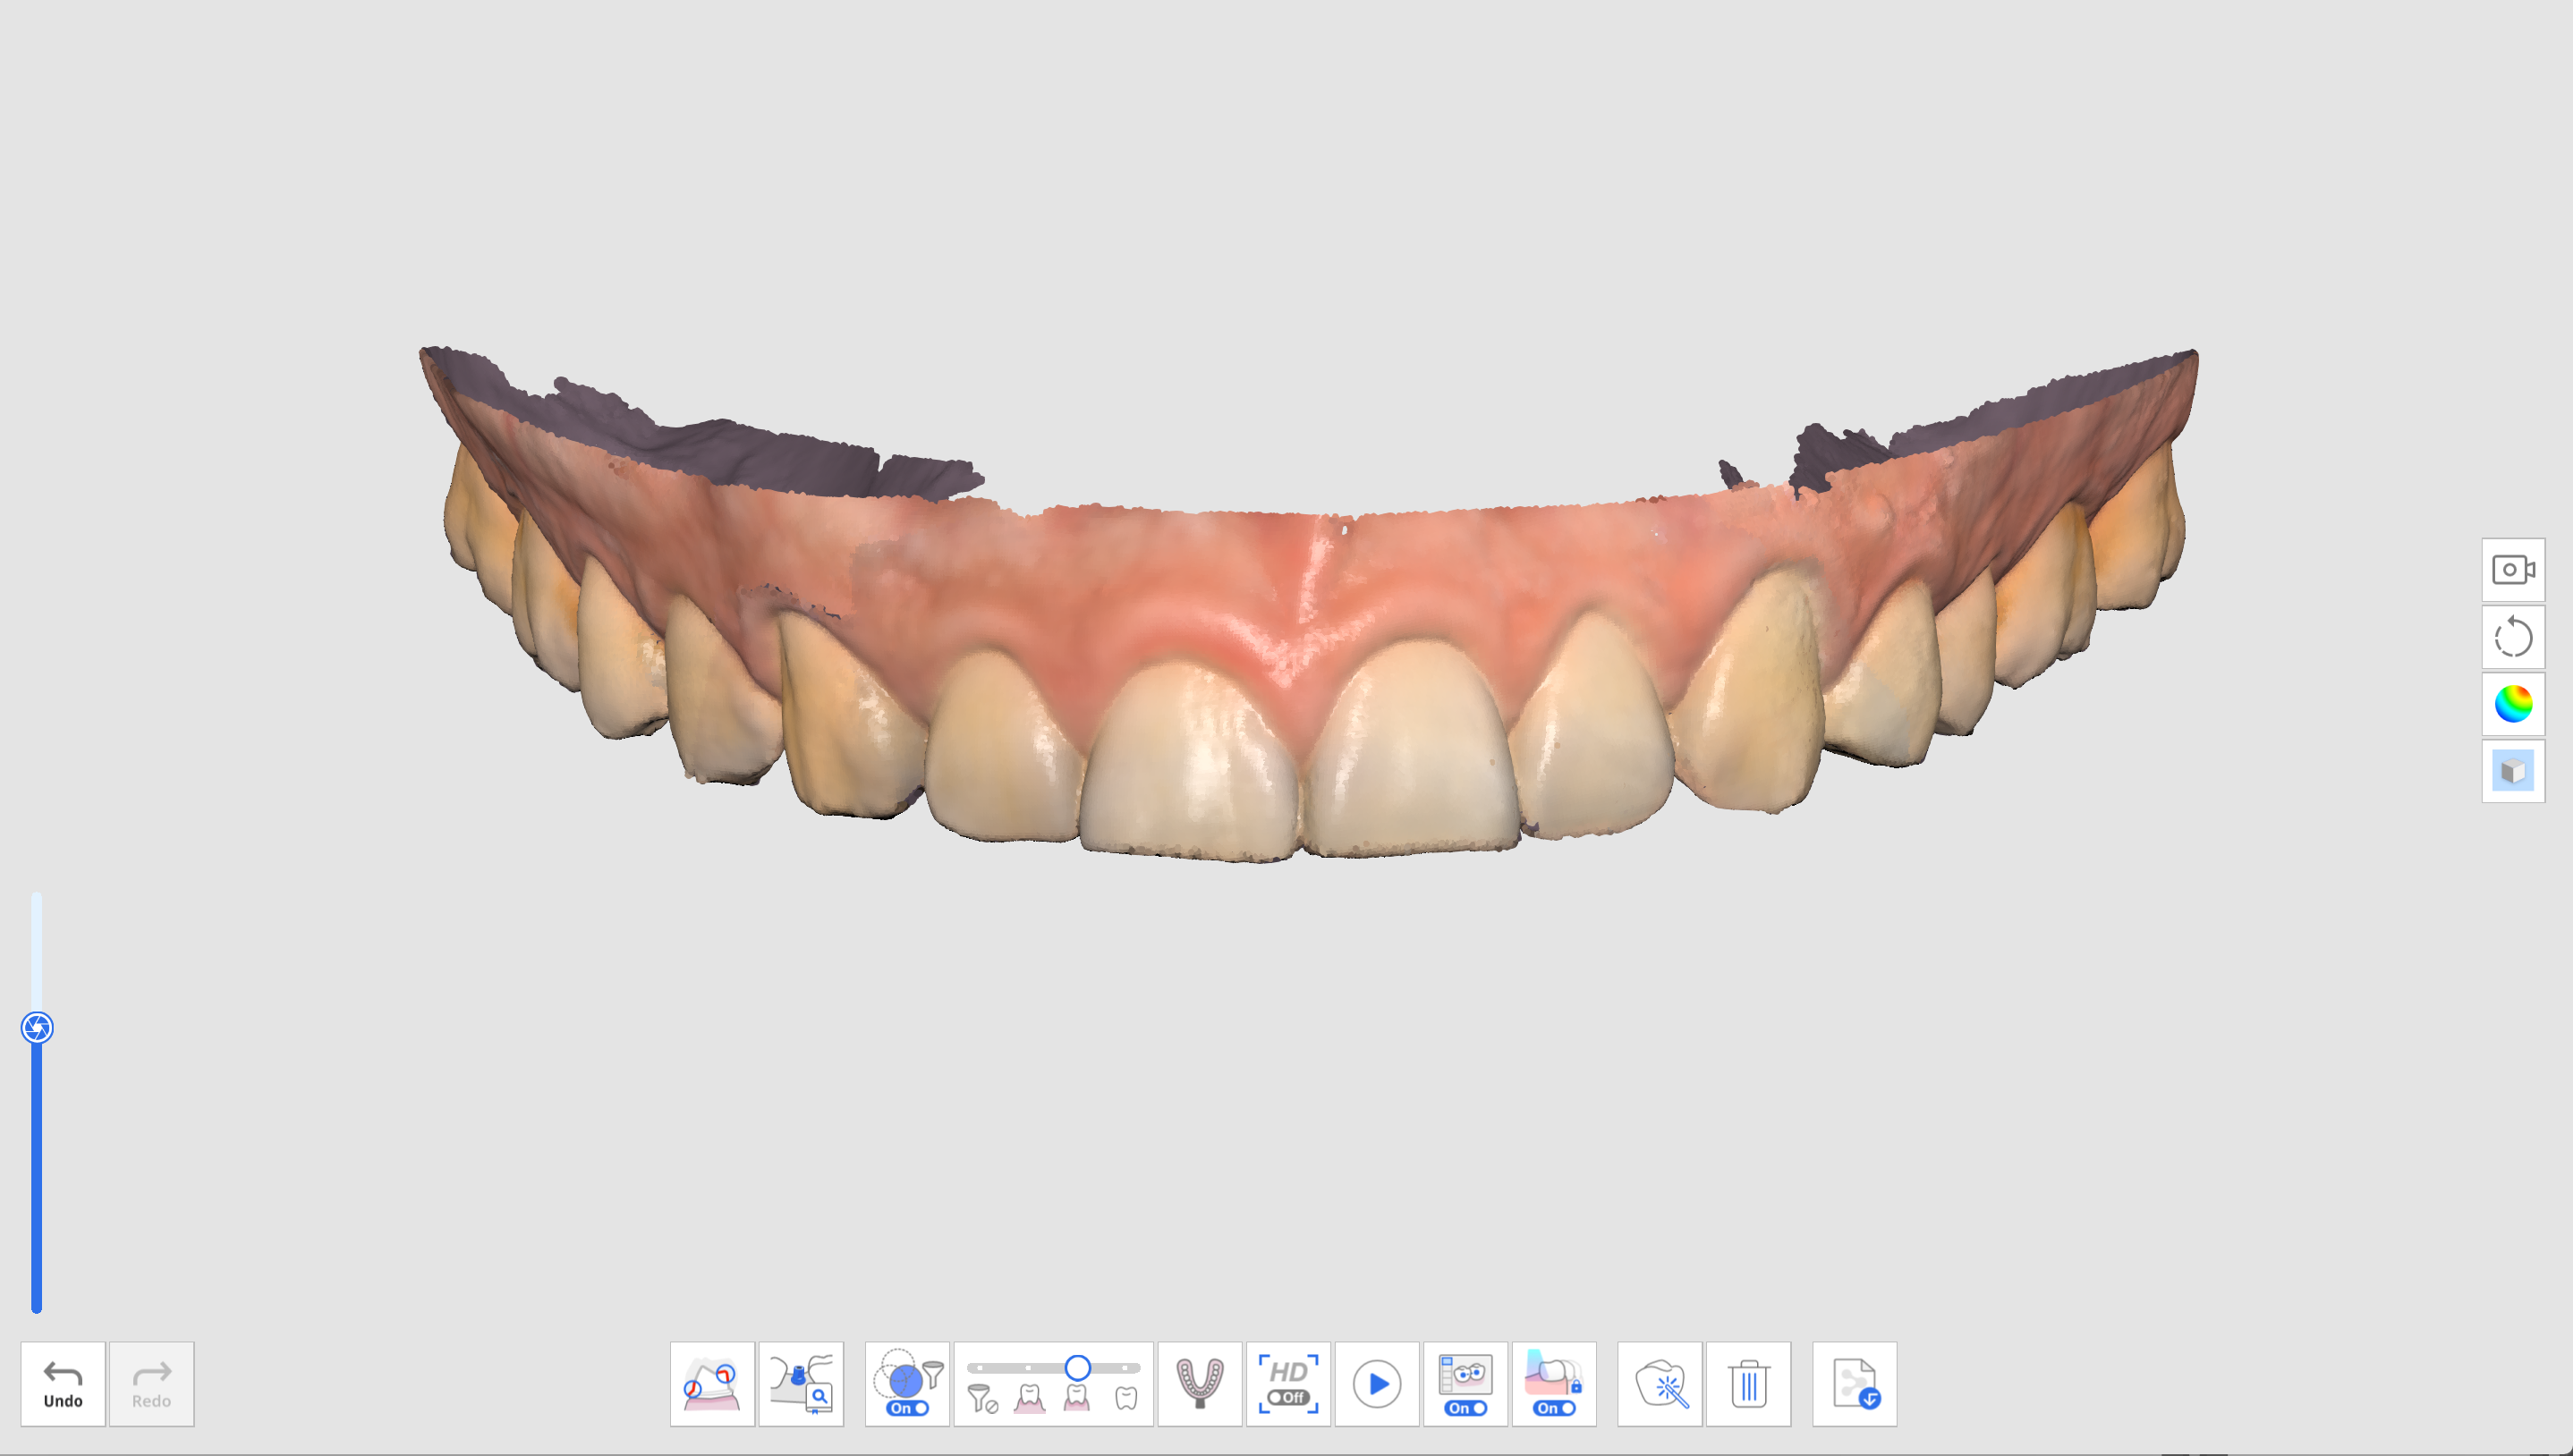
If unaligned data is detected before moving to another scan stage, the user is prompted to delete the unaligned data until only one set of scan data remains.
.png)
Advanced Tools
| Impression Scan | Provide seamless scanning to combine intraoral and impression scan data. |
| Abutment Library Matching | Manage custom abutment libraries. |
| Scan Body Library Matching | Manage pre-set and custom scan body libraries. |
| Mandibular Movement | Record and replay the patient's mandibular movement. |
| Preparation Review | Check whether the tooth preparation is done within the pre-set value range. |


