Complete Stage
 | Complete the scan and generate the result data. |
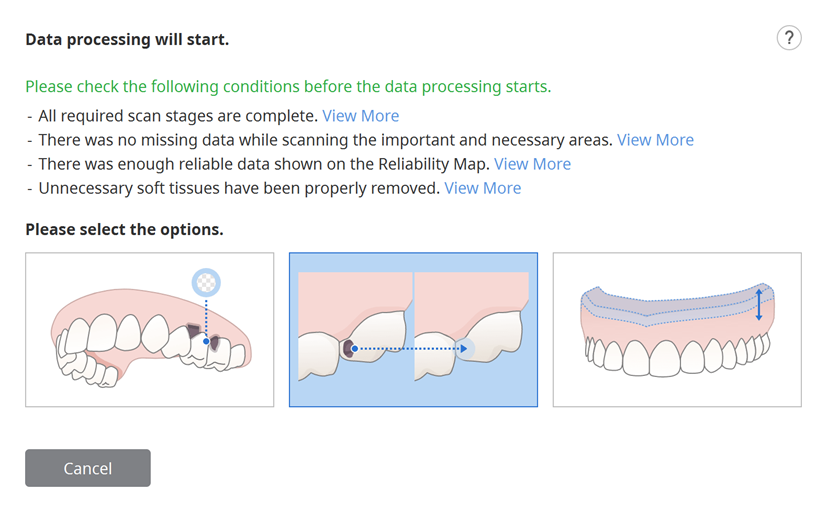
When you click the Complete stage icon, the following dialog appears to select how to process data.

Select one of the following options.
 | Process Data (As It Is) | Create optimized 3D digital models. The noise will be partly removed, and the areas with insufficient data will remain as empty spaces. You can adjust the file size and surface roughness in the settings if needed. |
 | Fill Major Holes | Use this option to fill all the major holes in the scan data. Based on the reliability map, it generates data for areas where data was not acquired by extending data with sufficient reliability. |
 | Create 3D Printable Model | Use this option to create a model for 3D printing. It expands the largest boundary to add thickness to produce a model with a flat bottom for 3D printing. You can adjust the file size and surface roughness in the settings if needed. |
 | Create Denture Replica Data | Use this option to create a model optimized for a 3D denture replica. The noise will be partly removed, and the areas with insufficient data will remain as empty spaces. You can adjust the file size and surface roughness in the settings if needed. |
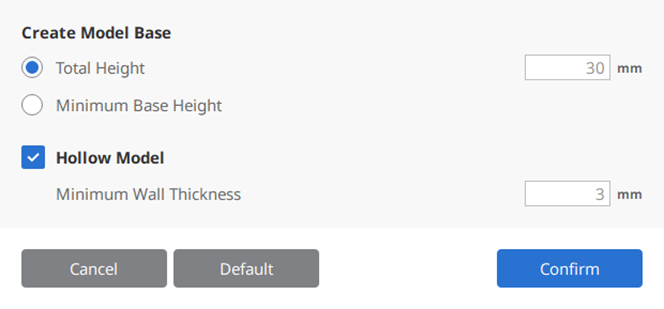
If you select the "Create 3D Printable Model", the following dialog appears.

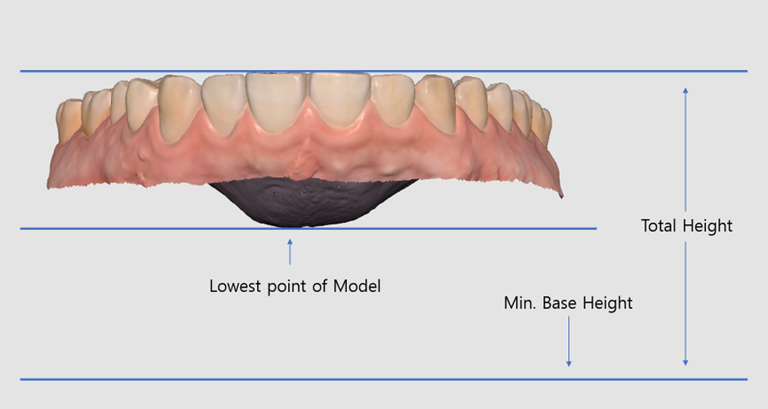
Please refer to the following table and image and enter the value for height and thickness.
| Total Height | Total height of the model, including the base |
| Minimum Base Height | Minimum height from the bottom of the base to the lowest point of the model |
| Minimum Wall Thickness | Minimum thickness of the model's inner wall |
