User Interface at a Glance
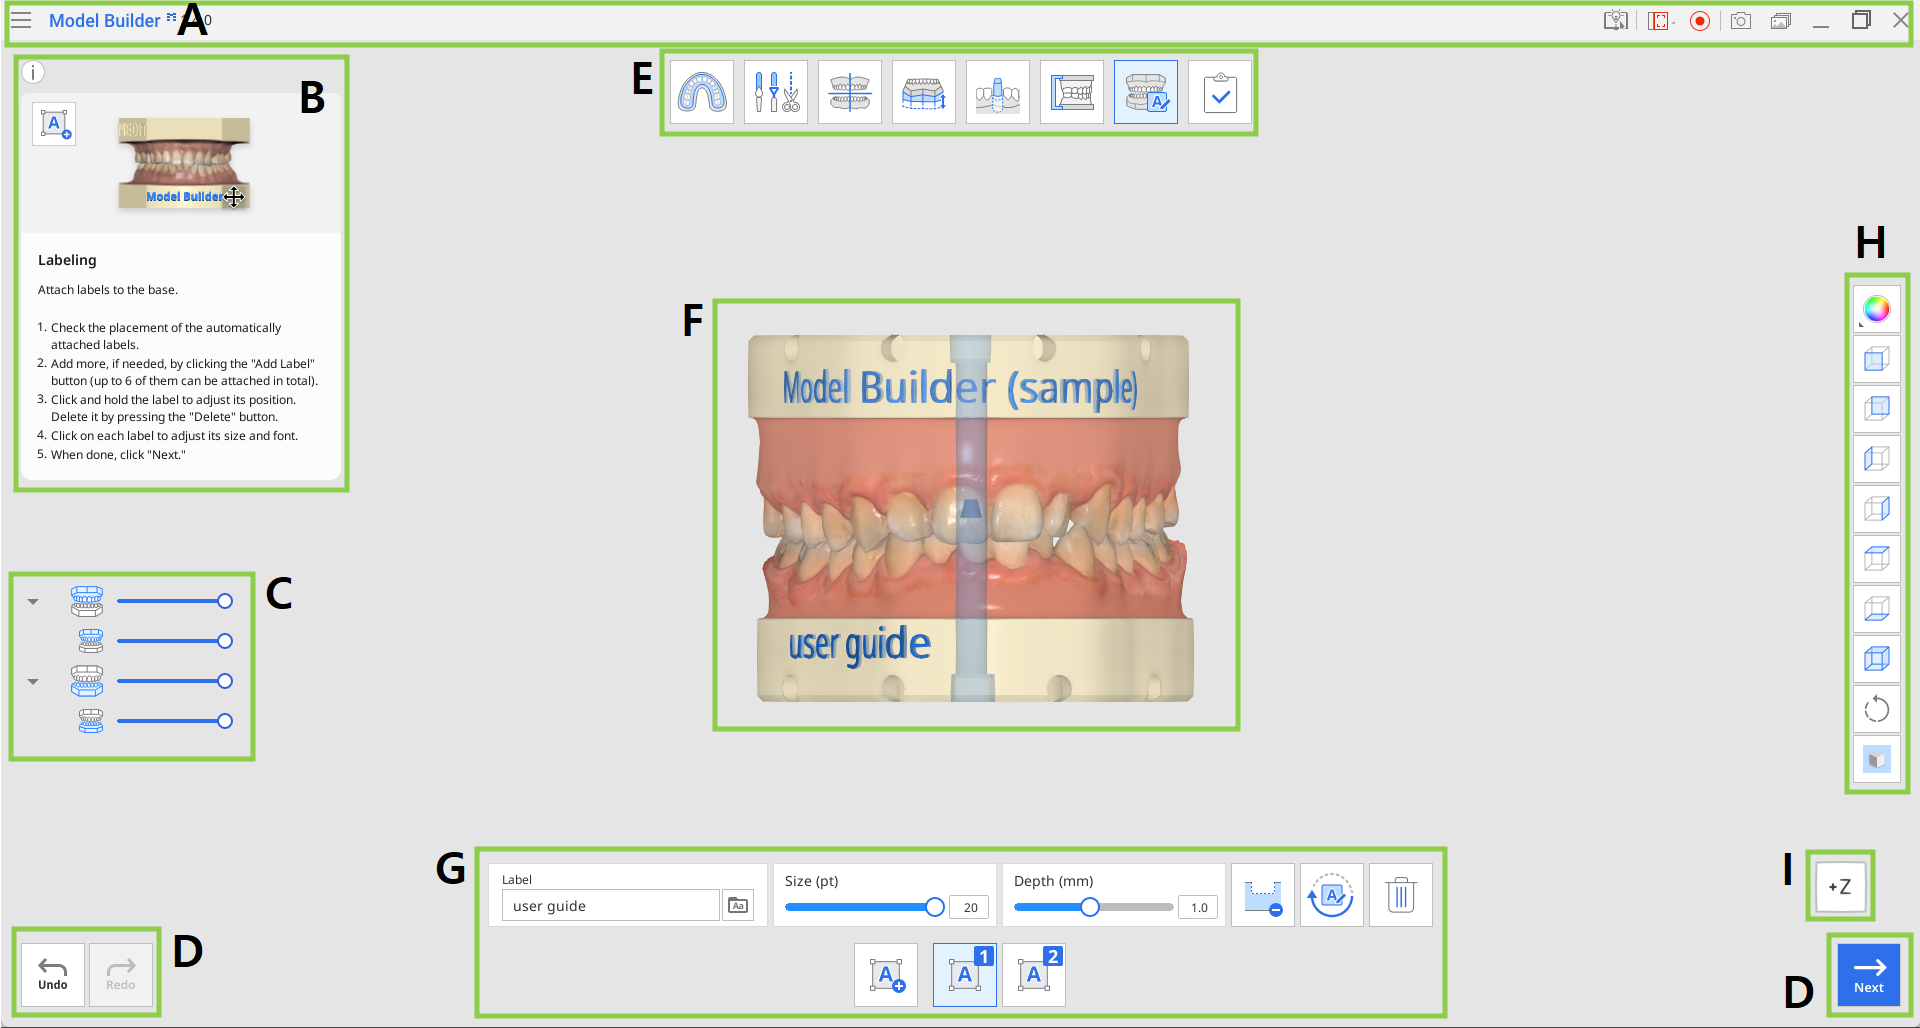
A | Title Bar |
B | Info Box |
C | Data Tree |
D | Action Control Buttons |
E | Workflow |
F | 3D Data |
G | Toolbox |
H | Side Toolbar |
I | View Cube |
Title Bar
The Title Bar is the ribbon at the top of the application window that contains basic controls on the right and the menu on the left.
| Menu | Manage the opened project, access available assistance resources, and check app details. |
| Help Center | Go to the Medit Help Center page dedicated to this app. |
| Select Video Record Area | Specify which area shall be captured for video recording. |
| Start/Stop Video Recording | Start and stop the video recording of the screen. |
| Screenshot | Take a screenshot. Capture the app with or without the title bar using automatic selection, or click and drag to capture only the desired area. |
| Screenshot Manager | View, export, or delete the screenshots. Upon completion, all captured images will be saved to the case automatically. |
| Minimize | Minimize the application window. |
| Restore | Maximize or restore the application window. |
| Exit | Close the application. |


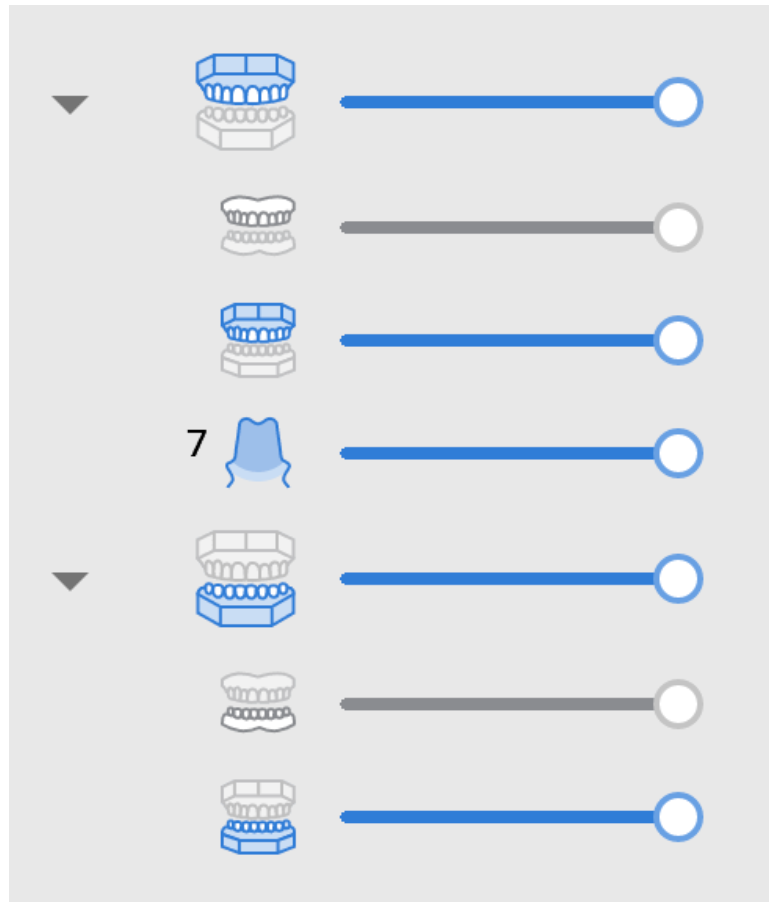
Data Tree
The Data Tree is located on the left side of the screen and shows a list of the project data organized into groups. Users can control each data visibility by clicking its icon in the tree or changing its transparency by moving its slider.
| Maxilla Group
Mandible Group
|
Action Control Buttons
There are three buttons that control the overall work process. They are located in the bottom corners of the application window.
Undo | Undo the previous action. |
Redo | Redo the previous action. |
Next | Apply changes and move to the next step. |
Side Toolbar
The Side Toolbar is located on the right side of the screen; it offers a number of tools for data visualization and control.
| Data Display Mode | Change between different data display options. |
| +Z Axis View | See the front view. |
| -Z Axis View | See the back view. |
| -X Axis View | See the left view. |
| +X Axis View | See the right view. |
| +Y Axis View | See the top view. |
| -Y Axis View | See the bottom view. |
| Isometric View | See the isometric view. |
| Rotate | Rotate data by click-and-drag. |
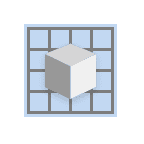
| Grid Settings | Show or hide the grid (overlay on/off). |


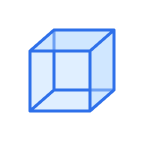

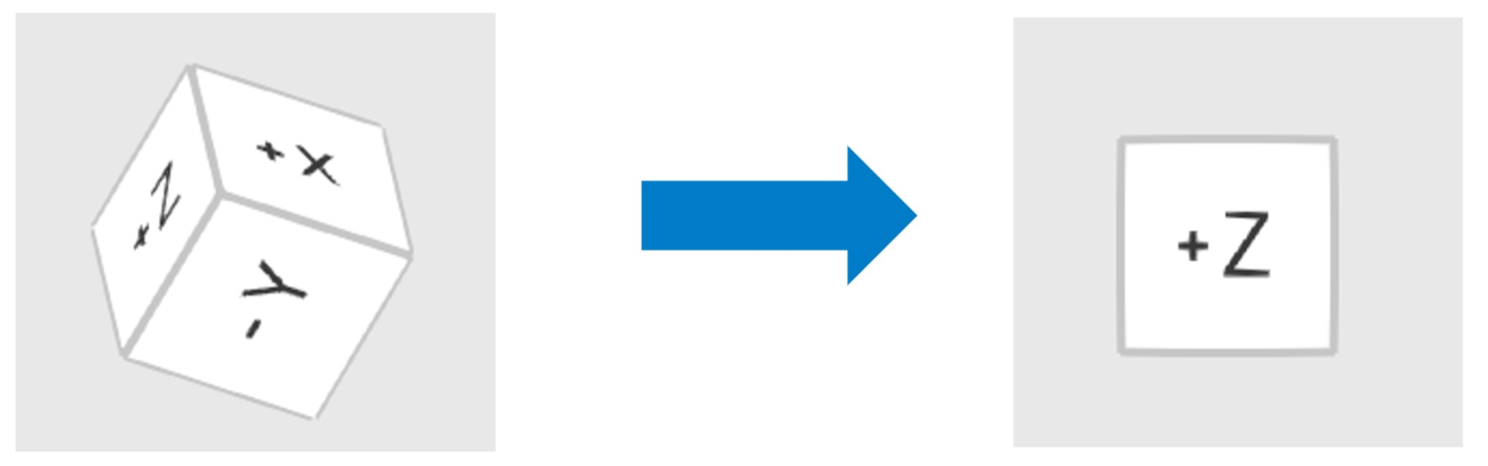
View Cube
The View Cube shows the 3D view orientation; it rotates simultaneously with the 3D data to help understand data positioning within a three-dimensional space. You can click on the visible faces of the cube to rotate data and see it from a specific viewpoint.