Preparing Data
The app lets users create models using either a single arch scan or data from both arches. Before running the program, users should ensure that the scan includes gingiva data and is not trimmed too closely to the teeth.
There are several ways to gather 3D data that will be used in the program.
Complete scanning in the Medit scanning programs
Upon scanning, all acquired data is saved to the corresponding Medit Link case. The app will automatically import data that is available in the case.Attaching files to the Medit Link case
Users can add locally stored scan data to the Medit Link case via the "Attach" feature in the Case Details window.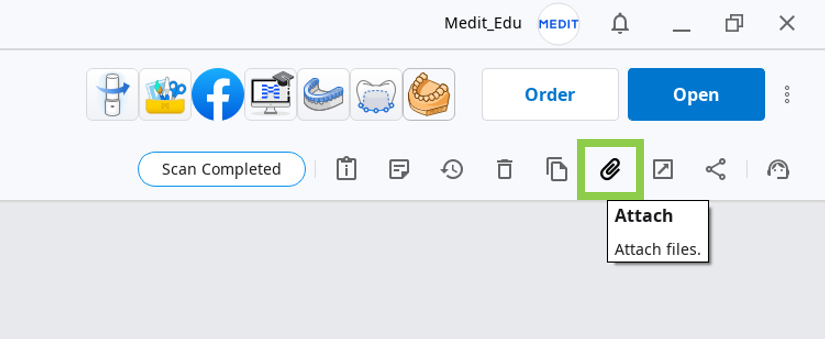
Importing files after running the app
Users can import locally stored scan data after running the app in the Assign Data window.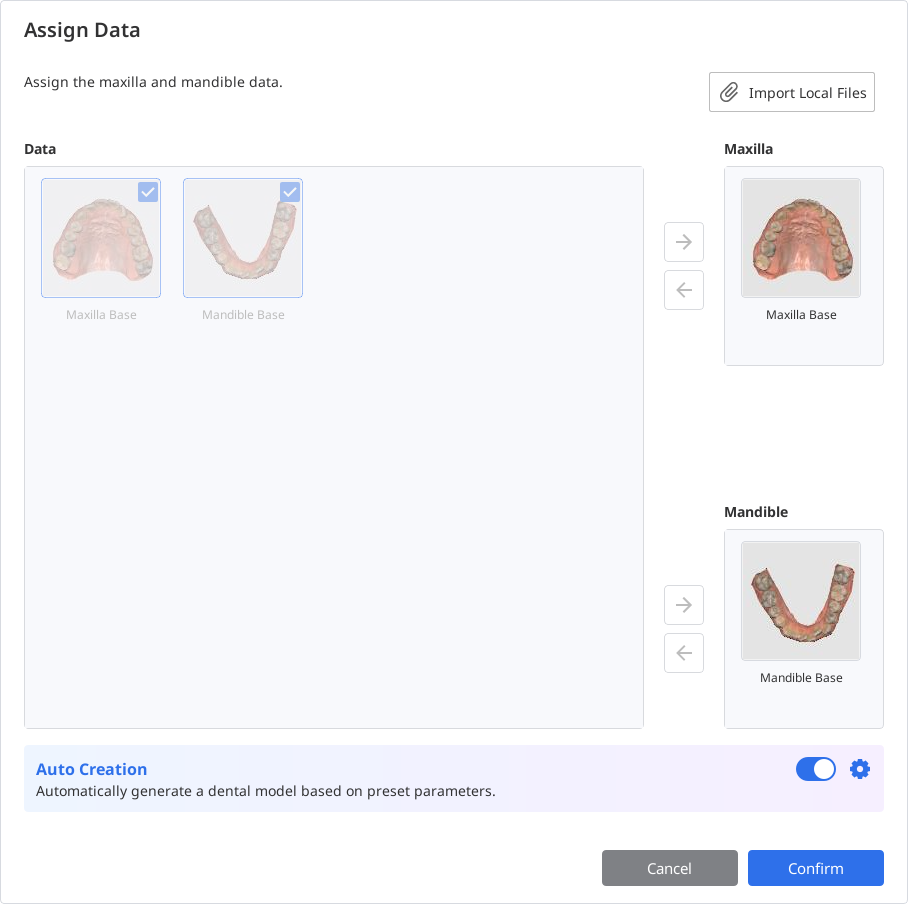
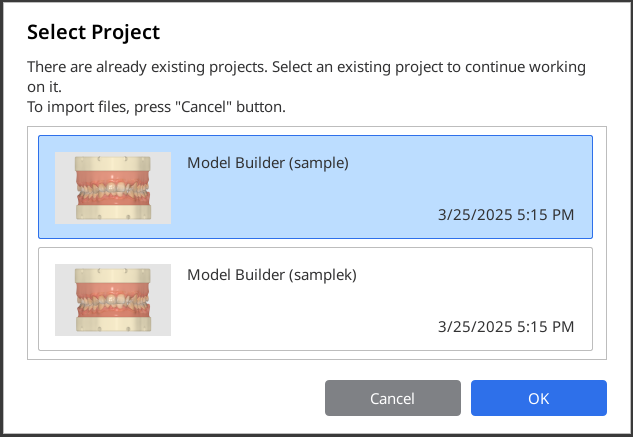
Users can also continue working on previously saved projects if the program is opened from the same case again.
3D Data Control
Users can control the 3D data using a mouse alone or both mouse and keyboard.
3D data control using a mouse
Zoom | Scroll the mouse wheel. |
|
Zoom Focus | Double-click on the data. |
|
Zoom Fit | Double-click on the background. |
|
Rotate | Right-click and drag. |
|
Pan | Hold both buttons (or wheel) and drag. |
|


3D data control using a mouse and keyboard
Windows | macOS | |
|---|---|---|
Zoom |
|
|
Rotate |
|
|
Pan |
|
|
.png)
.png)
.png)
.png)
.png)
.png)
Saving Data
There are several ways to save the project data.
“Complete“ icon at the top or “Next“ button in the bottom right corner
⚠️Paid Feature
Saving and exporting the completed design as an STL file is a paid feature. Pricing may vary based on your scanner ownership status and location.
For more details about payment, please visit the Medit Help Center or click here.
The “Complete“ feature can be used after the model base have been created. It generates two type of files in the Medit Link case: the project file(B) and the model design file(A). The latter can be further used for printing.

“Save“ or “Save As“ options in Menu
These two options in the program menu help users manage the project file by creating a new one or updating an existing one. The project file is generated every time you run the app and can be used across all Medit software. It records work progress, allowing users to temporarily stop and save an unfinished project to resume later.
The "Save As" option is used to save an unfinished project or save the current project under a new name, while the "Save" option allows the overwriting of the project file for the currently opened project.
.png)
🔎Note
Users are also prompted to save changes in the project file when they terminate the program.
.png)