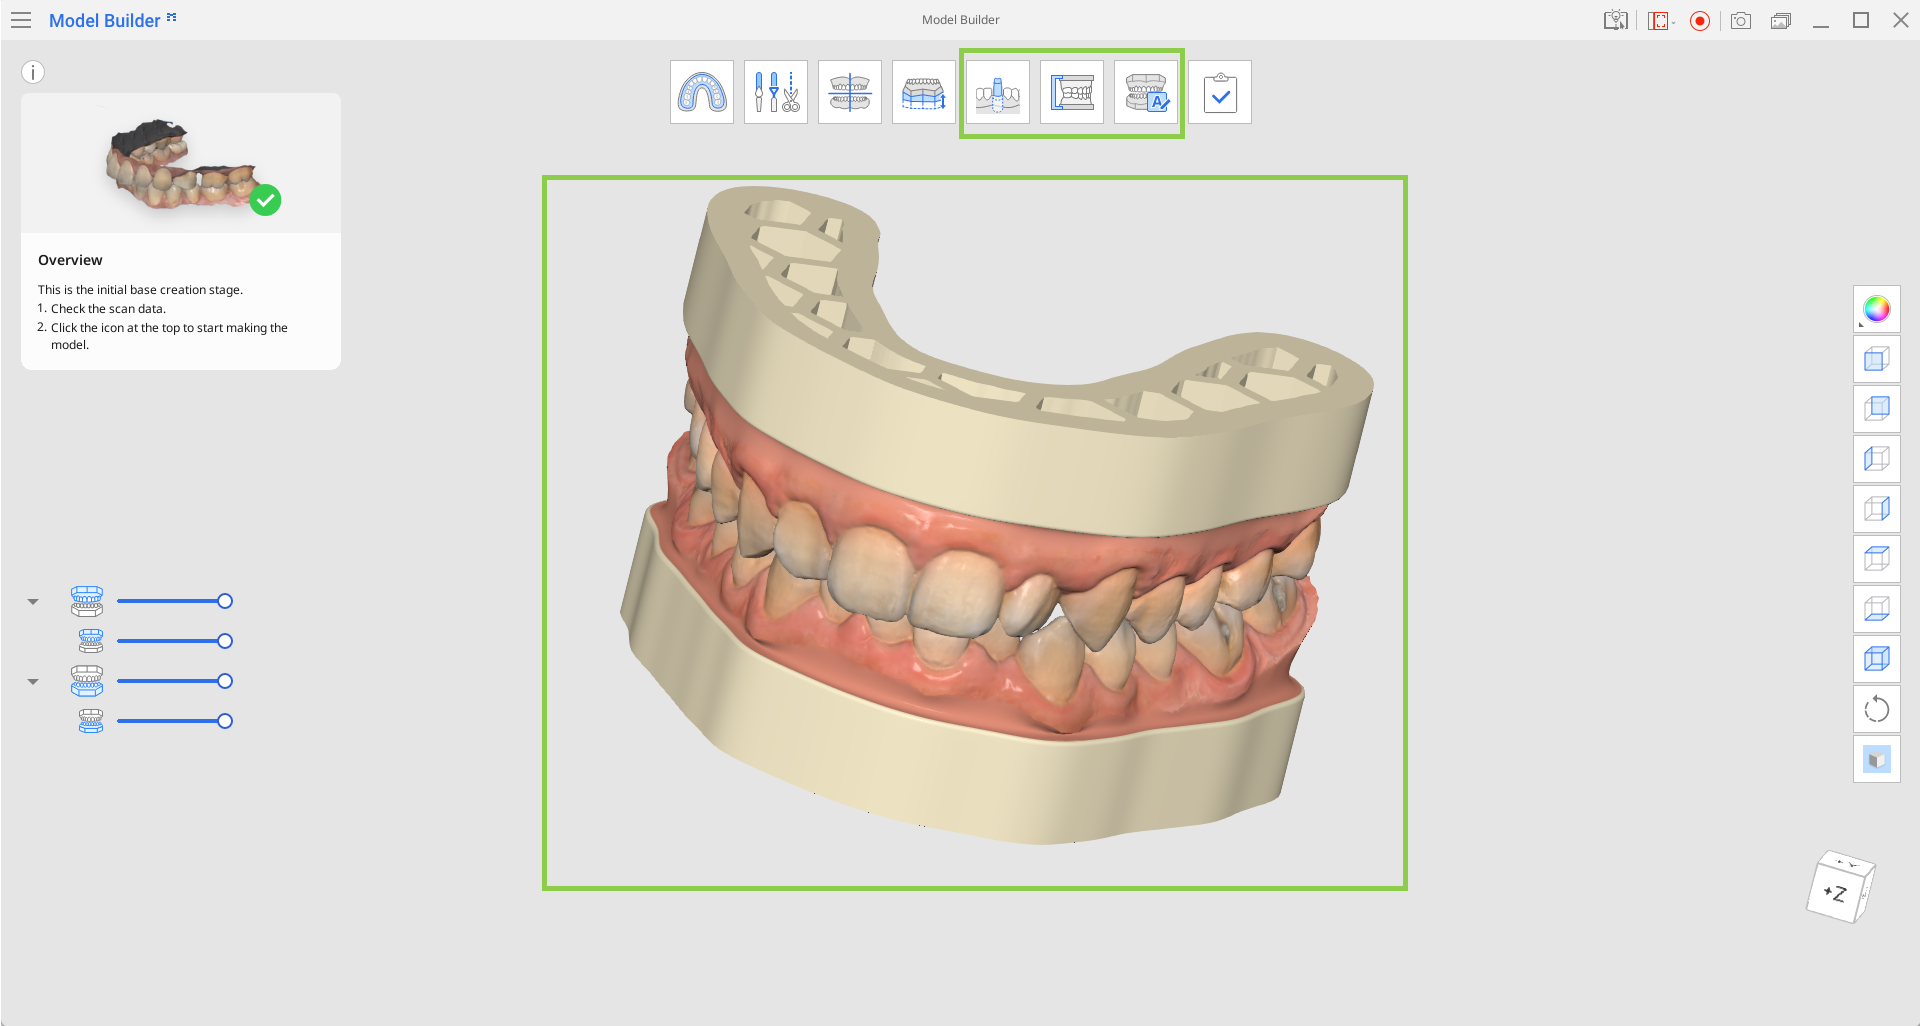
The Medit Model Builder workflow consists of 7 steps, which must be followed in a specific sequence. After assigning the data, the user proceeds to the Overview step to review the imported scan data. Working in the final 3 steps is optional, and the user can proceed to “Complete“ right upon creating the model base.
Overview | Check the imported scan data. | |
| Area Designation | Designate the area for base creation. |
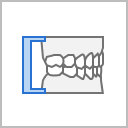
| Data Editing | Edit and trim data using the wide array of functions provided. |
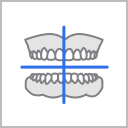
| Data Alignment | Move data to the occlusal plane of a virtual articulator. |
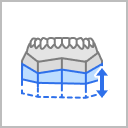
| Base Creation | Create the base for the model. |
| Die Creation | Create dies that will be used in the base model. |
| Attachments | Add support elements or other attachments to the model. |
| Labeling | Label the model, either engraving or embossing the text. |
| Complete | Finish the model creation process and save the results to Medit Link.
|
.png)


.png)
Auto Creation
When assigning scan data to a project, users have two options: they can either manually create the model by following each of the steps outlined above, or enable the “Auto Creation” toggle. When Auto Creation is turned on, the software automatically generates a dental model based on the preset parameters.
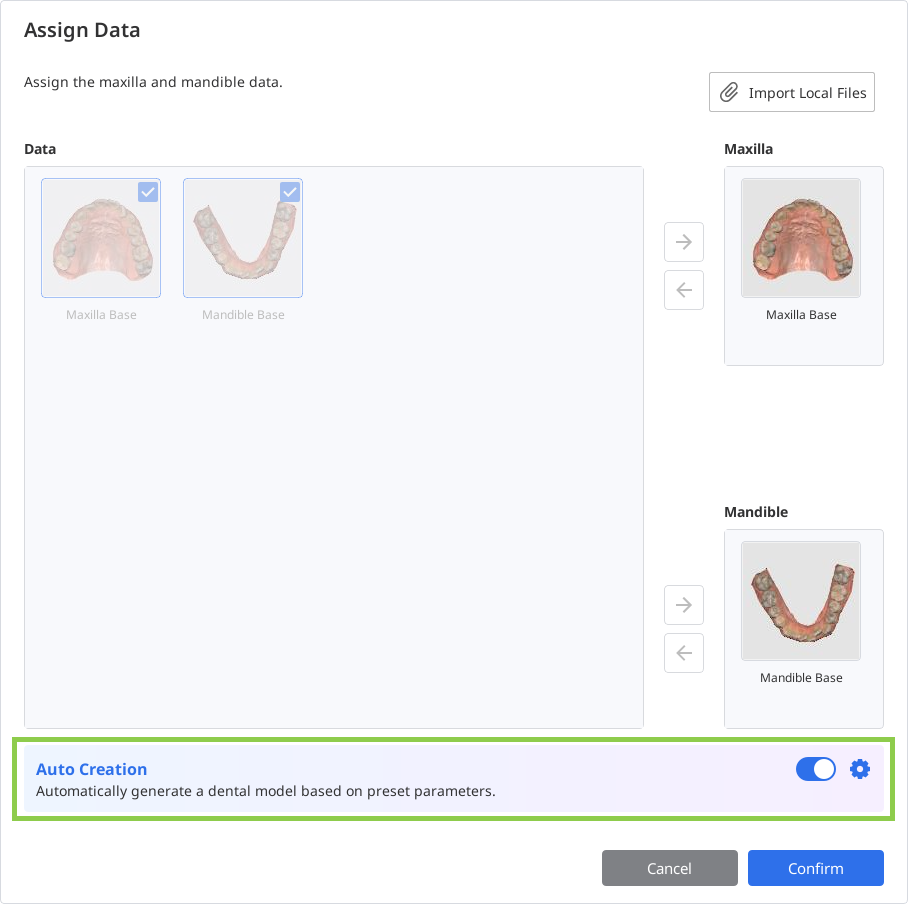
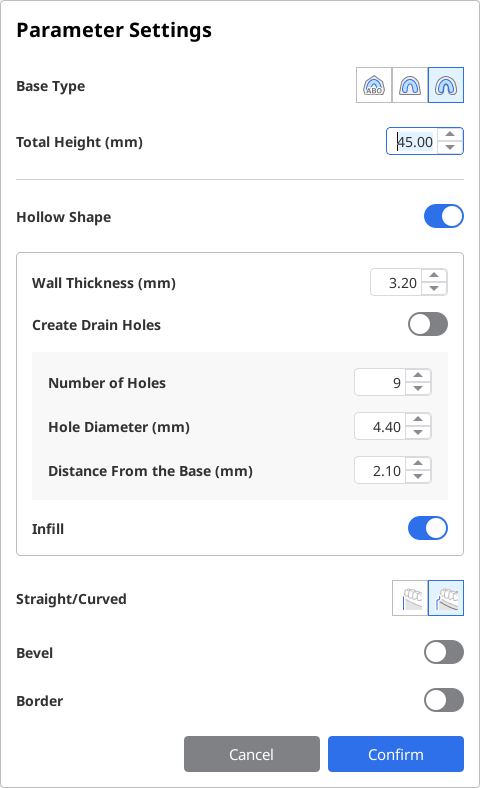
The preset parameters, which define all aspects of the Base Creation step, can be reviewed and modified through the “Parameter Settings” before proceeding with Auto Creation.
Once the model is created, the user moves to the Overview step, where they can review the generated model, including its completed base. After this review, the user can either proceed directly to export and printing, or choose to further customize the model using the final three steps—adding dies, attachments, and labels if needed.