Intraoral Scanner Calibration
Go to Menu > Settings > Scanner and configure the calibration period in the Calibration Period (Days) option.
Calibration is recommended for proper scanning and performance of the device.
Please calibrate the scanner when:
- The quality of scan data has decreased as compared to the previous scans.
- The external conditions, such as device temperature, changed during use.
- It is already past the configured calibration period.
If the calibration fails, inspect the panel and contact the service provider if it is contaminated.
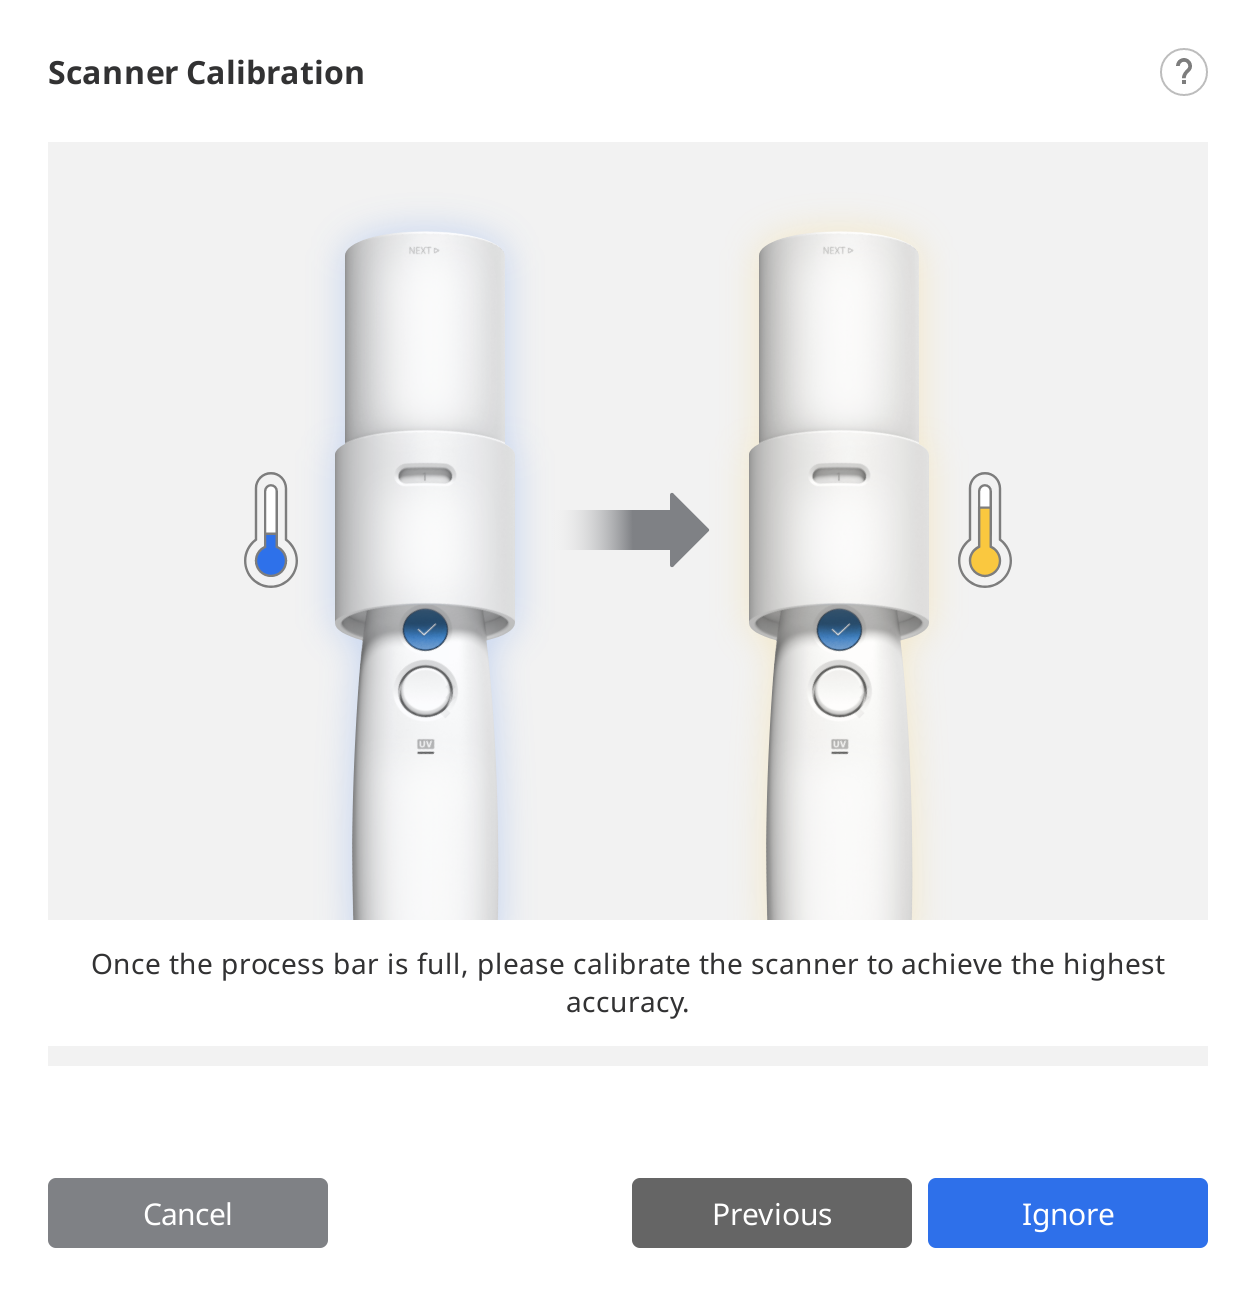
Please note that the accuracy of scan data increases if the temperature of the scanner during calibration is similar to the temperature while scanning.
Let your scanner warm up before calibration to reach the same temperature as it will be during scanning.
How to Calibrate (i500, i600, i700, i700 wireless)
The following describes how to calibrate based on the i700. Other scanner models, like the i500/i600/i700 wireless, can be calibrated in the same way. For the i900/i900 classic calibration, please refer to the corresponding section following below.
- Turn on the scanner and connect the scanner to the software.
- Click the "Calibrate" icon at the bottom left corner of the program.You can just insert the scanner into the calibration tool to start calibration. (unavailable with i500)

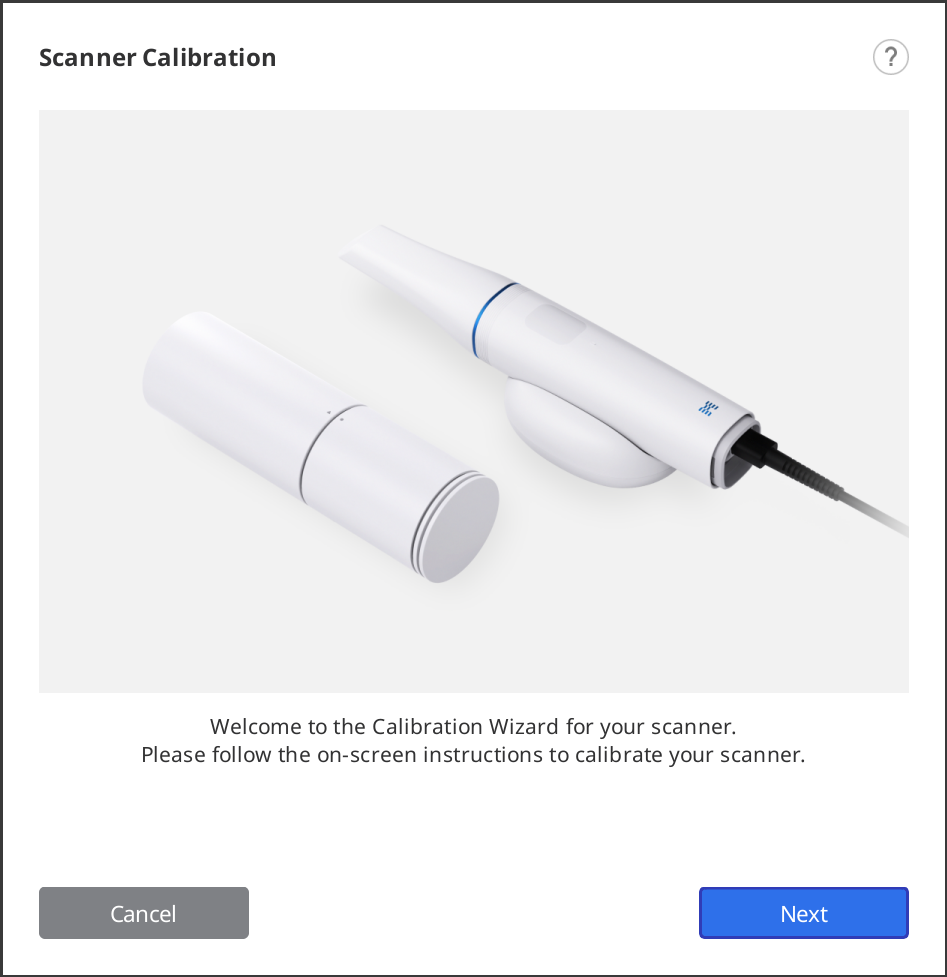
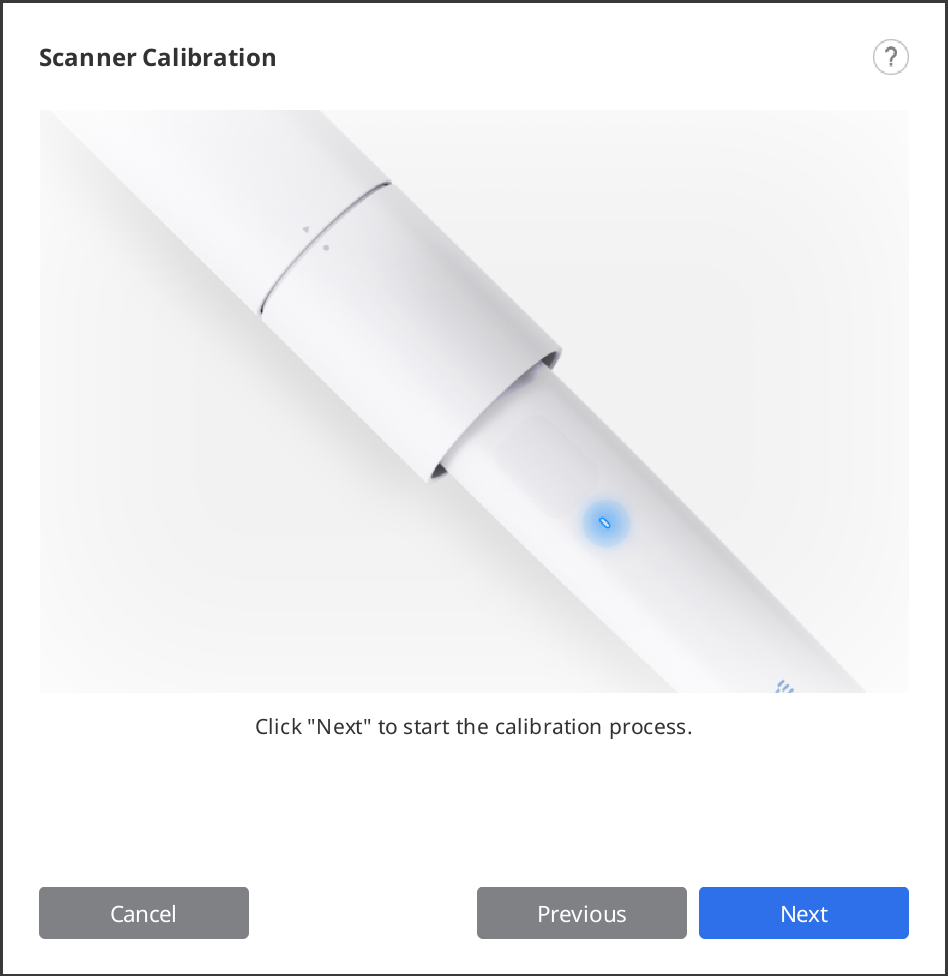
- Prepare the calibration tool and click "Next" to start the calibration process.

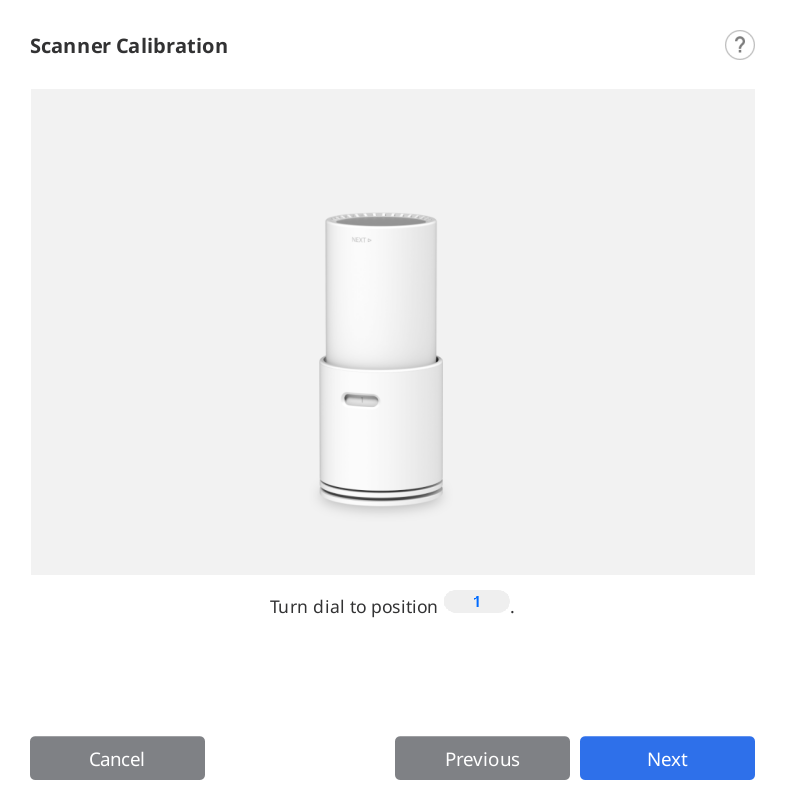
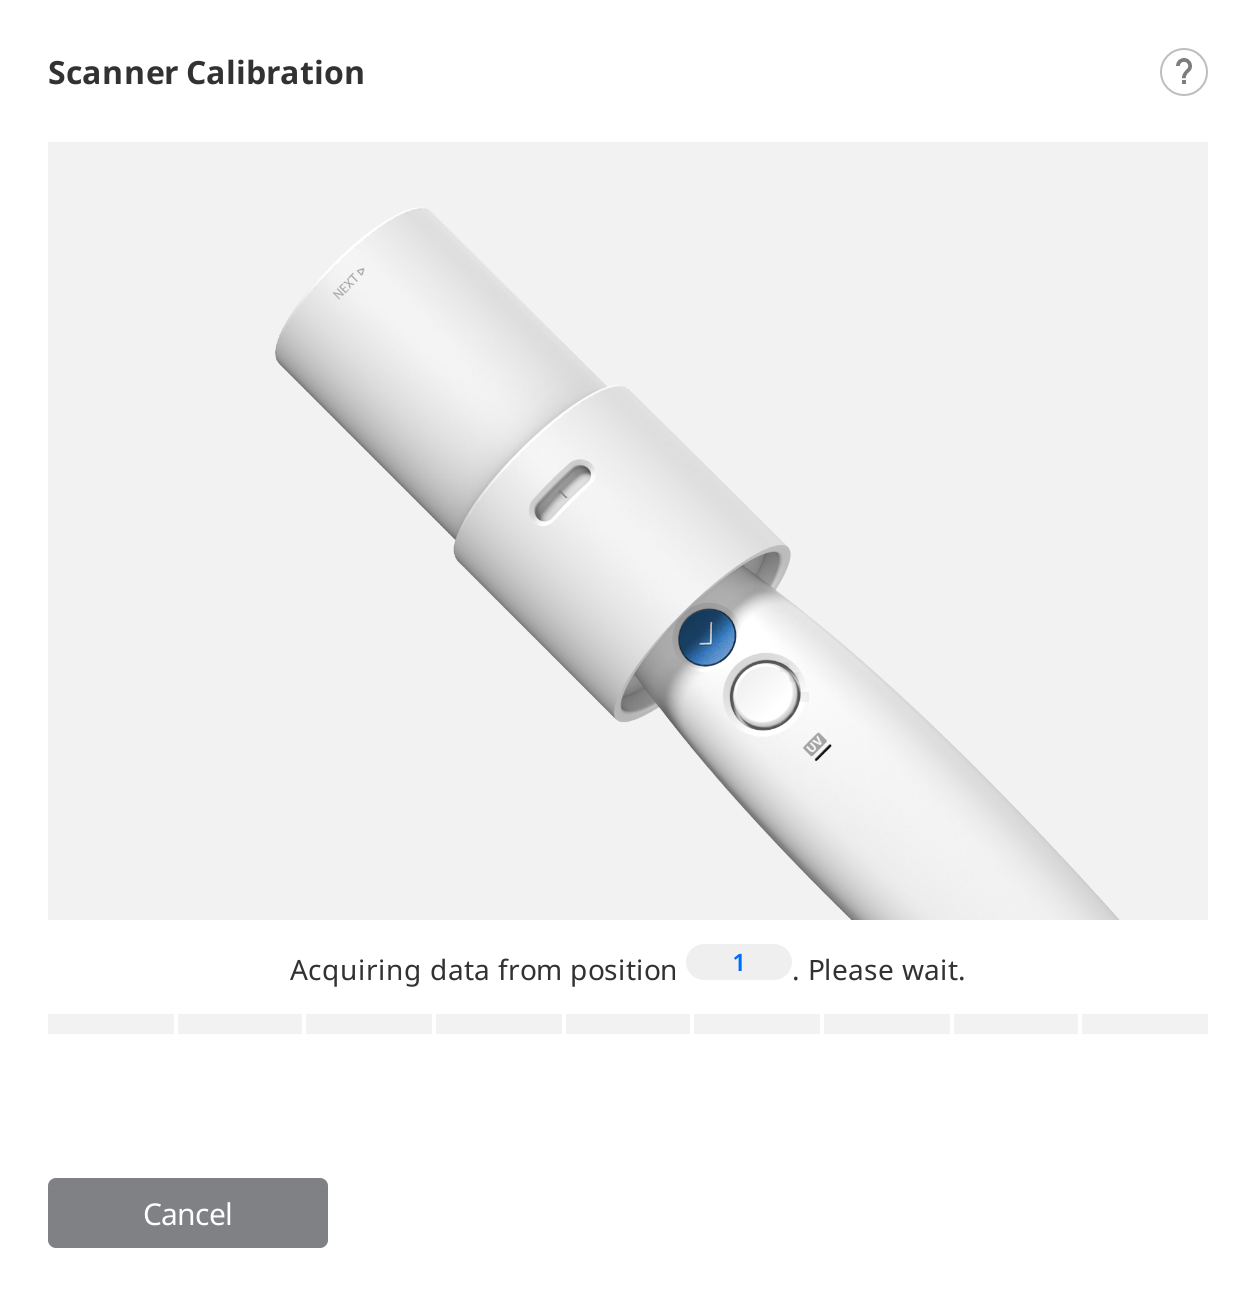
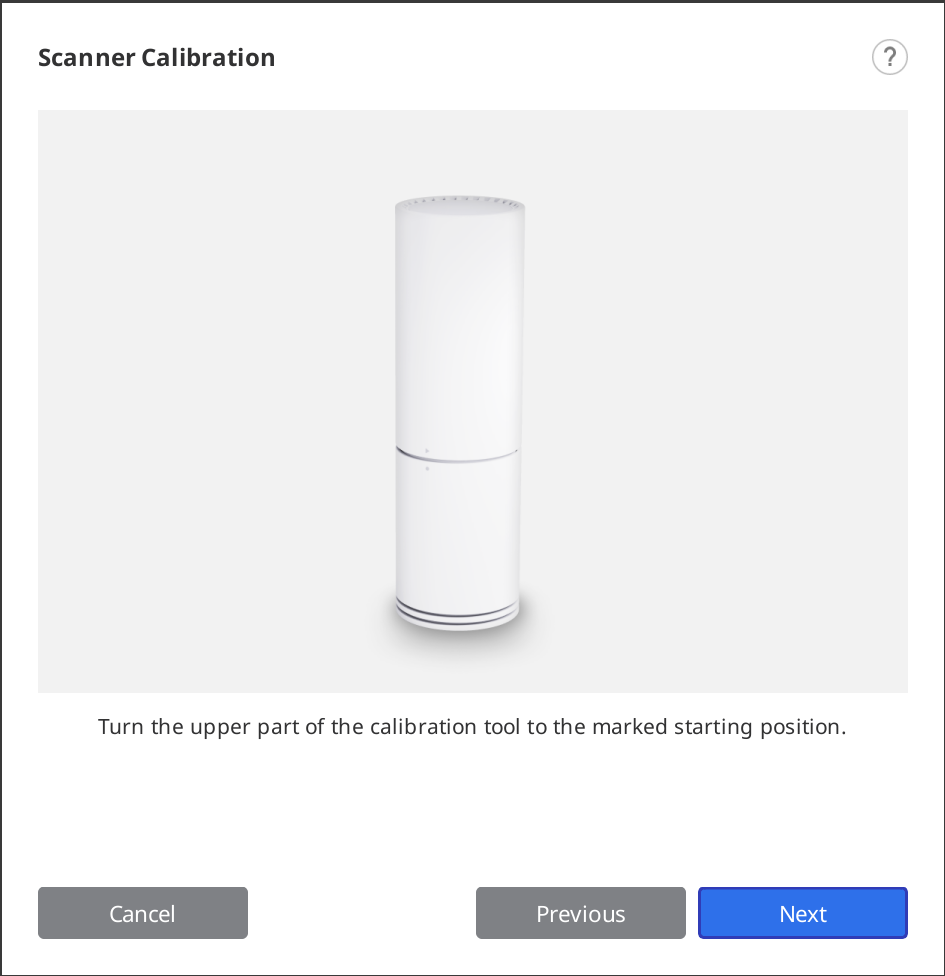
- Set the dial of the calibration tool to position 1.
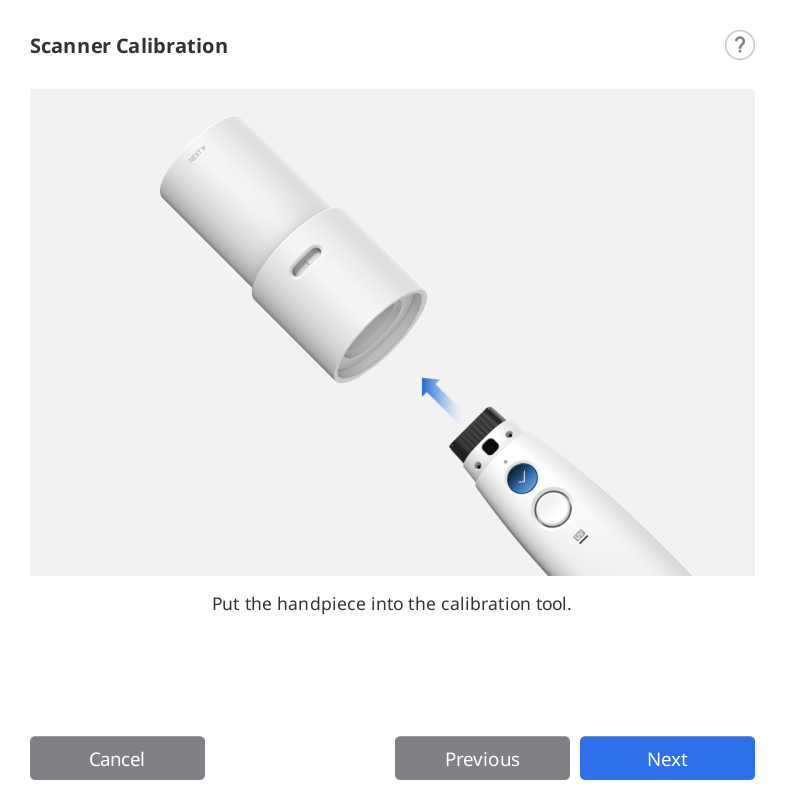
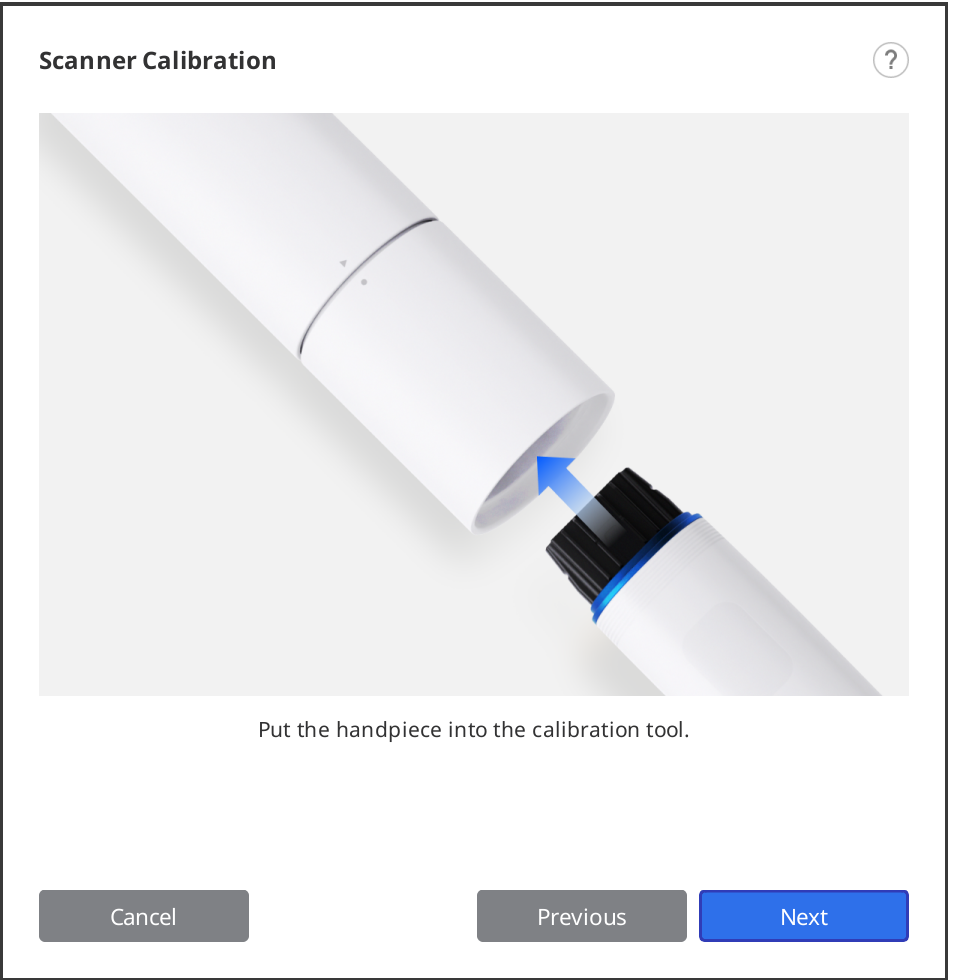
- Insert the handpiece into the calibration tool.
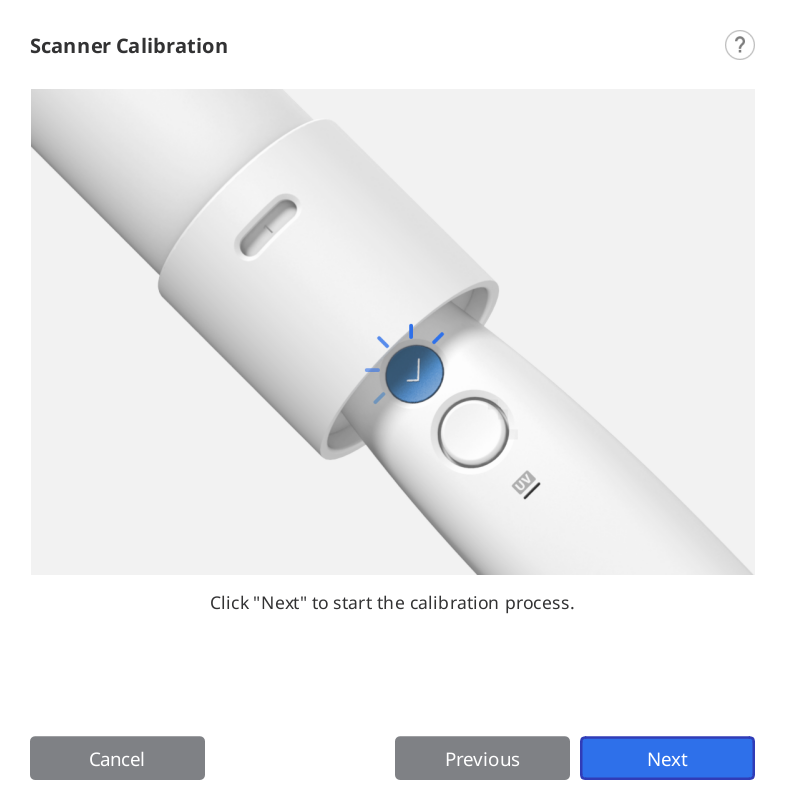
- Click "Next" to start the calibration.
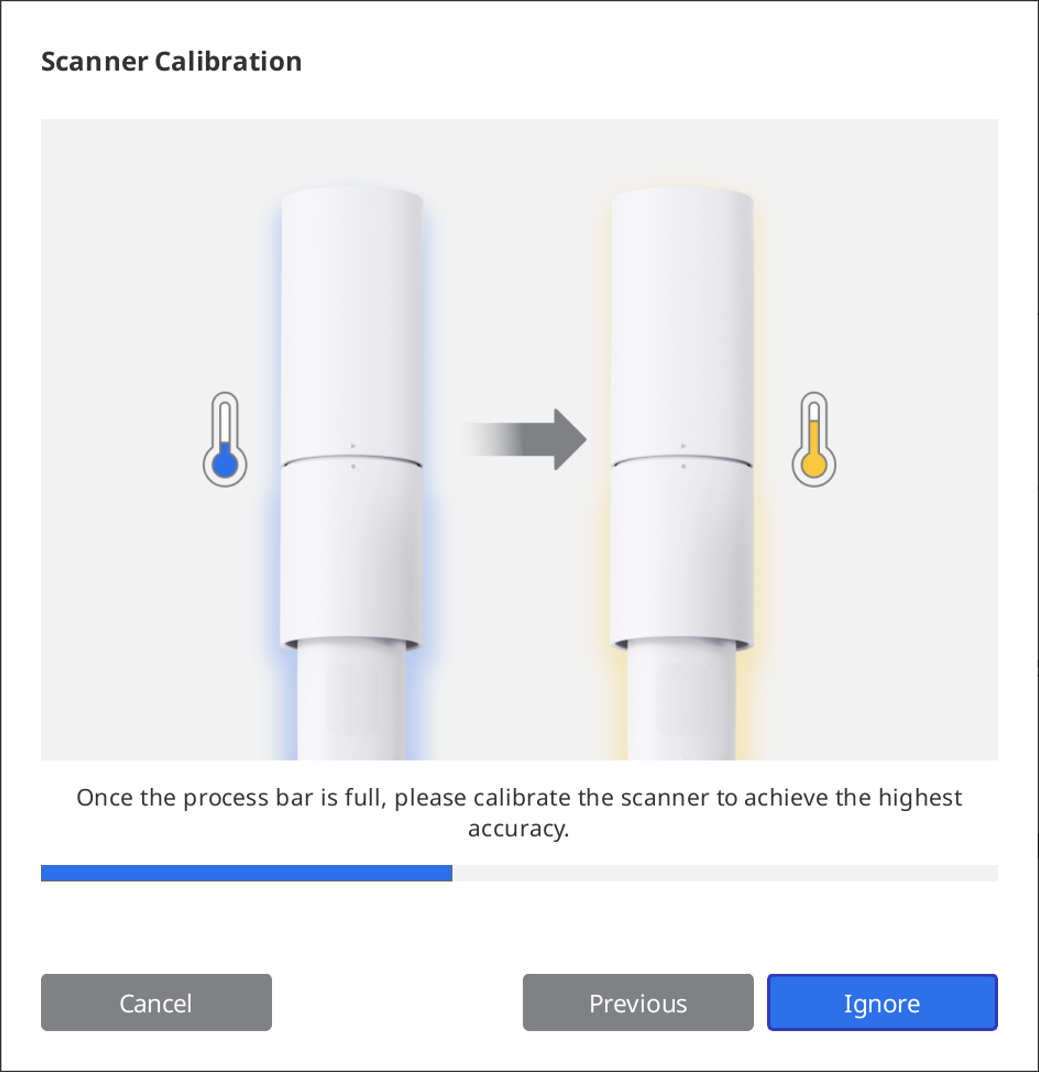
- If the scanner's temperature is too low, pre-heating will be required to provide the best performance.
- If the handpiece is mounted correctly, the system will automatically acquire the data at position 1.
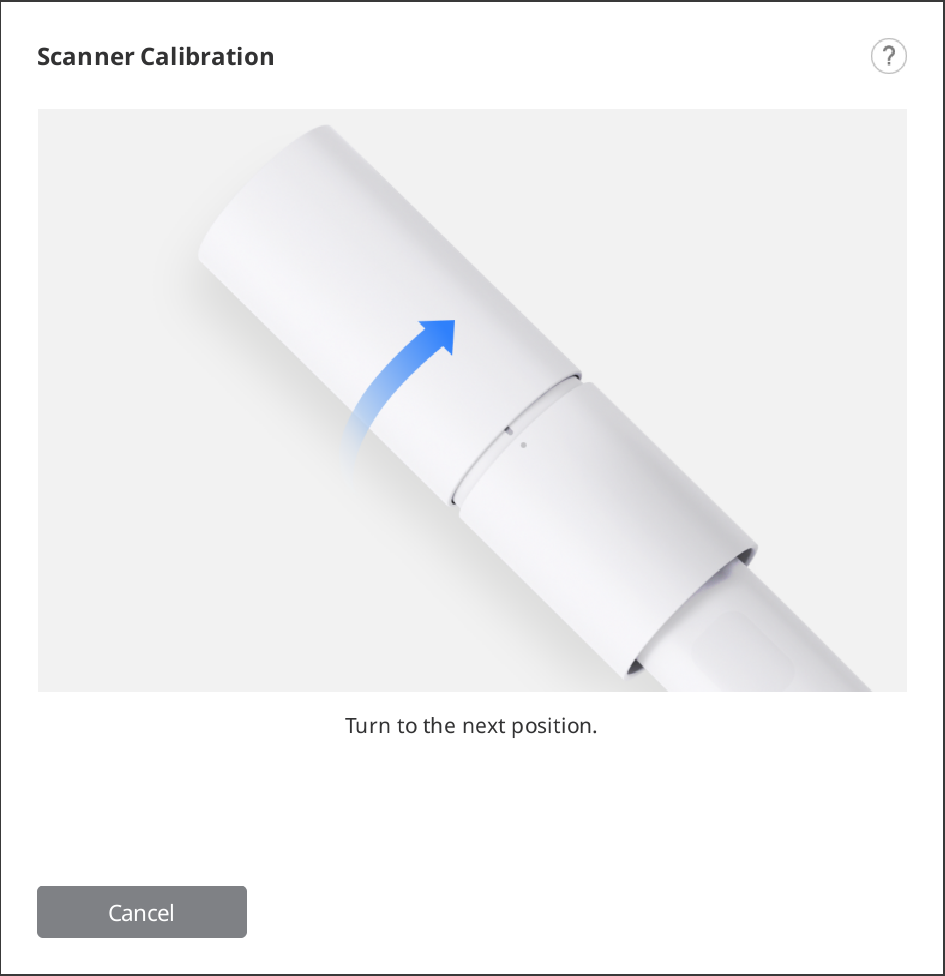
- After completing data acquisition at position 1, turn the dial to the next position according to on-screen instructions.
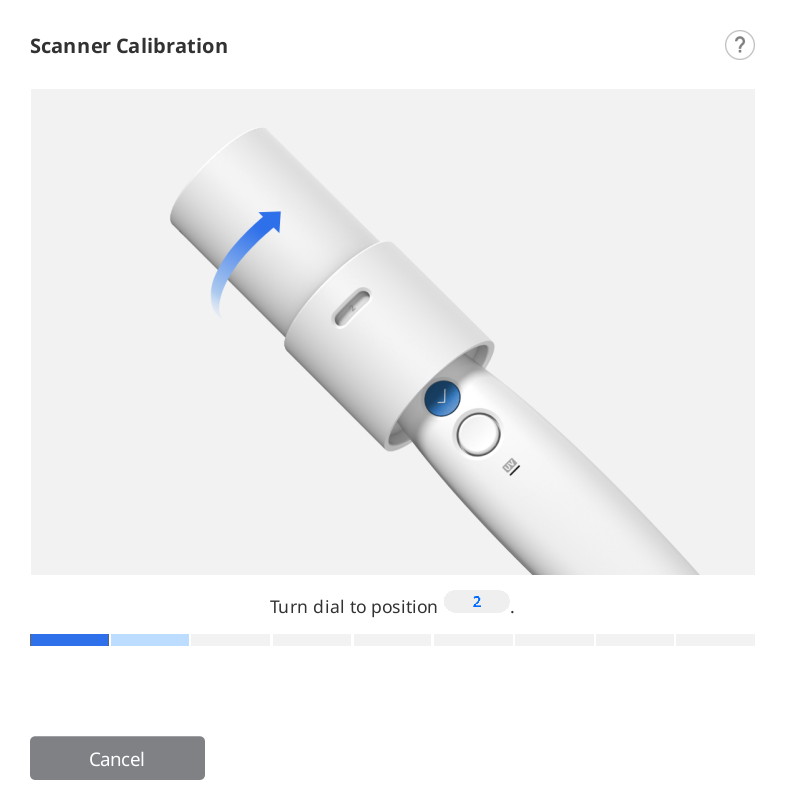
- Repeat the above process for positions 2 to 8 and the LAST.
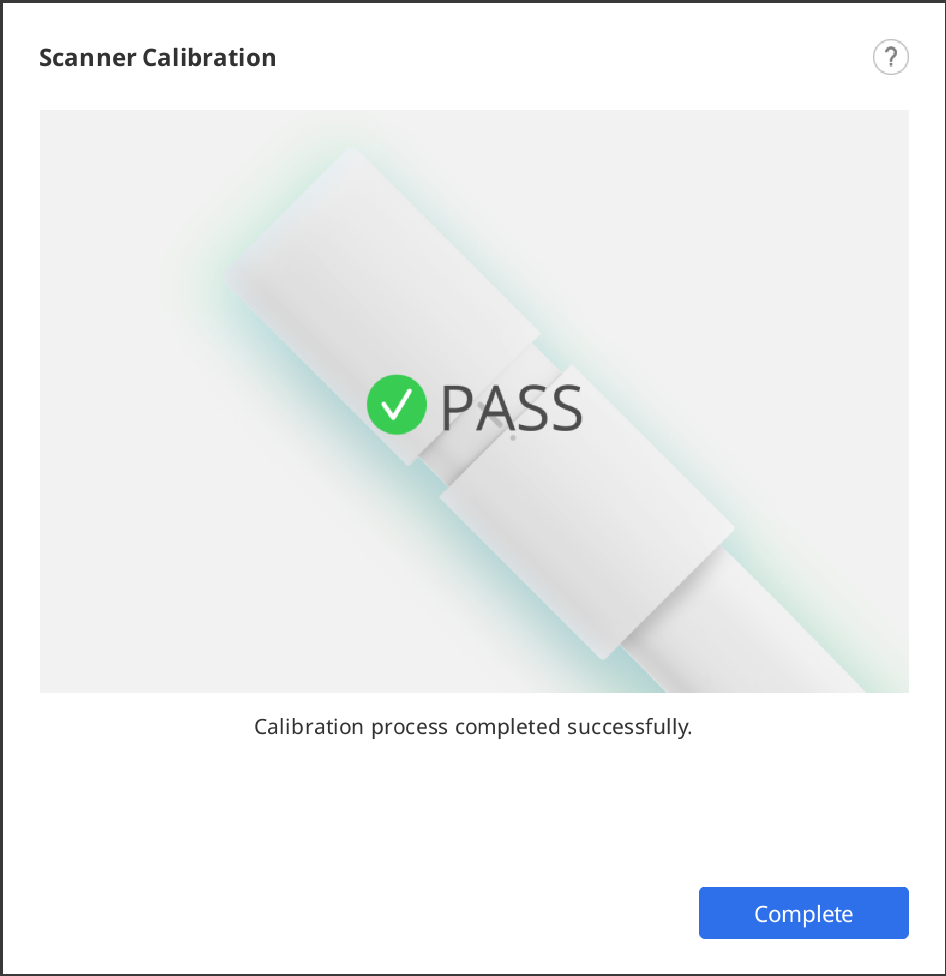
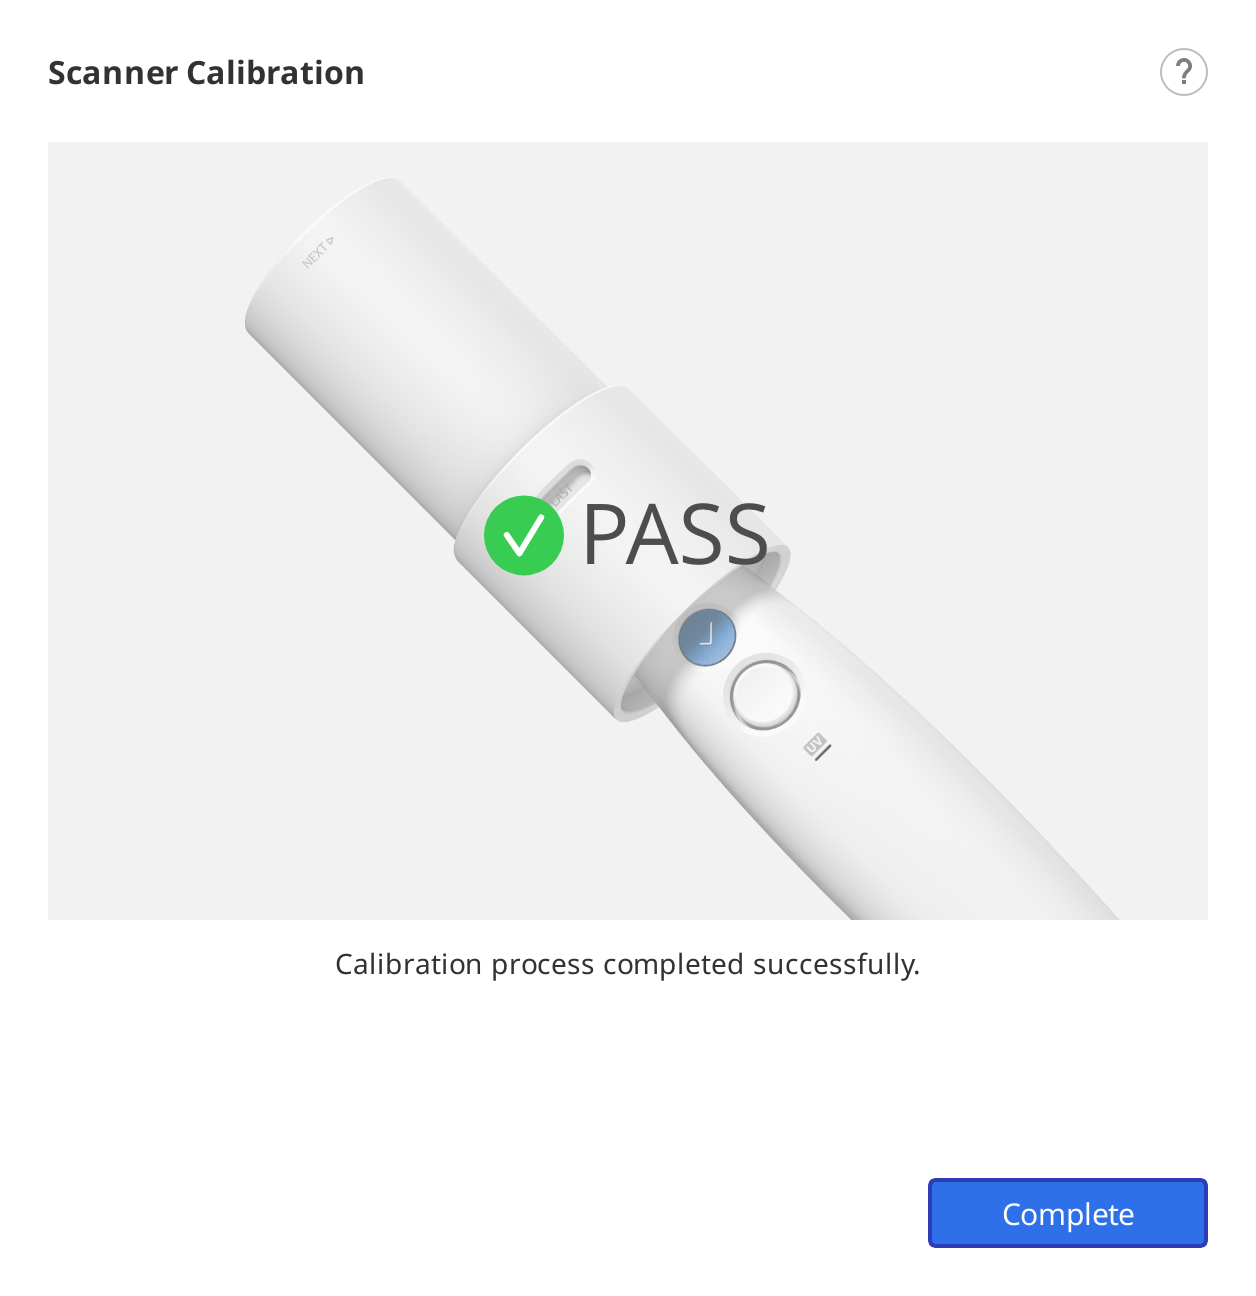
- After data acquisition at the LAST position is completed, the calibration result will be displayed.
How to Calibrate (i900, i900 classic, i900 Mobility)
The following describes how to calibrate based on the i900. Please refer to How to Calibrate (i500, i600, i700, i700 wireless) for other scanner models.
- Turn on the scanner and connect the scanner to the software.
- Click the "Calibrate" icon at the bottom left corner of the program to run the Calibration Wizard.You can just insert the scanner into the calibration tool to start calibration.
- Prepare the calibration tool and click "Next" to start the calibration process.
- Set the dial of the calibration tool to the starting position.
- Insert the handpiece into the calibration tool.
- Click "Next" to start the calibration.
- If the scanner's temperature is too low, pre-heating will be required to provide the best performance.
- Click "Next" to start the calibration process.
- If the handpiece is mounted correctly, the system will automatically acquire the data.

- After completing data acquisition at the starting position, turn the calibration tool to the next position according to on-screen instructions.
- Repeat the above process to the last position.
- After data acquisition at the last position is completed, the calibration result will be displayed.