When you run Medit Scan for Clinics, you can check your scanner status and, if you use a wireless scanner, wireless hub status at the bottom left corner of the screen.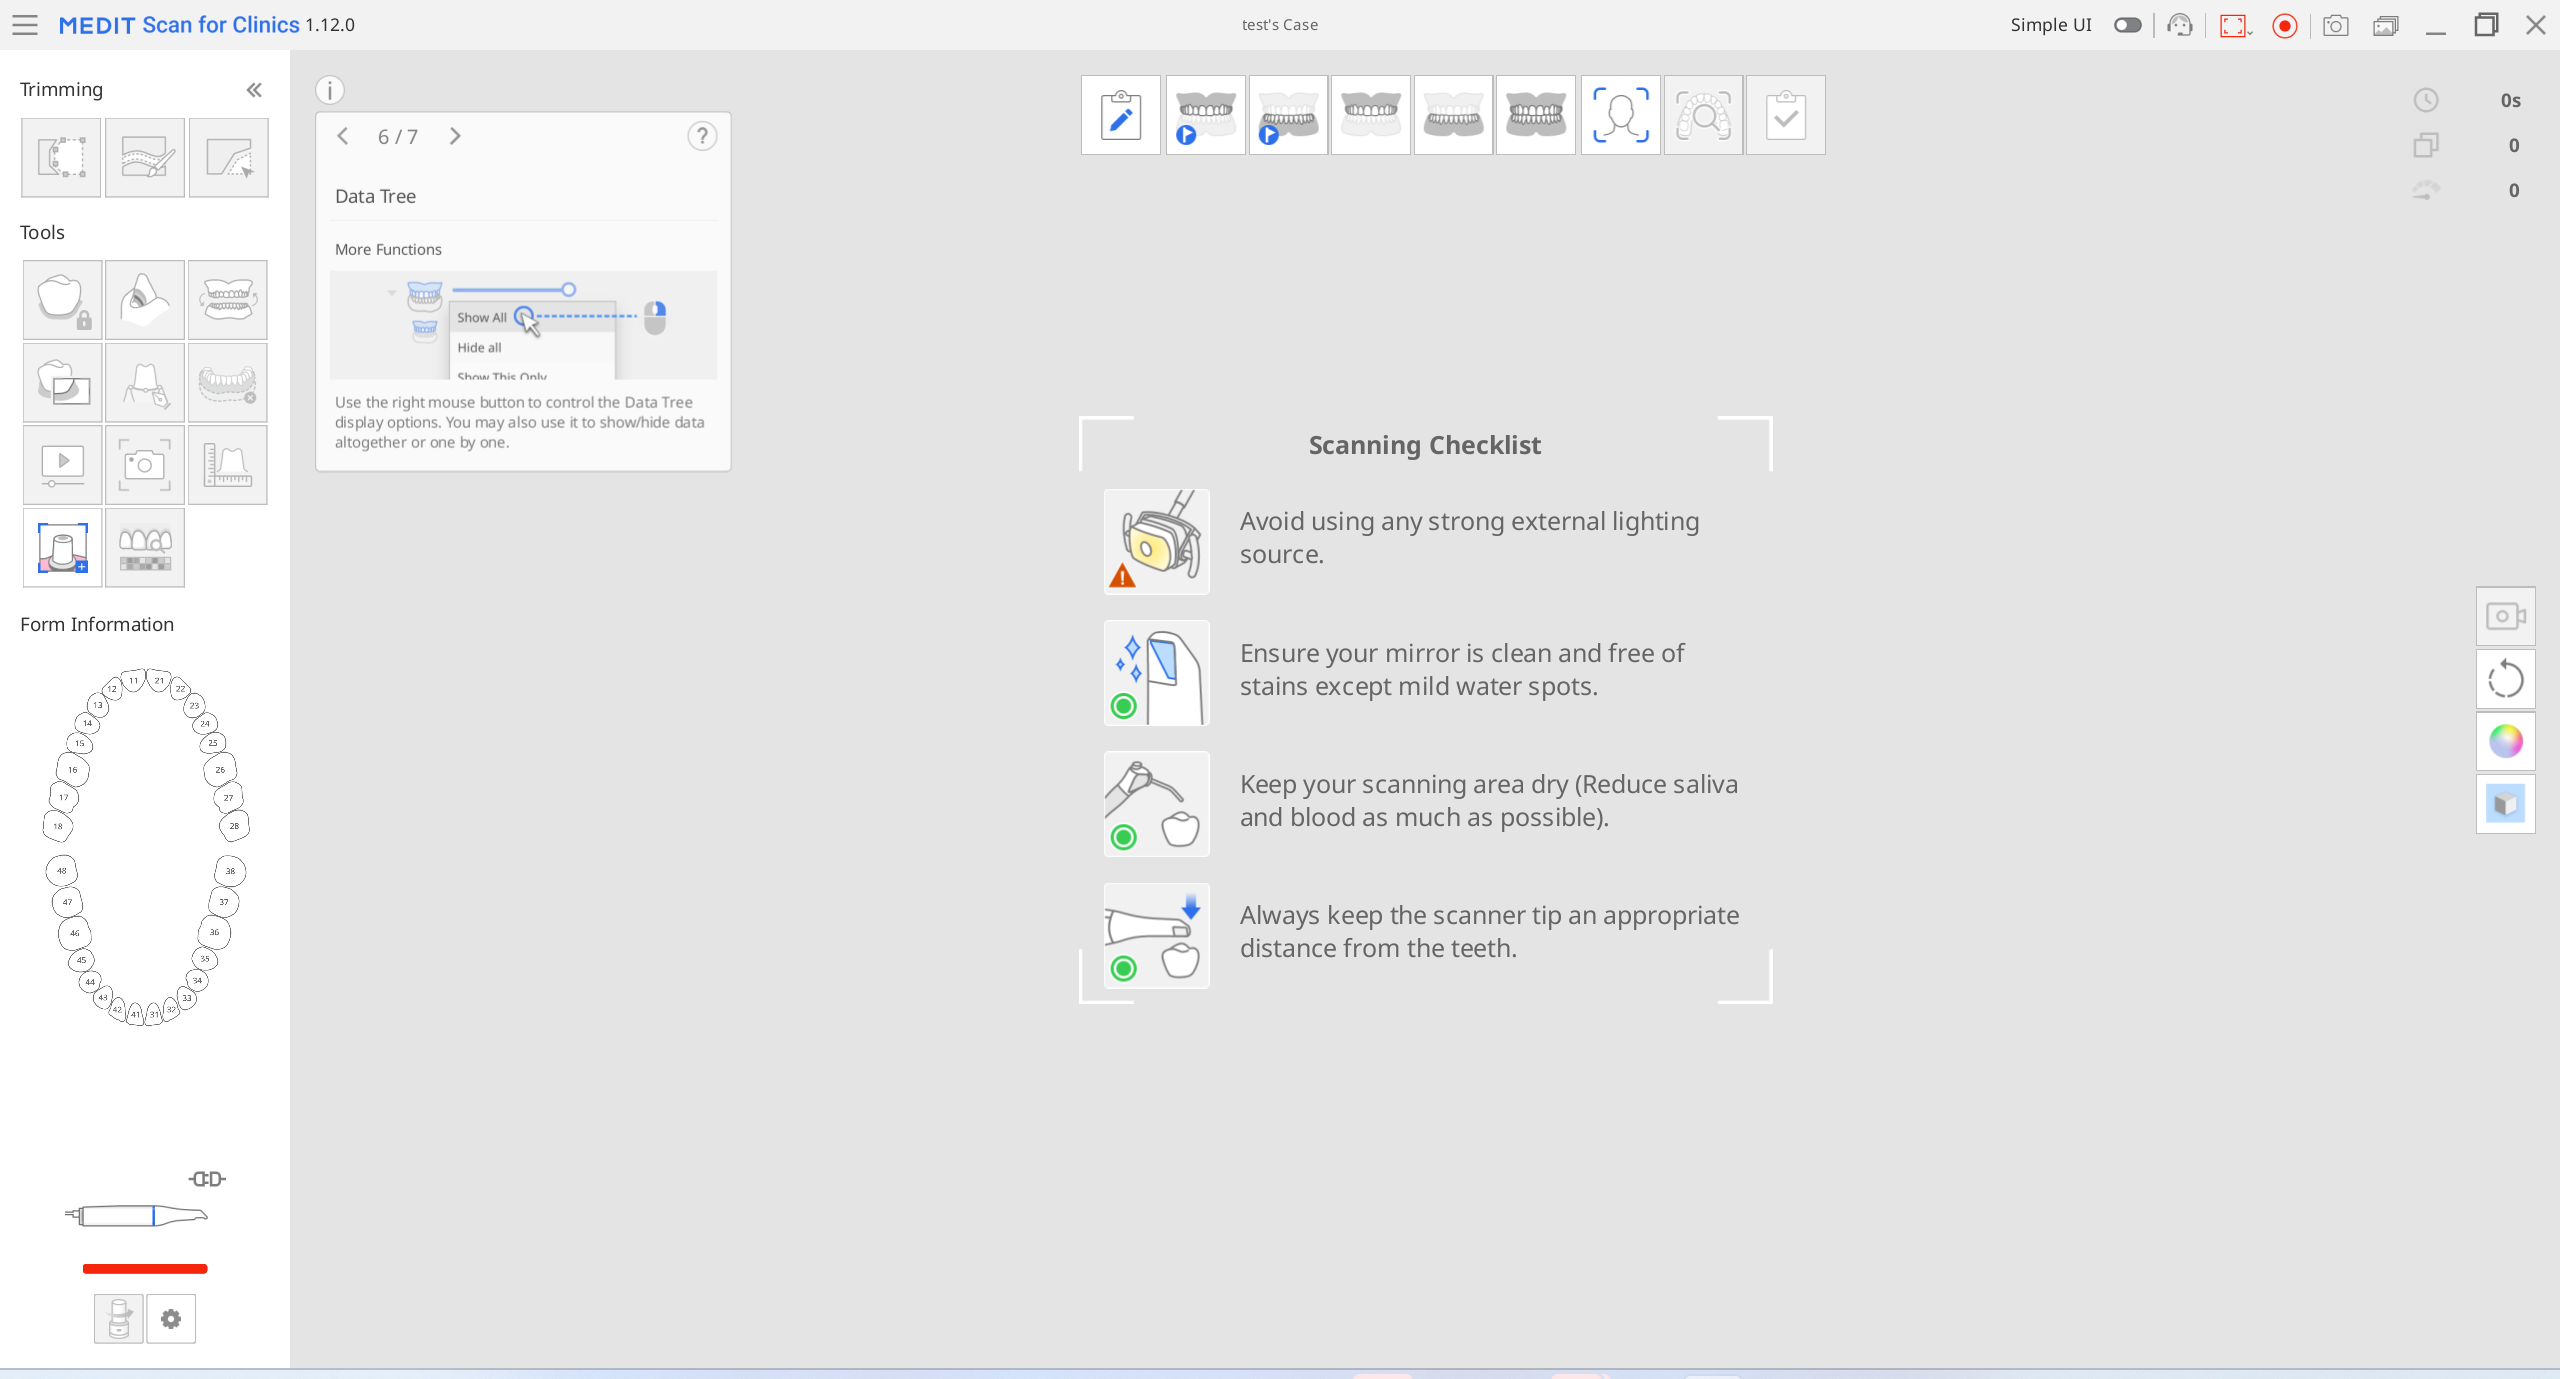
Scanner Status
The following are indications of the scanner status:
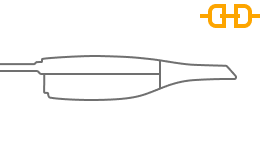
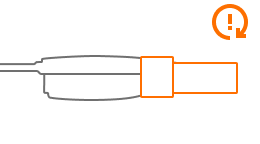
Model/Status | Not Connected | No Tip | Connecting | Rebooting | Calibration Required | Ready | Scanning | Sleep | Overheating |
|---|---|---|---|---|---|---|---|---|---|
i500 |
| N/A |
|
|
|
|
|
|
|
i600 |
|
|
|
|
|
|
| N/A |
|
i700 |
|
|
|
|
|
|
| N/A |
|
i700 wireless |
|
|
|
|
|
|
|
|
|
i900 |
|
|
|
|
|
|
|
|
|
i900 classic |
|
|
|
|
|
|
|
|
|
i900 Mobility |
|
|
|
|
|
|
|
|
|
.png)
.png)

.png)

.png)
.png)
.png)
.png)
.png)
.png)
.png)
.png)
.png)
.png)
.png)
.png)
.png)
.png)
.png)
.png)
.png)
.png)
.png)
.png)
.png)
.png)
.png)
.png)
.png)
.png)
.png)
.png)
.png)
.png)
.png)
.png)
.png)
.png)
.png)
.png)
.png)
.png)
.png)
.png)
.png)
.png)
.png)
.png)
.png)
.png)
.png)
.png)
.png)
.png)
.png)
.png)
Hub Status
When you use a wireless scanner, the status of the wireless hub is displayed as shown below:
Status | Description | i700 wireless | i900 Mobility |
|---|---|---|---|
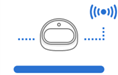
Hub Connected | The hub is connected to a scanner. |
|
|
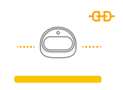
Connecting | The hub is connecting to the PC. |
|
|
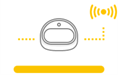
Disconnected | The hub is disconnected from a scanner. |
|
|
.png)
.png)
Pairing Manager (i700 wireless and i900 Mobility)
Pairing i900 Mobility
🔎Note
To ensure smooth pairing process, check that the “Mobile Scanner Connection“ option in the scanner settings is enabled.
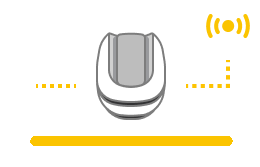
Connect the hub to your computer; once connected, the “Pairing Manager” icon will appear in the bottom-left corner of the screen as shown in the image below.
.png)
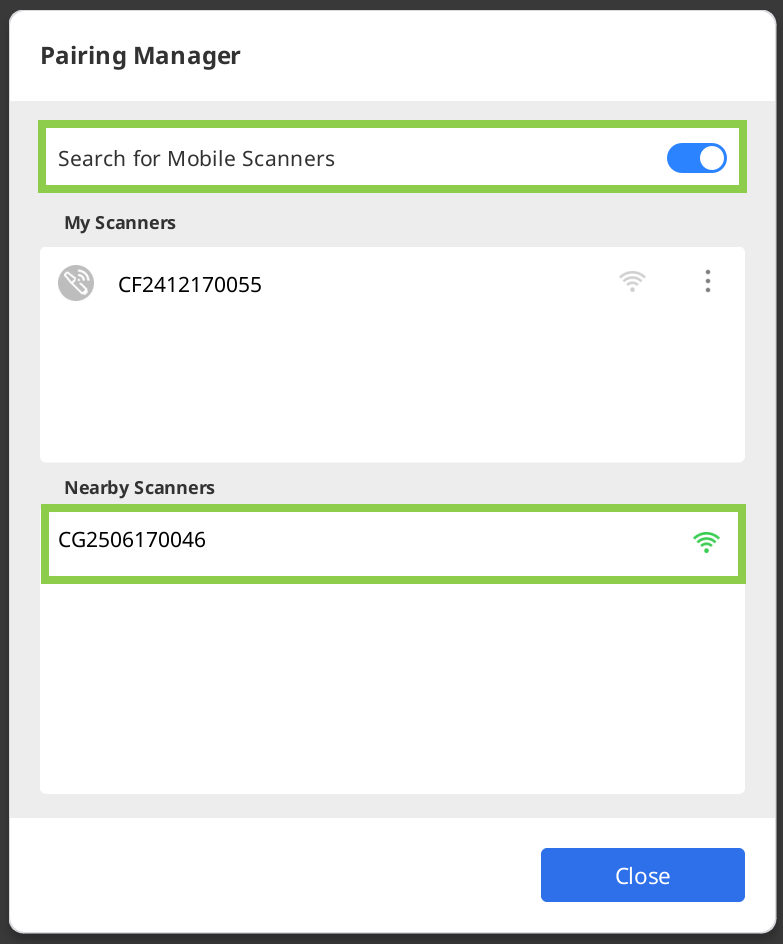
Open “Pairing Manager” and enable the “Search for Mobile Scanners” toggle. Next, turn on your scanner — it will appear under the nearby scanners section.
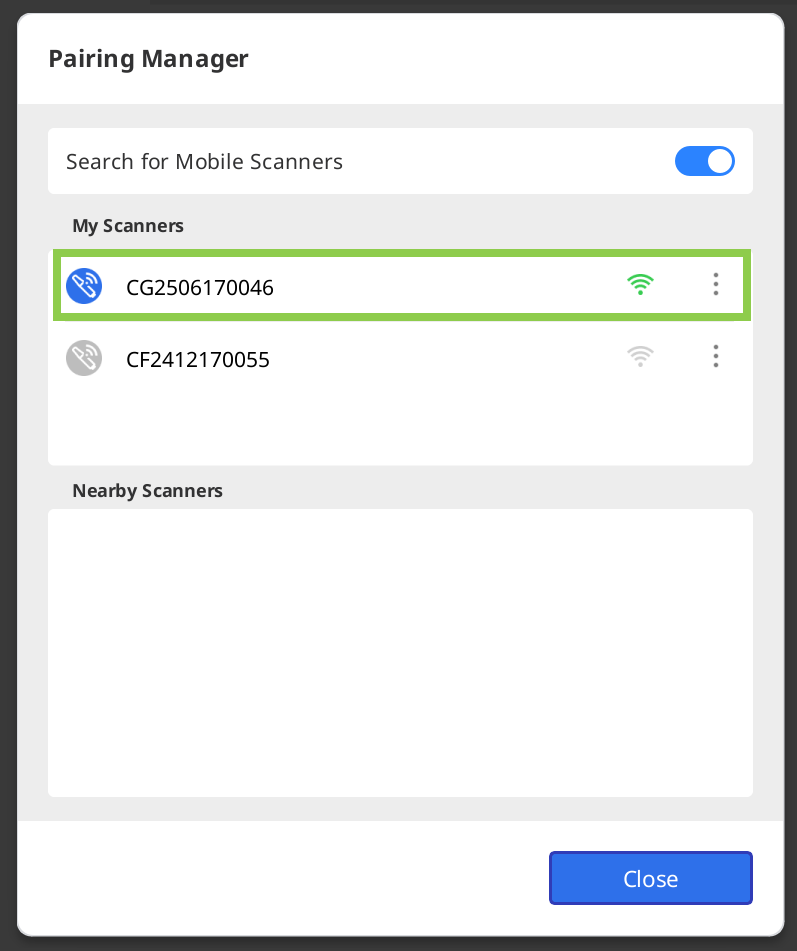
The program will automatically detect all nearby i900 Mobility devices. Identify the scanner you want to connect to by its serial number, then click it to pair.
Once the scanner is paired, it will be remembered and automatically reconnect the next time it is turned on.
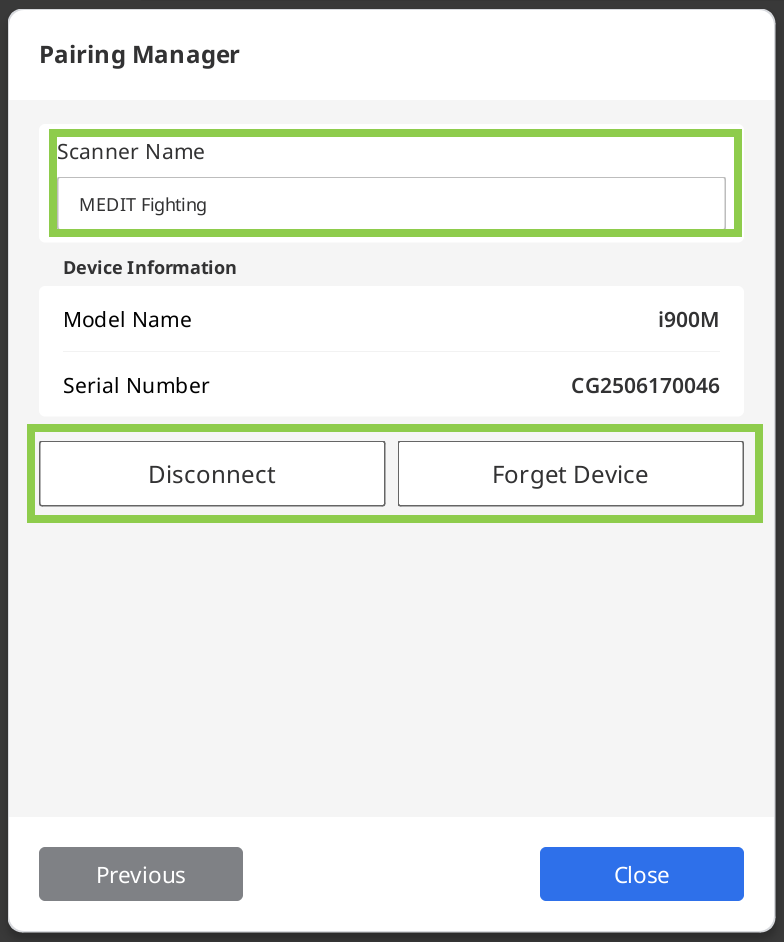
When using multiple scanners, you can manage each one using the menu button next to its name. Click the button to rename the scanner (e.g., from its serial number to a custom name), disconnect it, or forget the device.
Pairing i700 wireless
Connect the hub to your computer; once connected, the “Pairing Manager” icon will appear in the bottom-left corner of the screen as shown in the image below. If a previously paired scanner is nearby, it will connect automatically, allowing you to begin scanning immediately.

Open the "Pairing Manager" to control connection with already paired scanner or to pair a new scanner.
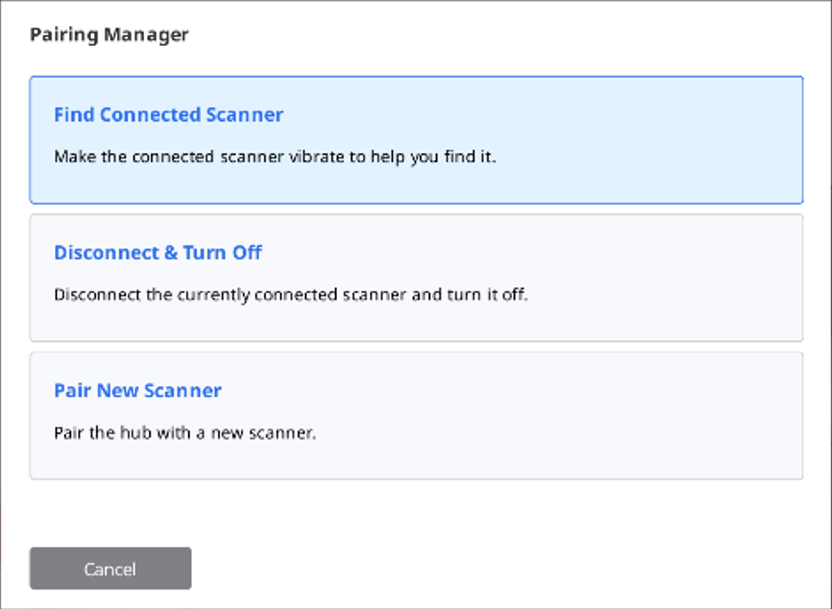
Find Connected Scanner
Make the paired scanner vibrate to help you find it.
Disconnect & Turn Off
Disconnect the currently paired scanner and turn it off.
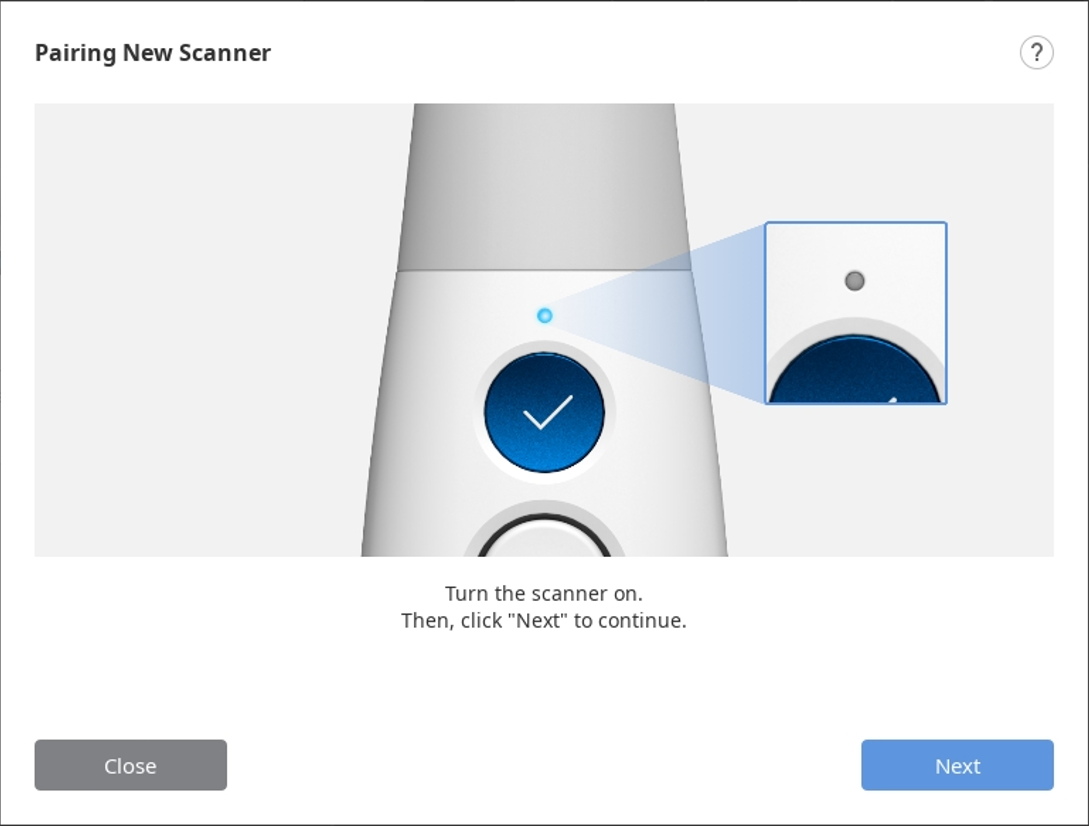
Pair New Scanner
Pair the wireless hub with a new scanner.
To manually connect a new scanner, choose "Pair New Scanner" option and follow the detailed instructions on the screen.
⚠️Caution
To avoid pairing issues, do not interrupt communication between the scanner and the hub—keep the battery in, the hub connected, and don’t cover the end of the handpiece with your hand.
Once the scanner is paired, you can check the scanner connection status in the bottom left corner.
Switch & Scan (i700 wireless only)
Switch & Scan is to register a single scanner to two or more wireless hubs and switch connections between hubs. This feature allows you to carry a scanner from room to room and connect to any wireless hub in your clinic.
First, you need to register the device information of your scanner and wireless hub by manual pairing. Unregistered scanners and wireless hubs cannot connect with each other, no matter how strong the connection signal is.
Make sure your firmware is up to date before using the Switch & Scan feature.
If you connect with a new hub that has never connected to your scanner, manual pairing is required to register the scanner to the new hub.
Make sure both your scanner and the hub to connect with are turned on. You can connect the scanner and the wireless hub without running the Medit Scan for Clinics.
Press the center of the Control button for more than two seconds.
The scanner will vibrate briefly three times. That means you are ready to use Switch & Scan.
The scanner generates a short vibration when successfully connected to a wireless hub.
Run the program and start scanning.
⚠️Caution
If you have multiple wireless hubs in an unclosed workspace, the scanner may be connected to a hub other than the one you want to connect to.
If you try to connect between two wireless hubs, the scanner may be connected to a hub other than the one you want to connect to.
If the scanner fails to connect, get closer to the wireless hub you want to connect to and try again to connect by pressing the center of the Control button for more than two seconds.