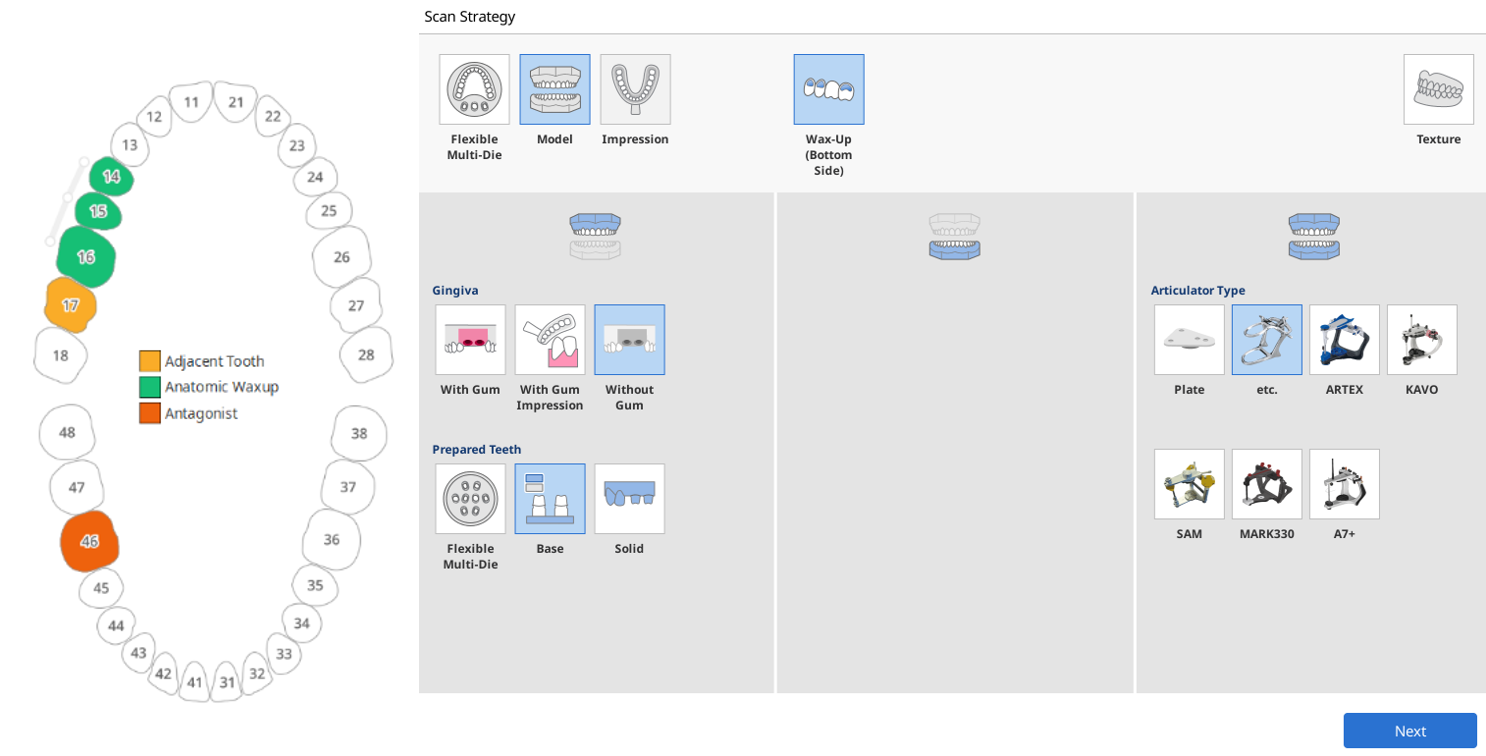
Here is an example of a maxillary wax-up case.
- Select the "Wax-Up (Bottom Side)" option from the Scan Strategy and click "Next."
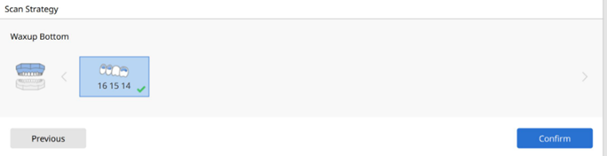
- Select only the wax-ups for which you need the inner surface aligned and click "Confirm."
- Start scanning the maxillary base.
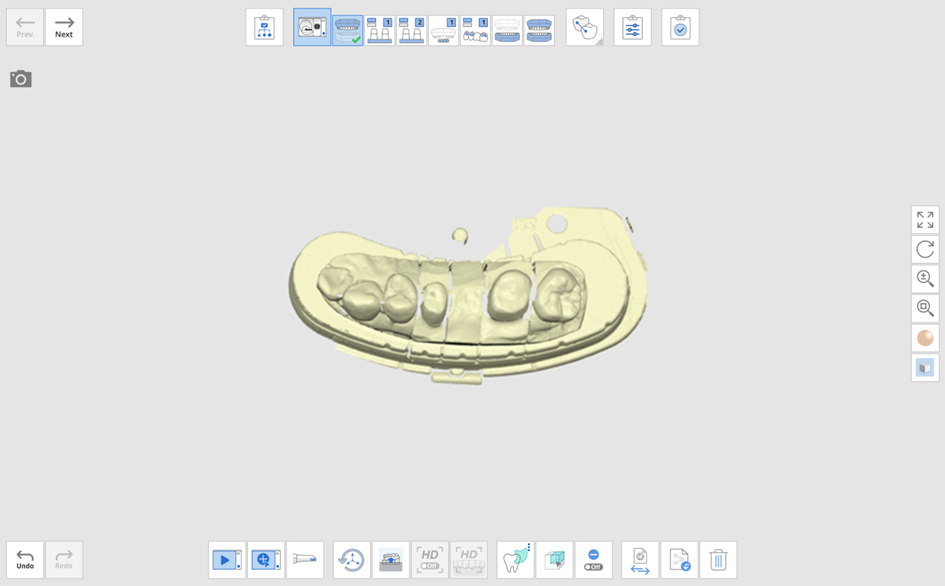
- Then move on to the next stage to scan only prepared teeth.

- Move on to the Maxillary WaxUp stage and scan the data.
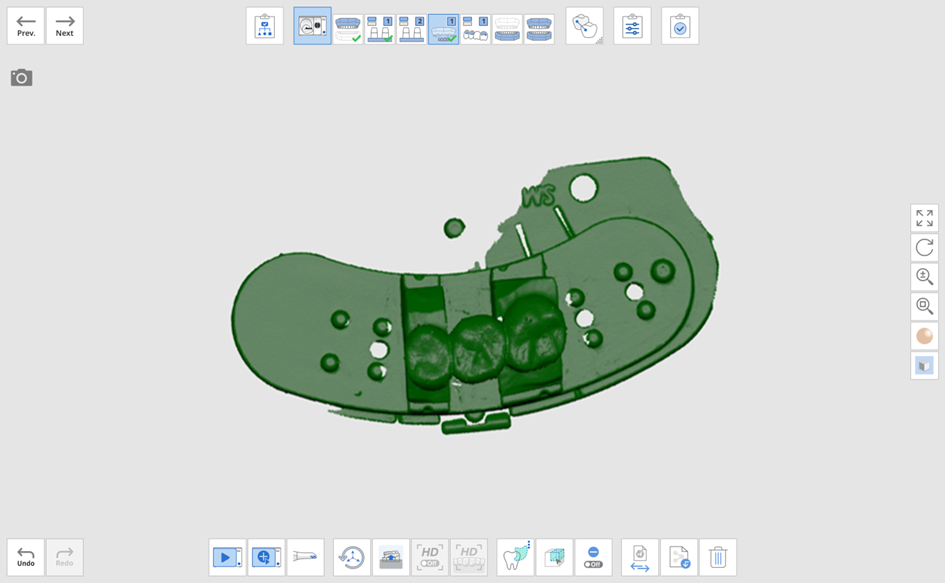
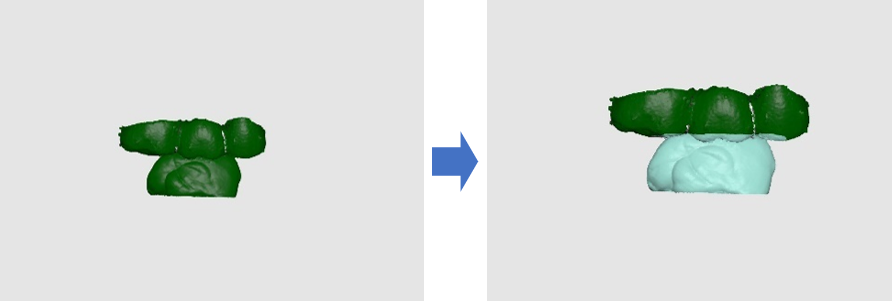
- After scanning the outer surface of the wax-up, move to the next stage.
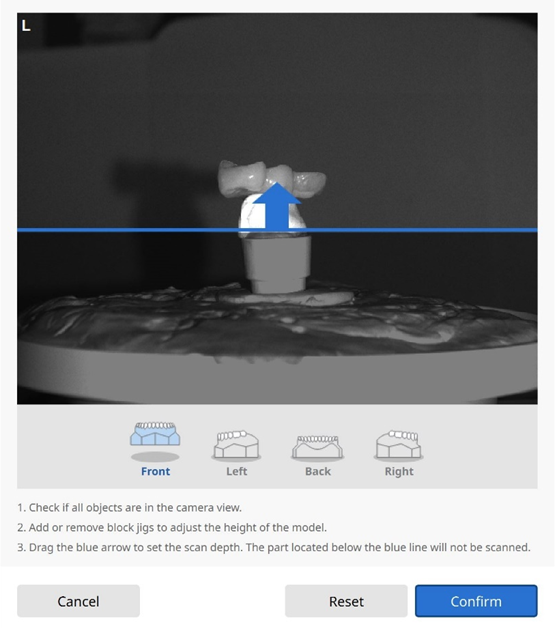
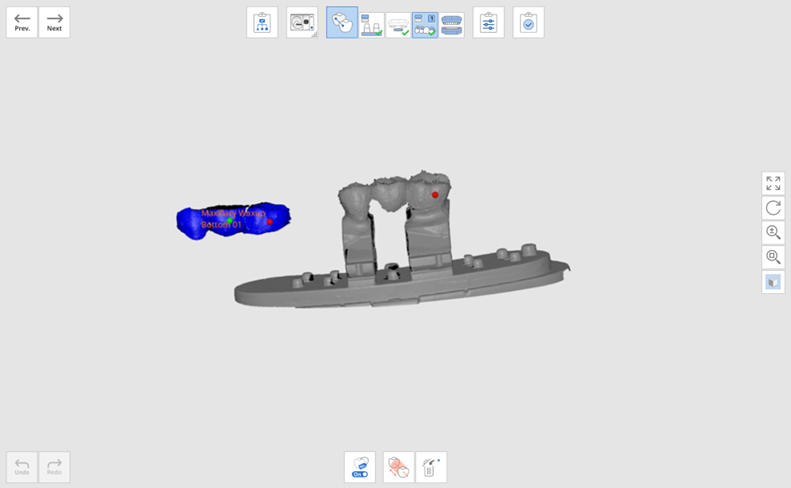
- Flip the wax-up and place it on a single die before scanning.
- Delete the unnecessary data.
- Continue to scan the base and occlusion data before moving to the Align Data stage.
- The prepared teeth and base will be aligned automatically, and the outer surface of the wax-up and the base will also be aligned automatically.
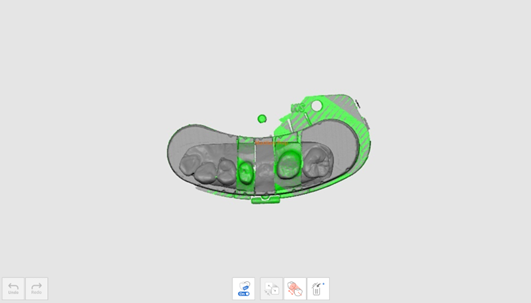
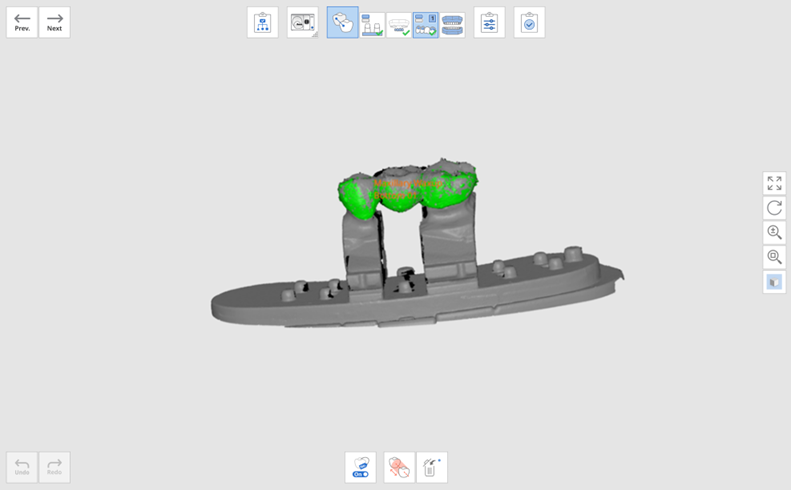
- The inner and outer surfaces of the wax-up should be aligned manually.
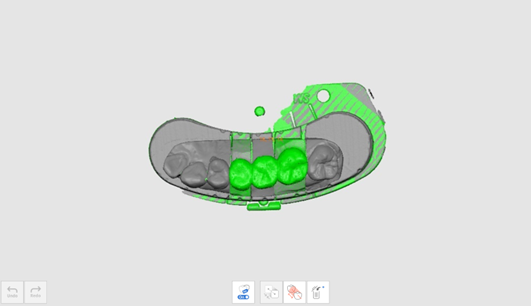
- Set up to three corresponding alignment points to align the data.
- The data will be aligned based on the set points.
- Occlusion data will also be aligned automatically.
- Click the "Next" button and edit the data if necessary on the Confirm stage.