Confirm
This stage allows users to check and edit the aligned data if necessary.
To edit the data, use the area selection/deselection tools and the "Adjust Occlusion Height" tool.
Adjust Occlusion Height
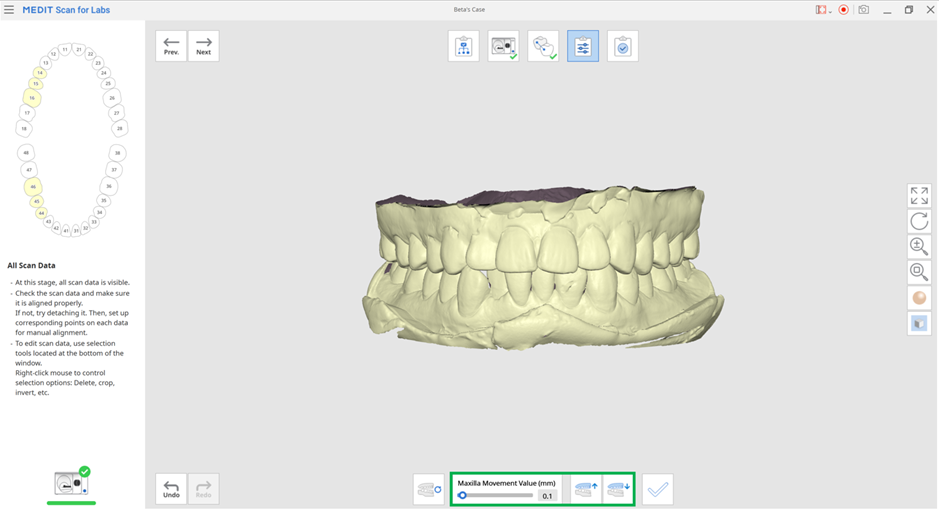
After scanning the occlusion, you can adjust the bite height as needed. This tool is useful when creating a splint or denture, as you can adjust the height without scanning the occlusion a second time.
ℹ️Note
Only the maxillary data can be moved to adjust the occlusion height.
- Complete the scanning of the maxilla, mandible, and occlusion.
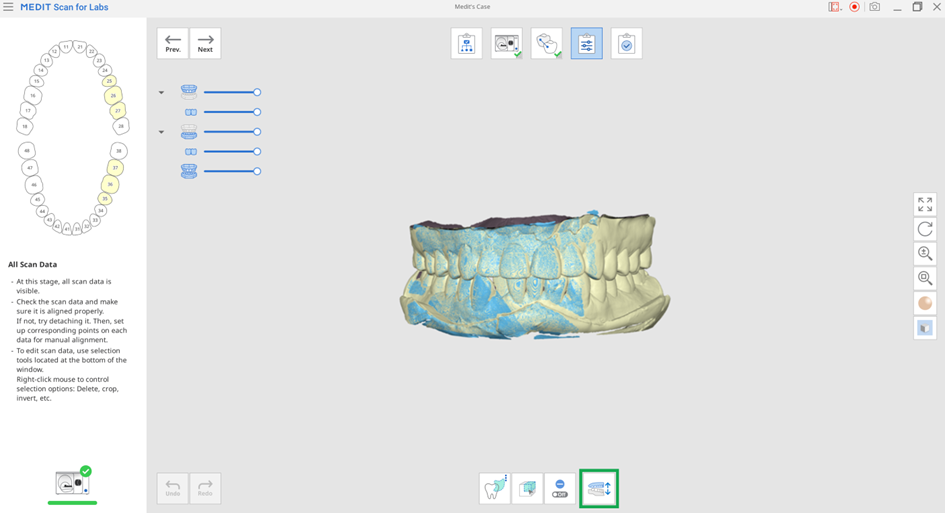
- Click the "Adjust Occlusion Height" icon at the Confirm stage.

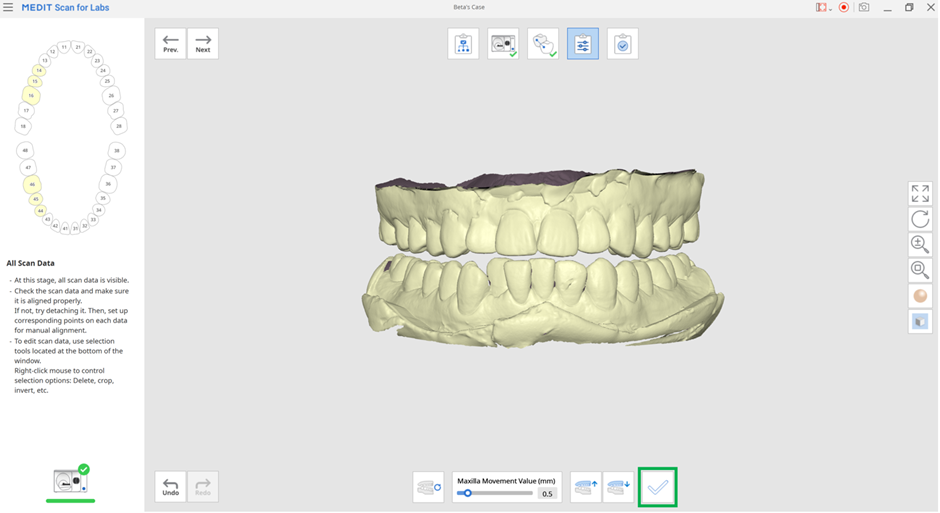
- Set the "Maxilla Movement Value (mm)" option and move the maxillary data upward or downward.
- Click the "Exit" icon to complete.
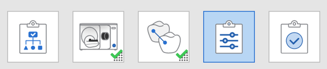
Confirm Stage Tools
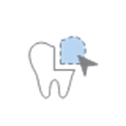
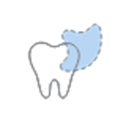 | Free Selection | Allow you to select an area freely. |
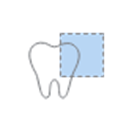 | Rectangular Selection | Allow you to select a rectangular region. |
 | Island Selection | Allow you to select all connected data by clicking on a point. |
 | Surface-Only Selection | When on, allow you to select only the surface of data using the area selection tools. |
 | Deselection Mode | When on, deselect the selected area. |
 | Adjust Occlusion Height | Adjust the occlusion height using the provided tools below. |
The following tools are provided when entering the "Adjust Occlusion Height" tool.
 | Reset Occlusion Height | Reset the occlusion height of the maxilla. |
 | Move Maxilla Up | Move the maxilla upwards by the set maxillary movement value. |
 | Move Maxiila Down | Move the maxilla downwards by the set maxillary movement value. |