Here is an example of a post and core case.
ℹ️Note
- The "Post & Core" option is available for T710, and a license is required for T500/T300.
- The "Post & Core" option is only available when the form information contains the "Inlay/Onlay," "Veneer," and "Telescopic Crown."
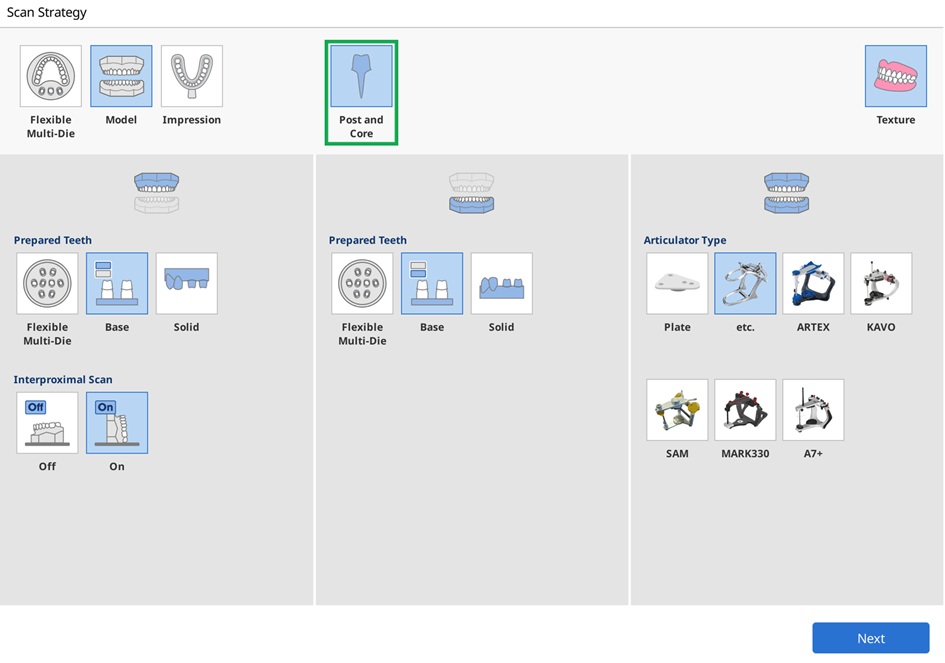
- Select the "Post & Core" option from the Scan Strategy and click "Next."
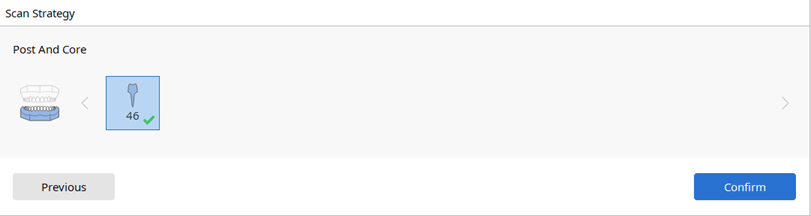
- Select the teeth for the Post & Core scan and click "Confirm." Please note that the teeth you select must have corresponding impressions.
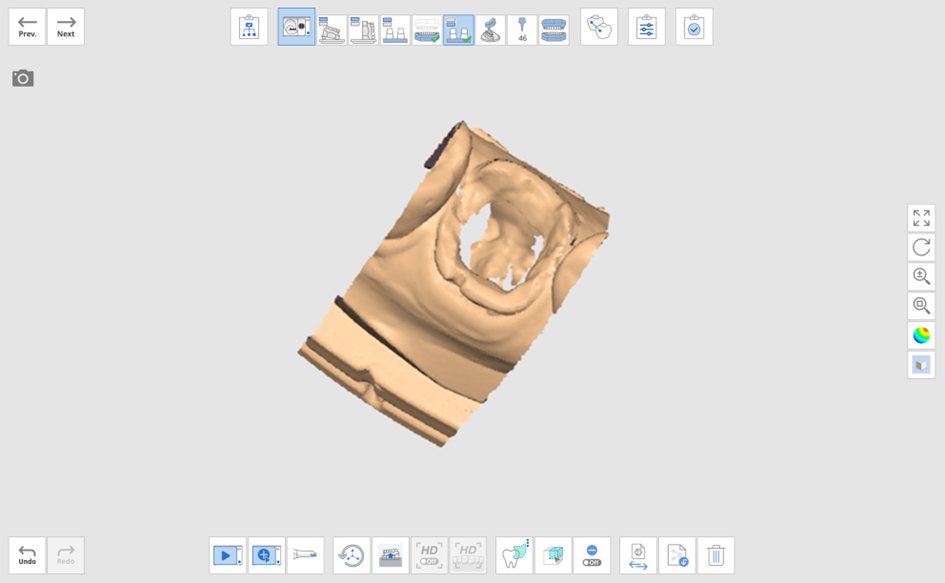
- Scan the model.
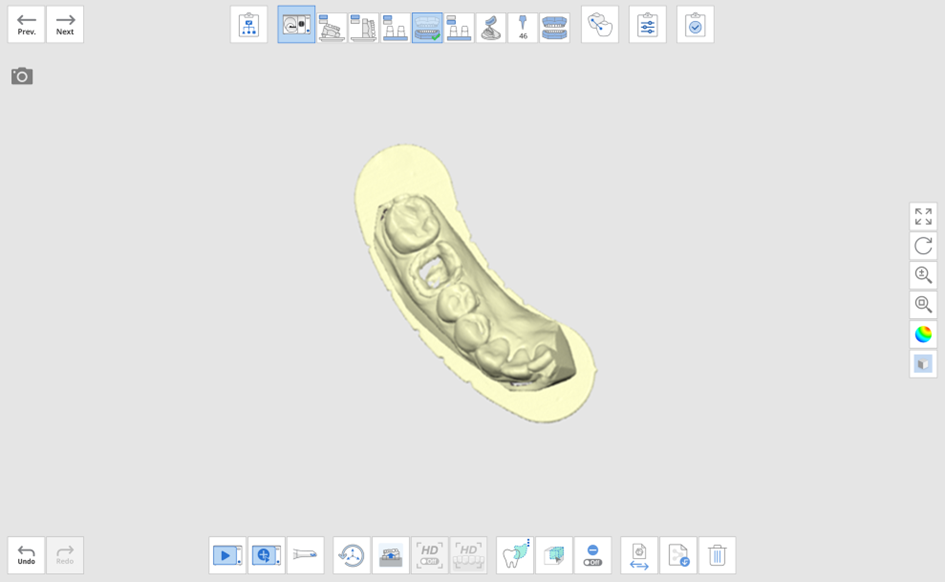
- Scan the prepared teeth. If you have no trimmed die, scan the model again and trim it to remove the unnecessary parts.
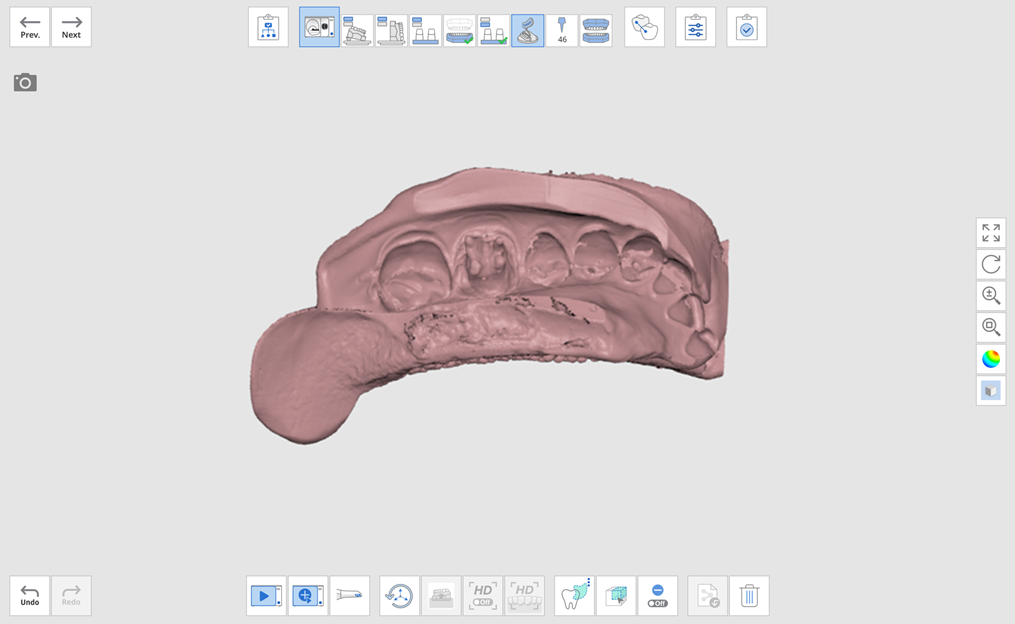
- Scan the corresponding impression.
- Once you move on to the Post stage, you will be asked to assign data for the teeth.
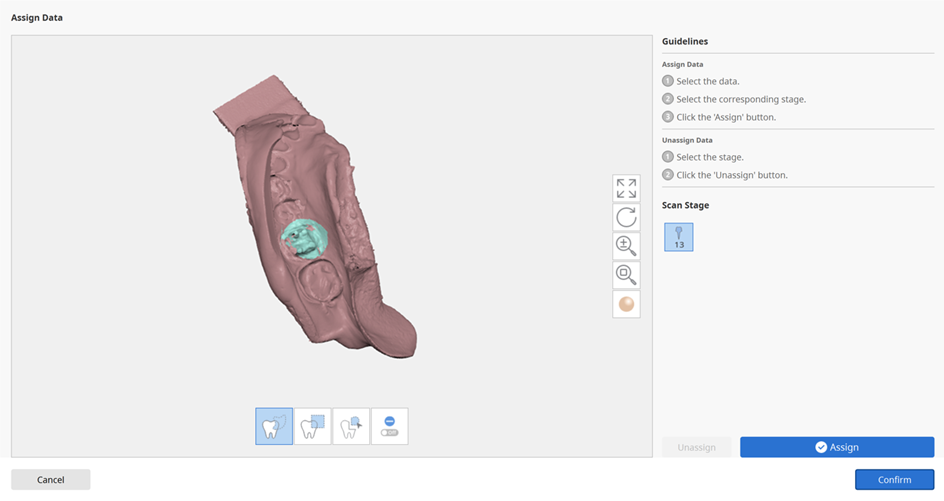
- After assigning the data, click "Confirm" to align the prepared teeth to the model.
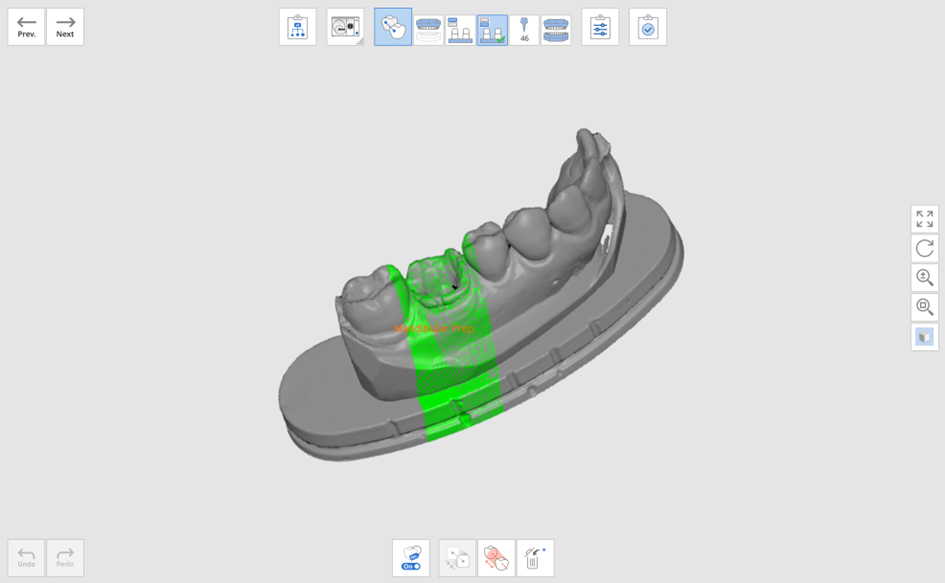
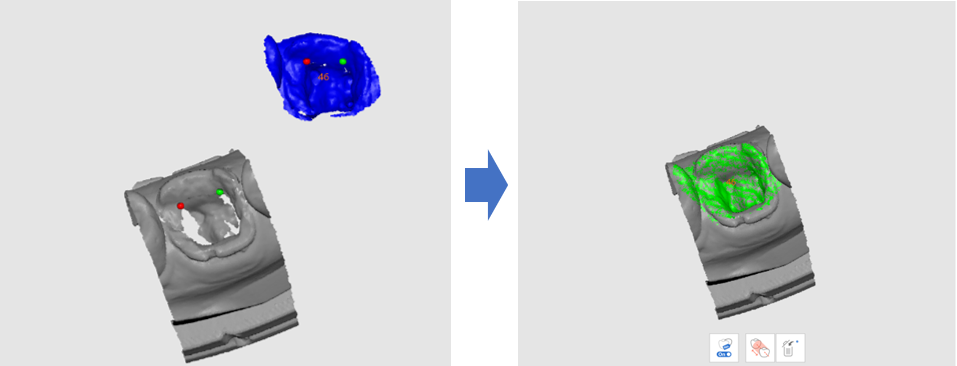
- Align the model with the impression by clicking up to 3 alignment points on each data.
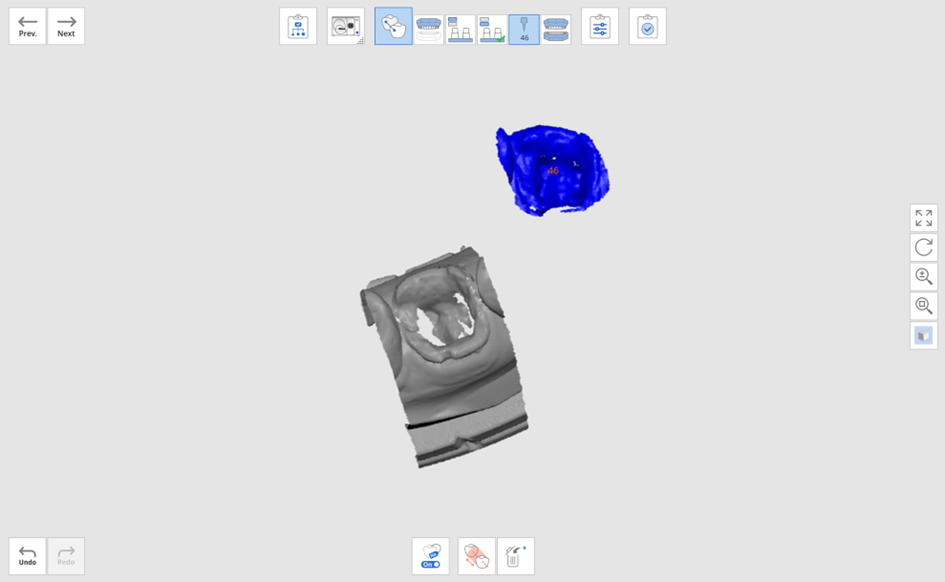
- The data will be aligned as follows.