In the first step, users must draw margin lines for all teeth numbers entered in the form and then set the insertion path for each restoration.
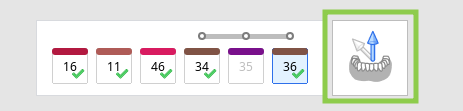
1. Start by checking the teeth form at the bottom. If a tooth number has a green check mark, the margin line for this tooth has already been created or was imported from the case.
Margin lines for copings, crowns, inlays, and onlays are created automatically.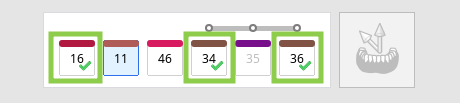
2. Then, select a tooth number that doesn't have a margin yet and draw it using the "Auto Creation" or "Manual Creation" tool.
"Auto Creation" draws a margin based on a single user-defined point; "Manual Creation" draws a margin based on multiple points.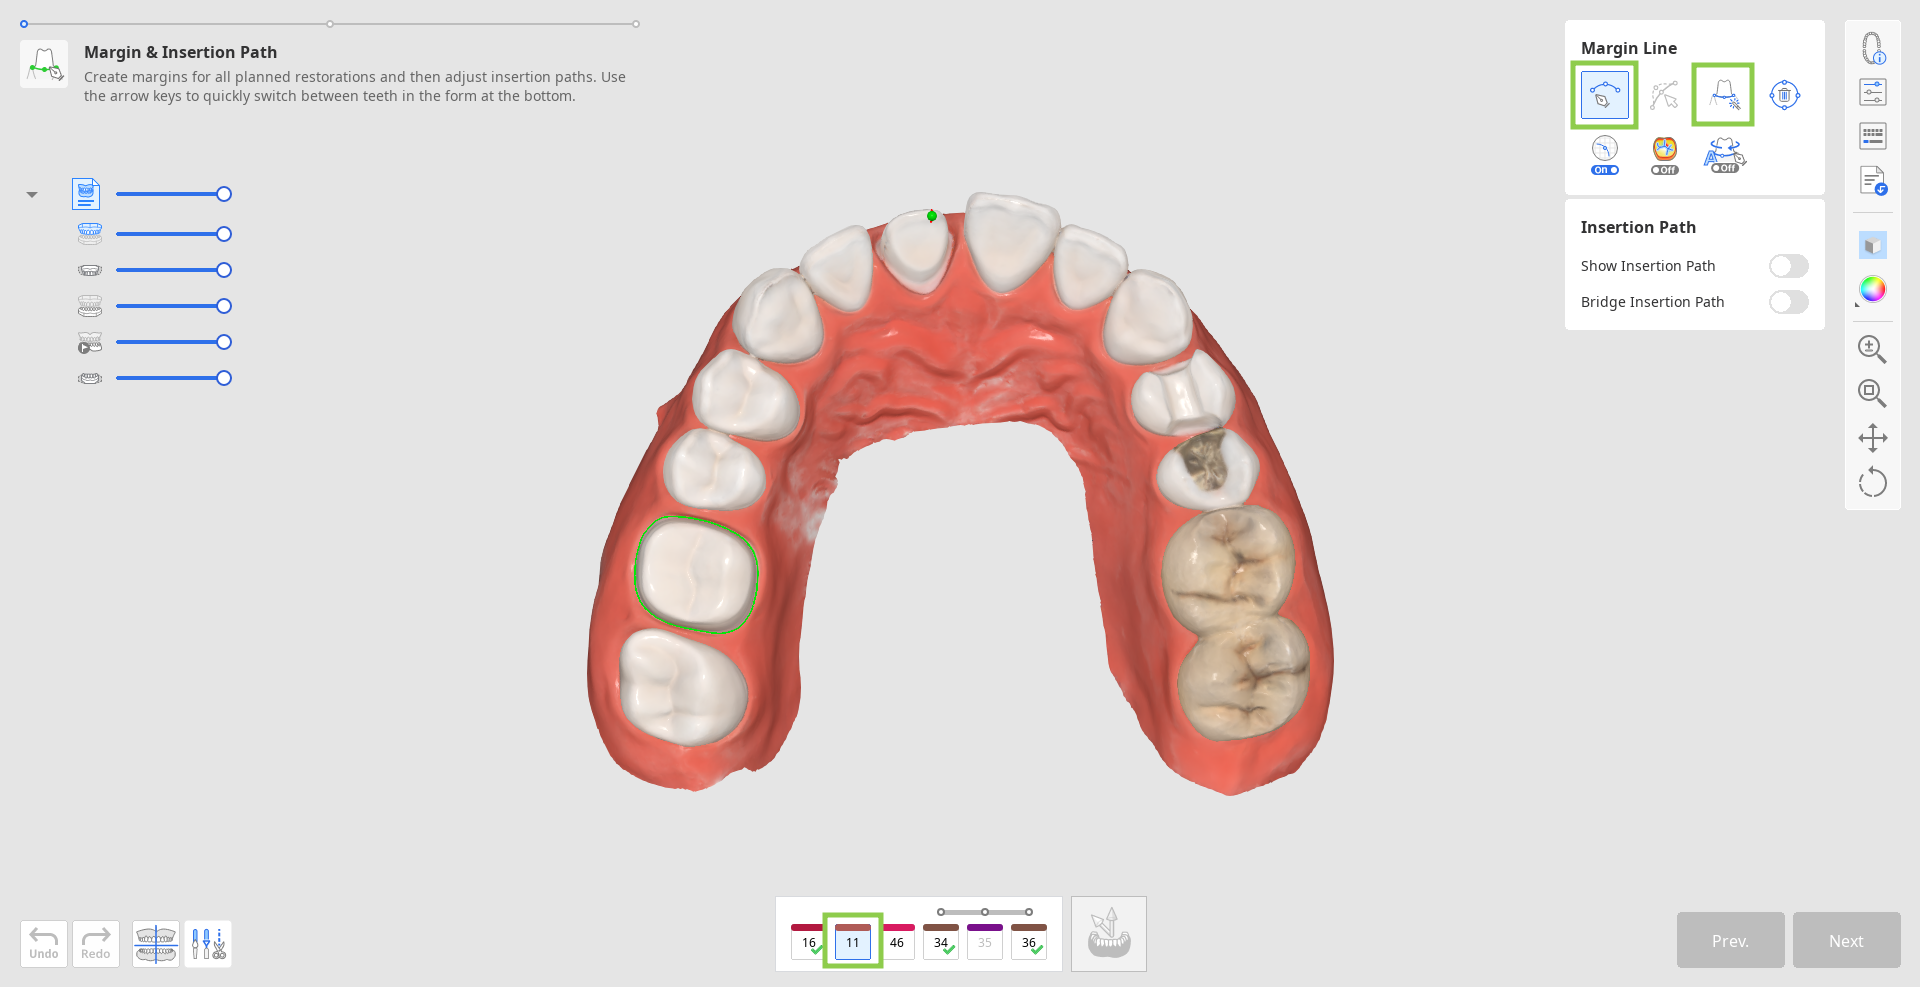
Turn on "Section View" or "Dynamic View Change" to assist you when drawing the margin manually.

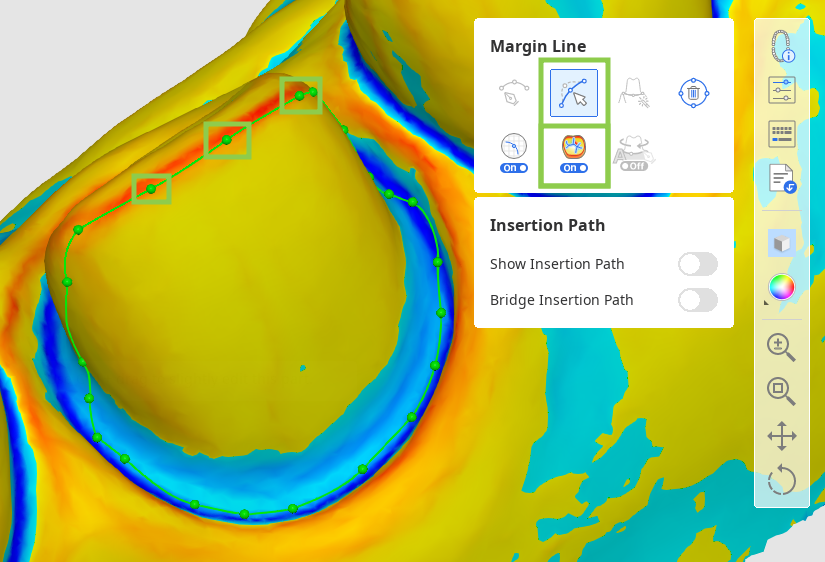
3. All margins can be edited by adding, moving, or deleting the control points. Click to add a point, right-click it to delete, and drag it to move.
While editing, you can turn on "Curvature Display Mode" to better understand the depth.
![]() Tip
Tip
Hold down the Ctrl/Command key and drag the mouse to make minor freehand corrections quickly.
Warning (Edit)
Verify margin continuity and anatomical conformity after editing.
Cautions
Reference anatomical landmarks when creating margins manually.
Review and manually correct automatically created margins if needed.
Ensure that deleting the margin cannot be undone. A new margin must be created after deletion.
Analyze as a supplementary indicator to determine the boundary between the gingiva and the tooth
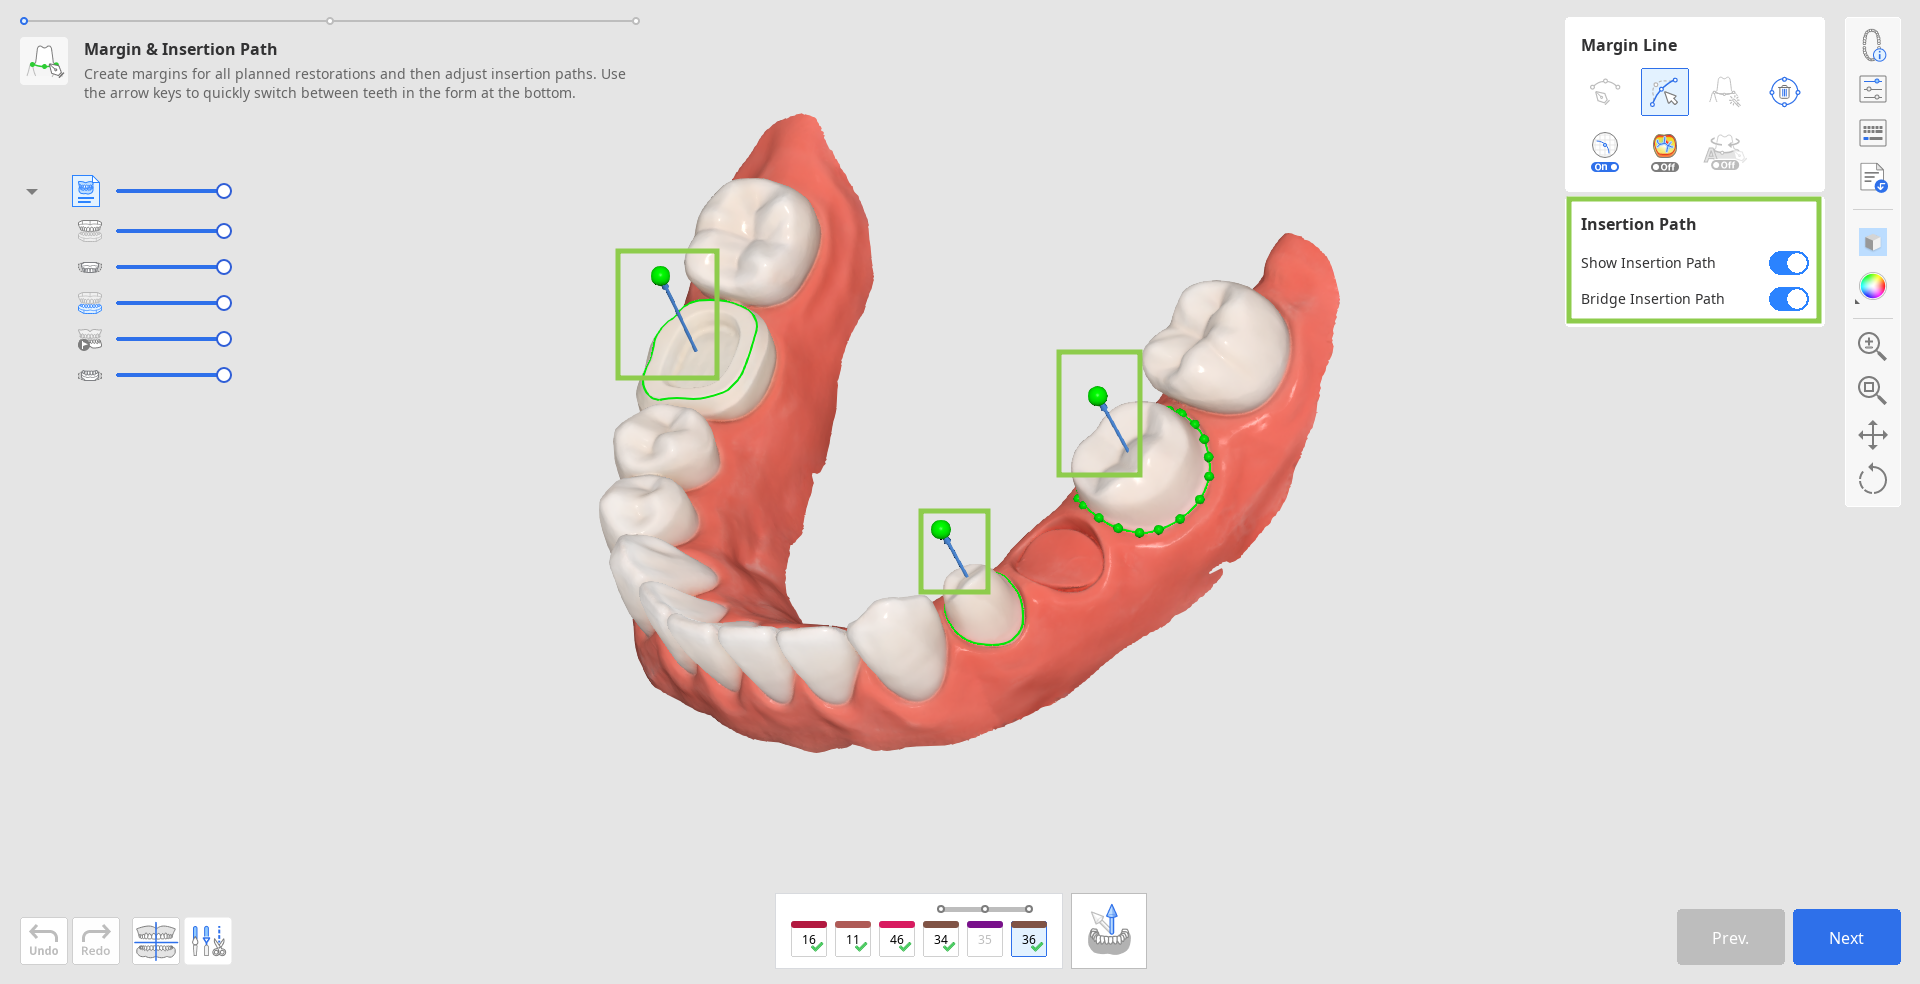
4. You can work on the insertion path only after margins for all target teeth have been created.
Turn on "Show Insertion Path" and adjust the automatically set path by dragging the insertion path arrow. The grey arrow will indicate the original direction.
![]() Tip
Tip
Turn off "Bridge Insertion Path" to individually set the path for each crown in a bridge.
Caution
Undercuts marked in blue affect the inner surface of the prosthesis. Ensure the undercut areas are properly captured according to the insertion direction.
Alternatively, you can rotate the 3D data and click “Set Arrow to Your Viewpoint” at the bottom.
5. When done, click "Next" or press the space bar to move to the next step.