Smart Scan Review Stage
🔎Note
- You can enable or disable the Smart Scan Review stage and set detailed options on Settings > Scan Data Analysis > Smart Scan Review.
- The Smart Scan Review stage is available for both default UI and simple UI.
 | Provide a final review of data accuracy before processing the acquired scan data. |
The Smart Scan Review process follows the steps below:
| Align with Occlusal Plane | You can position data in the occlusal plane. It is recommended to align the scan data to the occlusal plane, as this may affect the results of the subsequent tooth numbering. |
| Tooth Area Selection | The program automatically detects prepared teeth for crowns and their adjacent. You can use the selection tools at the bottom to manually select additional areas or modify the selected area. |
| Report Creation | You can see the report on the selected areas of prepared teeth and their adjacent teeth. You can also check the areas of implanted fixtures if selected in the Tooth Area Selection step. |
🔎 Note
From Medit Scan for Clinics 1.14.0 onward, the Align with Occlusion Plane step is automatically skipped and no longer requires user input.
Smart Scan Review Report
In the Smart Scan Review Report, you can check the following:

| Insufficient Data Acquisition | Identify areas of insufficient scanning on prepared teeth and their adjacents. |
| Layered Data | Mark areas where multiple layers of data were created during the scan due to saliva or blood. |
| Insufficient Tooth Reduction | Check the tooth preparation and mark areas that need further tooth reduction for prostheses, such as crowns and copings. |
| Occlusal Contact | Mark areas of occlusal collisions or where the maxilla and the mandible are not in contact with each other, and check if both sides of occlusion data were acquired. |
Tools for Smart Scan Review
🔎Note
The Preparation Review tool is enabled only when form information is registered in the Medit Link > Form > Teeth tab.
The following tools are provided at the bottom of the screen to review the data:
| Data Review Tools | Smart Arrows |  | Show smart arrows where data acquisition is insufficient. |
| Layered Data |  | Mark areas where scan data has multiple overlaps due to saliva, blood, or movement of teeth. | |
| Remove Layered Data |  | Delete the marked areas of layered data. | |
| Preparation Review |  | Check whether the tooth preparation is done within the preset value range and mark areas that do not meet the set value range. | |
| Remove Data with Insufficient Reduction |  | Delete the marked areas of insufficient tooth reduction. | |
| Occlusion Analysis |  | Analyze interferences between the maxilla and mandible and show the analysis results with a color map. | |
| Switch View |  | Change the view between opened jaws and closed jaws. | |
| Show Report |  | Show the results of the smart scan review again. | |
Smart Scan Review Process
- Acquire scan data in the Maxilla, Mandible, and Occlusion stages and align the occlusal data.The Smart Scan Review stage is enabled when the following conditions are met:
- Occlusion scan data exists, and the occlusion data is aligned with scan data.
- If pre-op for maxilla or pre-op for mandible data exists, the pre-op data should be aligned with the maxillary or mandibular data.
- Click the "Smart Scan Review" stage.
- The program automatically tries to align data to the occlusal plane in the Align with Occlusal Plane step. You can view the data from three different angles on the right side of the screen and manually adjust the data location.
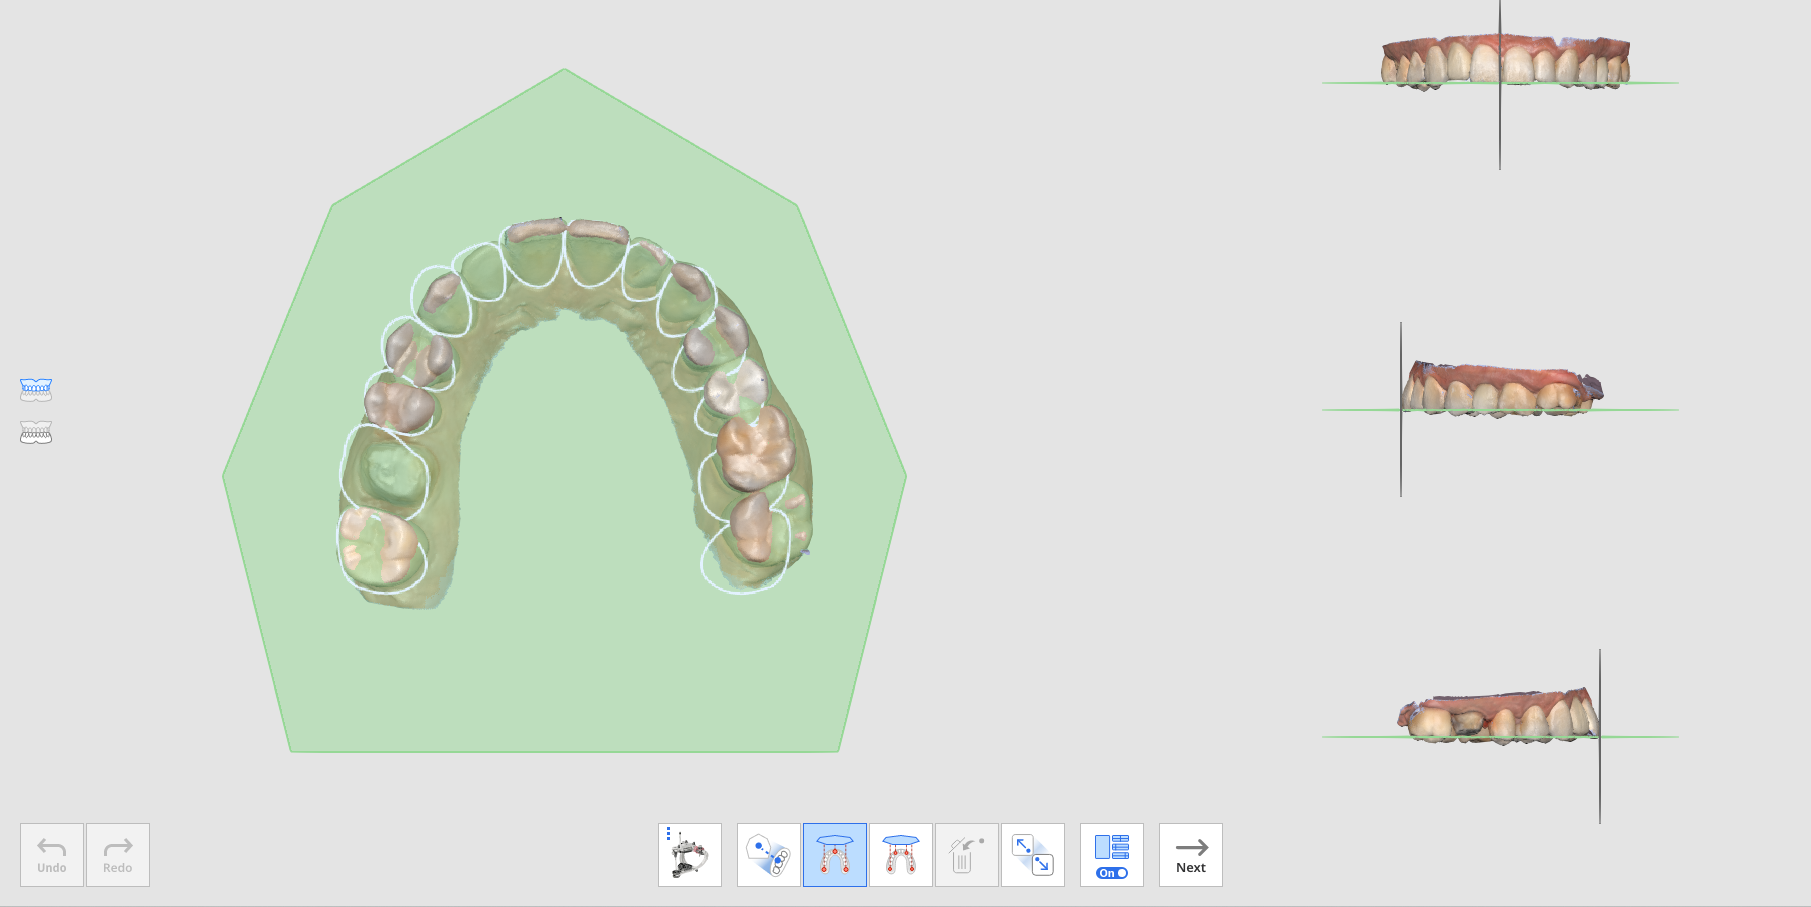
- If it fails to align, you can manually align the target data to the occlusal plane by clicking the 3 or 4 points on the occlusal plane.
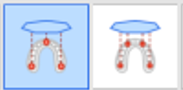
- To align a half arch to the occlusal plan, select the "Half Arch Alignment" feature.

- If it fails to align, you can manually align the target data to the occlusal plane by clicking the 3 or 4 points on the occlusal plane.
- Once the data is aligned to the occlusal plane, click "Next" to move to the Tooth Area Selection step.
- The program automatically selects areas for prepared teeth (for which products are registered in the Medit Link form) and their adjacent teeth. You can select more areas or modify the selection using the provided selection tools.
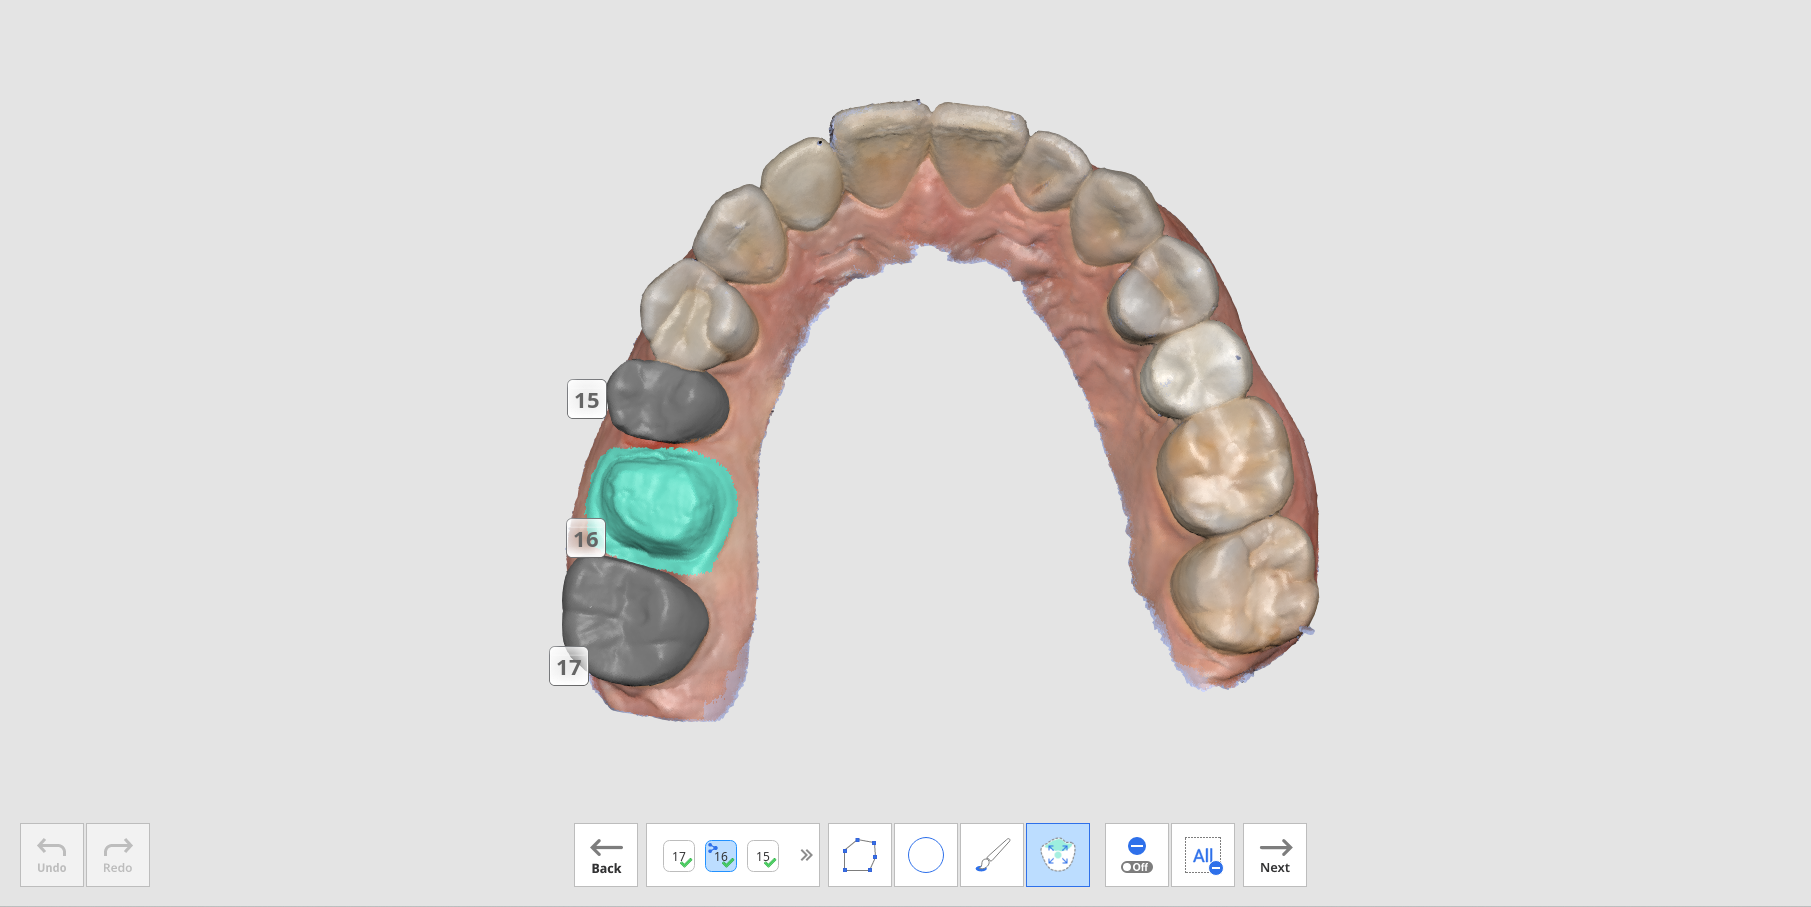
- Click the "Next" button when it is enabled after selecting all prepared teeth areas.
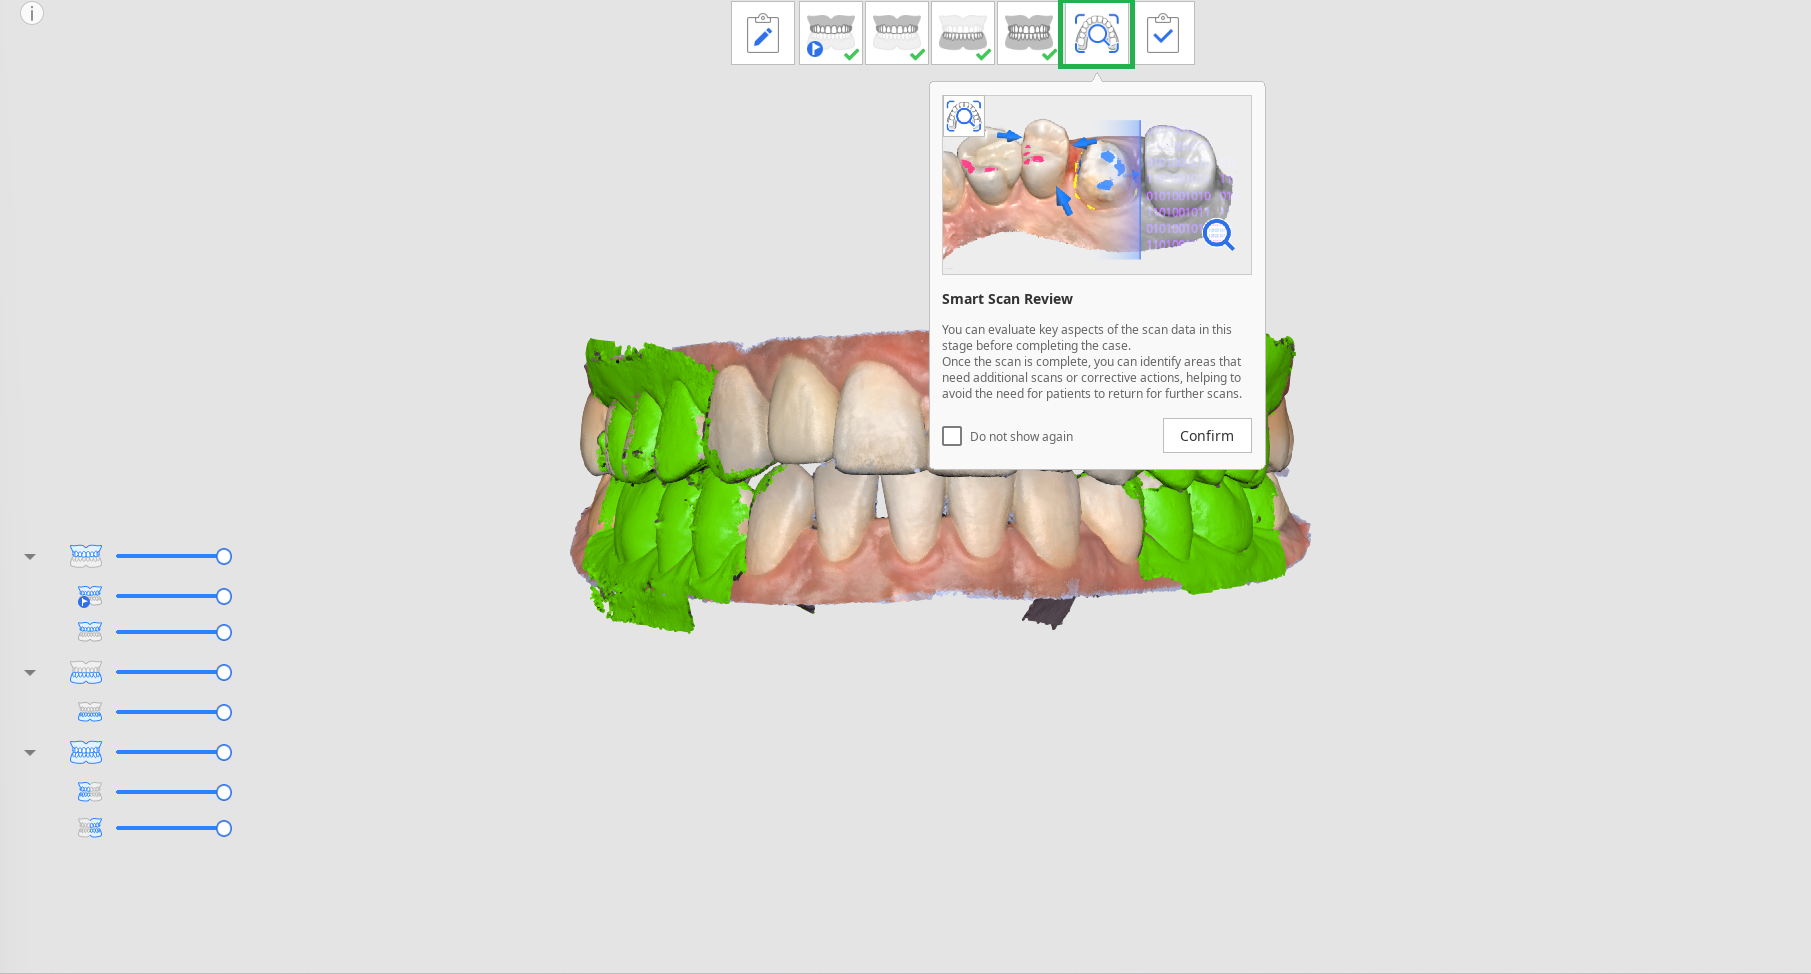
- The Smart Scan Review Report pops up, including the analysis results for the four items: insufficient data acquisition, layered data, insufficient tooth reduction, and occlusal contact.
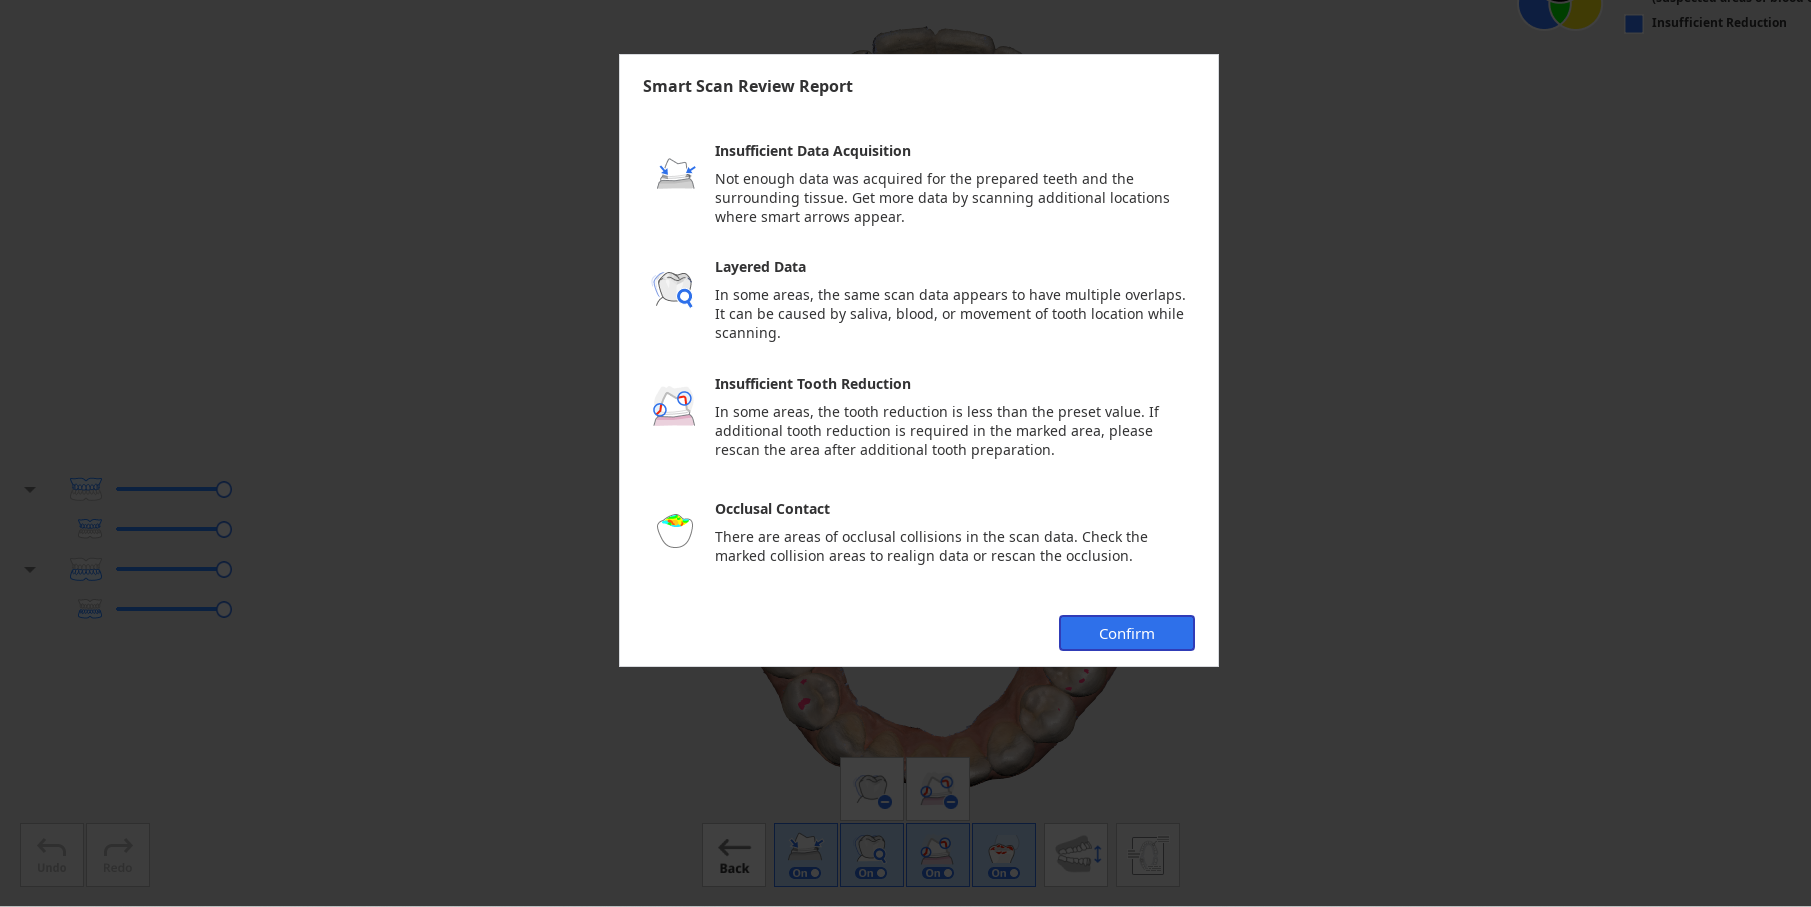
- After reviewing the report, click the "Confirm" button to close the report.
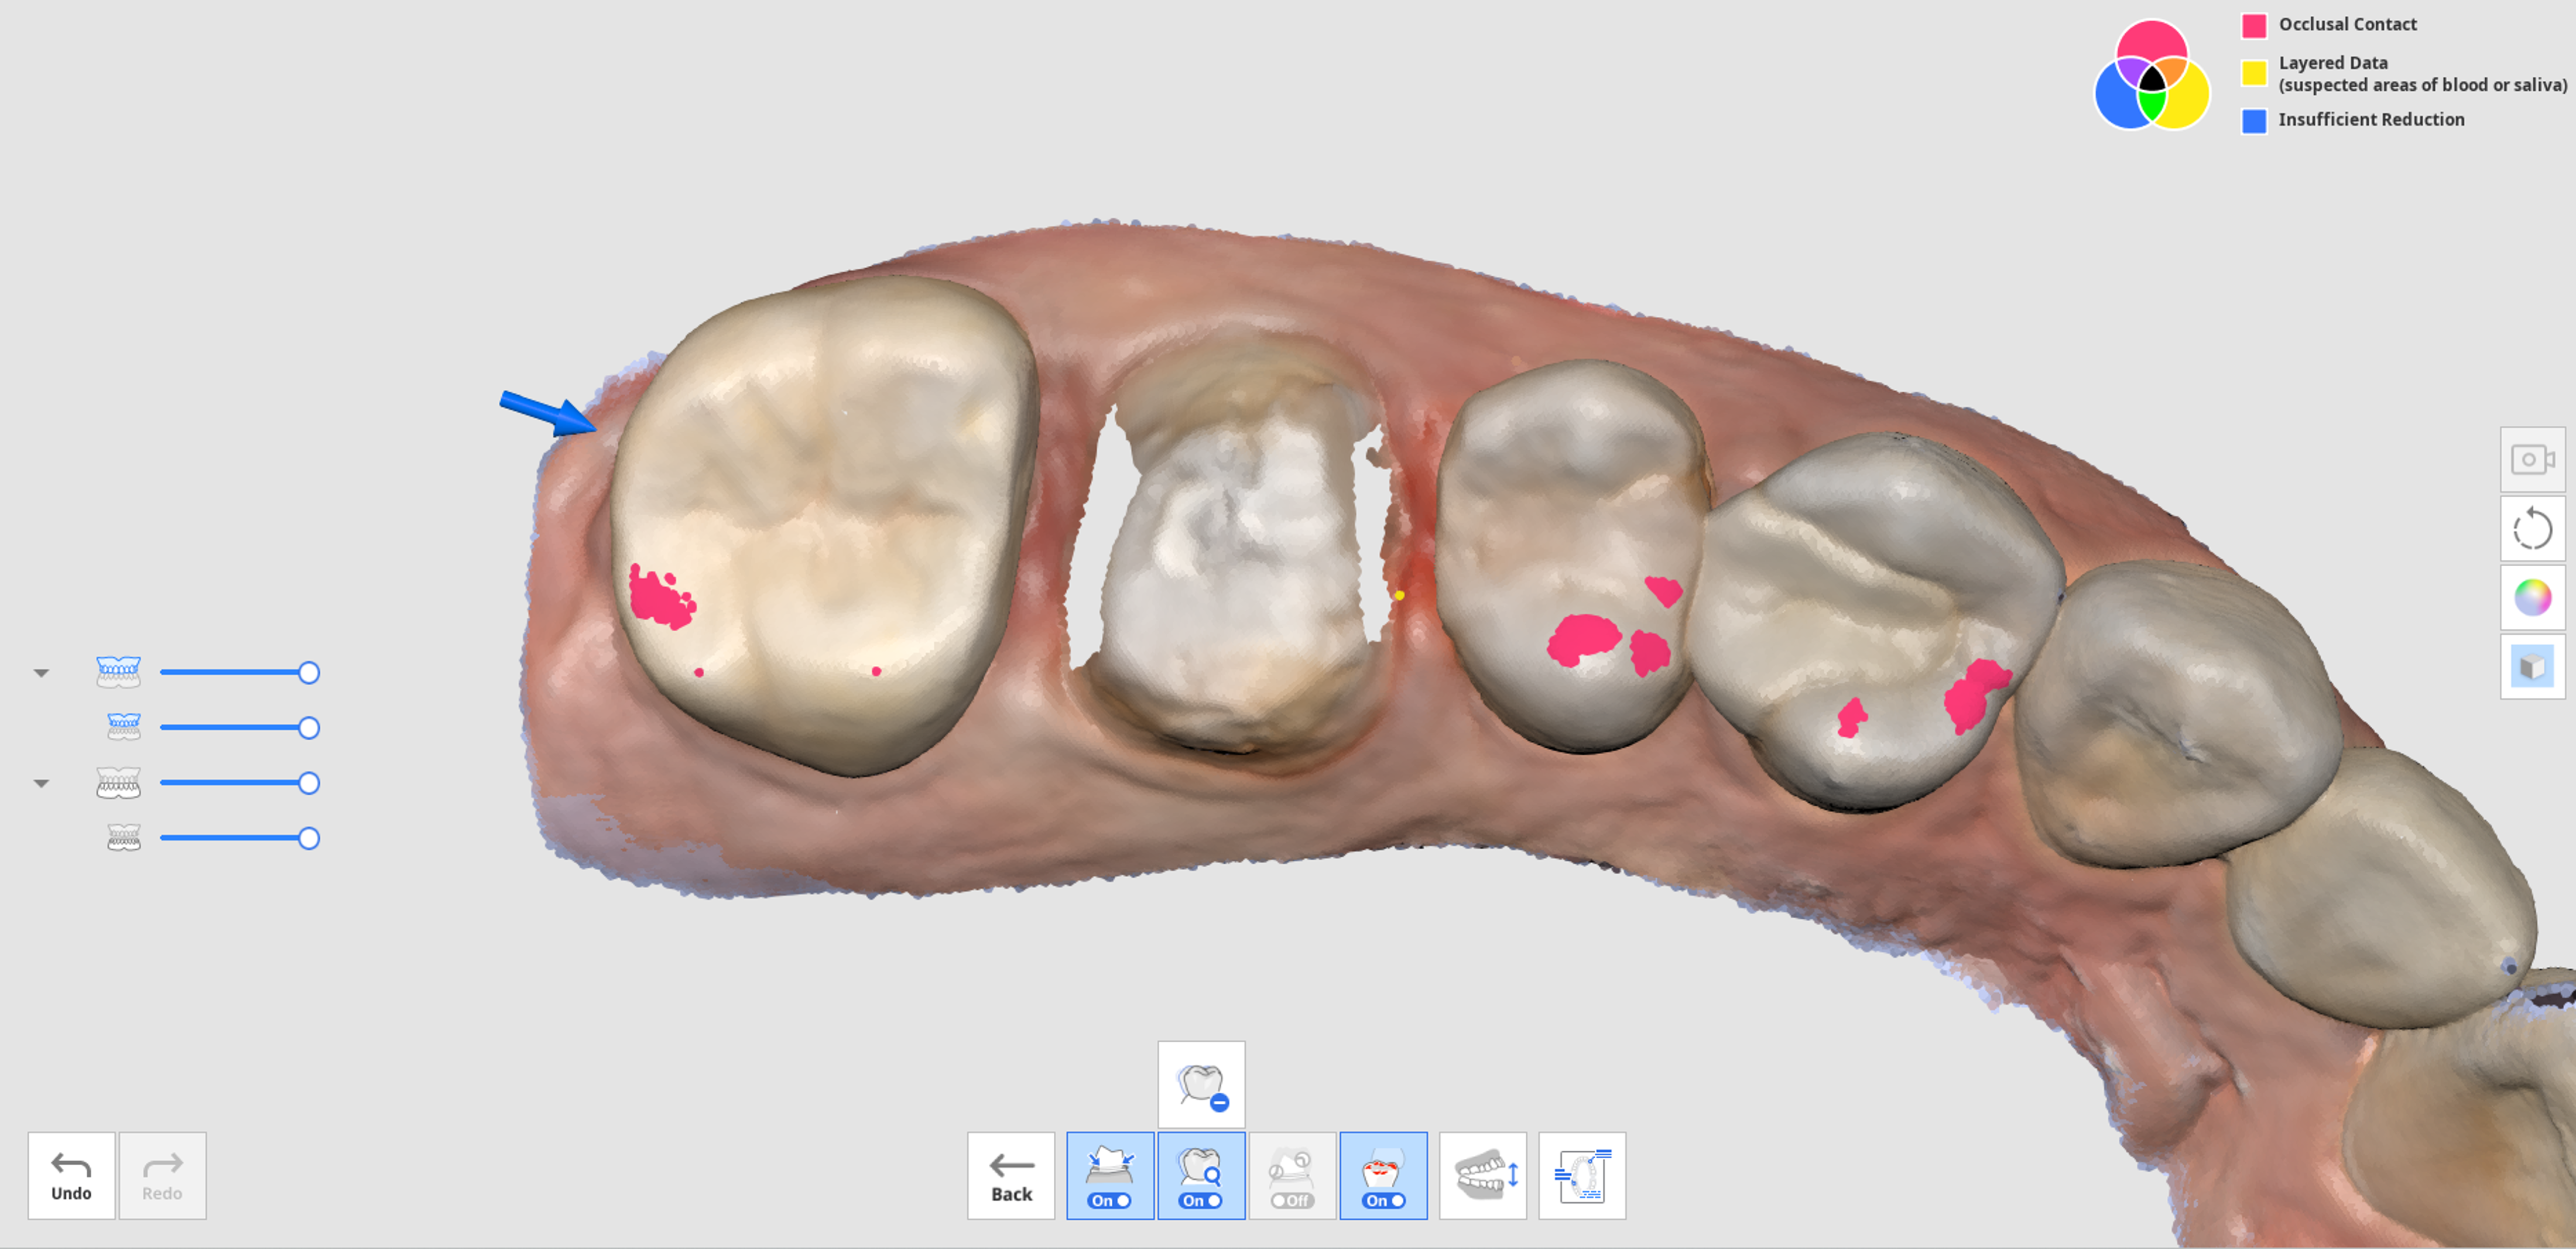
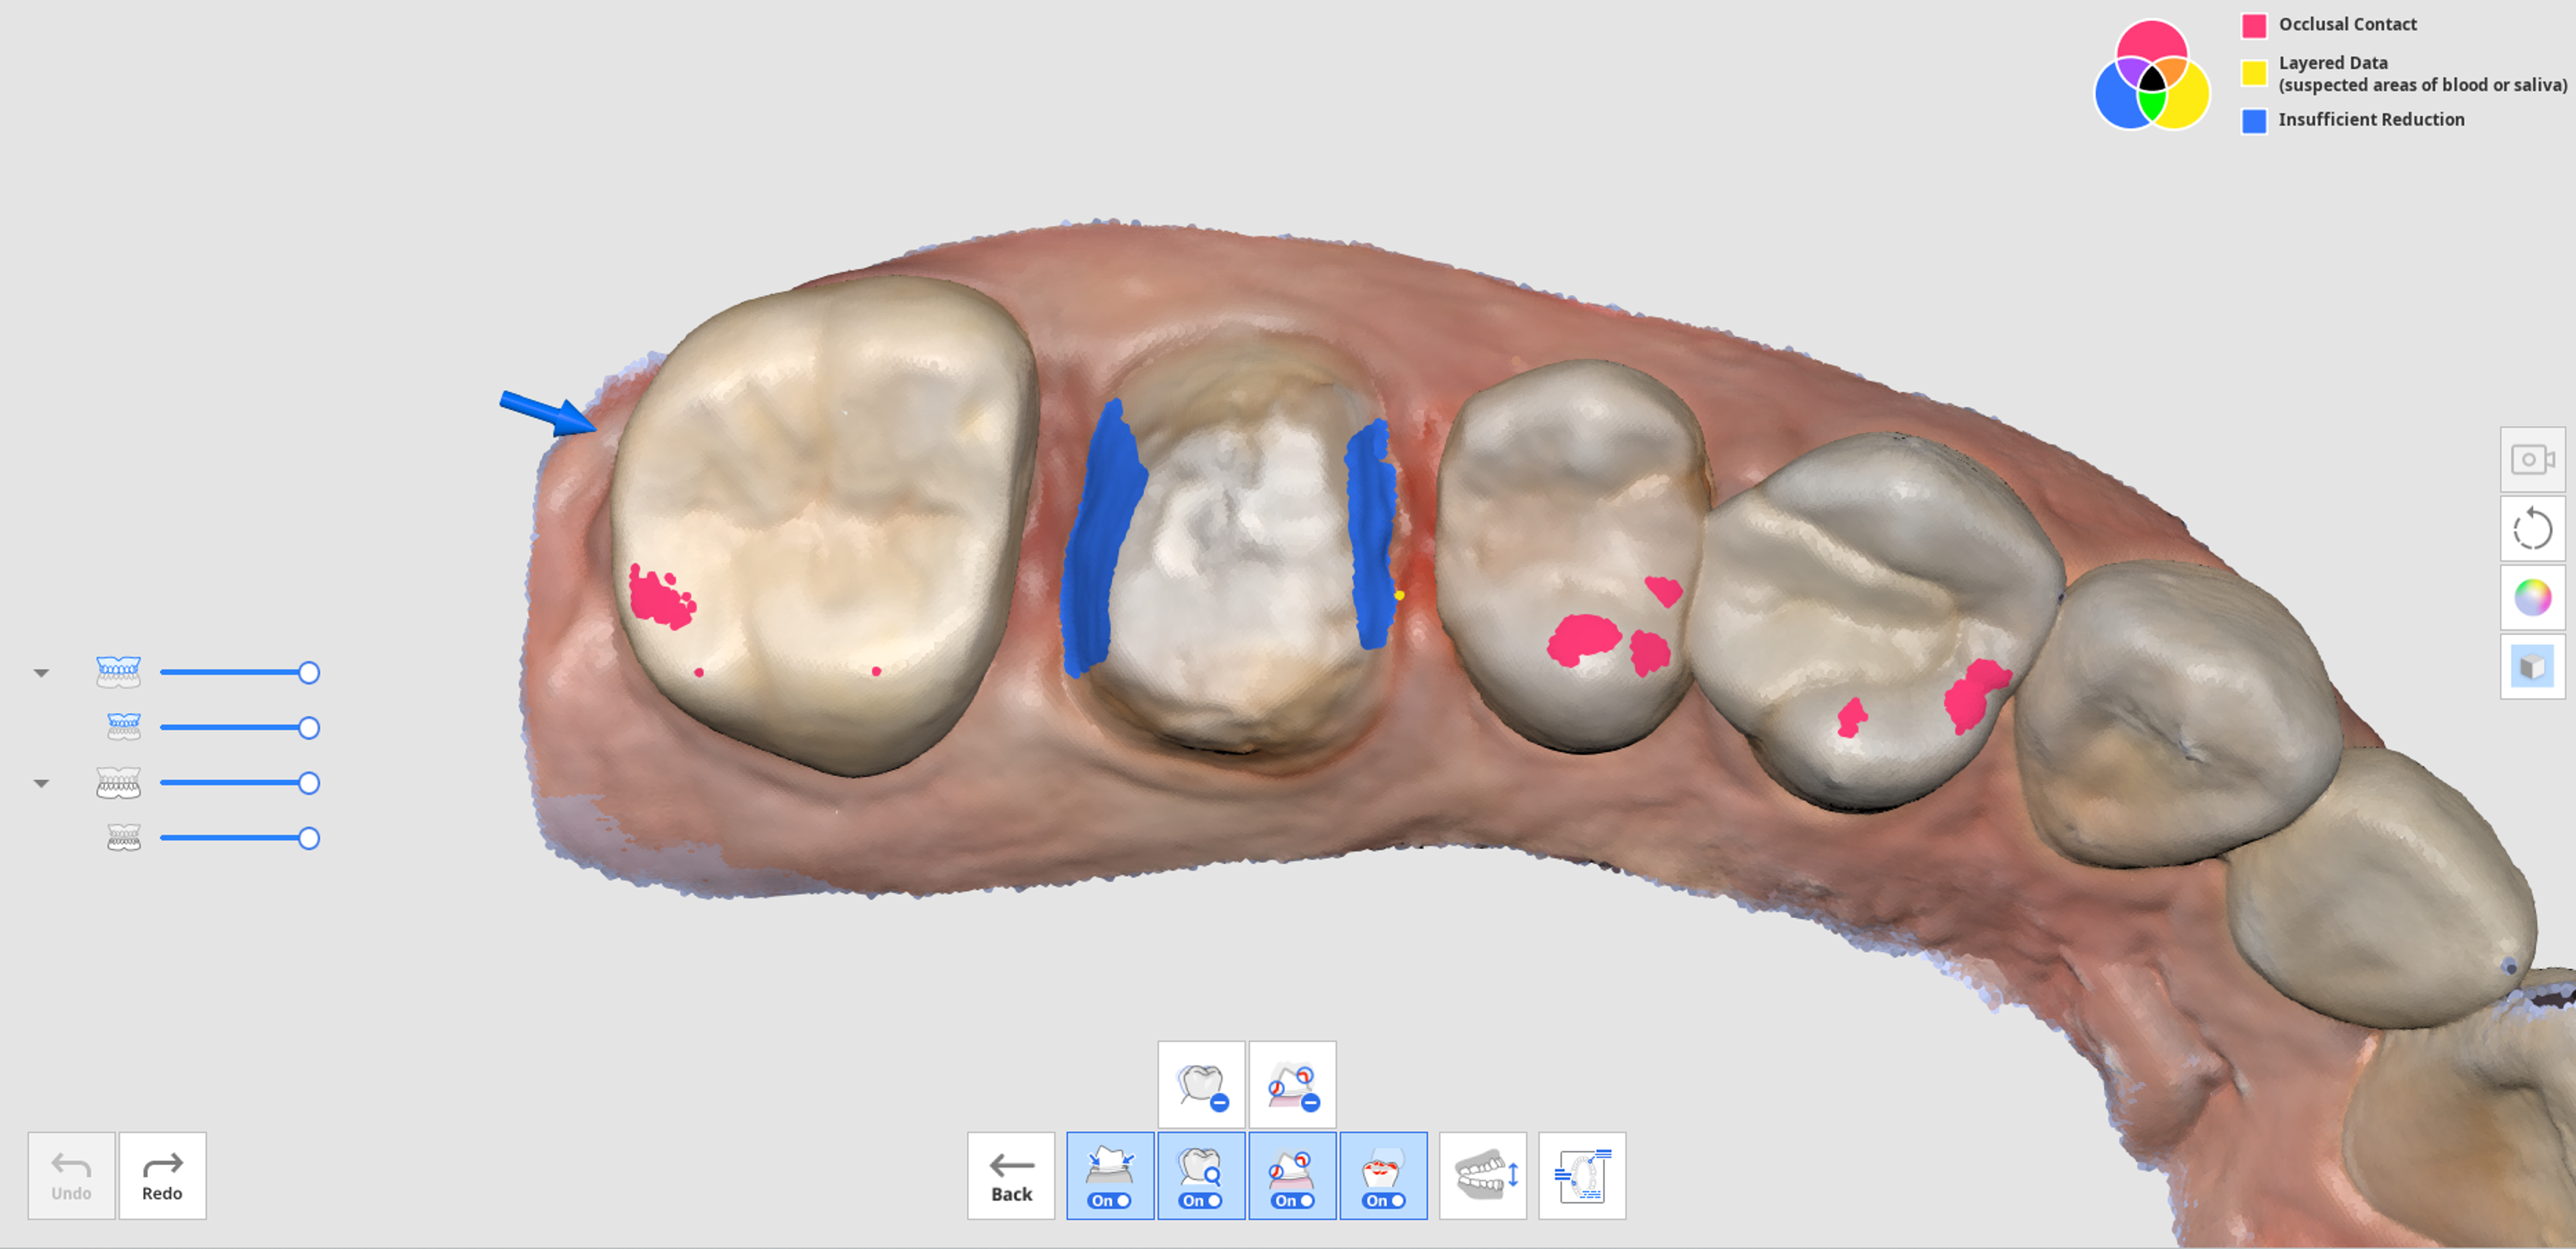
- You will see the scan data marked with different colors for results analyzed by each review tool provided at the bottom of the screen.
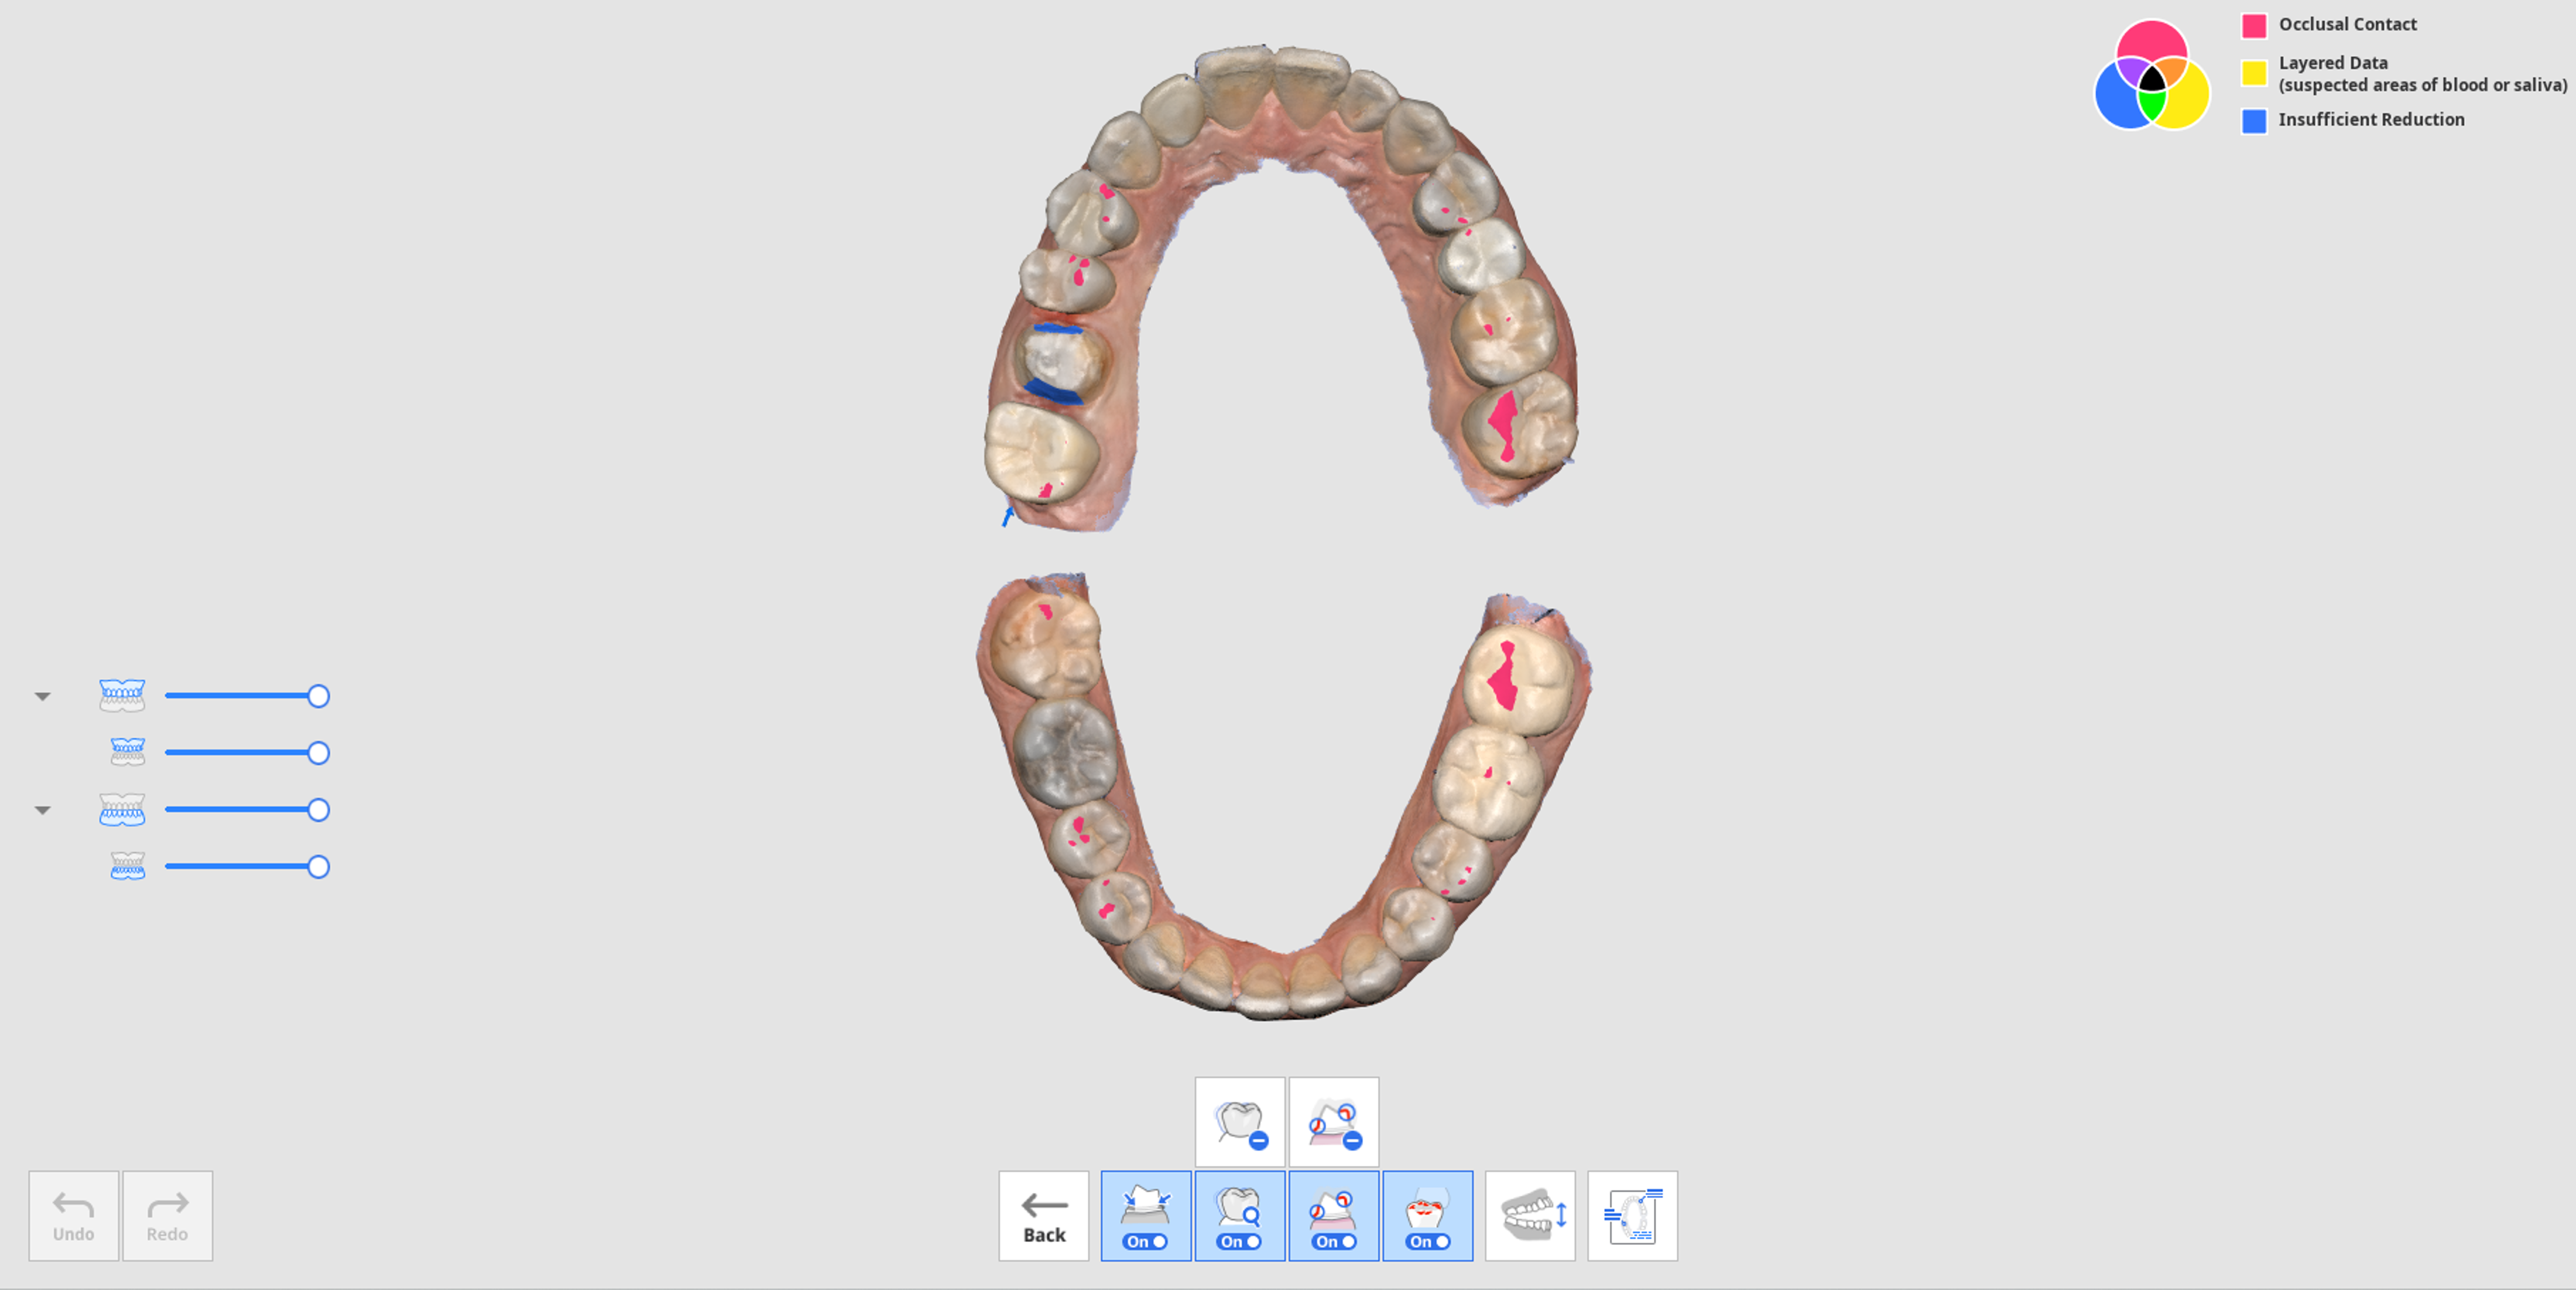
- You can switch views between the open jaw and closed jaws.
- You can view the report again by clicking the "Show Report" button at the bottom of the screen.
- The color information in the upper right corner of the screen allows you to see areas where problems may occur in different colors for different functions.
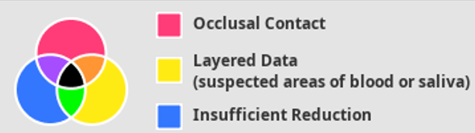
- Refer to the color information on the top right of the screen and check the data where the data is colored.
- You can use the "Remove Layered Data" or "Remove Data with Insufficient Reduction" tools to delete the marked areas of layered data or insufficient tooth reduction.
- You can also return to other scan stages to scan additional data or trim and rescan if required.