The denture sequence can be utilized for scanning the patient's current denture, temporary denture, or wax rim.
The Maxillary/Mandibular Denture stage appears when the form is registered as Arch (Full Denture, Denture Replica, or Implant Supported Denture) on Medit Link.
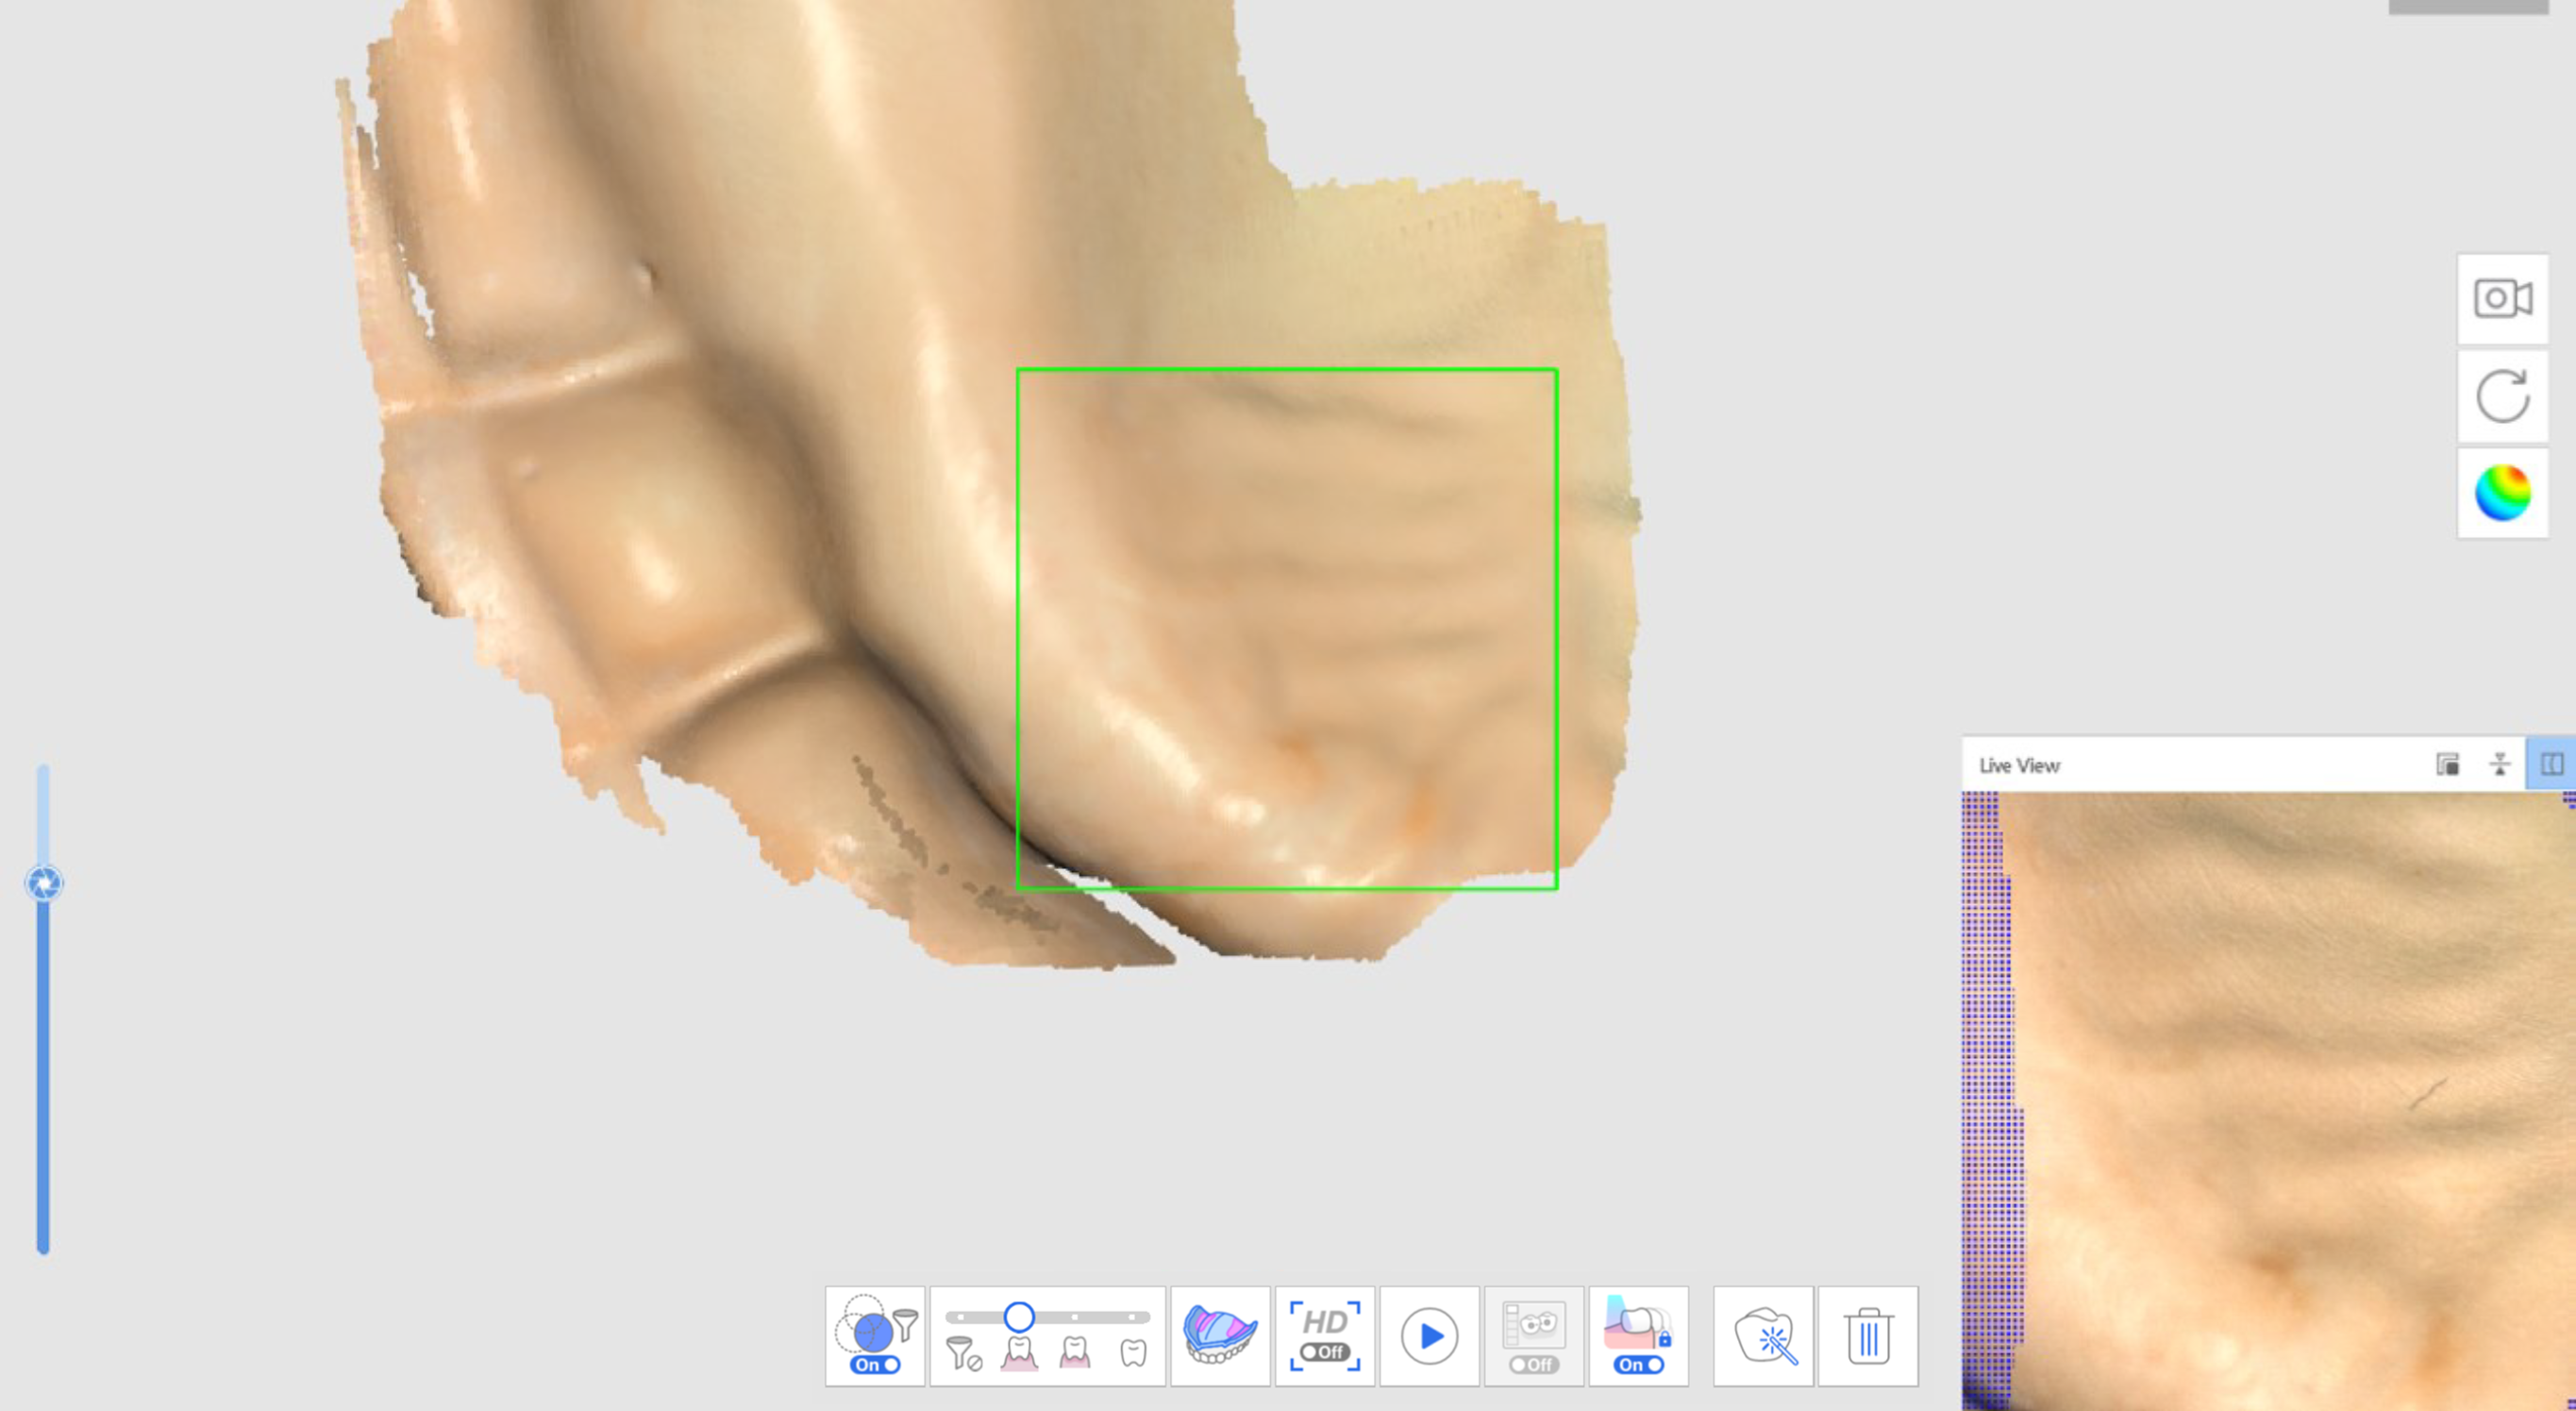
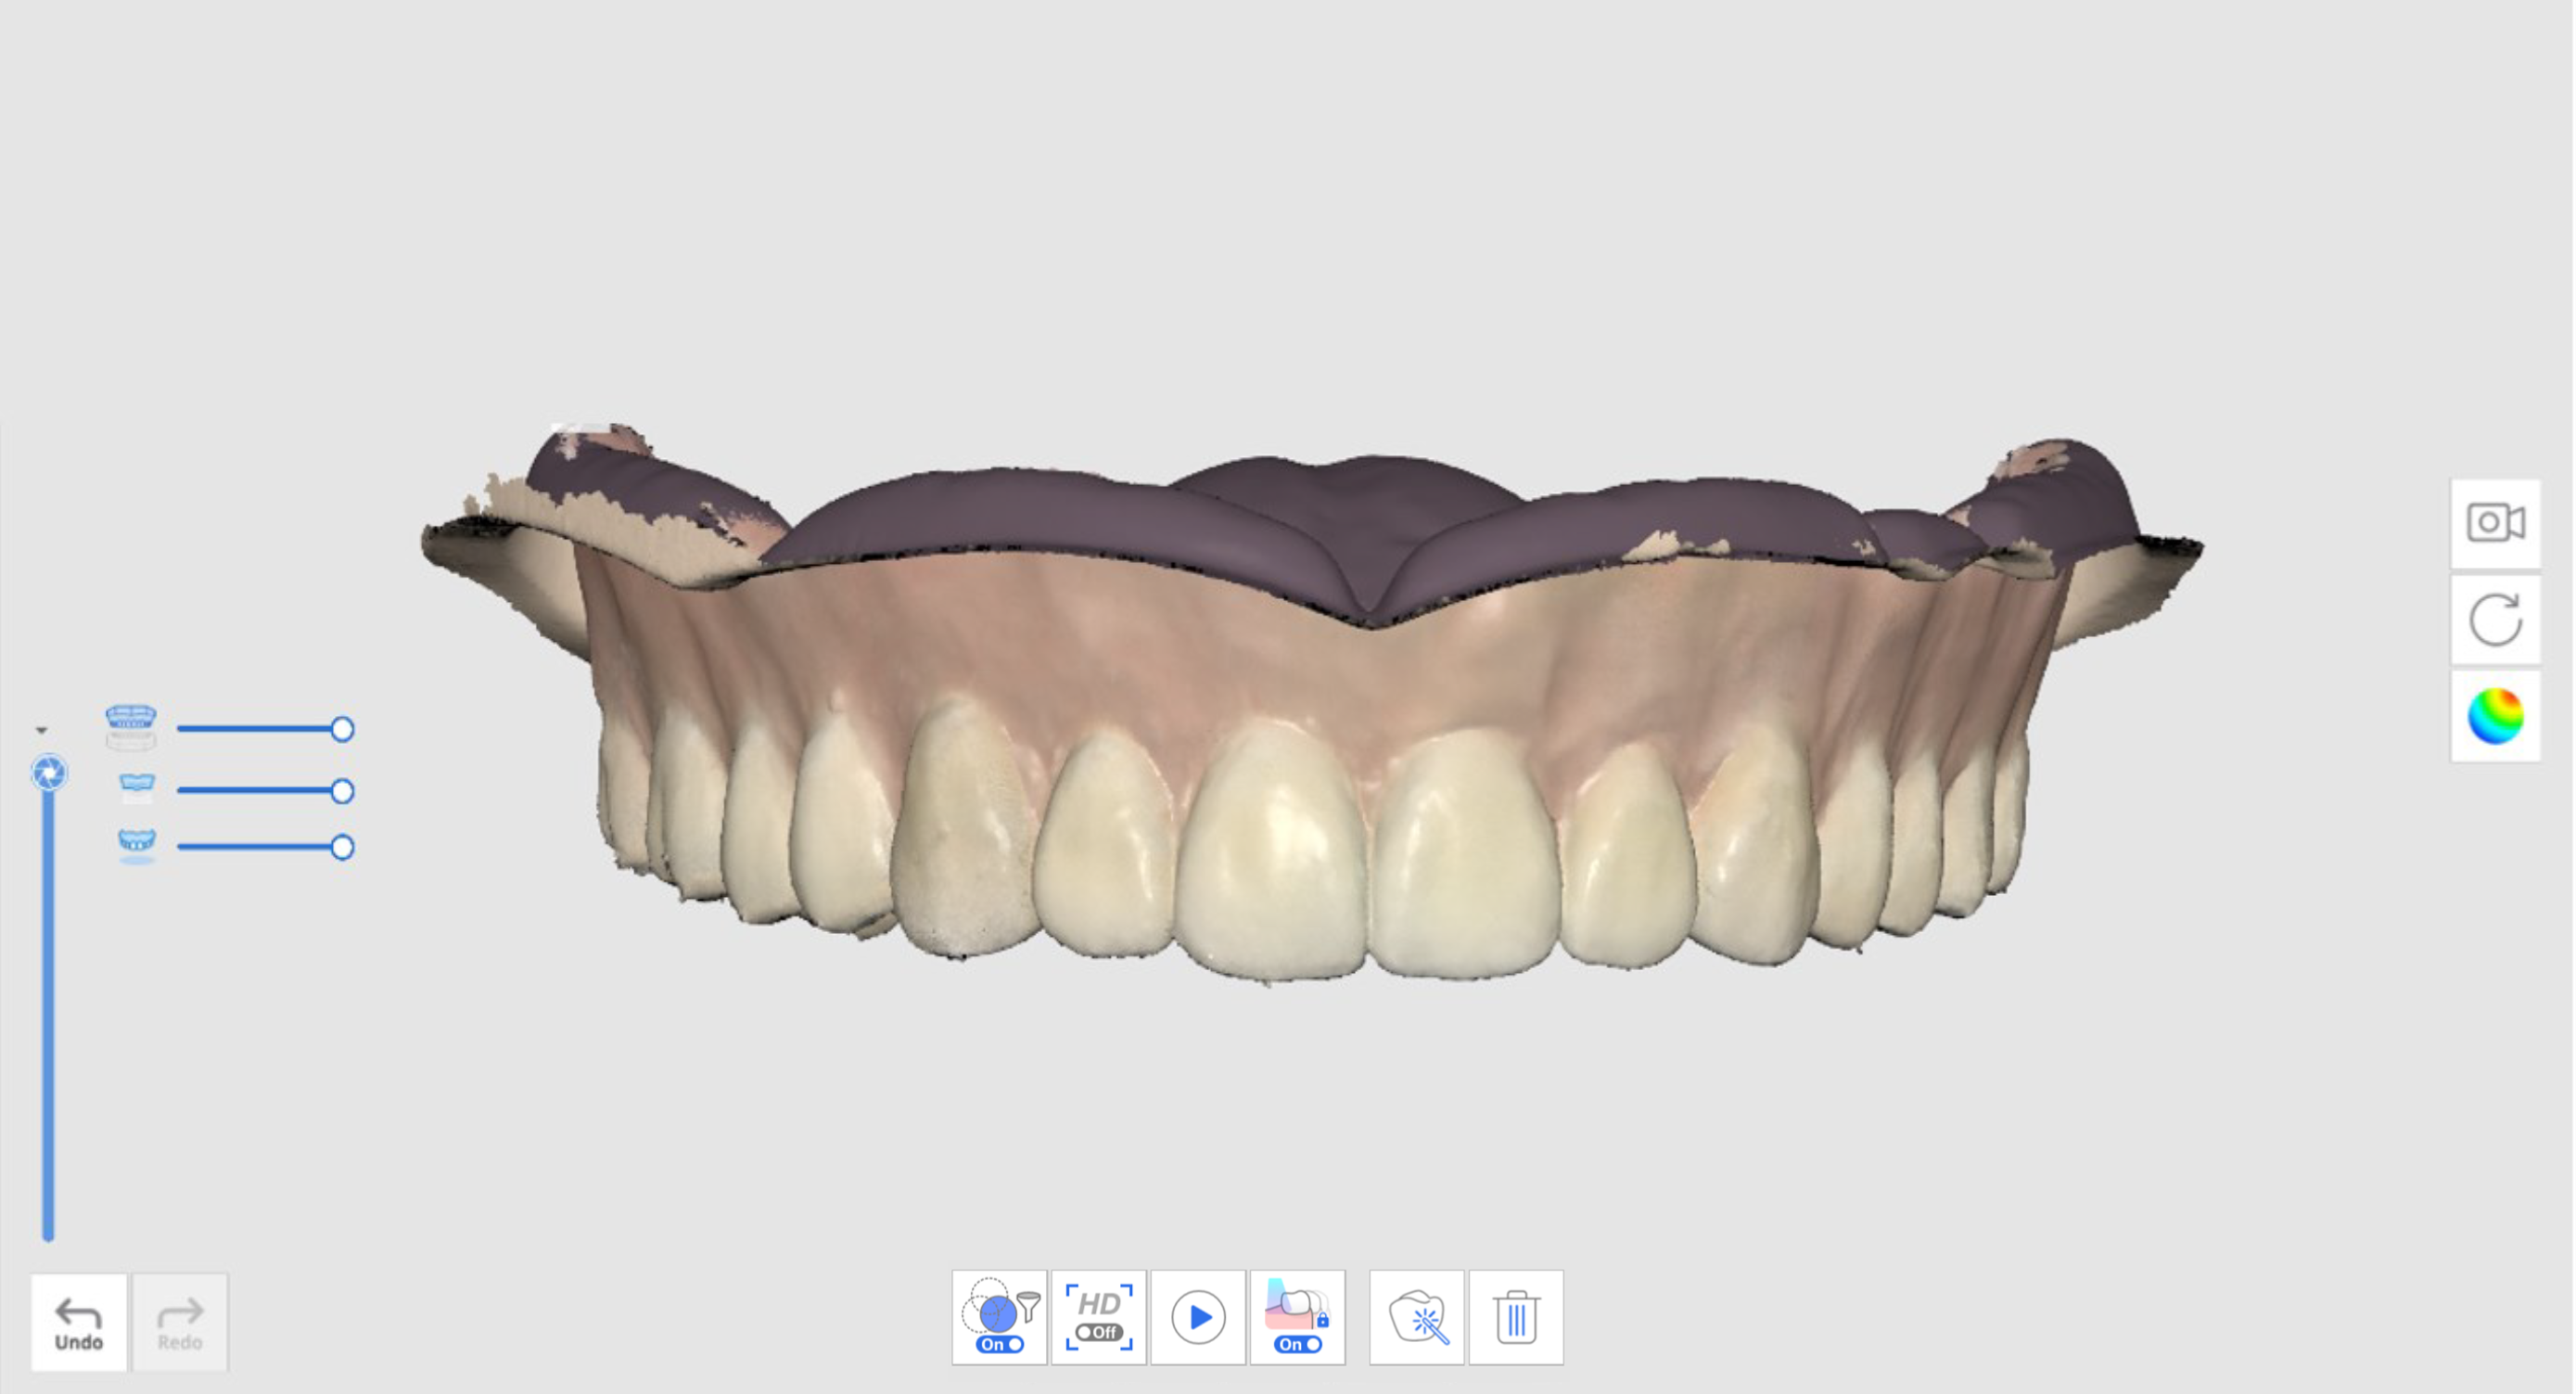
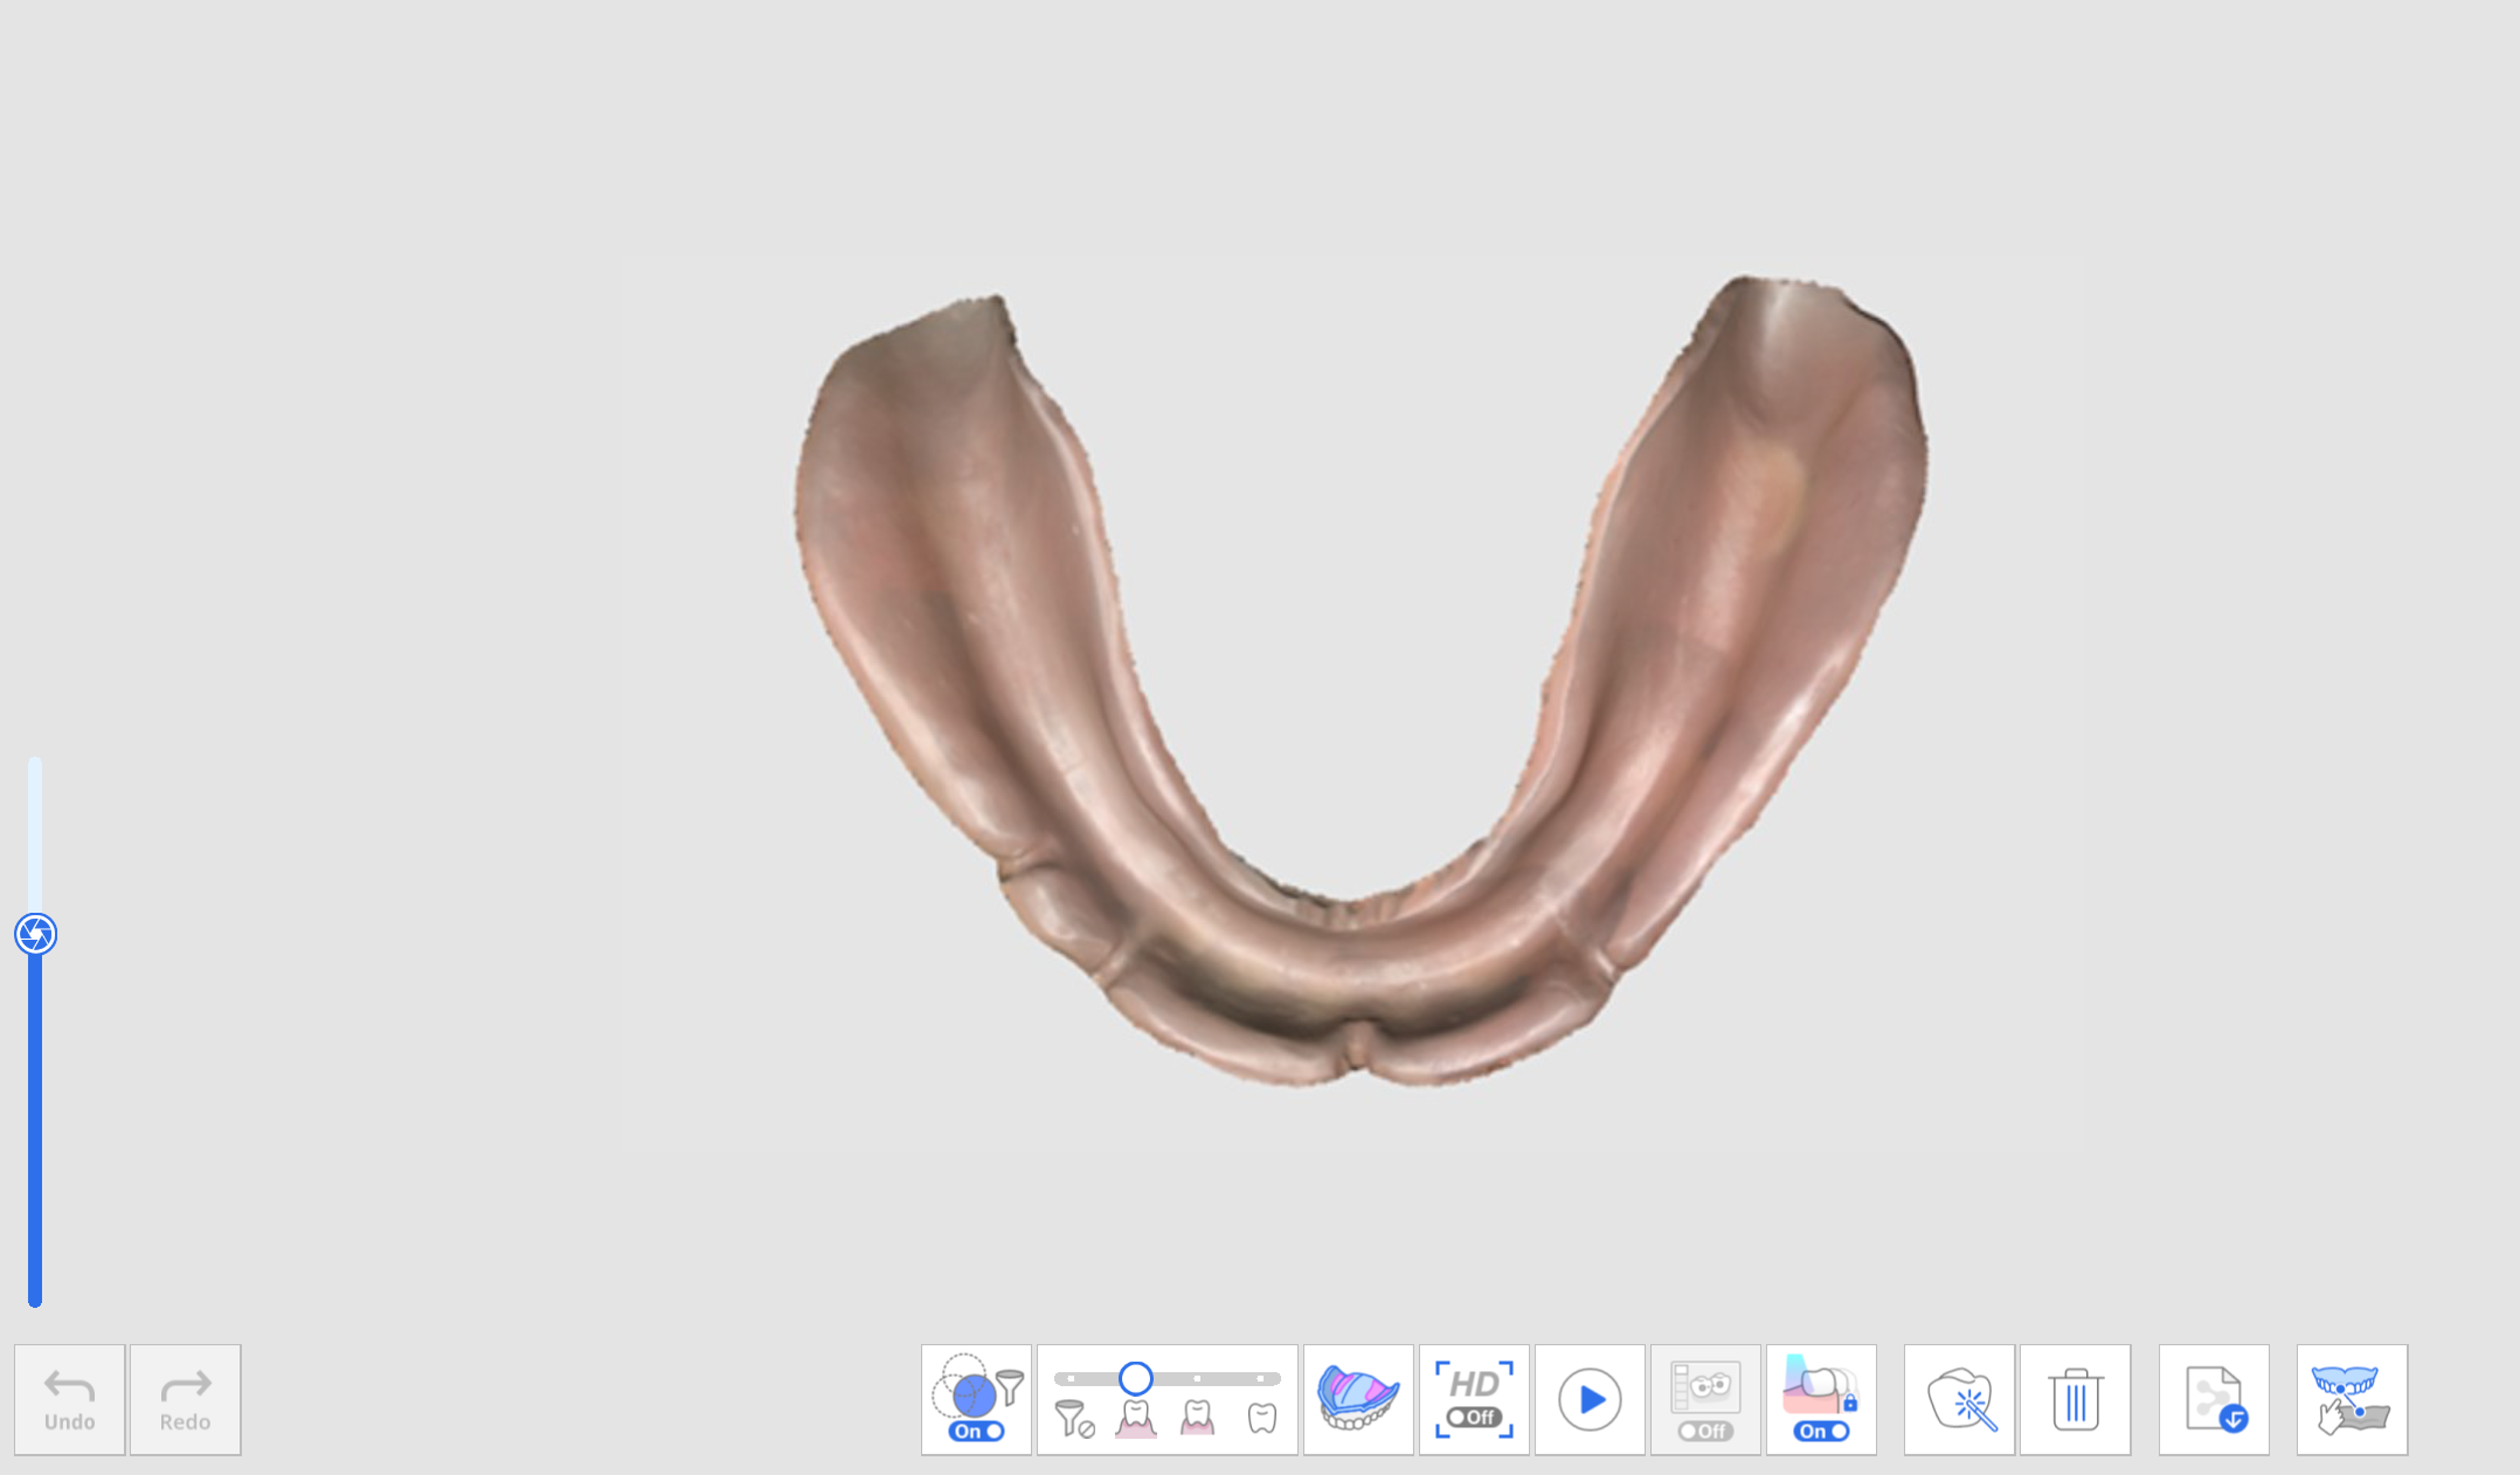
- Ensure all sides of the denture are sufficiently scanned, including labial/buccal and palatal/lingual surfaces.
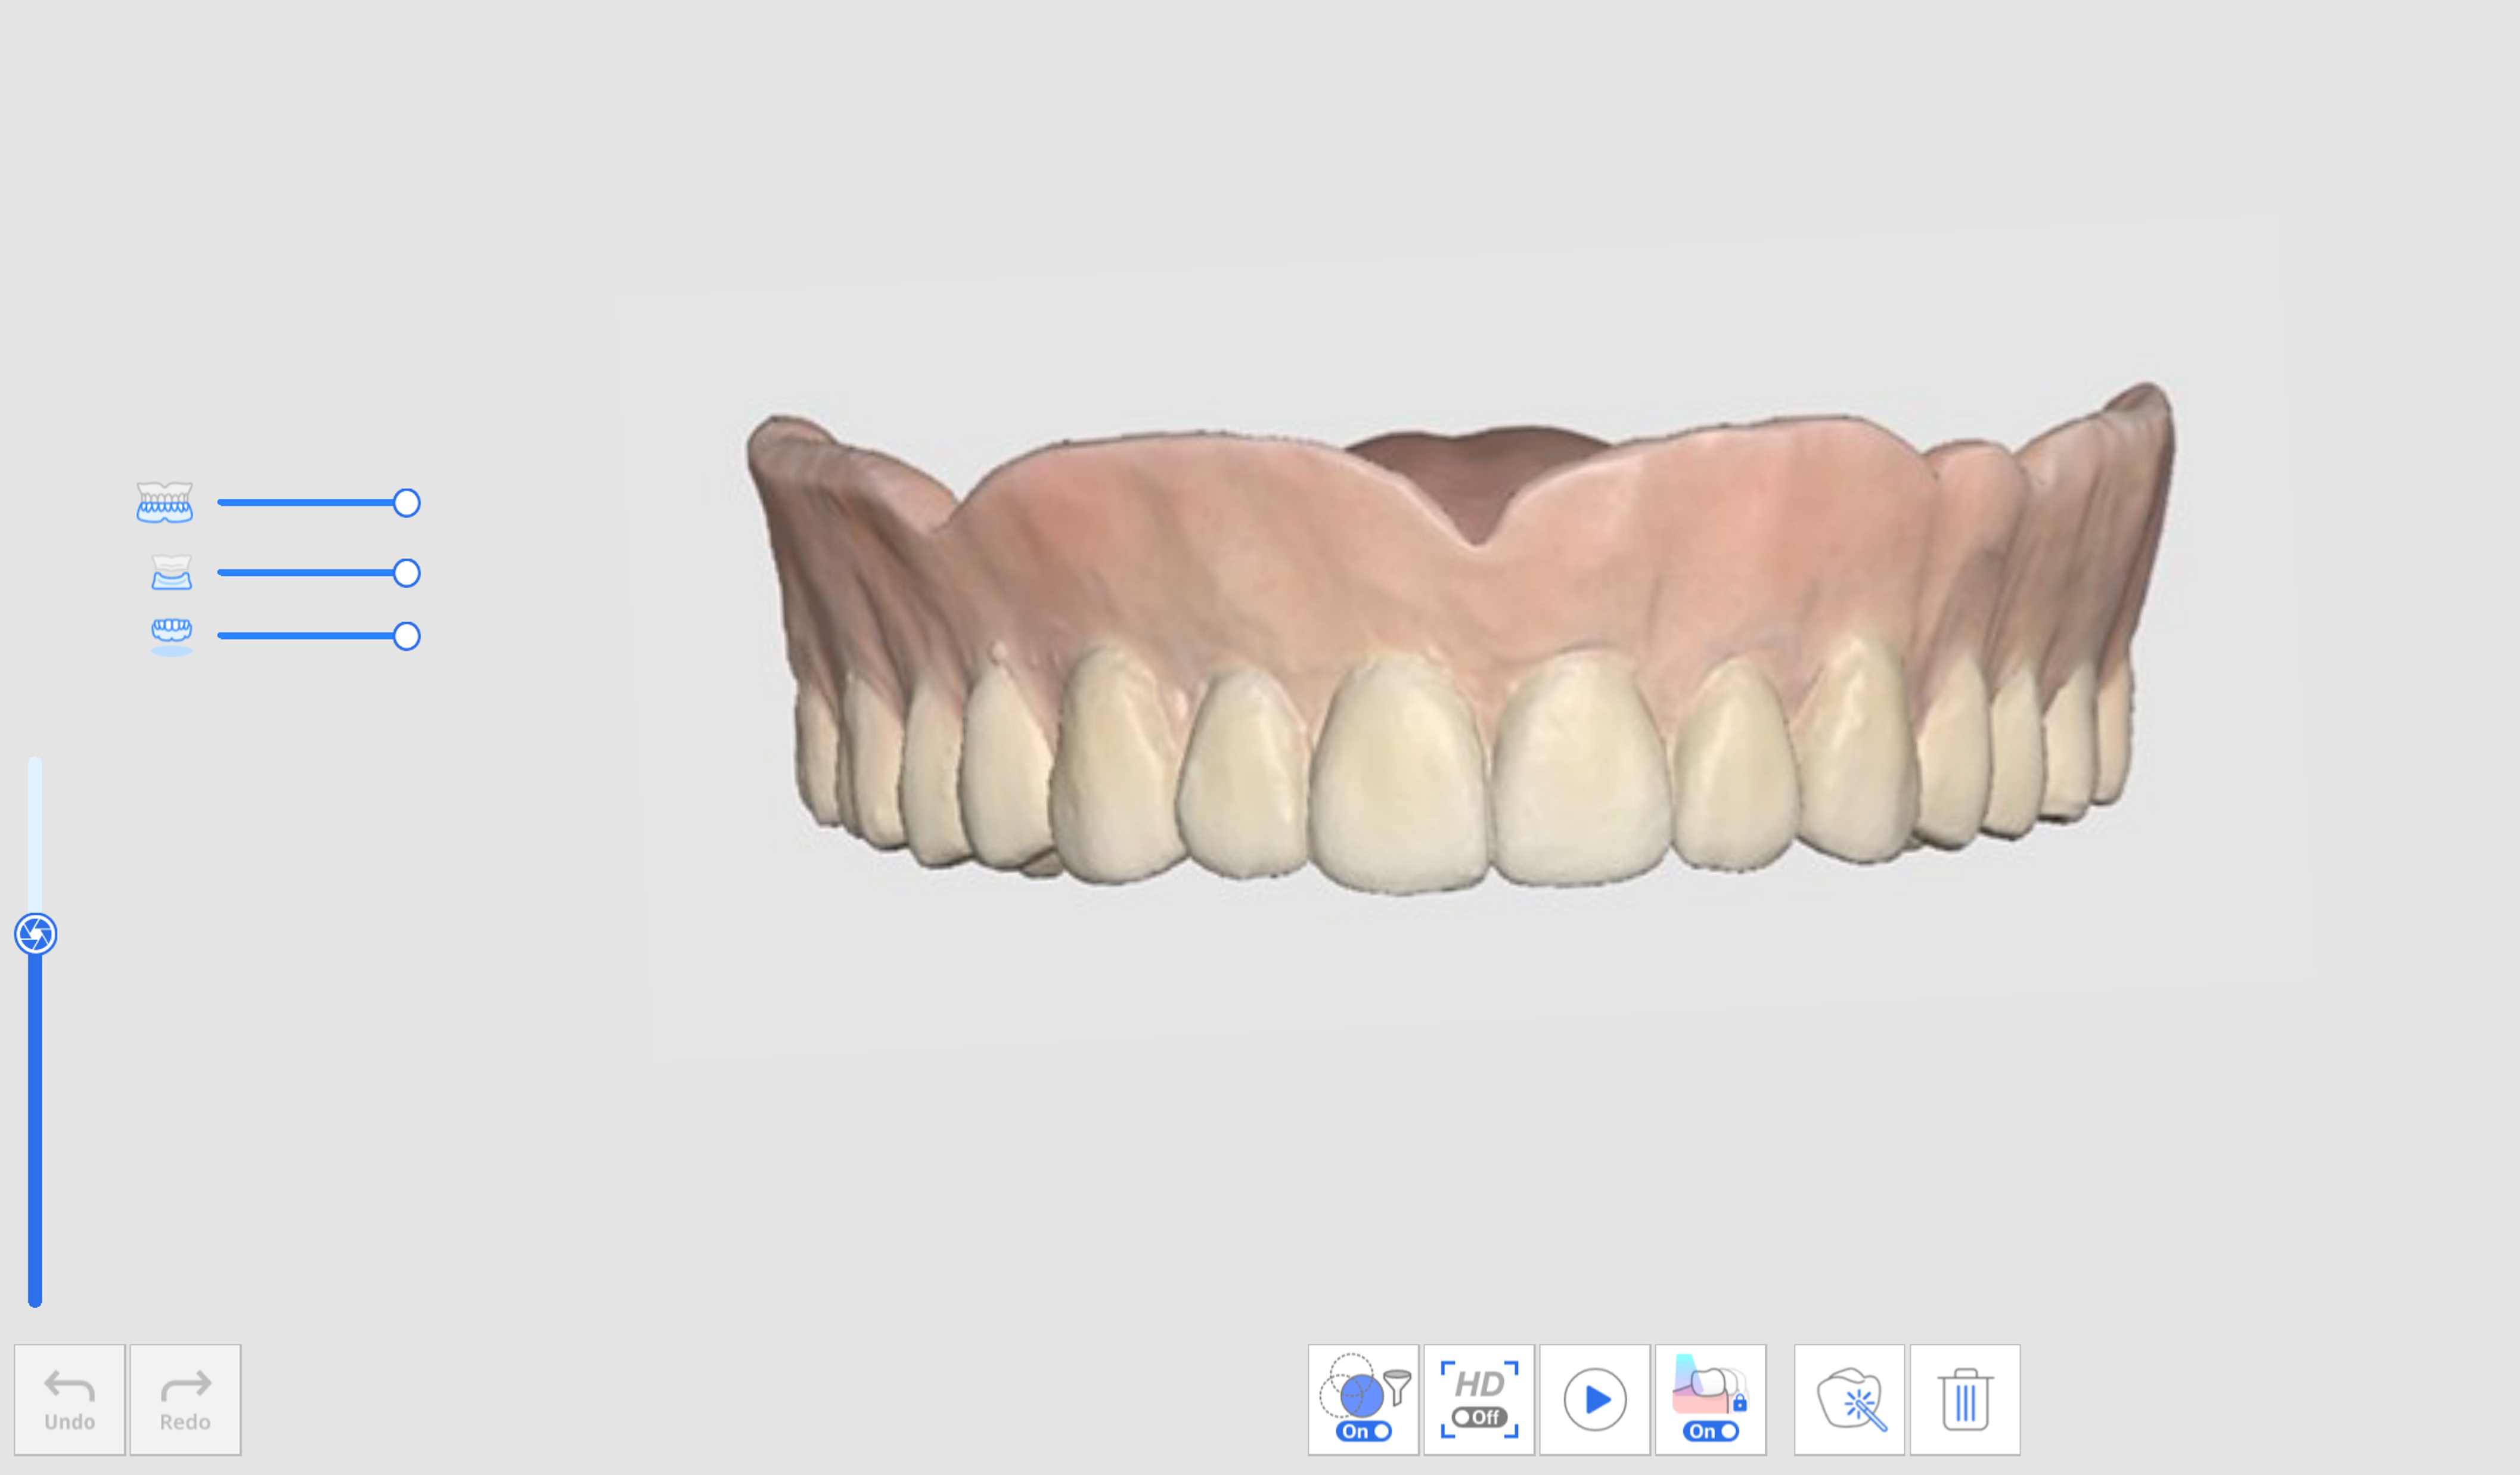
- For the maxilla, make sure to scan the palatal area, including the palatal rugae and maxillary tuberosity.
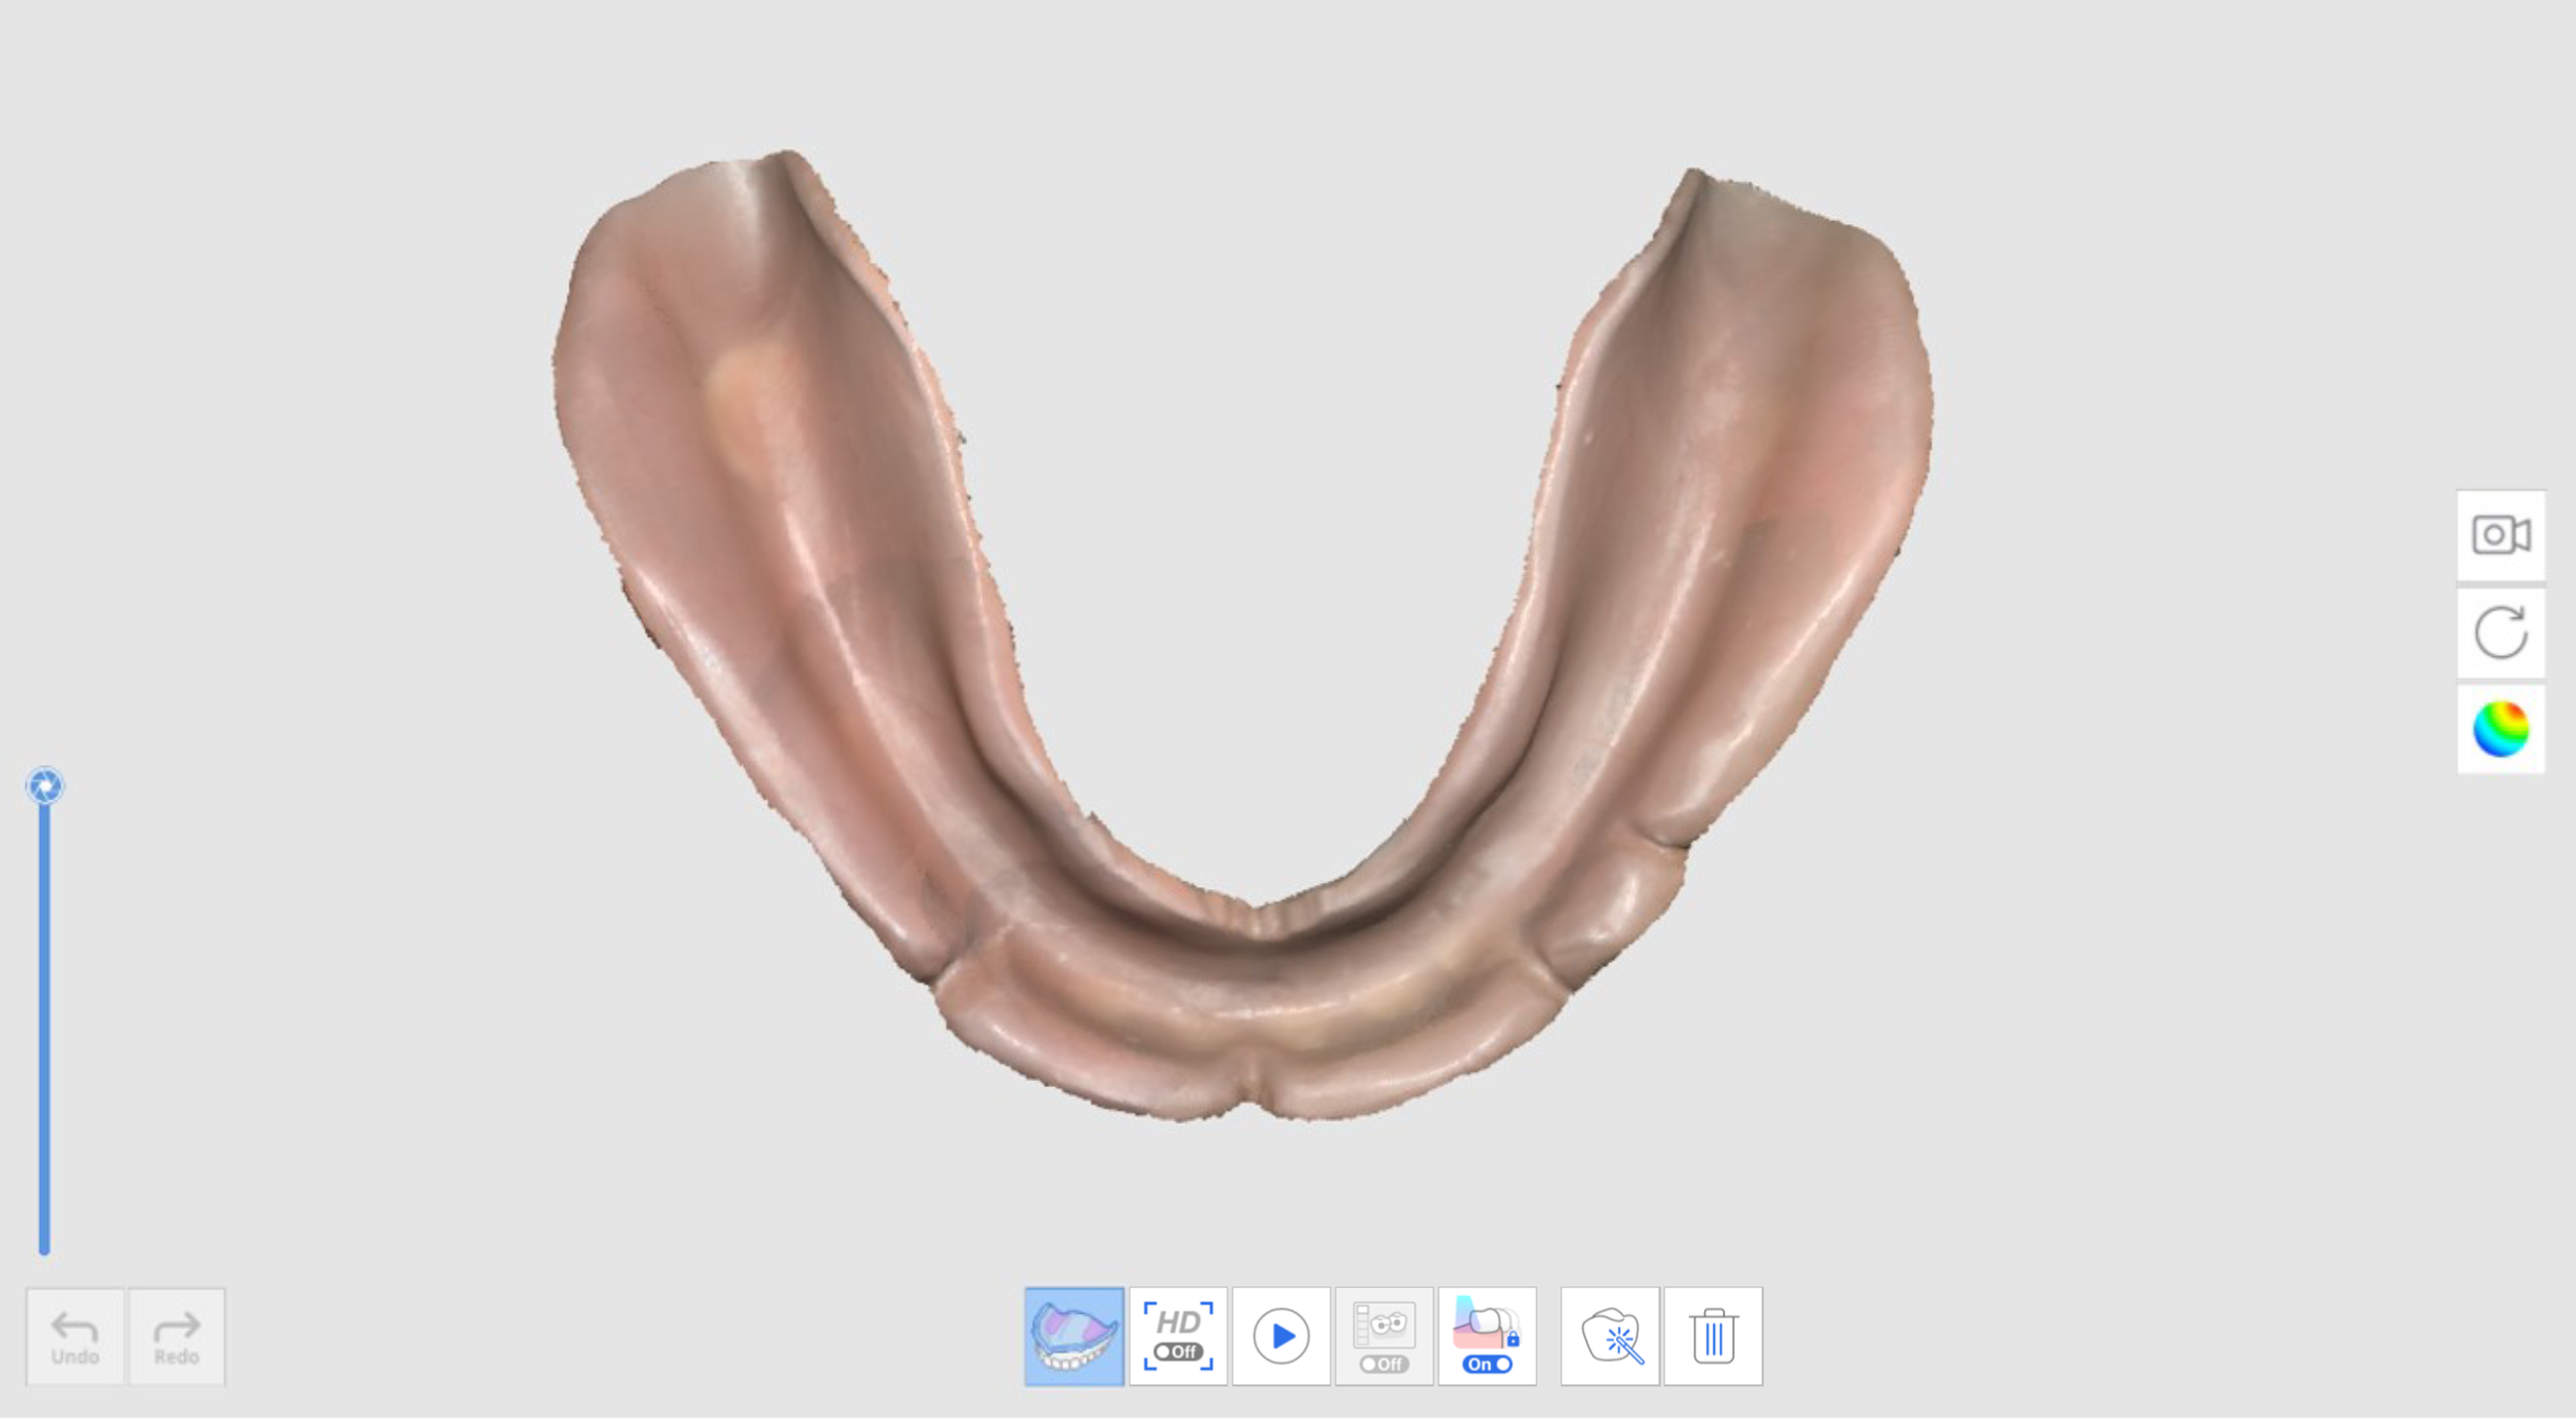
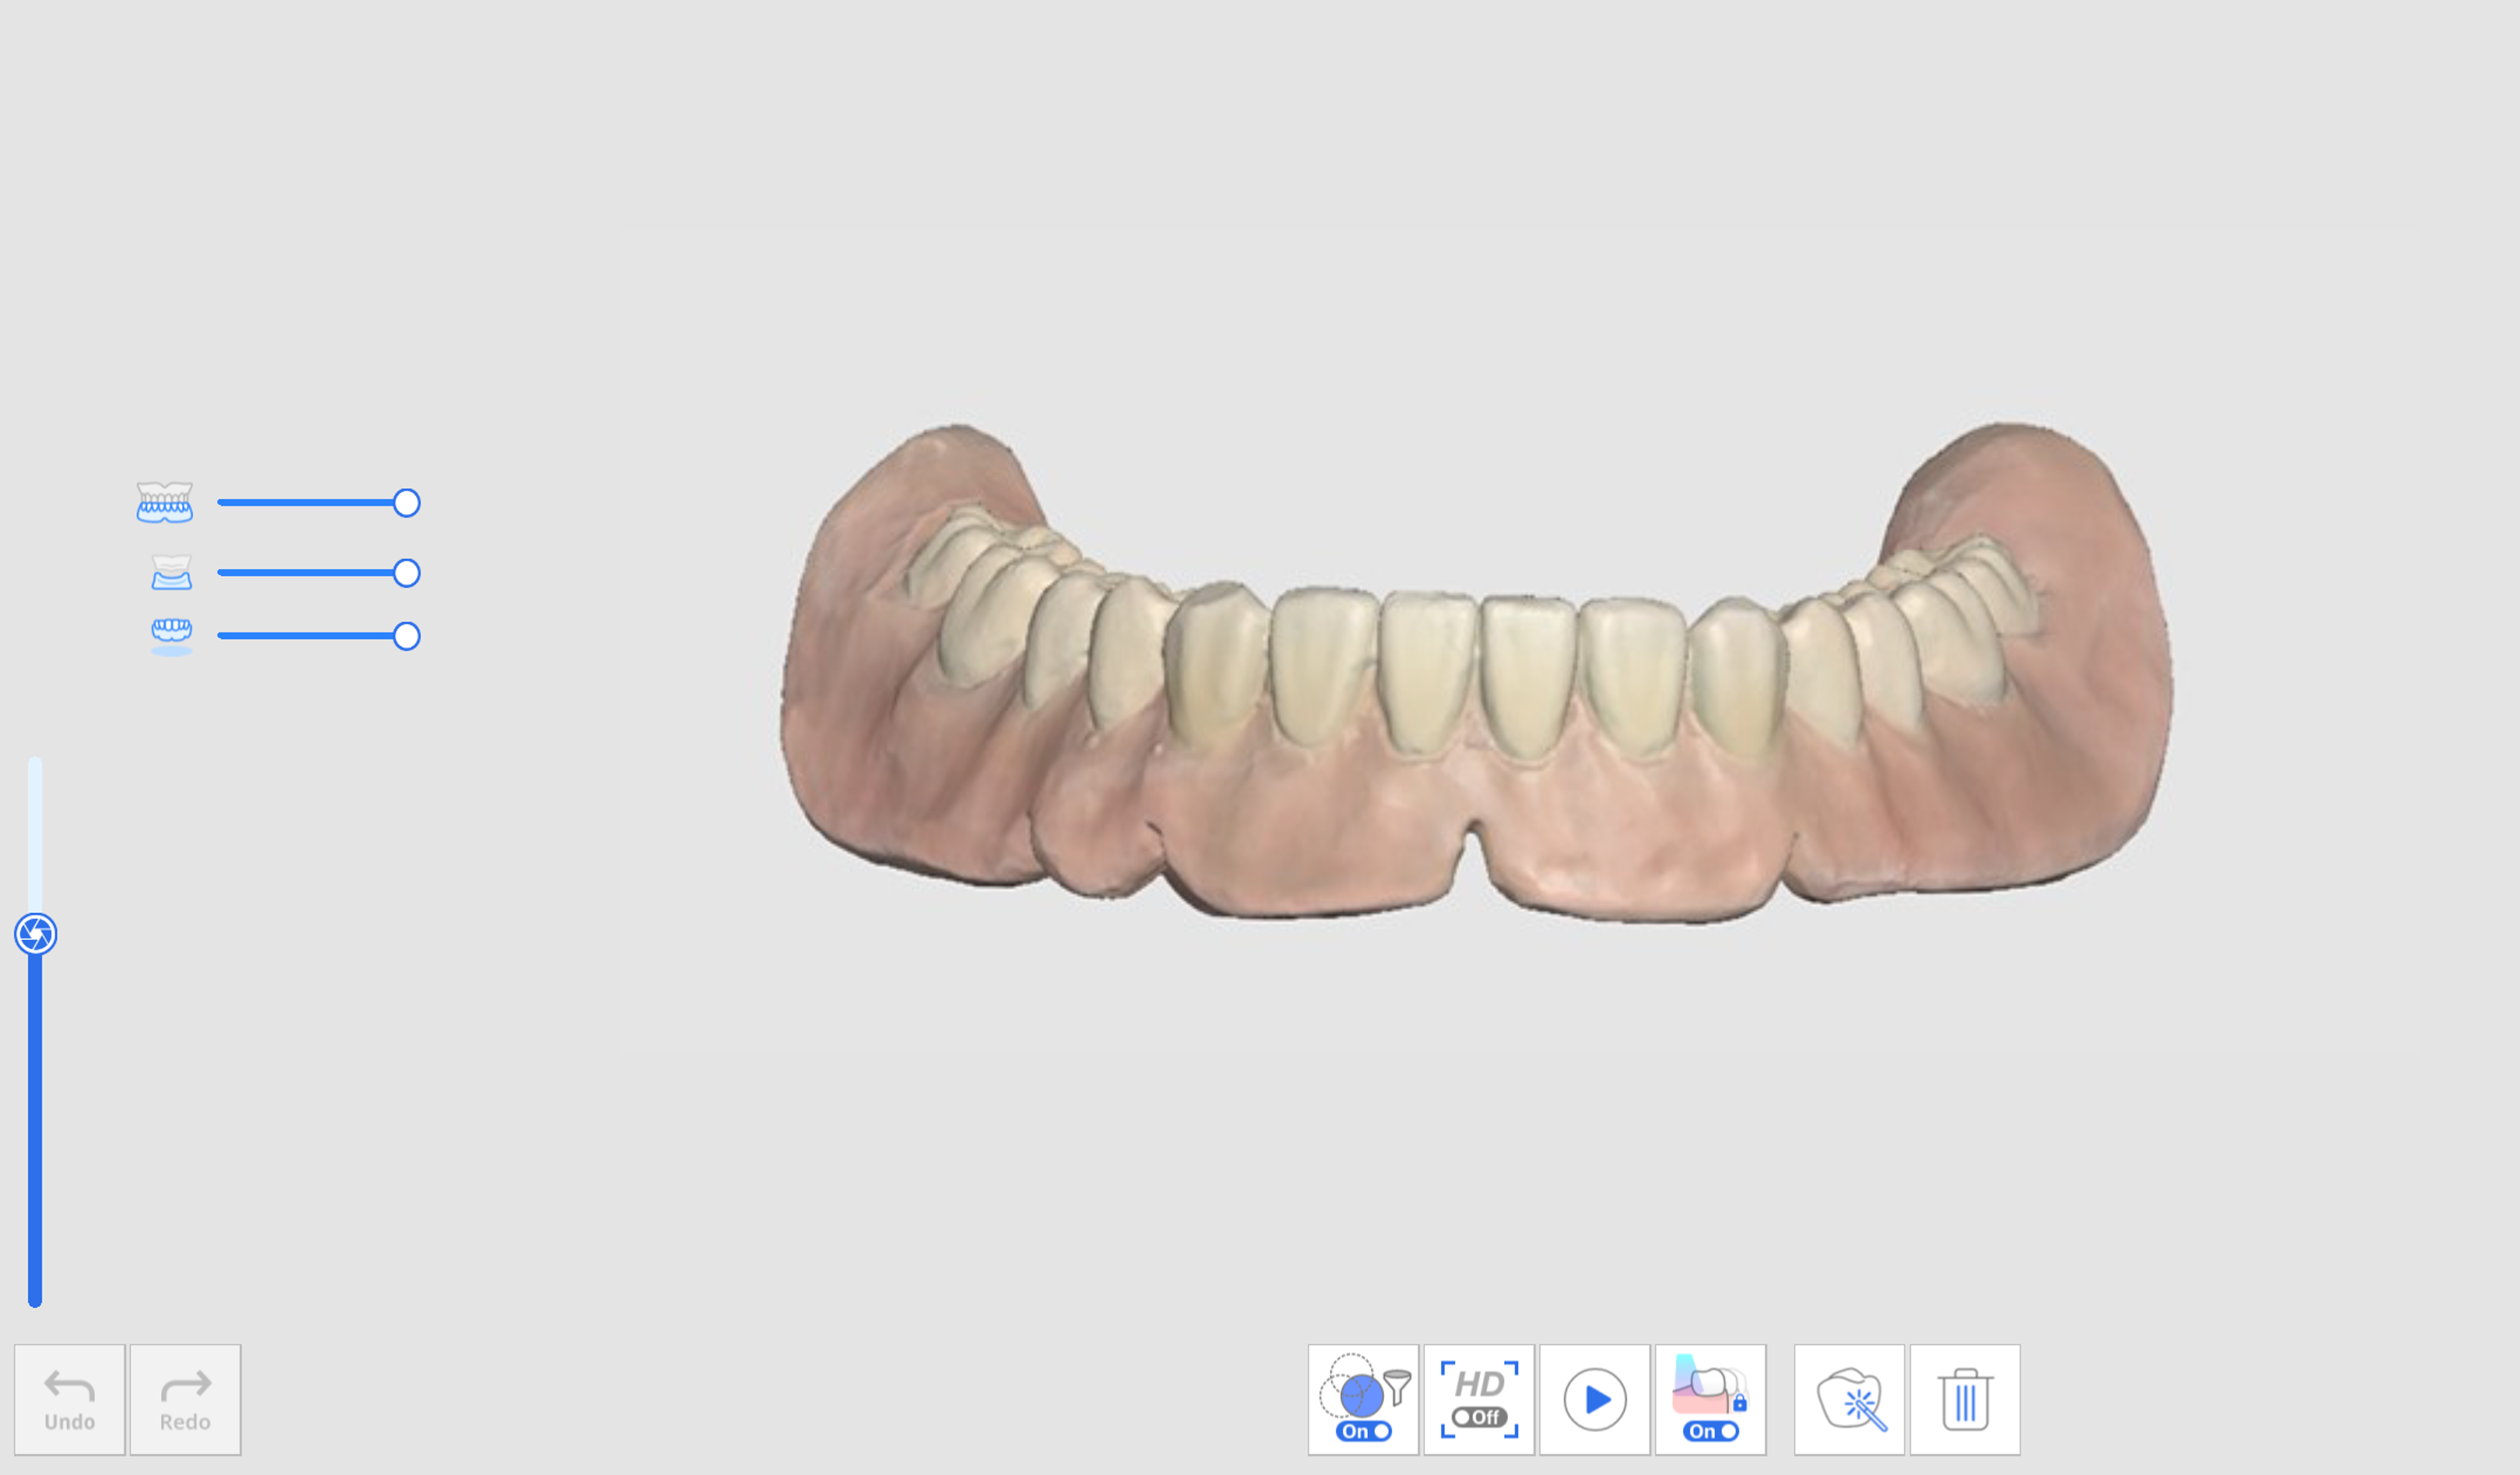
- For the mandible, make sure to scan the retromolar triangle.
- If the camera is lost during scanning, start again at the palate's most prominent part, such as palatal rugae or residual alveolar ridge.
Full Denture
The workflow of full denture appears as follows.

Acquire Edentulous Scan Data
Scan the edentulous maxilla/mandible at the Edentulous Maxilla/Mandible scan stage and the denture data at the Maxillary/Mandibular Denture stage.
- Scan the edentulous surface for the maxilla.
- The edentulous data acquired at the first scan stage (Edentulous Maxilla) will be reversed and used as the basis for the denture alignment at the next scan stage.
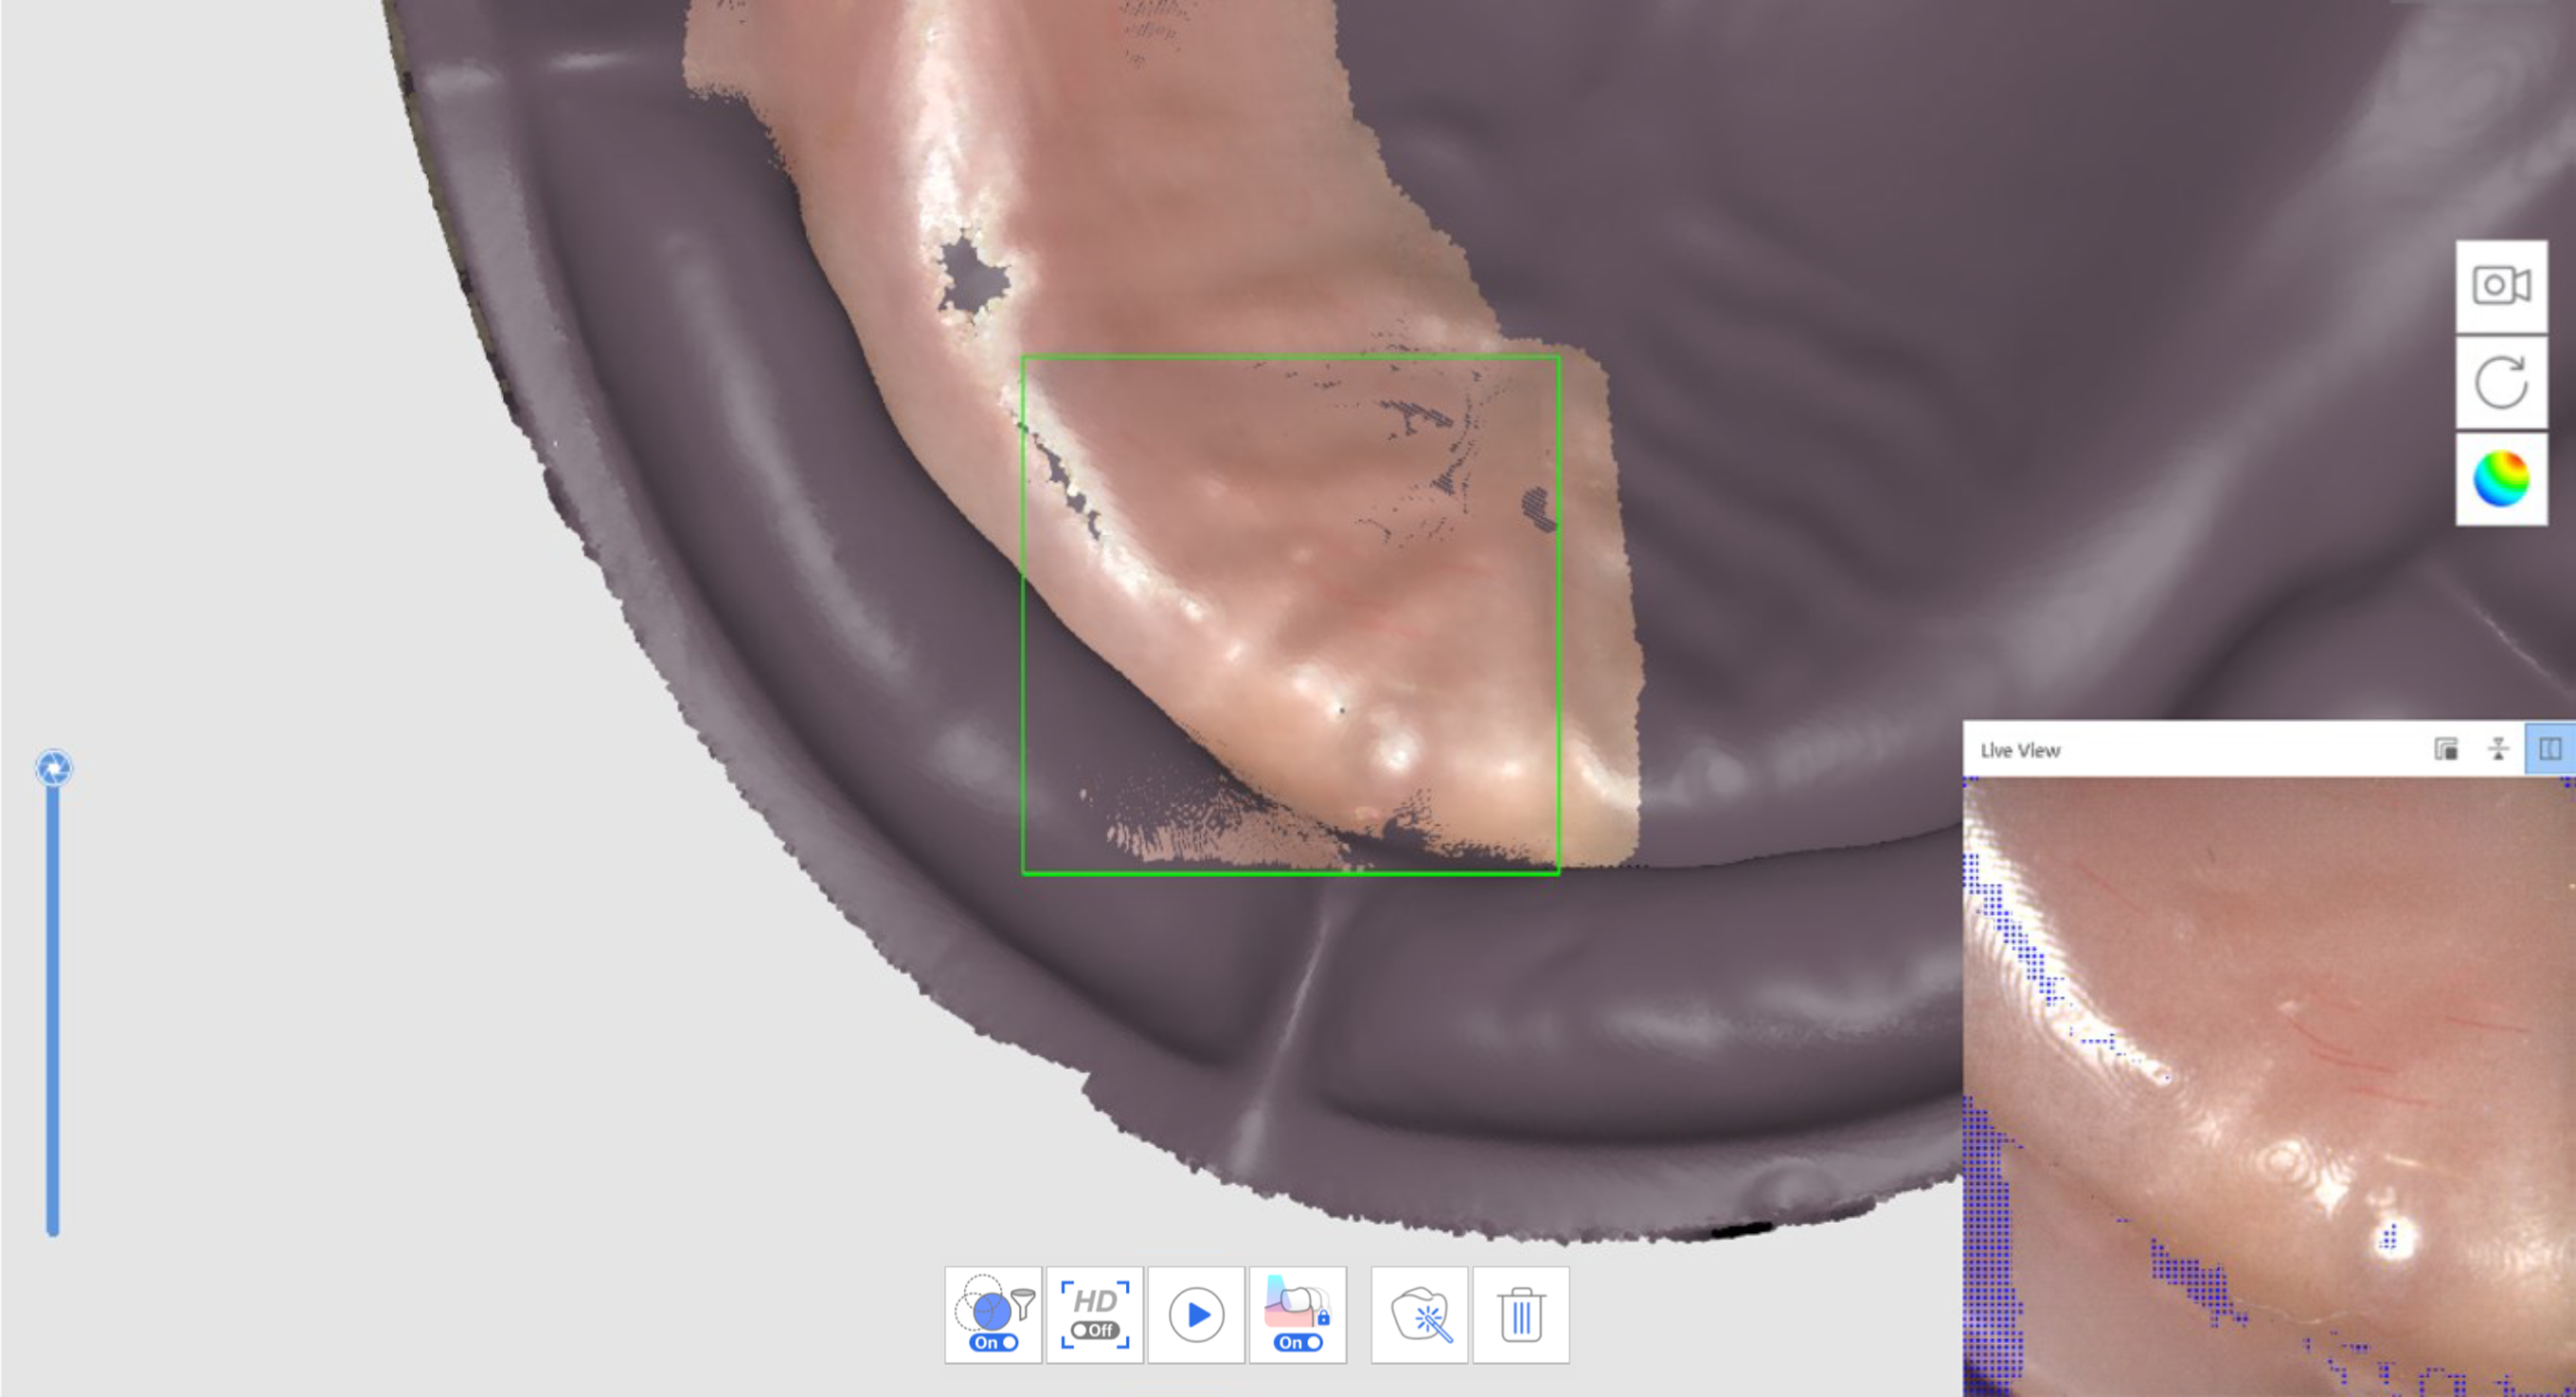
- Scan the denture data in the following order: fitting surface > border > polished surface and artificial teeth.
- Repeat the process for the mandible.
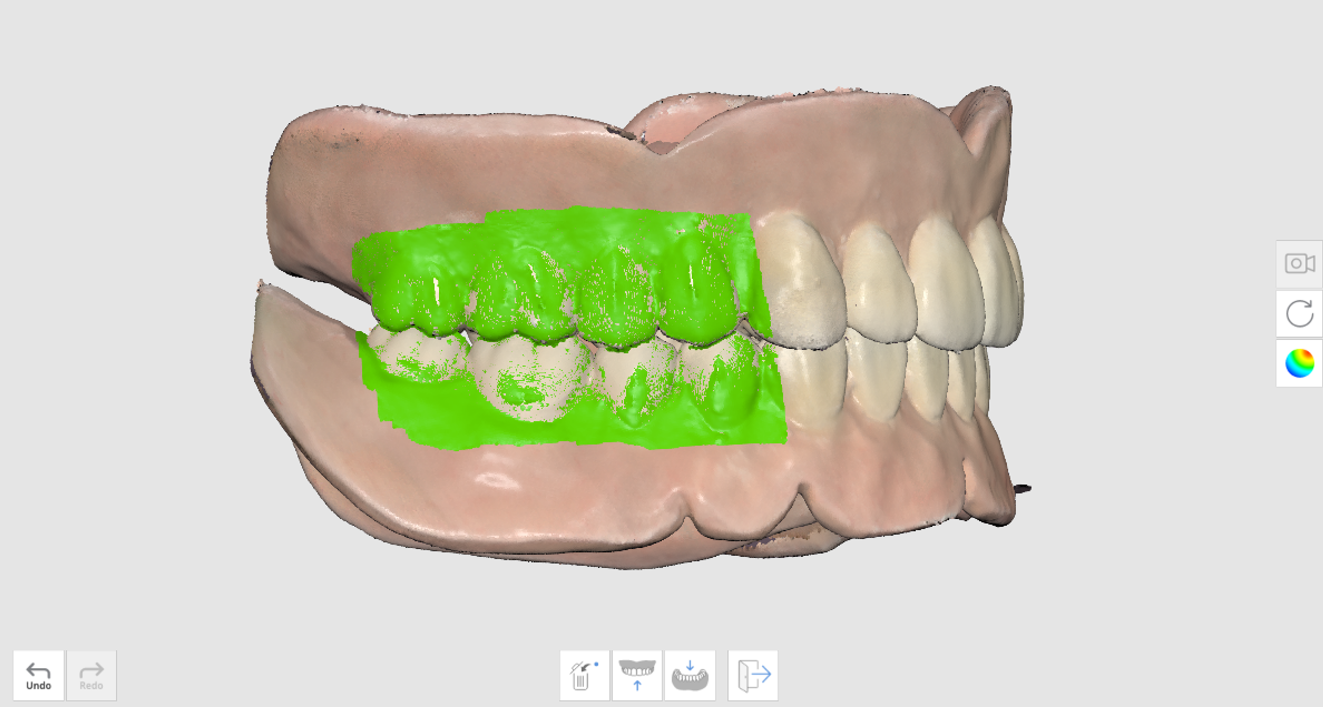
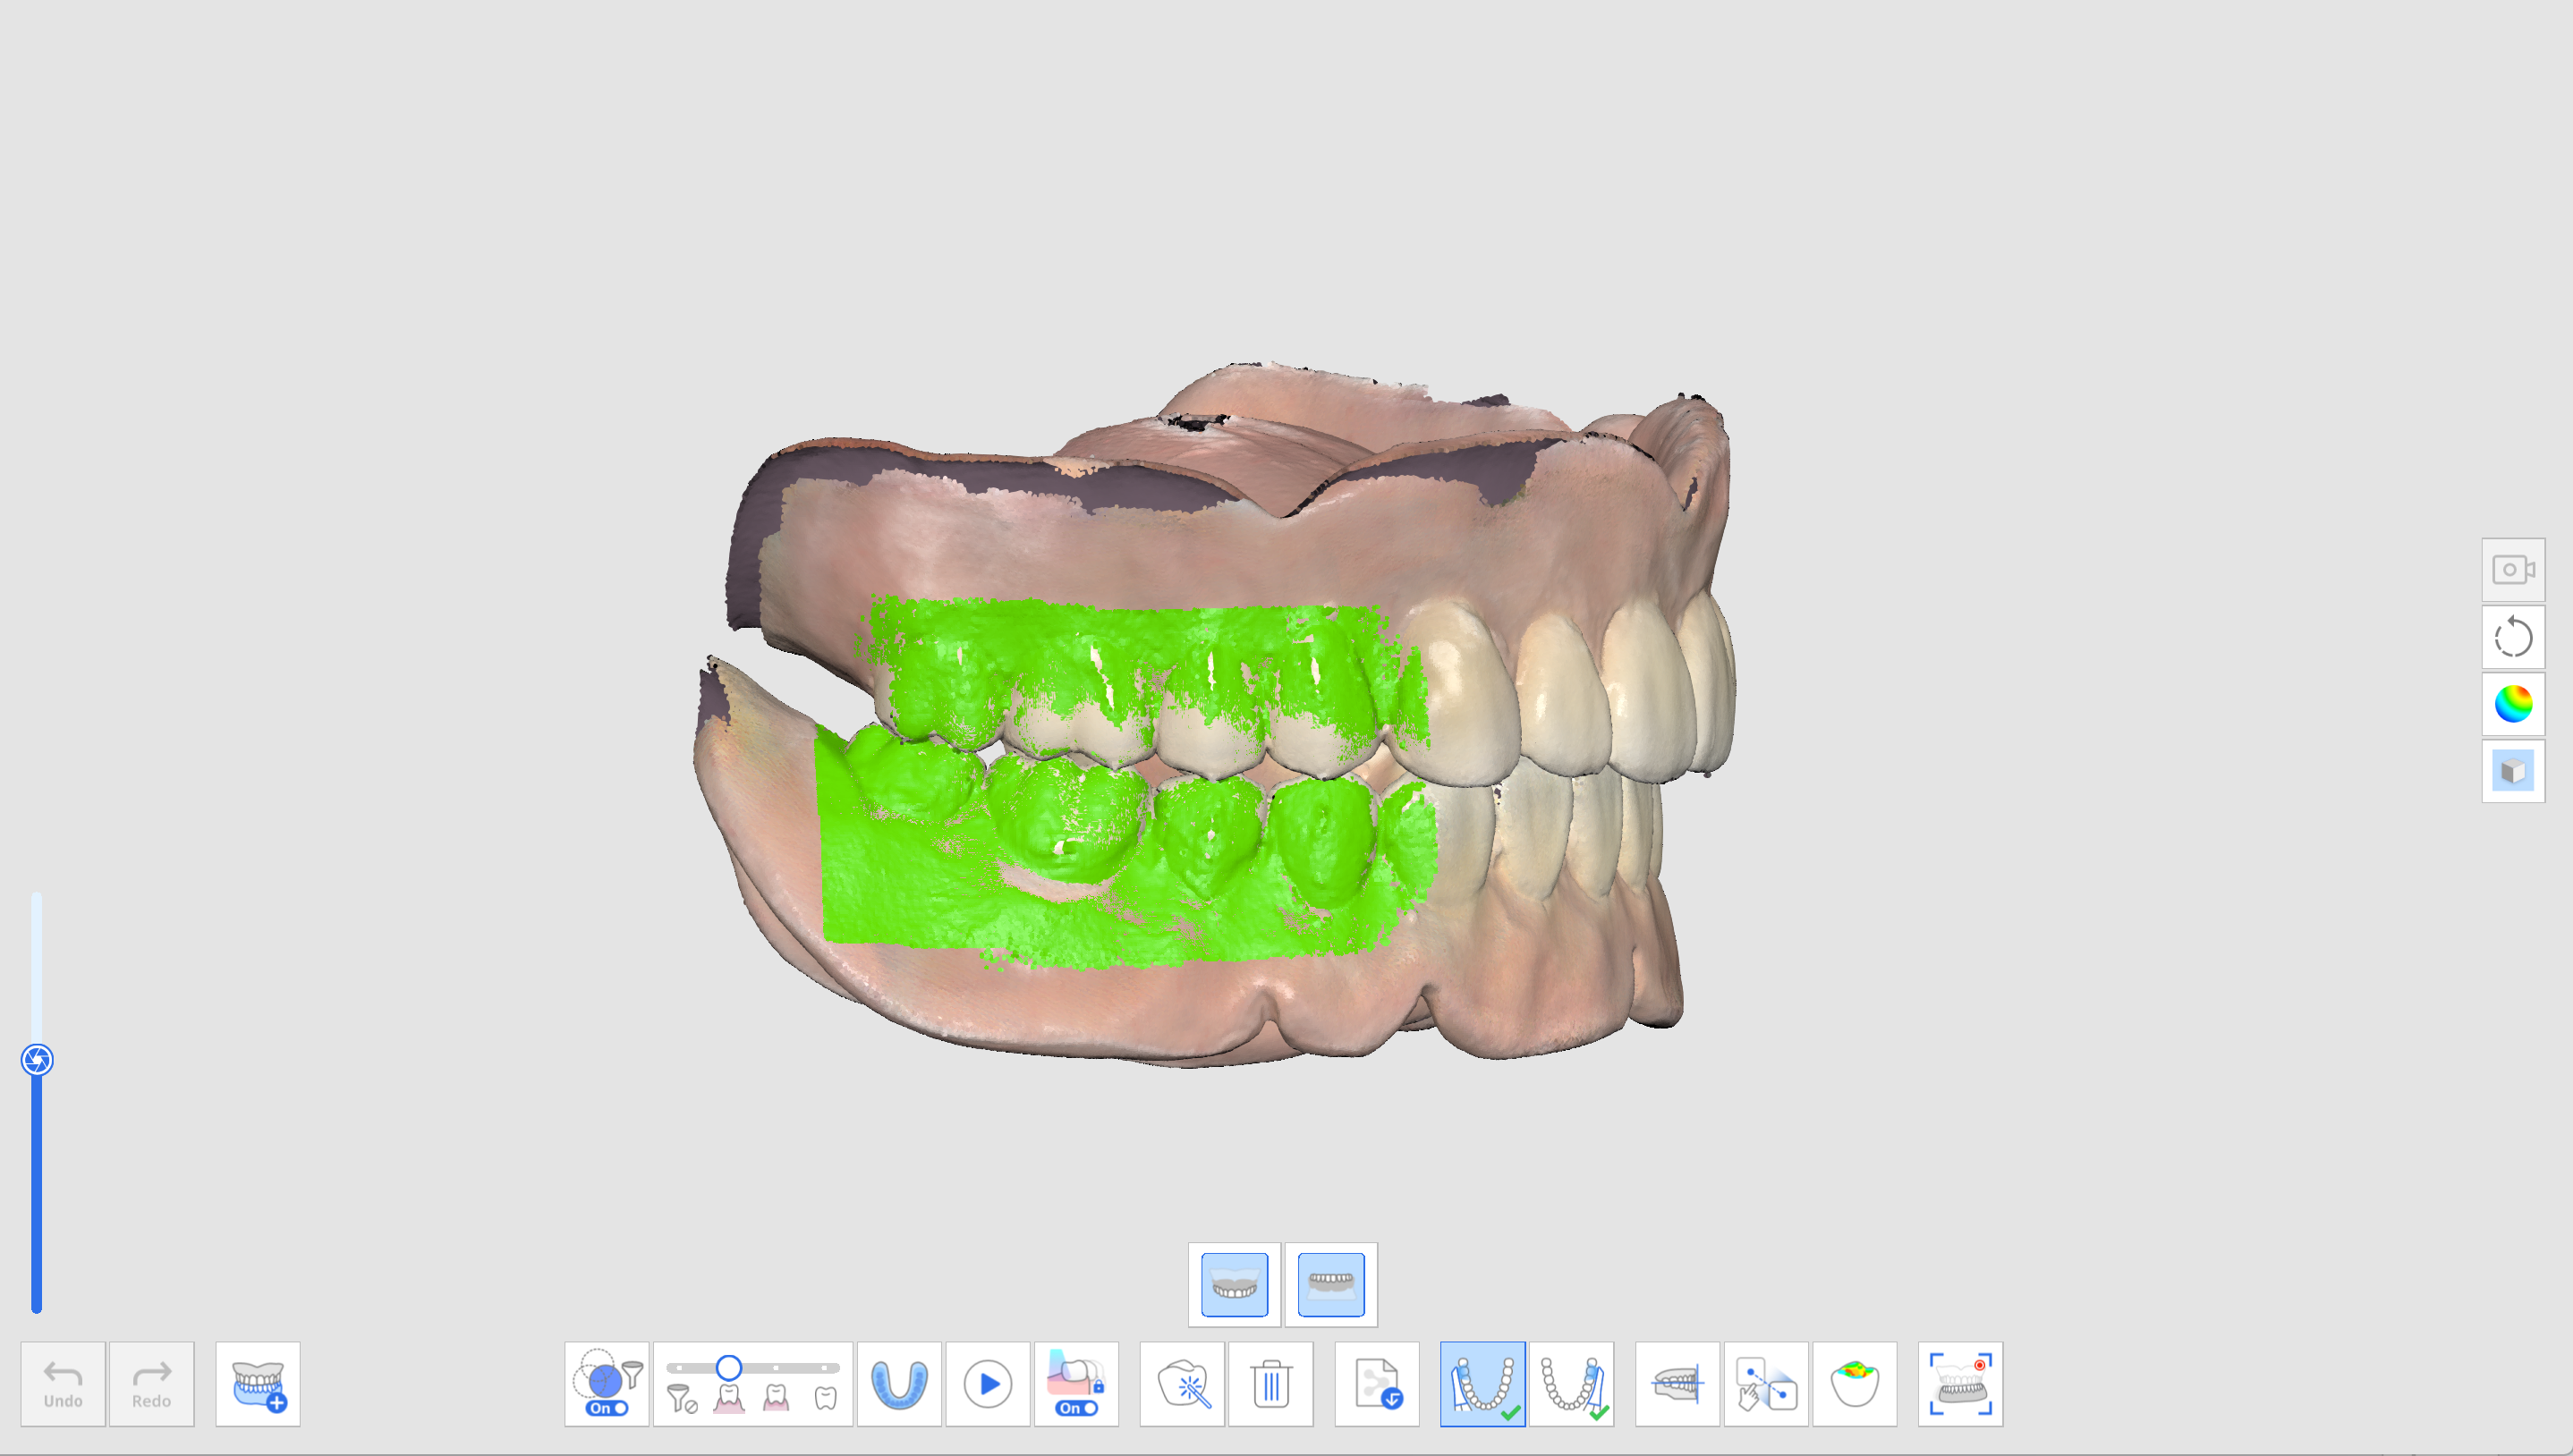
- Scan the denture occlusion at the Occlusion scan stage. The data can be utilized in CAD.
Relined Denture Scan
Scan the denture without acquiring intraoral data from the patient. Scan the fitting surface of the denture at the Edentulous Mandible scan stage and the outer side at the denture stages.
- At the Edentulous Mandible scan stage, click "Relined Denture Scan" to scan in reverse mode.

- After moving to the next stage, scan the outside of the denture. The data from the previous stage will be copied and reversed since it will be used as the basis for denture alignment.
- Repeat the process for the maxilla.
- Scan the denture occlusion at the Occlusion scan stage. The data can be utilized in CAD.
Denture Replica
The following workflow of denture replica appears as Maxillary Denture > Mandibular Denture > Occlusion.
- Scan the maxillary denture.
- Scan the mandibular denture.
- Scan the denture data in the following order: fitting surface > border > polished surface and artificial teeth.
- Scan the denture occlusion at the Occlusion scan stage. The data can be utilized in CAD.

Implant Supported Denture
The following workflow of implant-supported dentures appears as Edentulous Maxilla > Maxillary Denture > Edentulous Mandible > Scan Body > Mandibular Denture > Occlusion.
- Acquire the data for the edentulous scan stages.
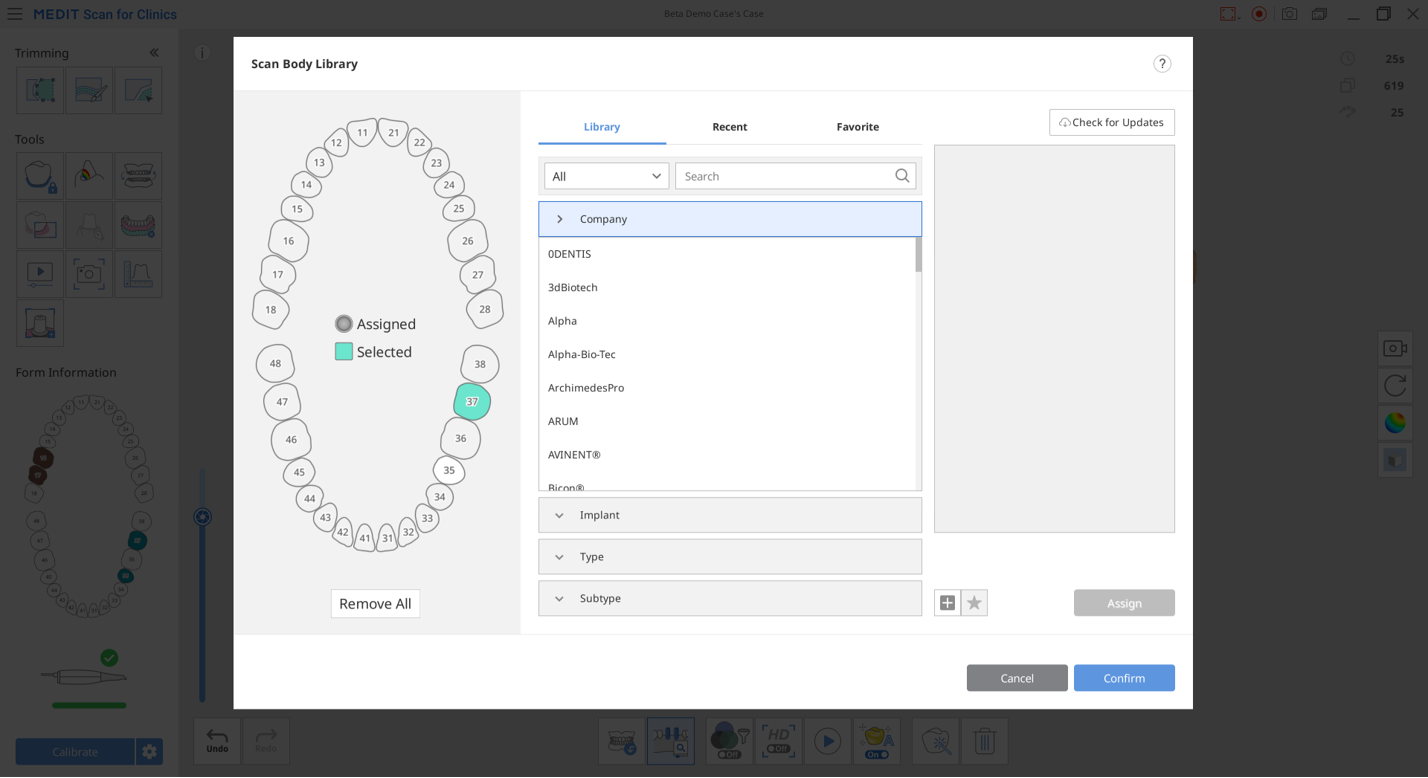
- Scan the scan body at the corresponding scan body scan stage.Utilize the "Scan Body Library Matching" tool to get precise scan body data from the pre-set library.
- Select a tooth number, find the corresponding scan body data in the library, and click "Confirm."
- Scan the denture occlusion at the Occlusion scan stage. The data can be utilized in CAD.