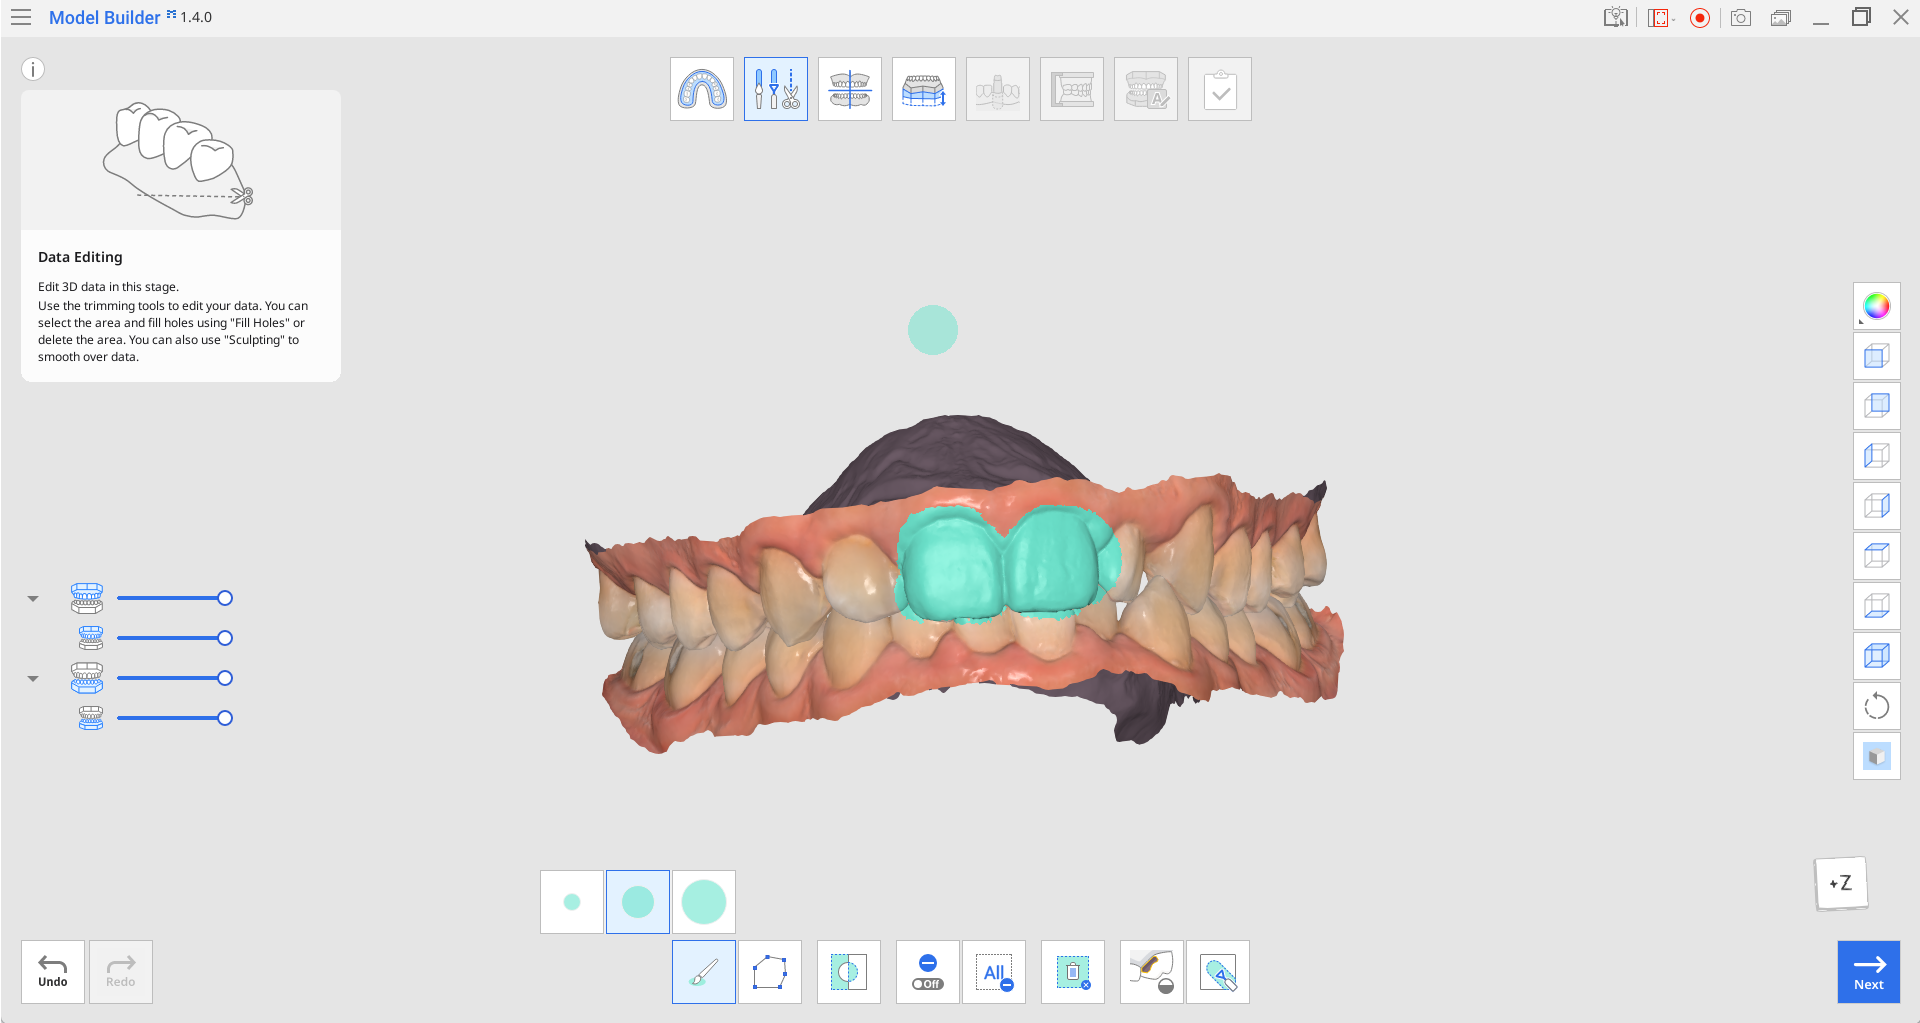
The goal of this step is to edit and prepare the scan data for further work. The Data Editing step provides tools for refining the imported scan data, removing the need for preparation in other programs. Clean scan data ensures a faster workflow and more accurate design results.
Using the available tools, users can trim excess or unnecessary data, modify the data surface, and fill any holes that may be present.
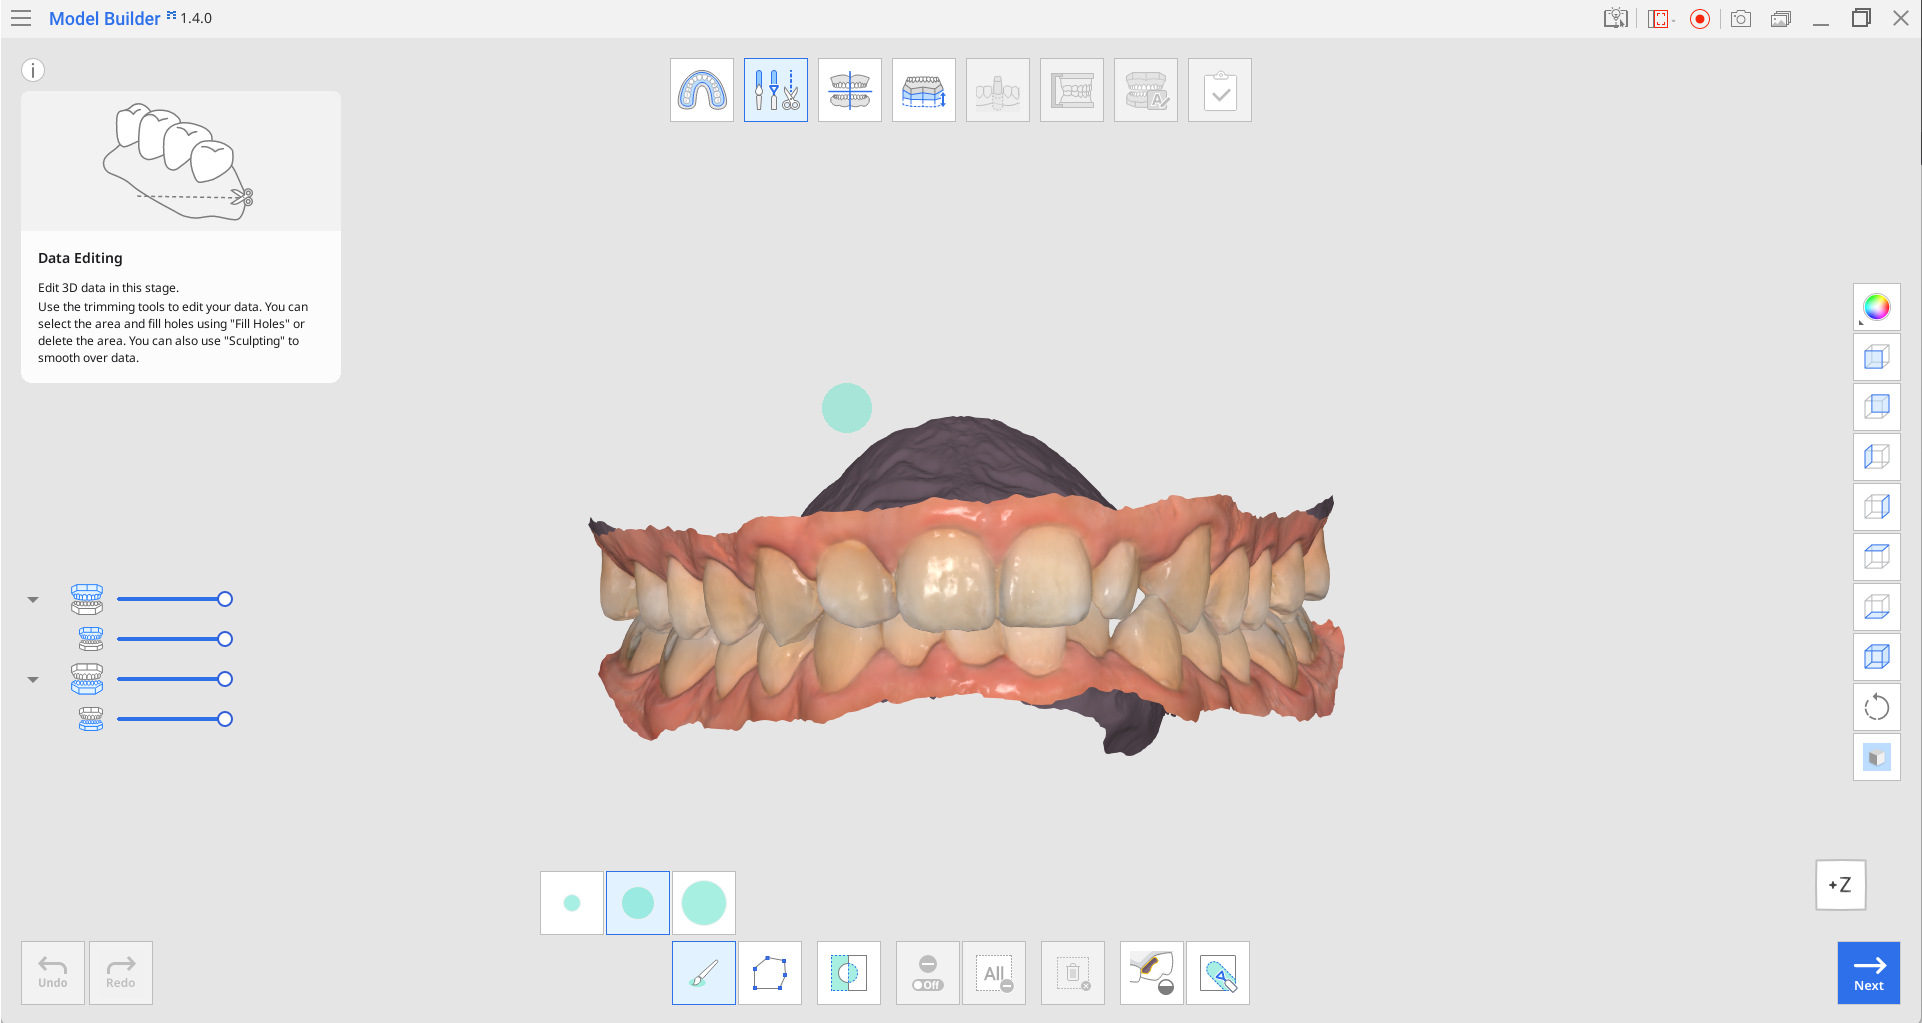
Toolbox
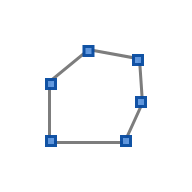
| Polyline Selection | Selects all entities within a polyline shape drawn on the screen. |
| Brush Selection | Select all entities on a freehand-drawn path on the screen. Only the front face will be selected. The brush comes in three different sizes. |
| Invert Selected Area | Invert the data selection. |
| Deselection Mode | When on, this function deselects the area using various tools. |
| Clear All Selection | Clear all selected areas. |
| Delete Selected Area | Delete the data from the selected area. |
| Fill Holes | Fill empty spaces in the 3D mesh data. |
| Sculpting | Sculpt data by adding, removing, smoothing, or morphing. |


How to Edit Data
Use various tools to select the area you would like to edit.
🔎Note
The "Polyline" tool removes all the data within the polyline shape drawn on the screen while the "Brush" tool removes only the front-facing data.
You can revert the selection by clicking “Invert Selected Area.”

To delete the selected area, click the “Delete Selected Area.”
How to Fill Holes in Data
Using the “Fill Holes” function, you can fill in the holes left from scanning or fill in the areas deleted in the program.
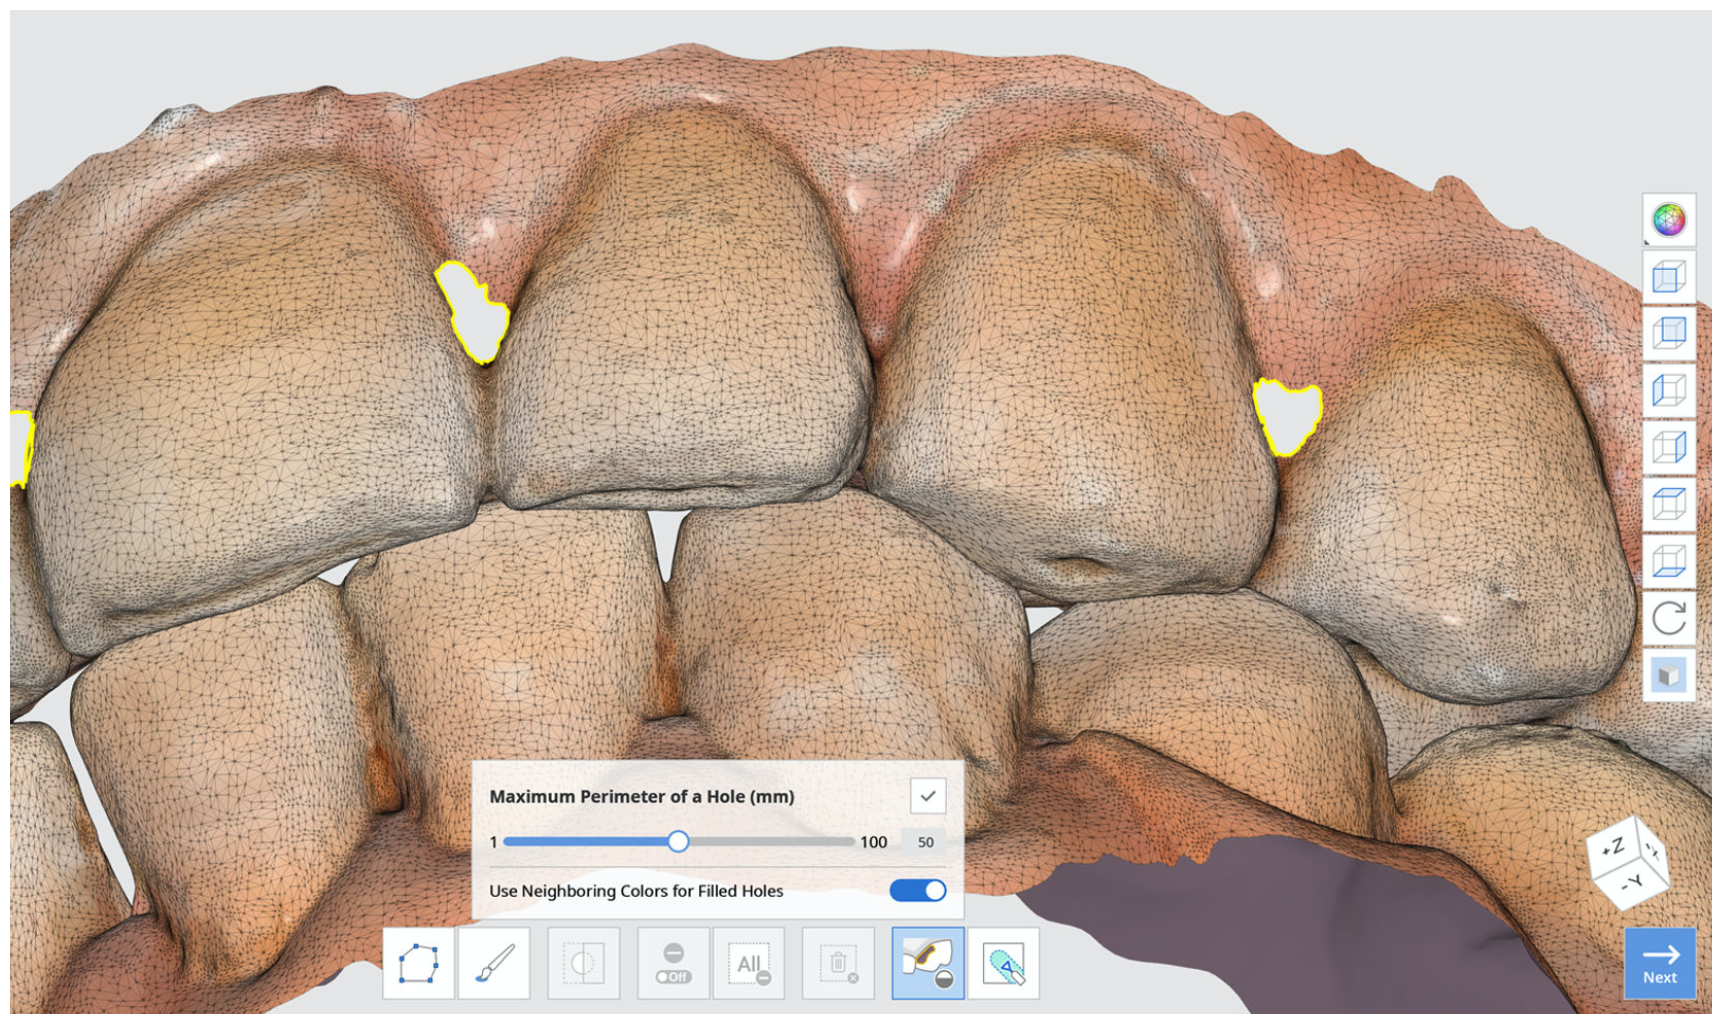
Maximum Perimeter of a Hole (mm): Set the maximum size of holes (mm) to be filled up. Note that any holes exceeding the size you set will not be filled.
Use Neighboring Colors for Filled Holes: When the “Use Neighboring Colors for Filled Holes” box is checked, the program will use the colors around the holes for filling. Otherwise, the filled areas will be grey.
Press the “Apply” button to apply the results.
How to Sculpt Data
You can make changes to data by sculpting it using such tools as “Add,” “Remove,” “Smooth,” “Morph.”
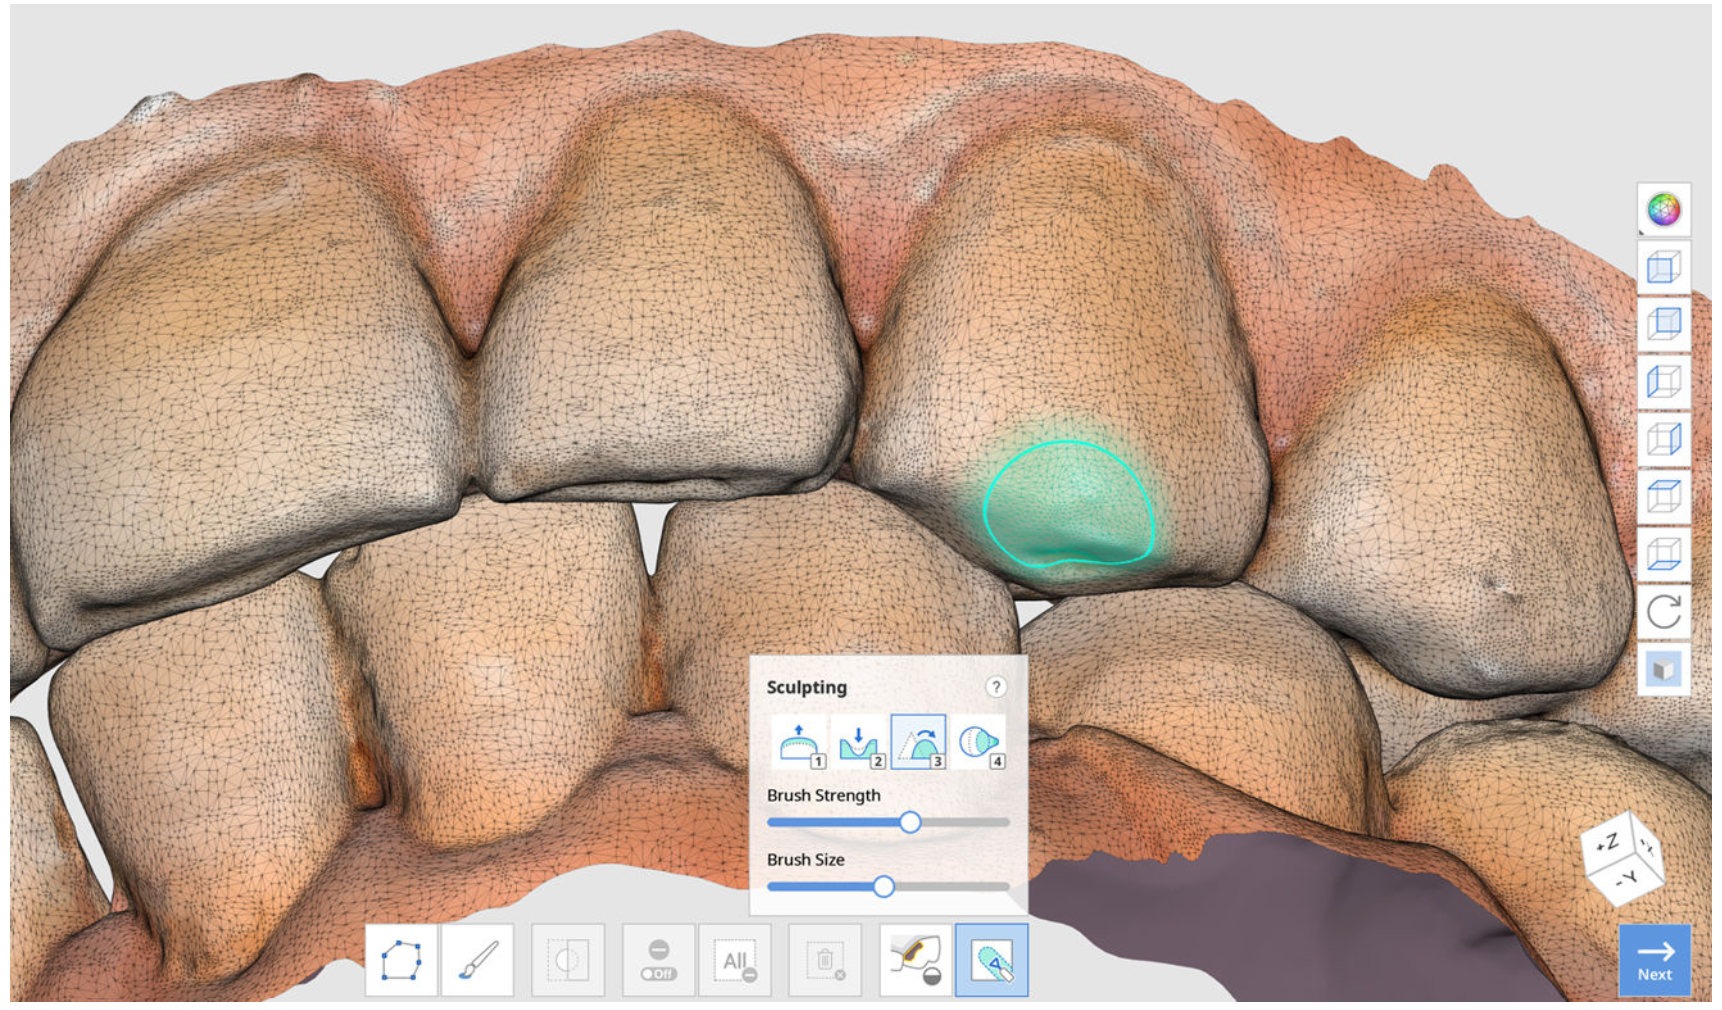
Toolbox: Sculpting
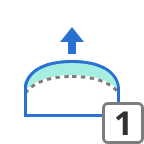
| Add | Use the mouse to add on parts of the data. Hotkey: 1 |
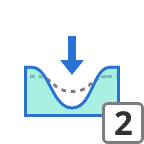
| Remove | Use the mouse to remove parts of the data. Hotkey: 2 |
| Smooth | Use the mouse to smooth parts of the data. Hotkey: 3 |
| Morph | Use the mouse to morph parts of the data. Hotkey: 4 |