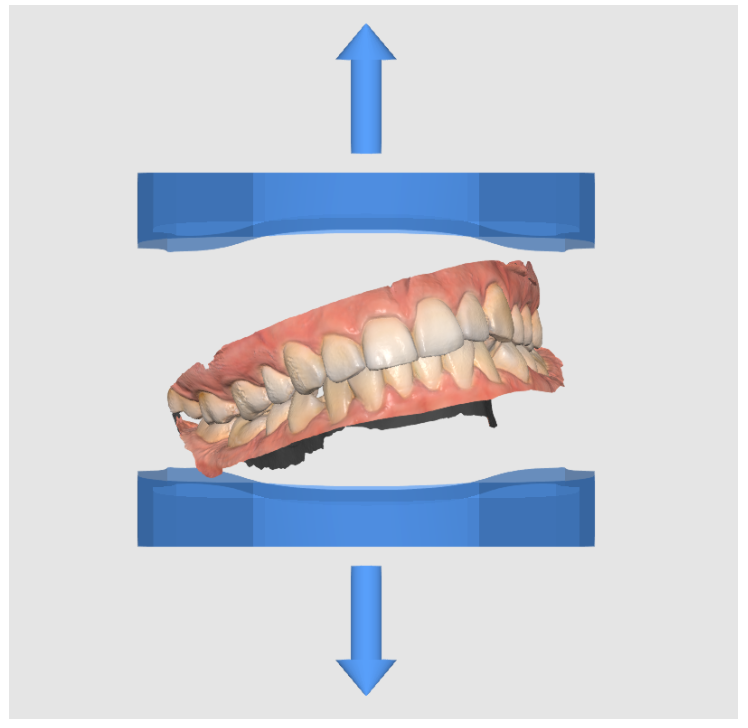
Align the data with the virtual occlusal plane to properly place the data on the base.
If the alignment has already been done in Medit Scan for Clinics or Medit Scan for Labs, you can skip this step. However, we recommend checking the alignment to ensure proper positioning of the data on the base.
Toolbox
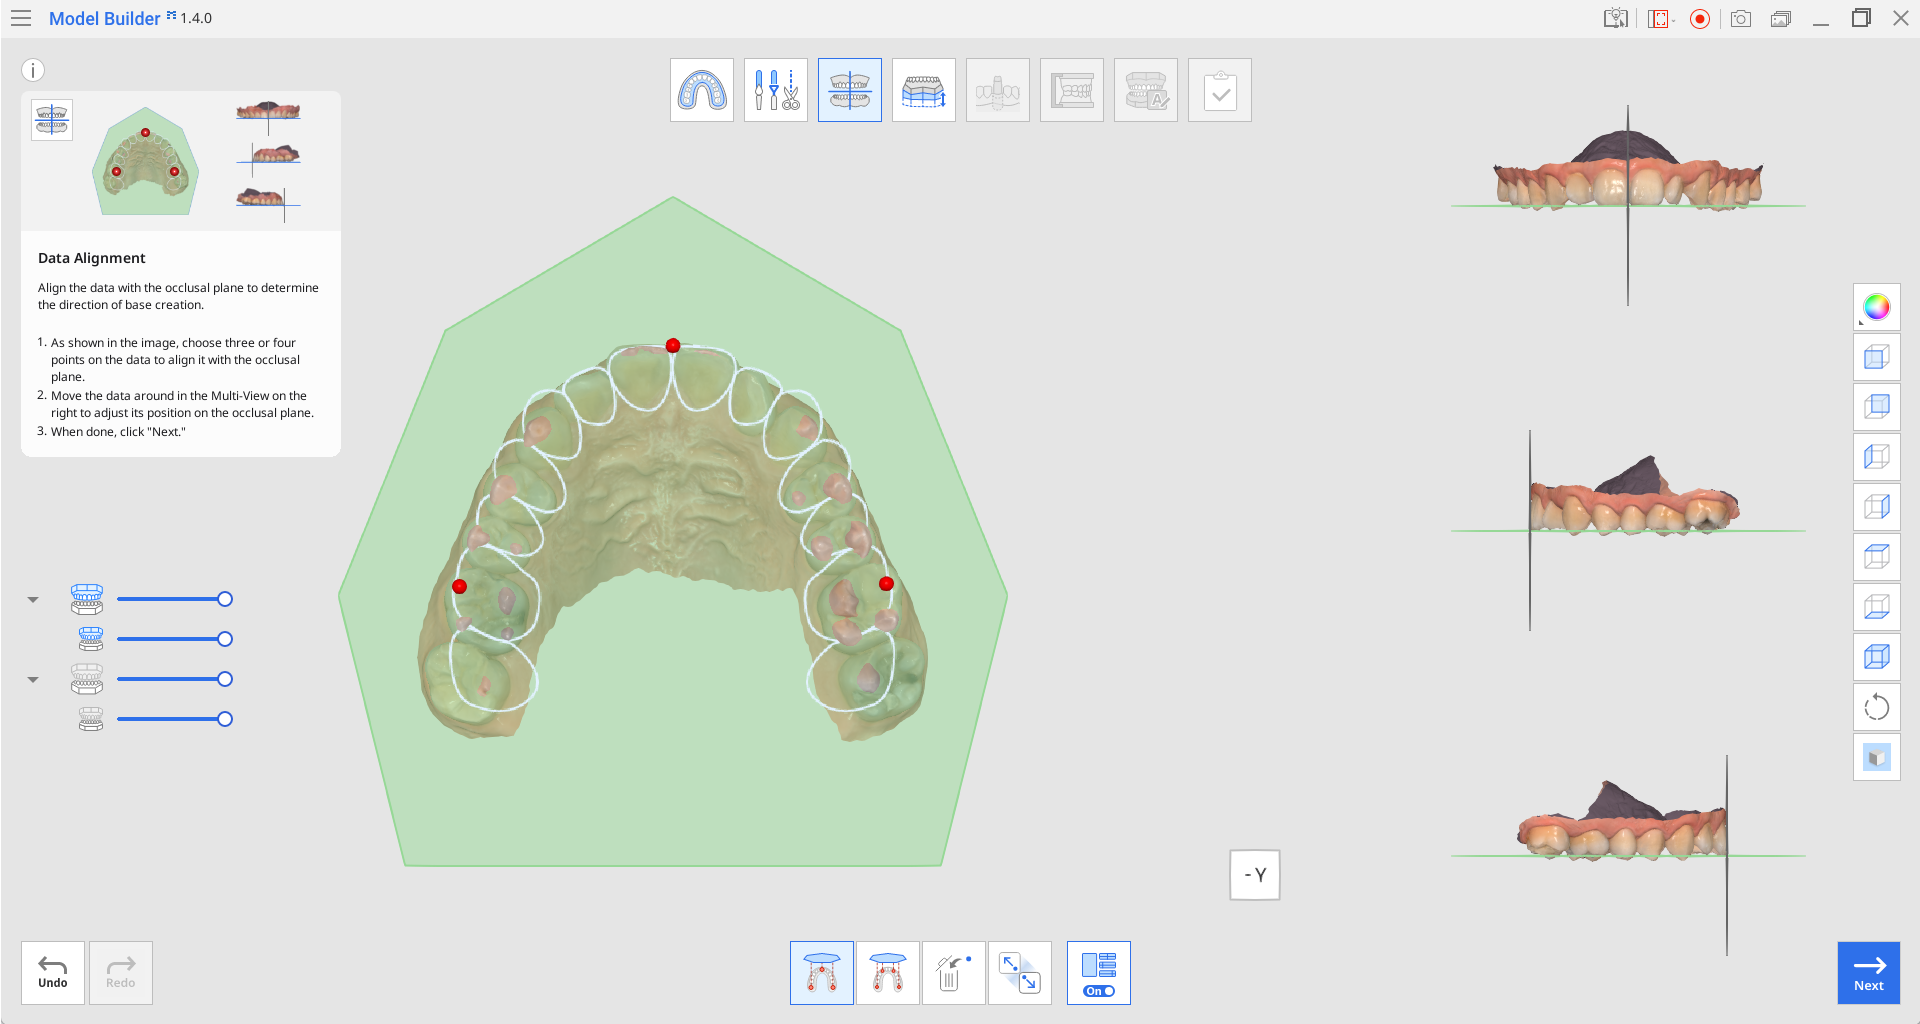
| Align with Occlusal Plane by Three Points | Select three points on the maxilla or mandible to align with the occlusal plane. |
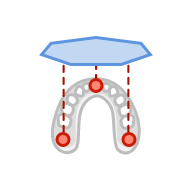
| Align with Occlusal Plane by Four Points | Select four points on the maxilla or mandible to align with the occlusal plane. It is beneficial when there are no anterior teeth. |
| Delete Marker Point | Remove the points selected for alignment. |
| Detach Data | Separate the aligned data and move it to the original position. |
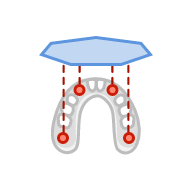
| Multi-View | When on, this function shows data from four different angles. |


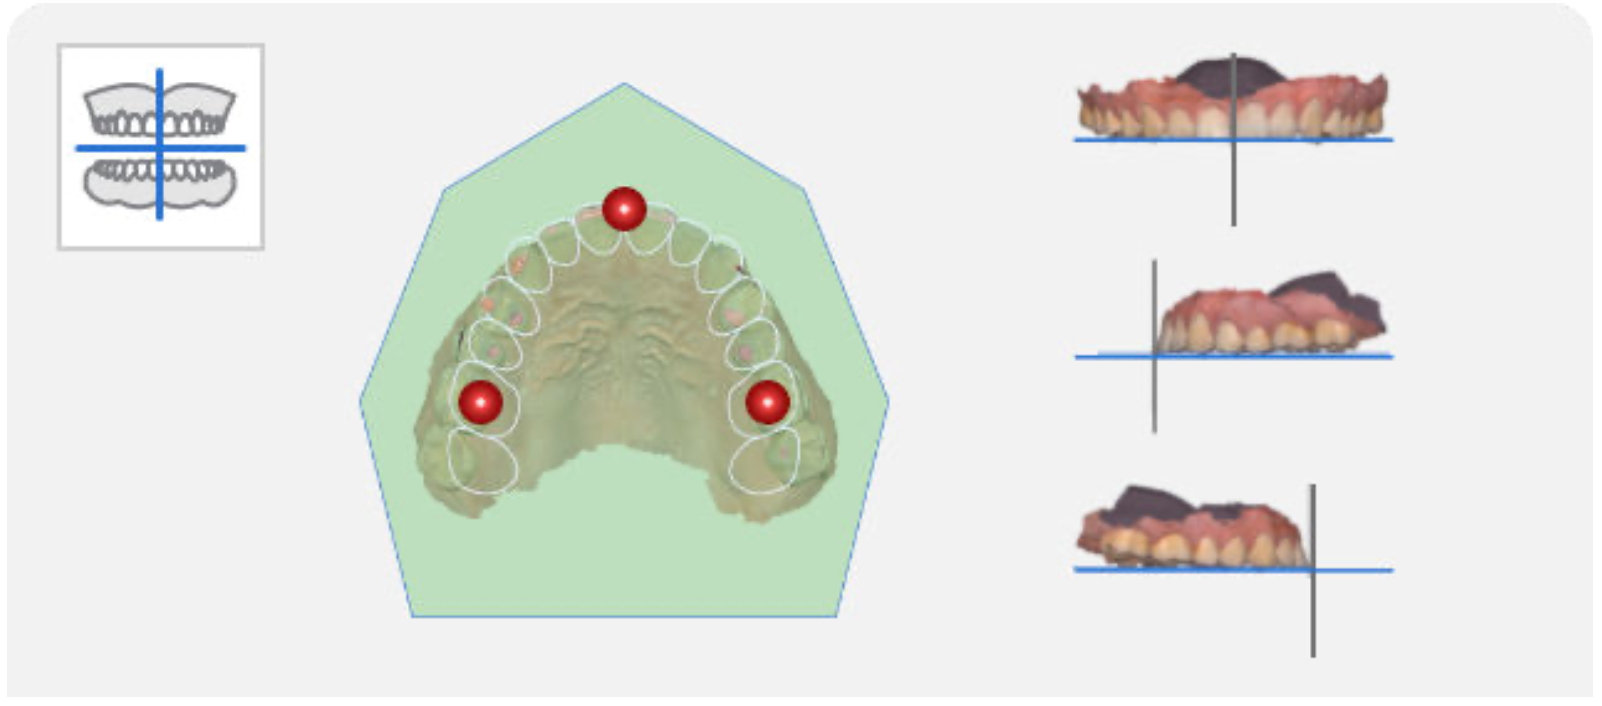
As shown in the image below, select three or four points on the data. Then it will be automatically aligned to the occlusal plane.
🔎Note
If there are no anterior teeth, click "Align with Occlusal Plane by Four Points" at the bottom of the screen and select four points on the corresponding teeth on both sides.
Adjust the data around in the Multi-View on the right to adjust its position on the occlusal plane.
Turn off the Multi-View to only show the occlusal plane part on the screen.

🔎Note
Use the View Cube at the bottom of each view for flexible 3D environment orientation.

🔎Note
As shown below, the base may not be created correctly if the model is misaligned. Make sure that the model is properly aligned for best results.
Click “Next” when finished.