The Base Creation step is the key to model creation. You can select the base type and adjust it across various parameters such as base height, wall thickness, number of drain holes, and more.
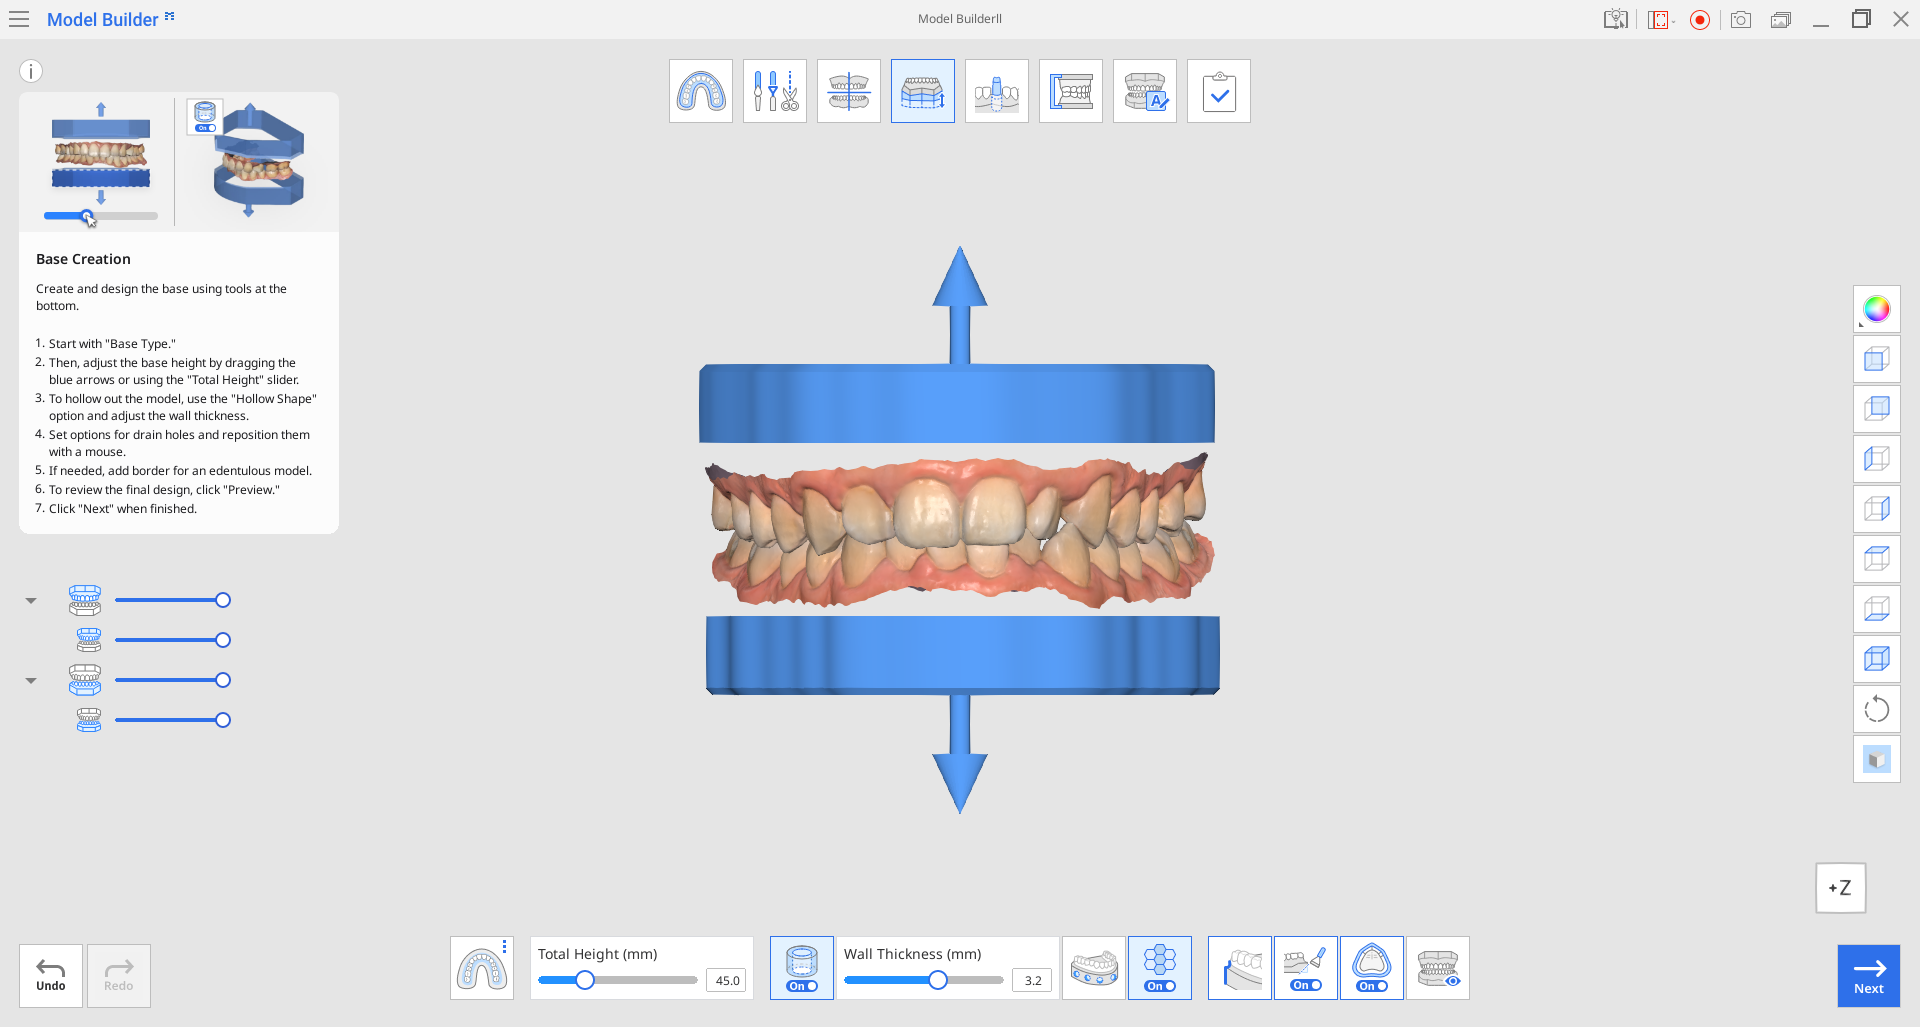
Toolbox
| Base Type | Select one of the available base types: ABO, Plate, or Plateless Model. |
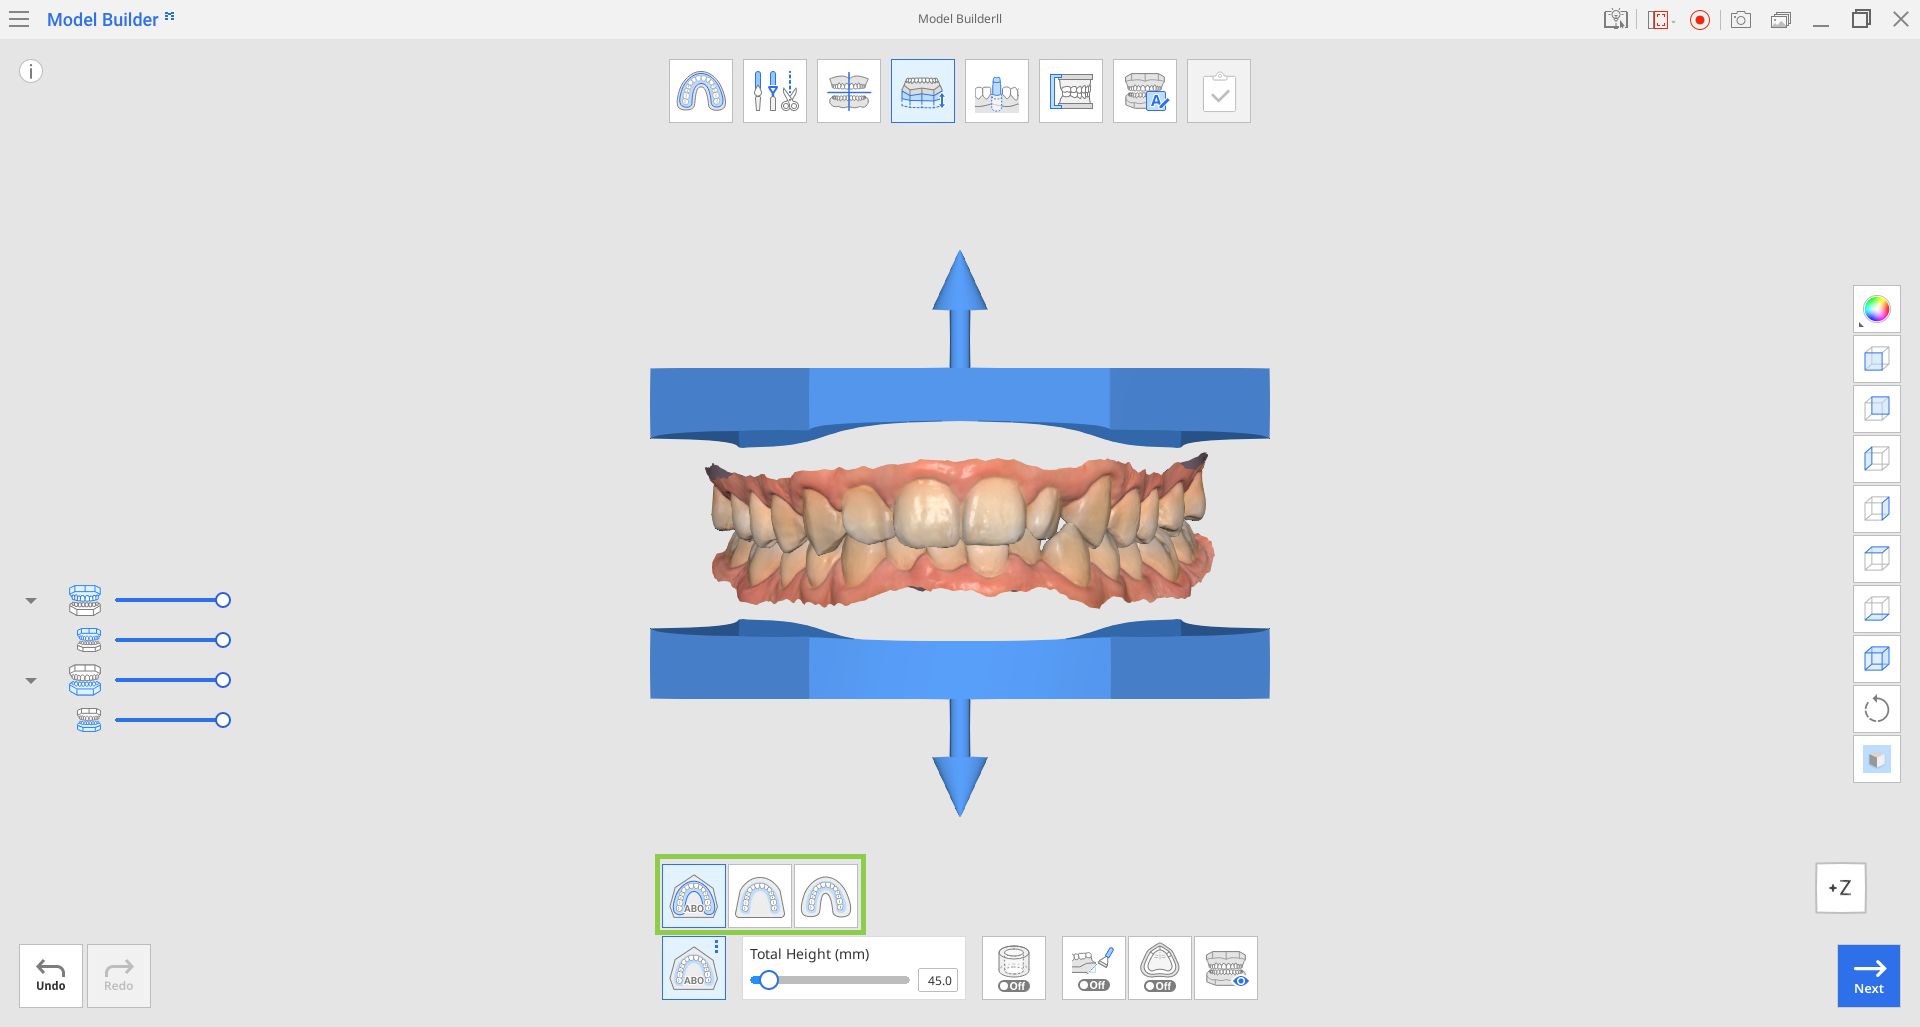
| Total Height (mm) | Use this slider to adjust the total height of the model, including the base and scan data.
|
| Hollow Shape | Hollow out the base and adjust the wall thickness.
|
| Wall Thickness (mm) | Use this slider to adjust the thickness of the walls once you choose to hollow out the model.
|
| Straight / Curved (Straight) | Make the base at the edge of the scan data straight.
|
| Straight / Curved (Curved) | Make the base at the edge of the scan data curved.
|
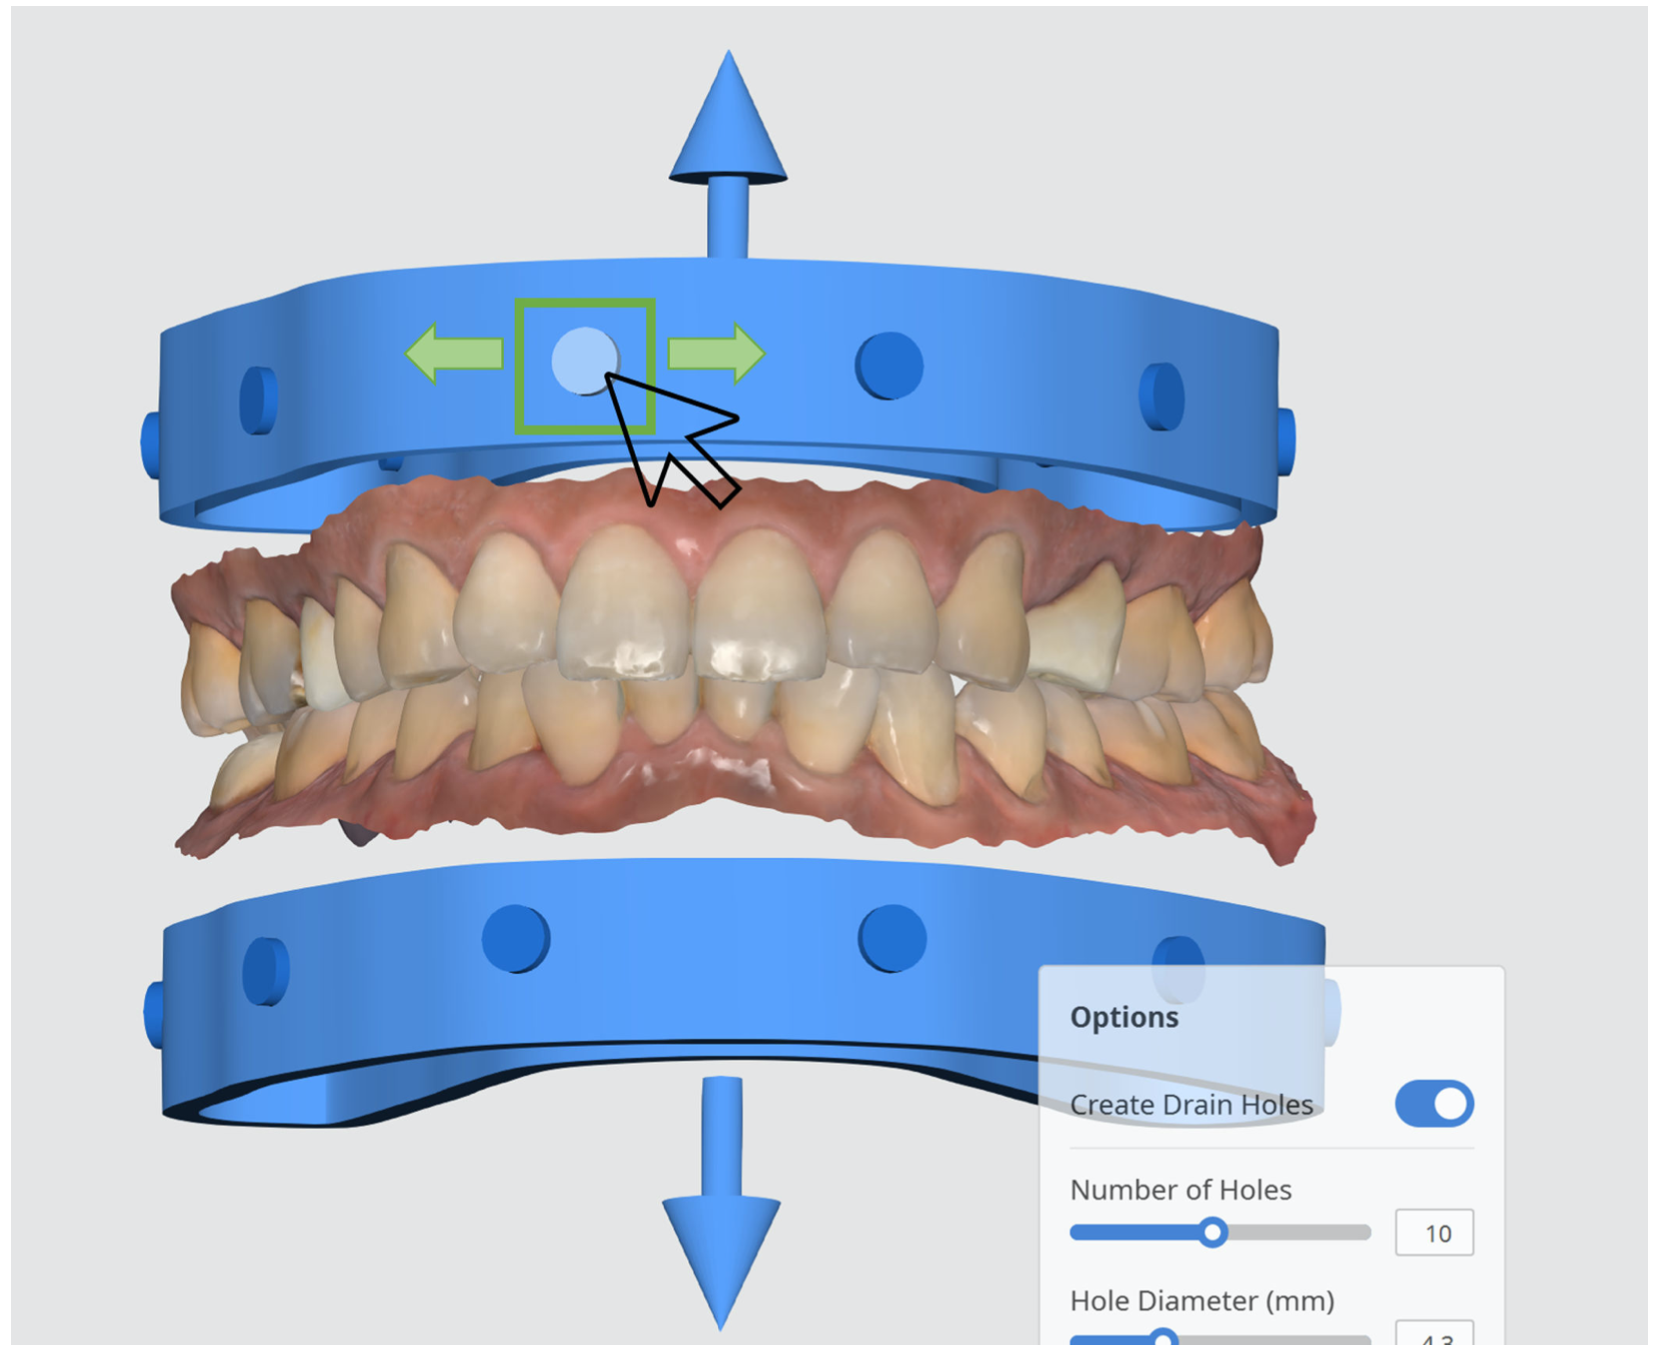
| Create Drain Holes | Create drain holes to drain out uncured resin and set their quantity, diameter and distance from the base. You can click on the circle to freely move and place the drain hole wherever you like.
|
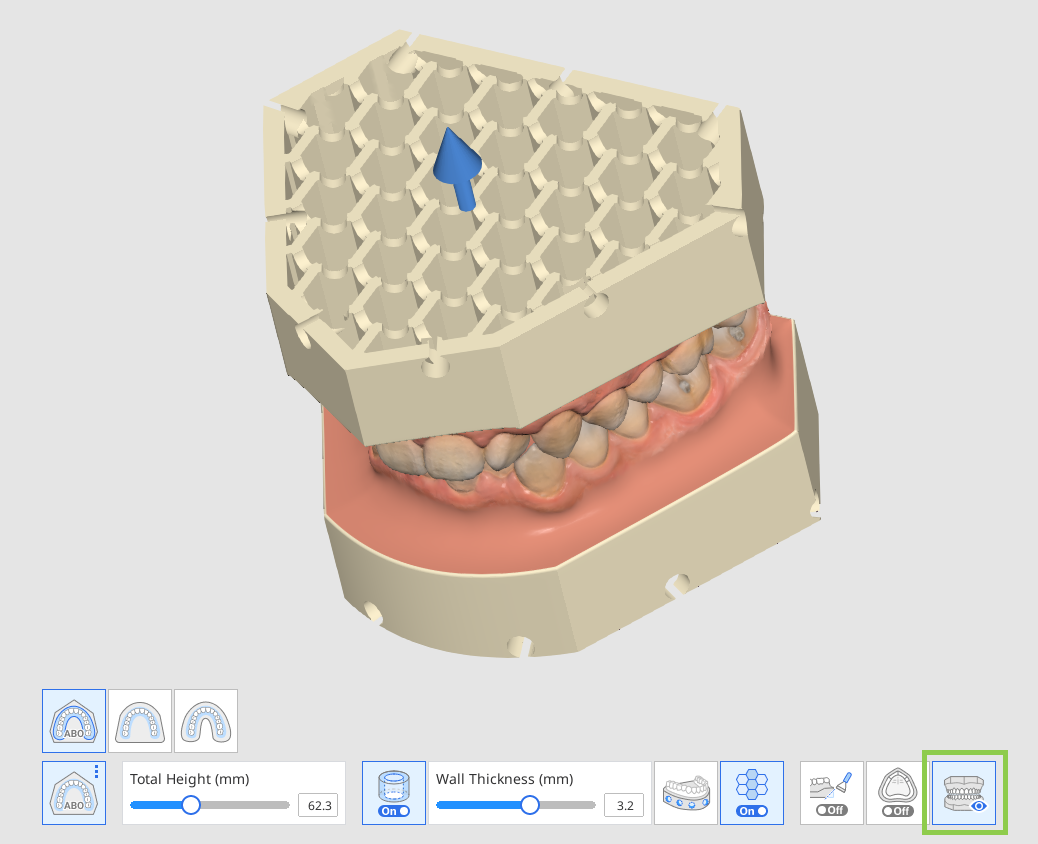
| Infill | Create a honeycomb structure inside the hollow base. |
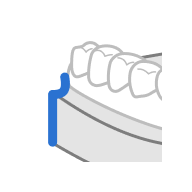
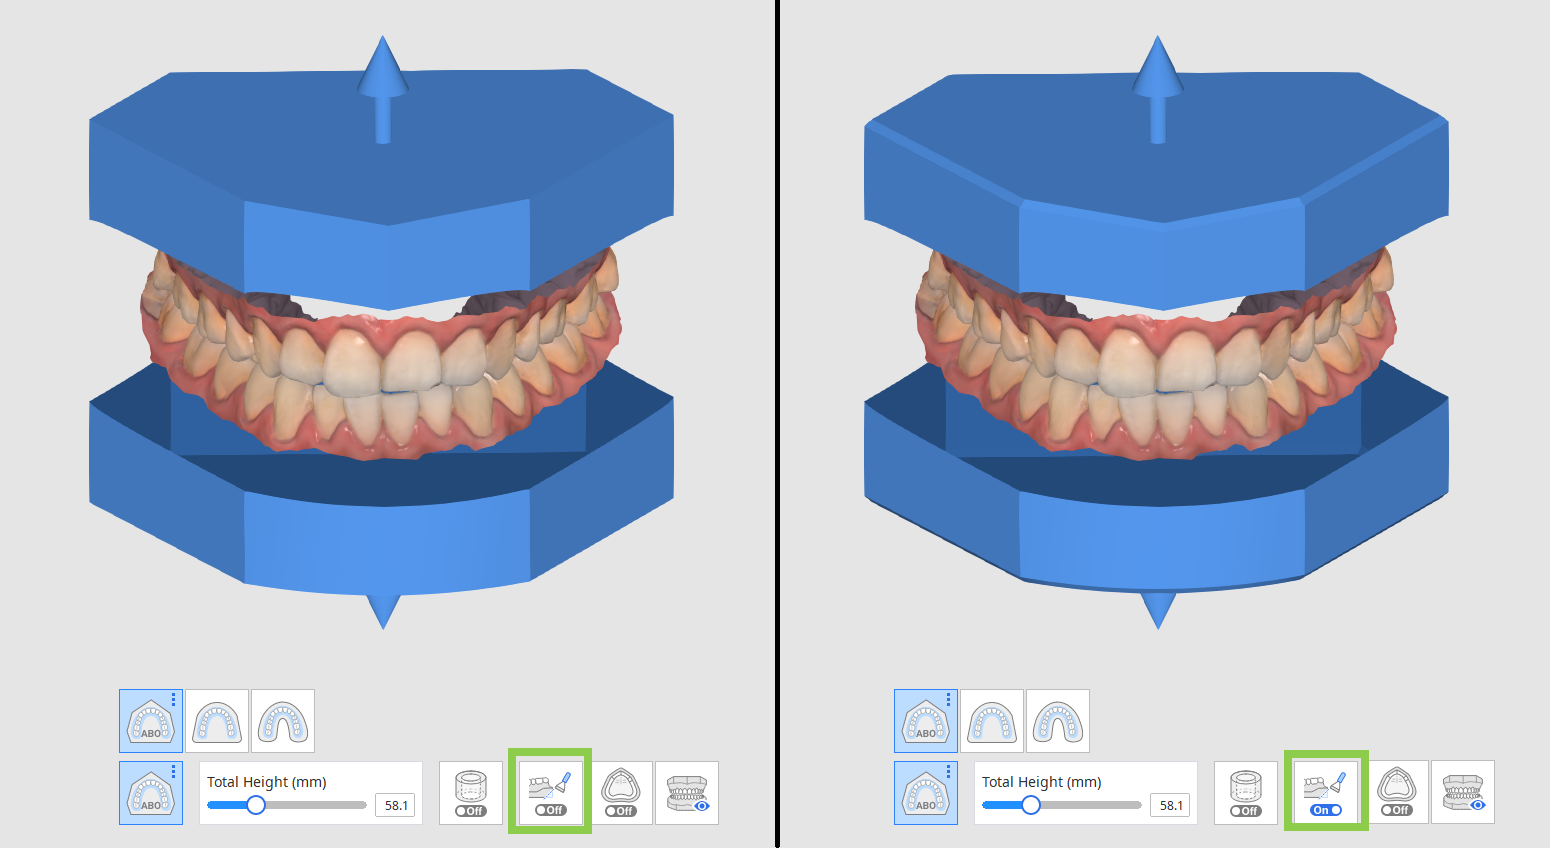
| Bevel | Turn on to create a bevel. |
| Border | Create a thicker outline at the junction between the edentulous data and the model base for enhanced printing stability. |
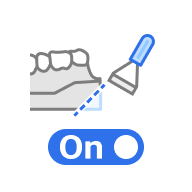
| Preview | Preview the model before moving to the next step. |


🔎Note
Check out the difference between straight and curved bases below.
Straight | Curved |
|---|---|
|
|

First, select a base type among the three available options: ABO, plate, and plateless.
| ABO | Create an ABO model. This orthodontic option creates a maxillary base with seven angles, while the mandibular base takes an elliptical form. |
| Plate | Create a plate model. The plate will follow the shape of the scan data. |
| Plateless | Create a plateless model. Usually made in a horseshoe shape, the base will recreate the shape of scan data. |


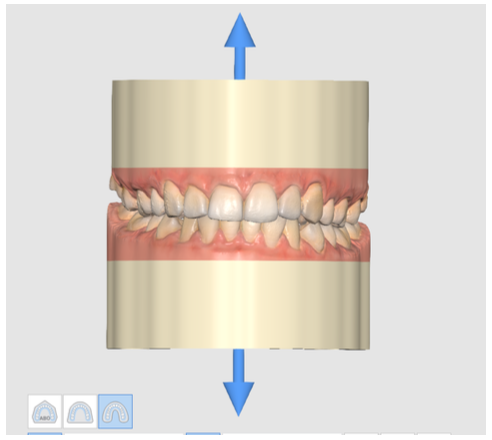
You can adjust the height of the base using the up/down arrows located by the scan data. Or use the slider at the bottom to get precise measurements.
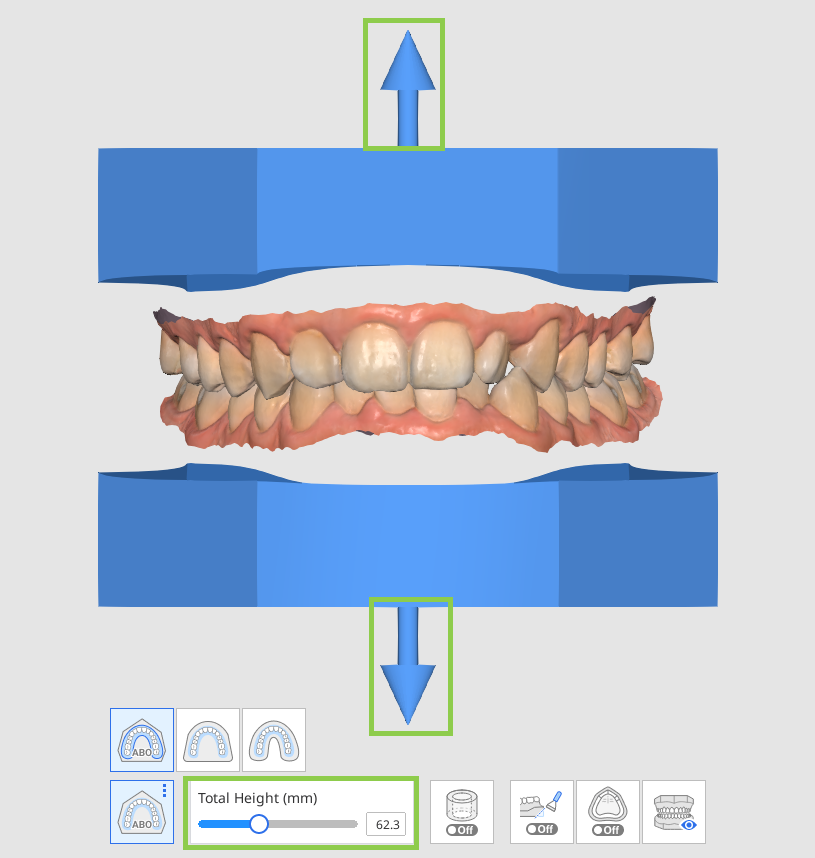
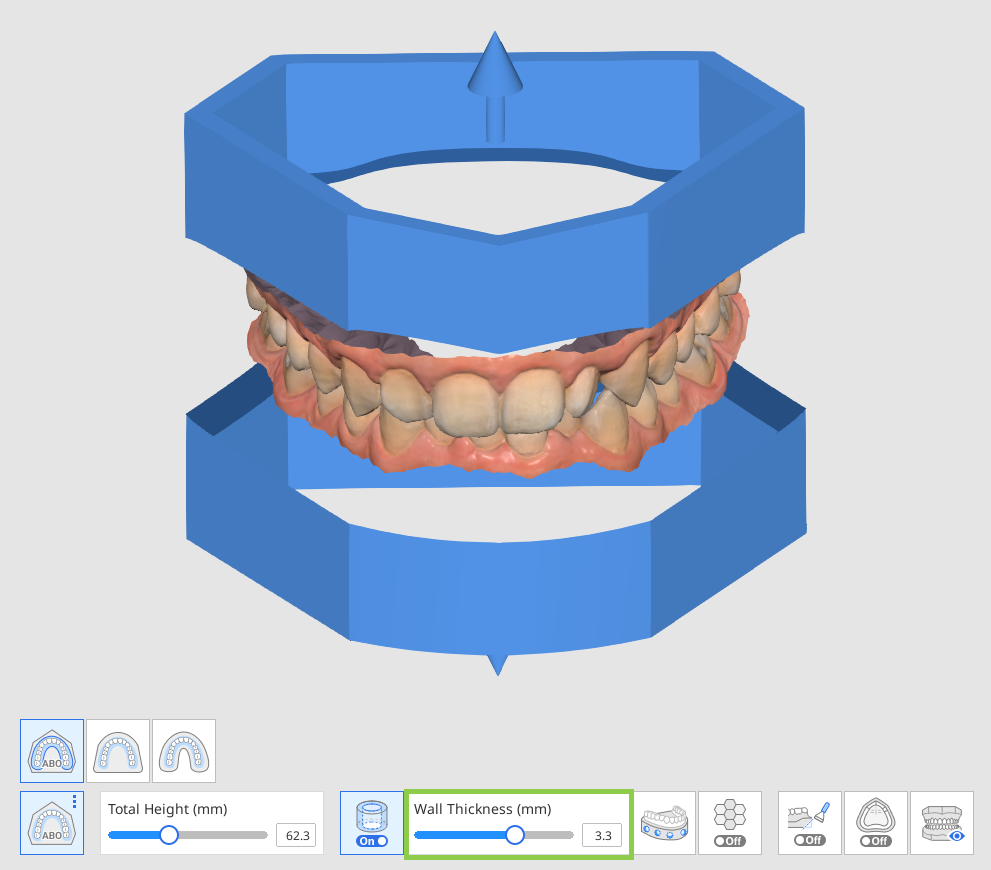
If you want the base to be empty inside as shown on the image below, turn on “Hollow Shape.”
The hollowed-out base can be further customized by adjusting the wall thickness.
Create drain holes for hollow models by clicking the “Create Drain Holes” icon at the bottom and turning on the toggle. Check parameter options available for drain holes and adjust them as needed.
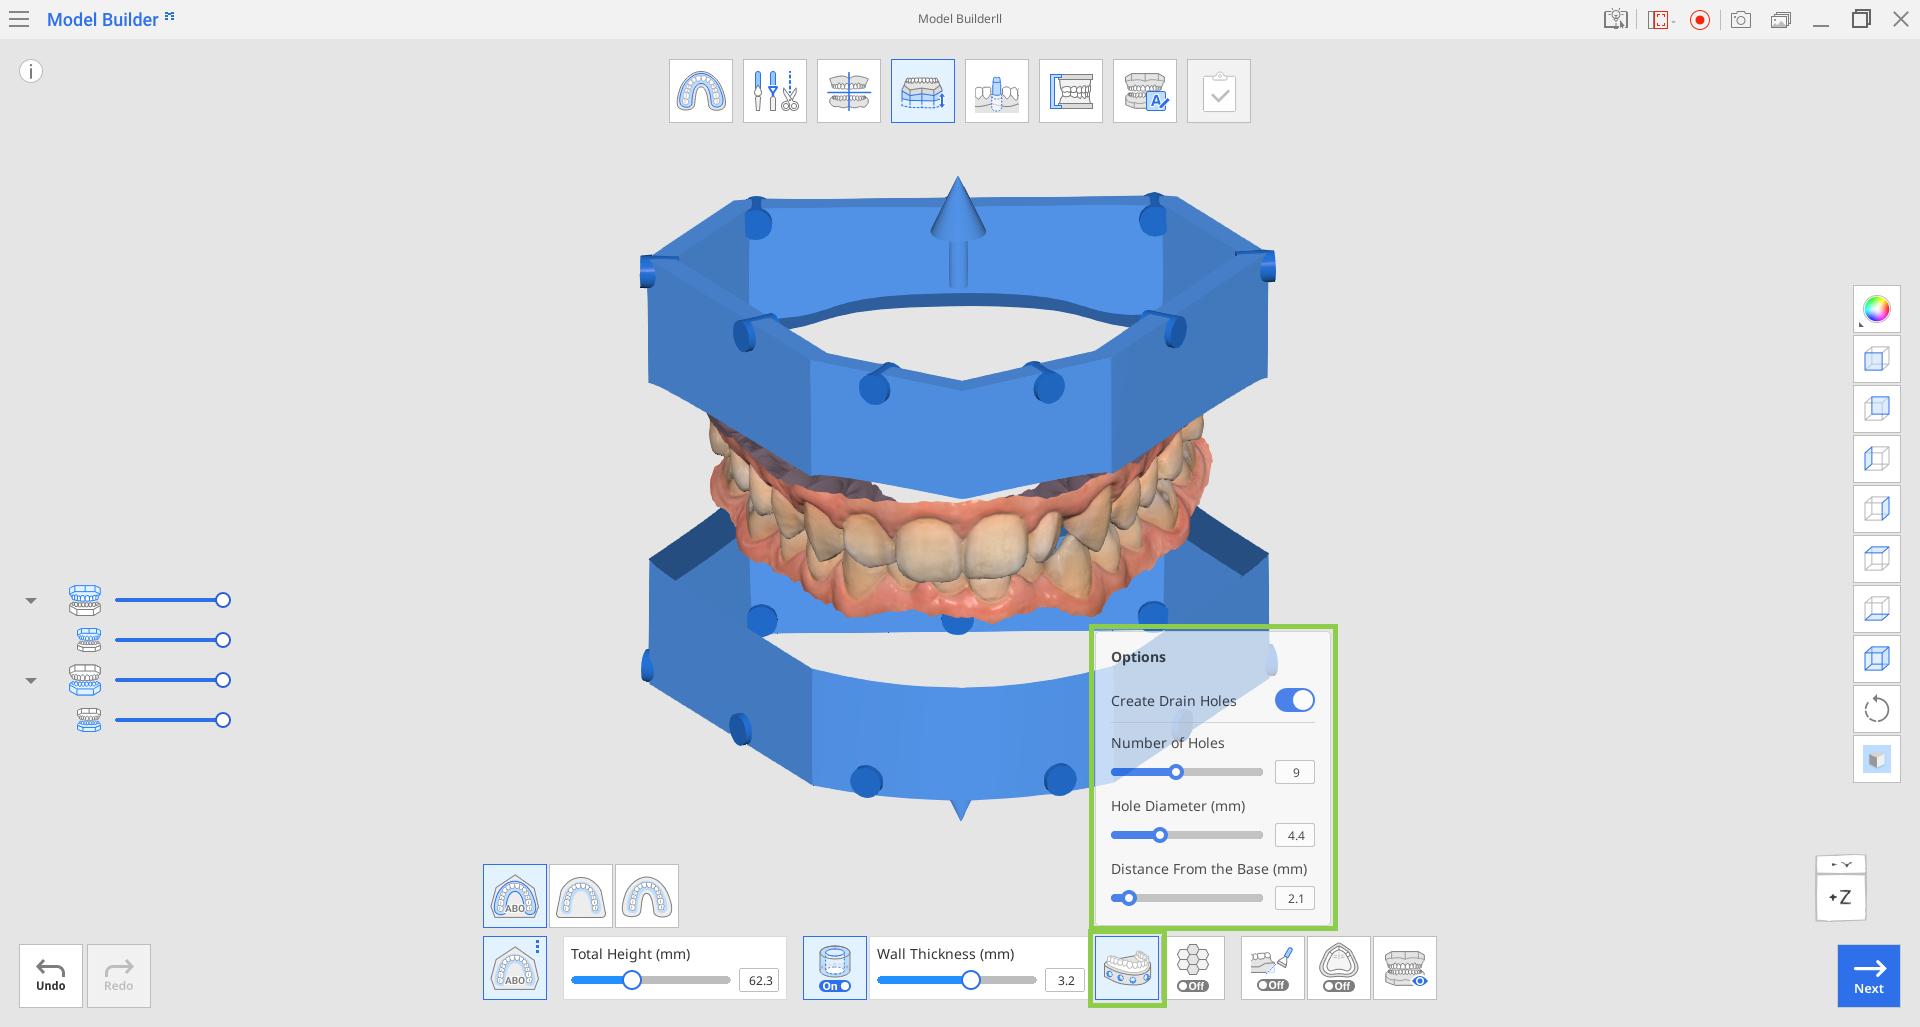
Parameter | Explanation |
|---|---|
Number of Holes | Specify the desired number (from 1 to 15) of drain holes for each arch. |
Hole Diameter (mm) | Specify the diameter of drain holes (applied to all of them) |
Distance from the Base | Specify the desired position of drain holes as counted from the base of the model. |
You can move the drain holes freely from left to right by clicking on the circle and dragging it horizontally.
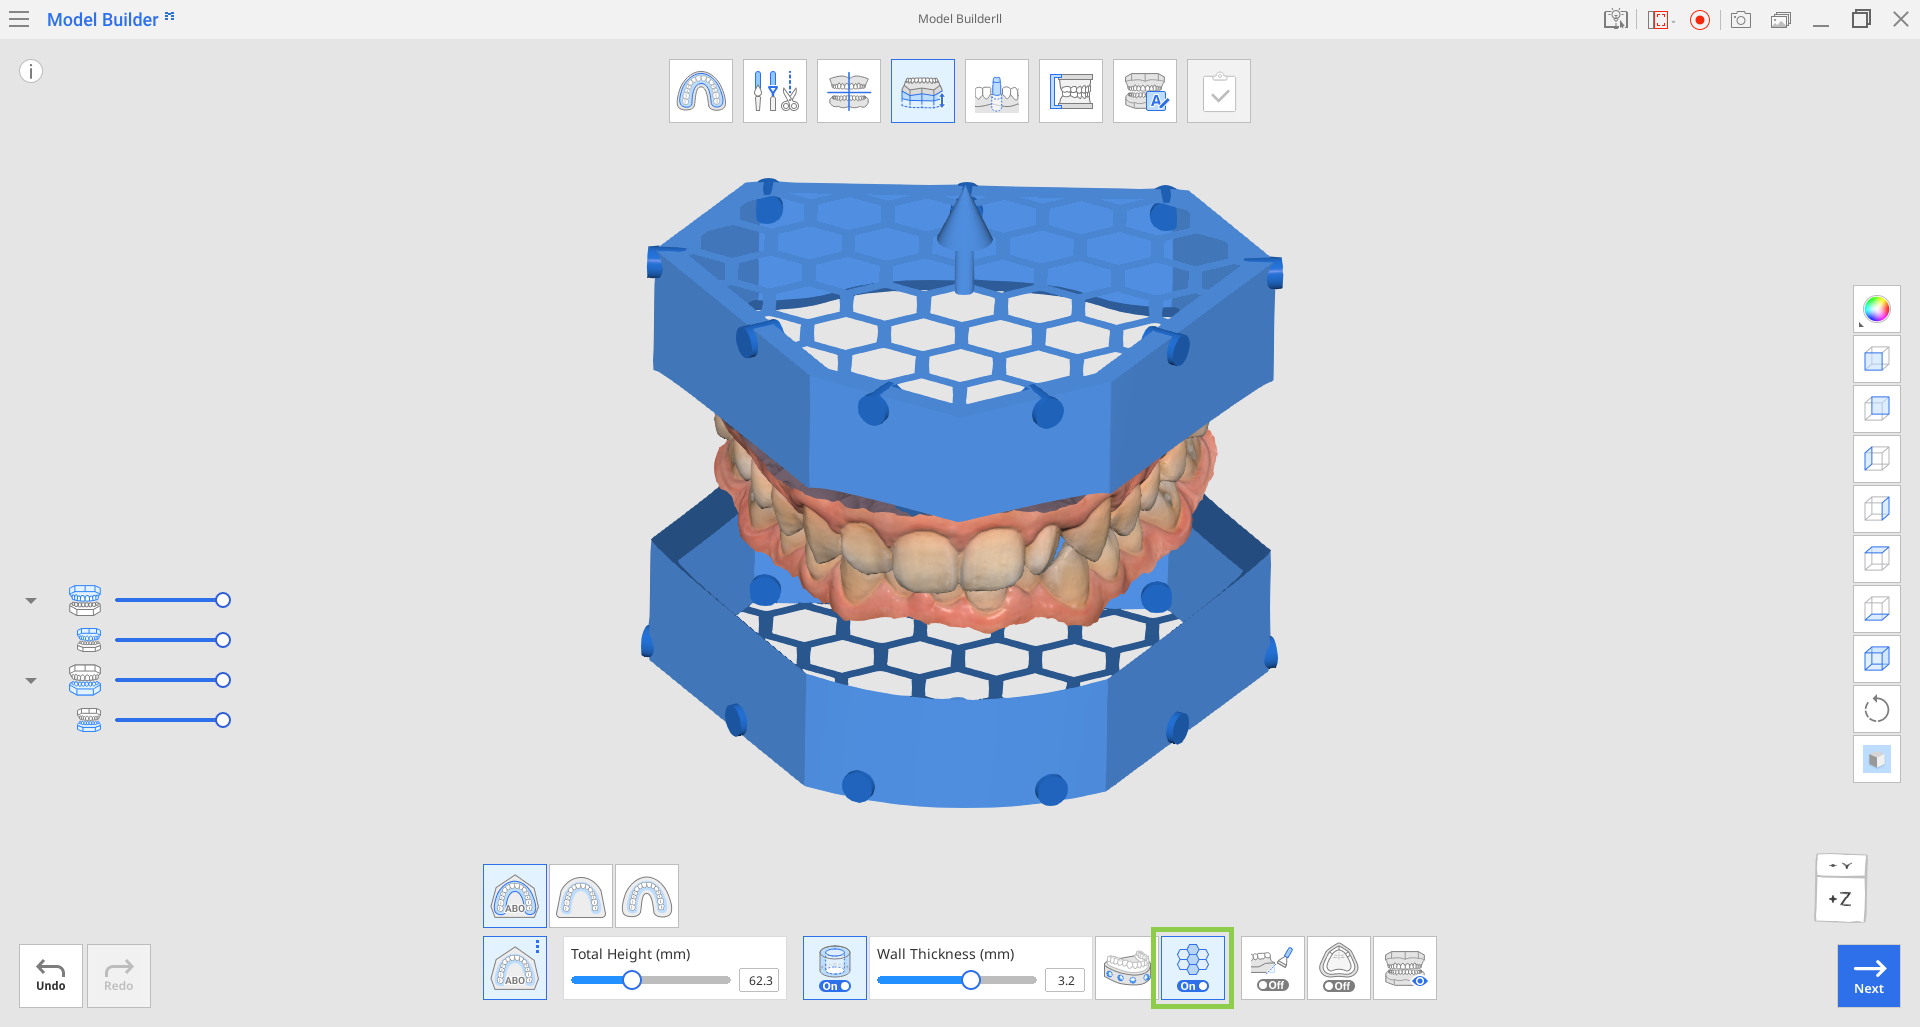
Turning on the “Infill” feature will create a honeycomb inside the hollowed-out base. This is a helpful feature for 3D printing as it will improve the strength of the printed model.
Click on "Bevel" to turn the toggle on and off. Turning the "Bevel" option on is helpful for 3D printing because it makes it easier to separate the printed model from the build plate.
When working with edentulous scan data, you can utilize the “Border“ feature to thicken the gingival outline at the junction between the scan data and the model base. This will enhance printing stability and improve clinical application of the printed models.
(1).png)
Before moving to the next mode, click “Preview” to visualize and examine all adjustments you have made in this mode.
Click “Next” when finished.