In the first step, the teeth portion of the scan data is automatically detected, and a section of the data is selected to designate the area that will be used to create the model base. Although this step is automated, it is recommended that the user review the selection to ensure accuracy.

Toolbox
| Split View | Show the maxilla and mandible in split view. |
| Show Maxilla | Show only the maxilla on the screen. |
| Show Mandible | Show only the mandible on the screen. |
| Expand Selection | Expand the automatically selected area on the scan data. |
| Polyline Selection | Select all entities within a polyline shape drawn on the screen. |
| Brush Selection | Select all entities on a freehand-drawn path on the screen. Only the front face will be selected. The brush comes in 3 different sizes. |
| Invert Selected Area | Invert the selection. |
| Deselection Mode | When on, this function deselects the area using various tools. |
| Clear All Selection | Clear all selected areas. |
| Reset | Undo all the actions done in this mode and restore all elements to their original position. |


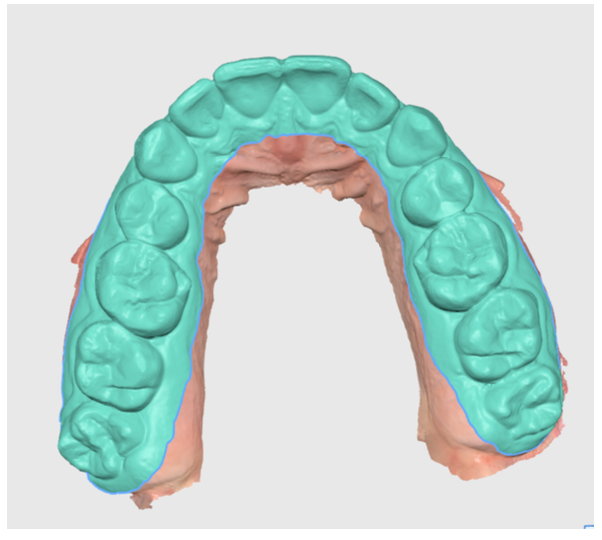
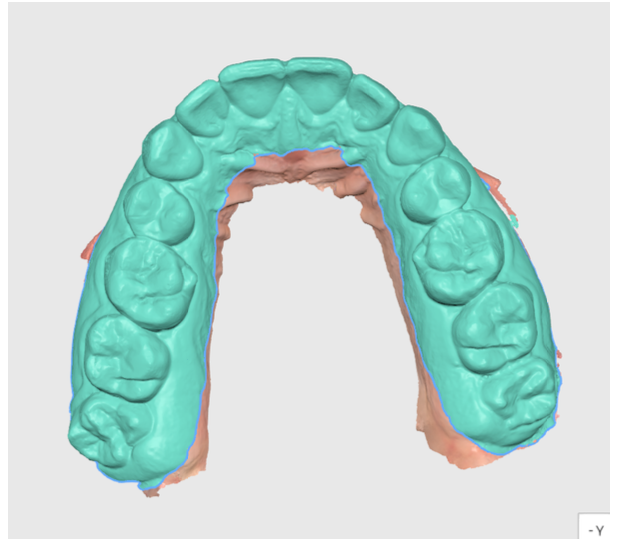
If needed, adjust the selection area by moving the “Expand Selection” slider at the bottom of the screen.
Before “Expand Selection” | After “Expand Selection” |
|---|---|
|
|
If for any reason the data is not automatically selected, you can use other data selection tools to do it manually - "Polyline Selection" or “Brush Selection.“ The former is useful for selecting both the front and inside of the data.
Selecting with the brush | Selecting with the polyline tool |
|---|---|
|
|


🔎Note
Use the “Split View” to view and adjust the maxilla and mandible if you are creating a model for both arches.
Click “Next” when finished or select the icon of the next step at the top.