"Advanced Adjustments" is the stage where users can manually readjust the generated teeth movements. This stage allows users to edit simulations created with the "Auto Simulation" option enabled or move teeth in scenarios where the option was disabled. Additionally, users can export generated data from this stage after adjusting the teeth movement in the simulations.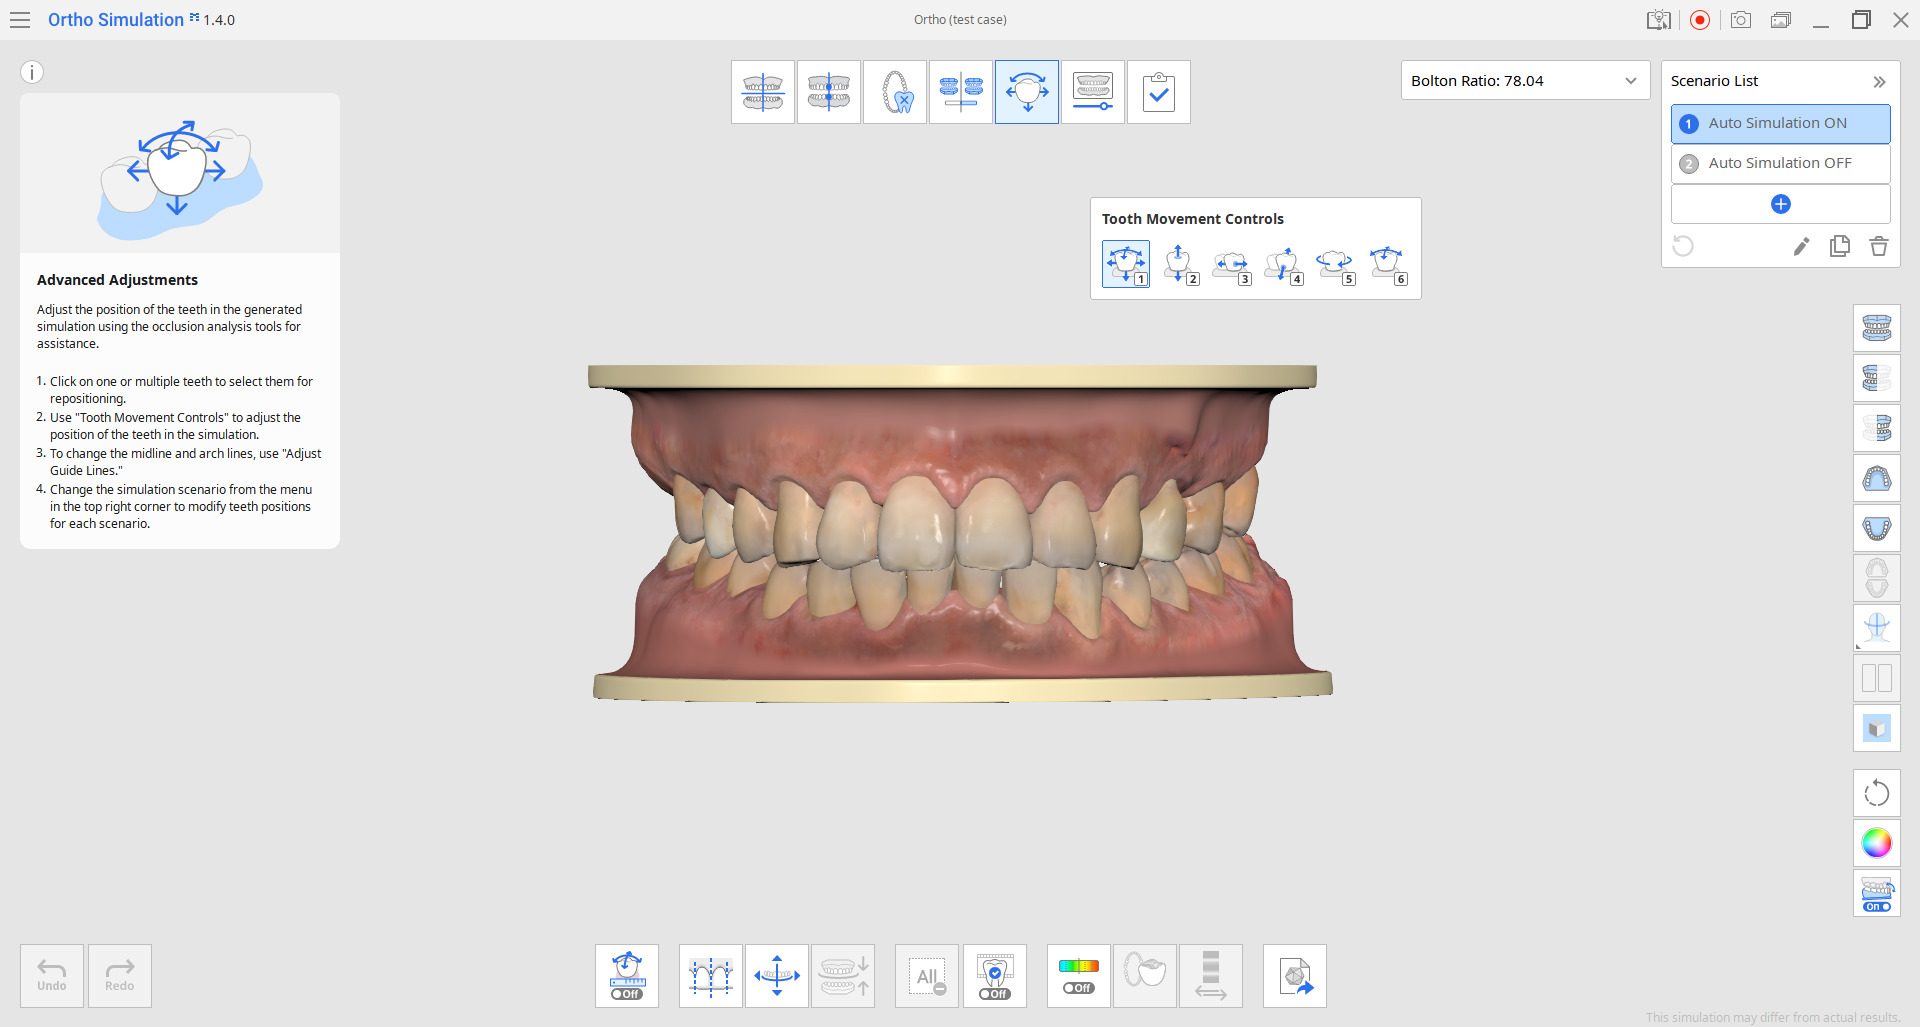
1. Choose a scenario in the top right corner. Here, you can also manage your scenario list without returning to the "Simulation Settings" stage.
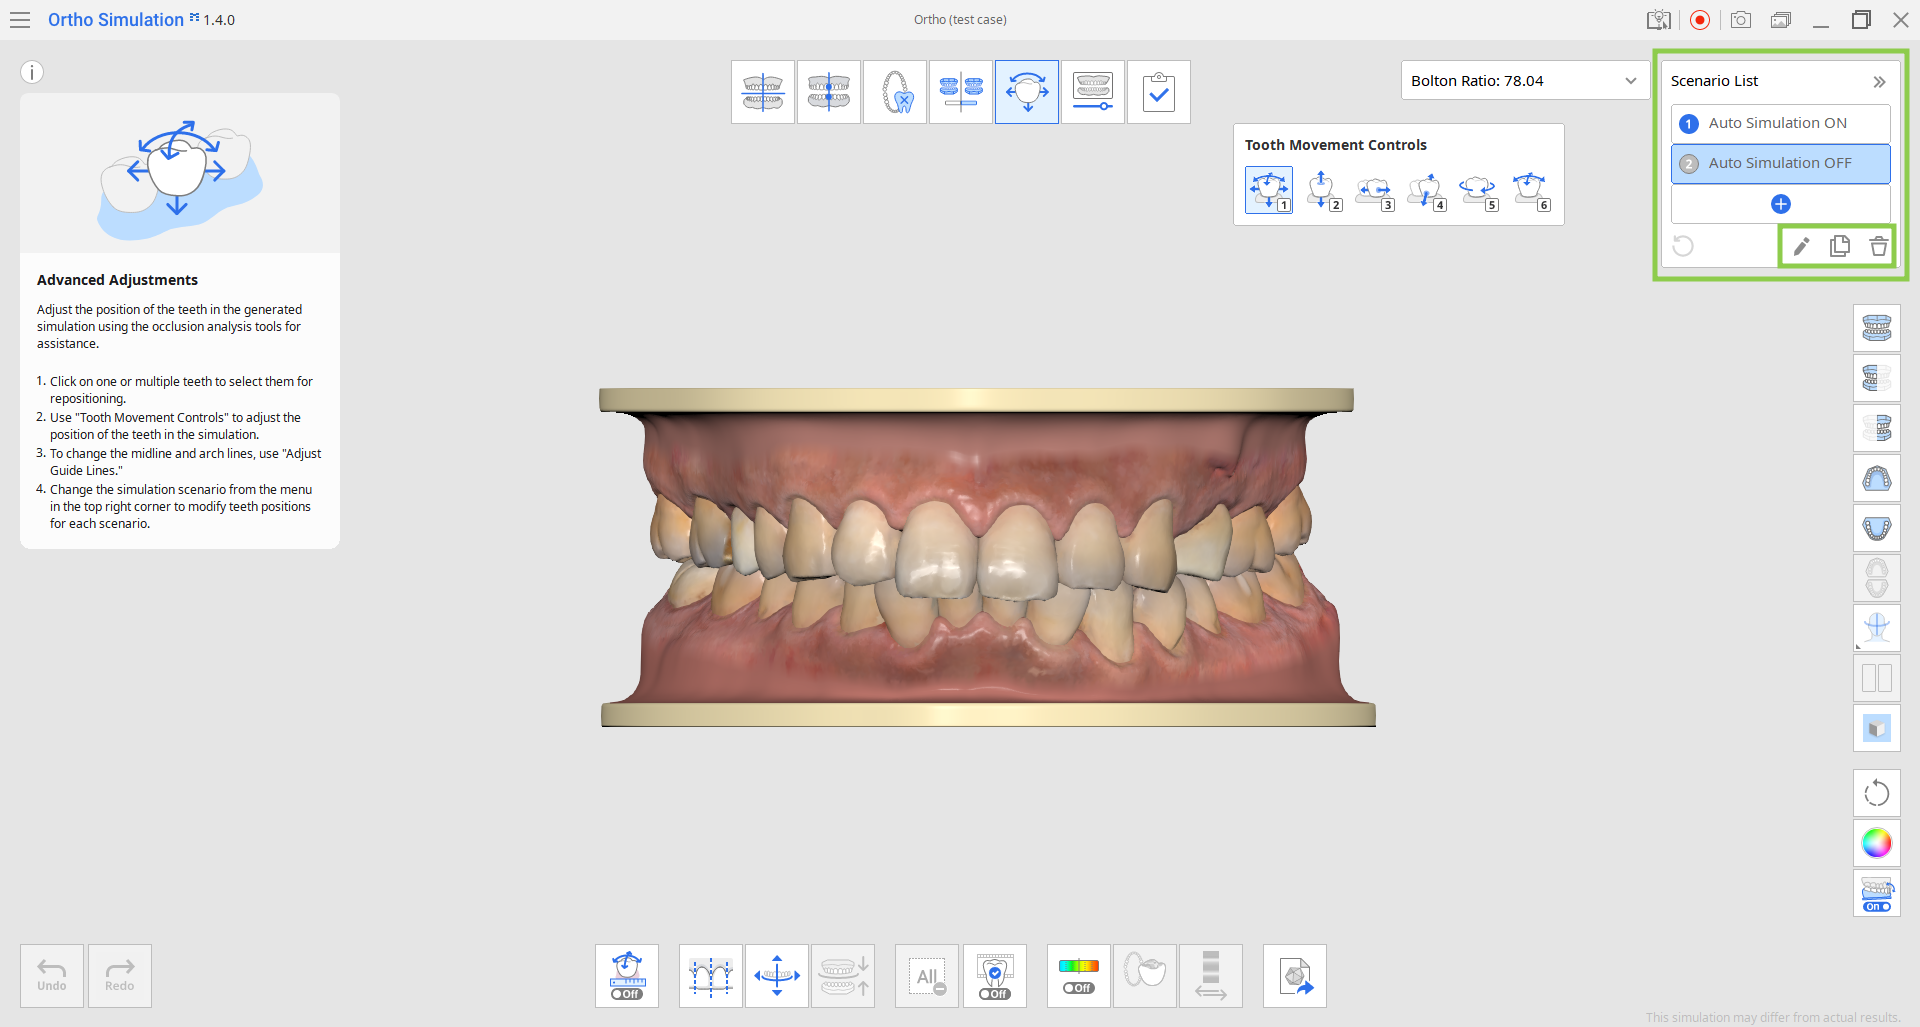
2. Using the "Tooth Movement Controls," you can adjust each tooth individually or select multiple teeth to move them simultaneously. The "Move Freely" option is selected by default, but you can choose other options that allow movement along only one set direction. Note that the gum data will adjust automatically once the teeth are moved.
 | 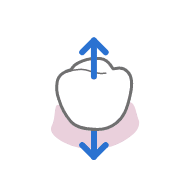 | 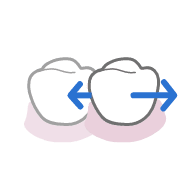 |  |  |  |
| Move Freely (* use Ctrl to rotate) | Move along the Occlusal Direction | Move along Mesial/Distal Direction | Move along Lingual/Buccal Direction | Rotate around Occlusal Direction | Rotate around Lingual/Buccal or Mesial/Distal Direction |
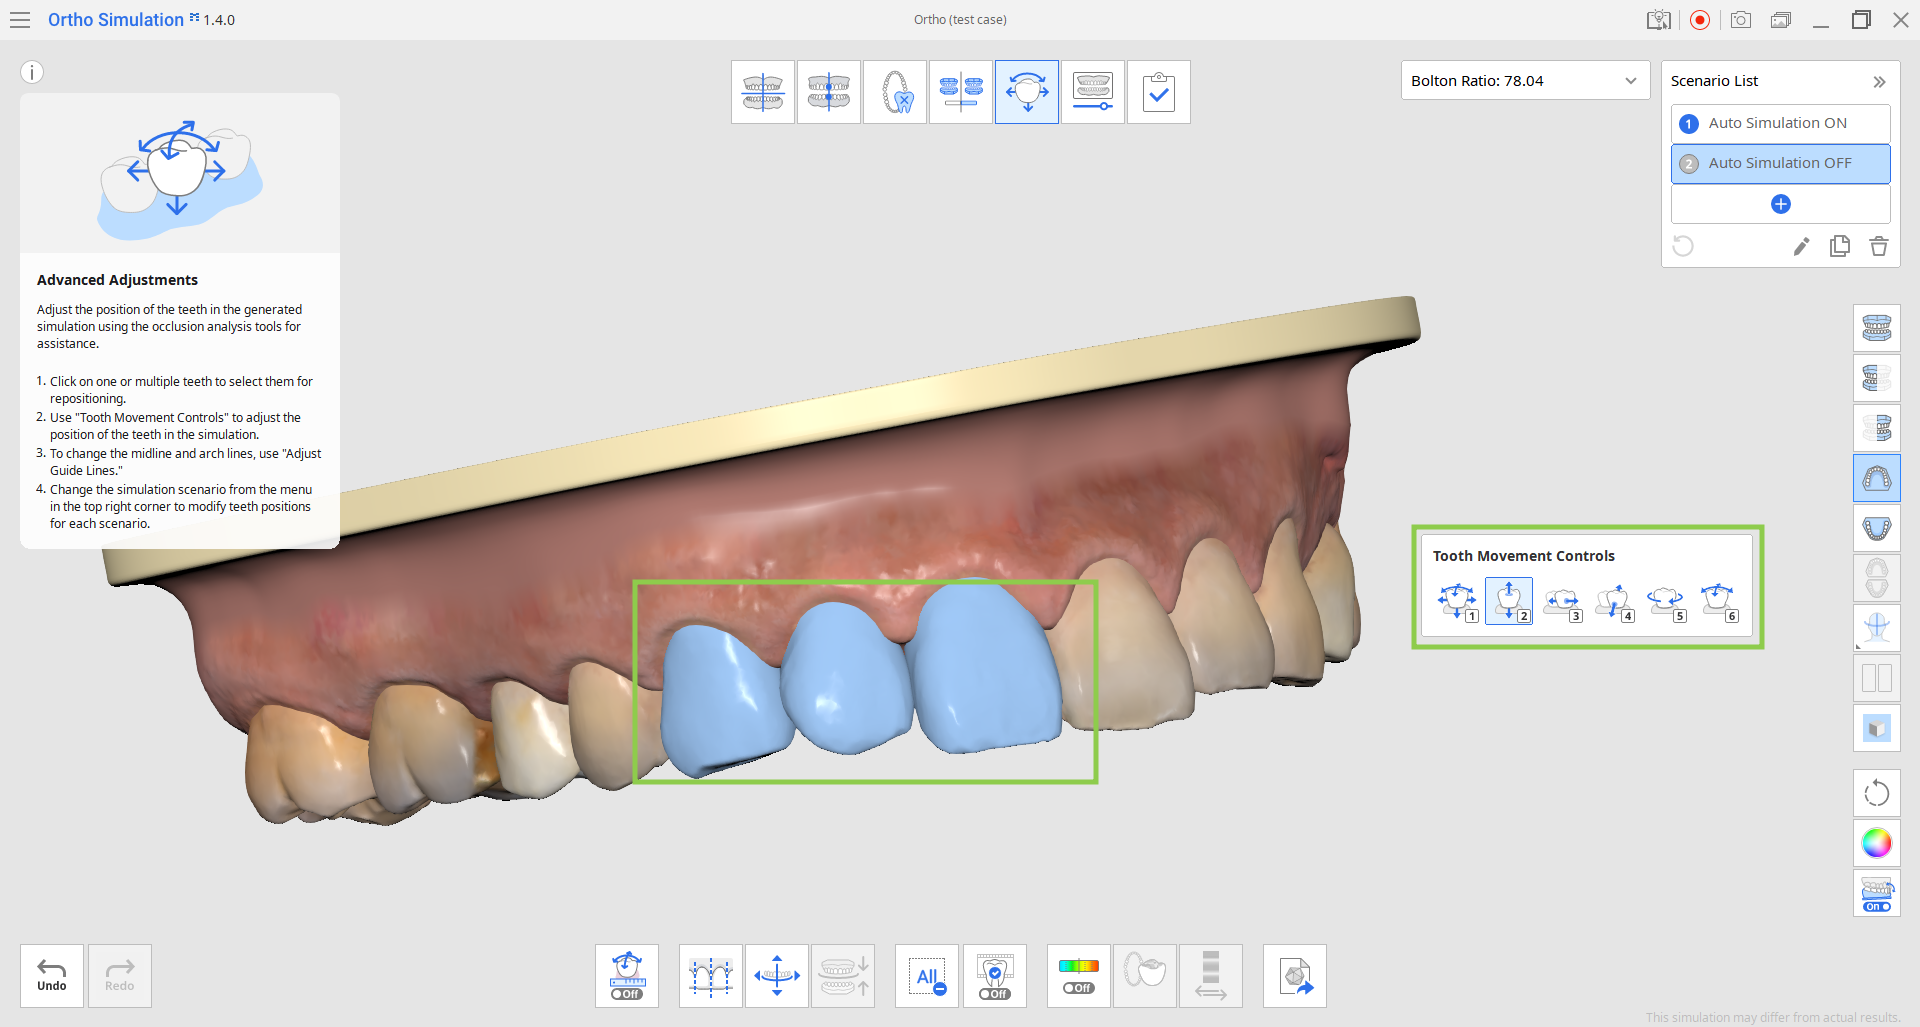
- Use "Deselect All" to remove selection from all teeth and return to moving them individually.

3. Turn on "Show/Hide Occlusal Intersection" if you want to reference the changes in occlusal relationship while moving teeth.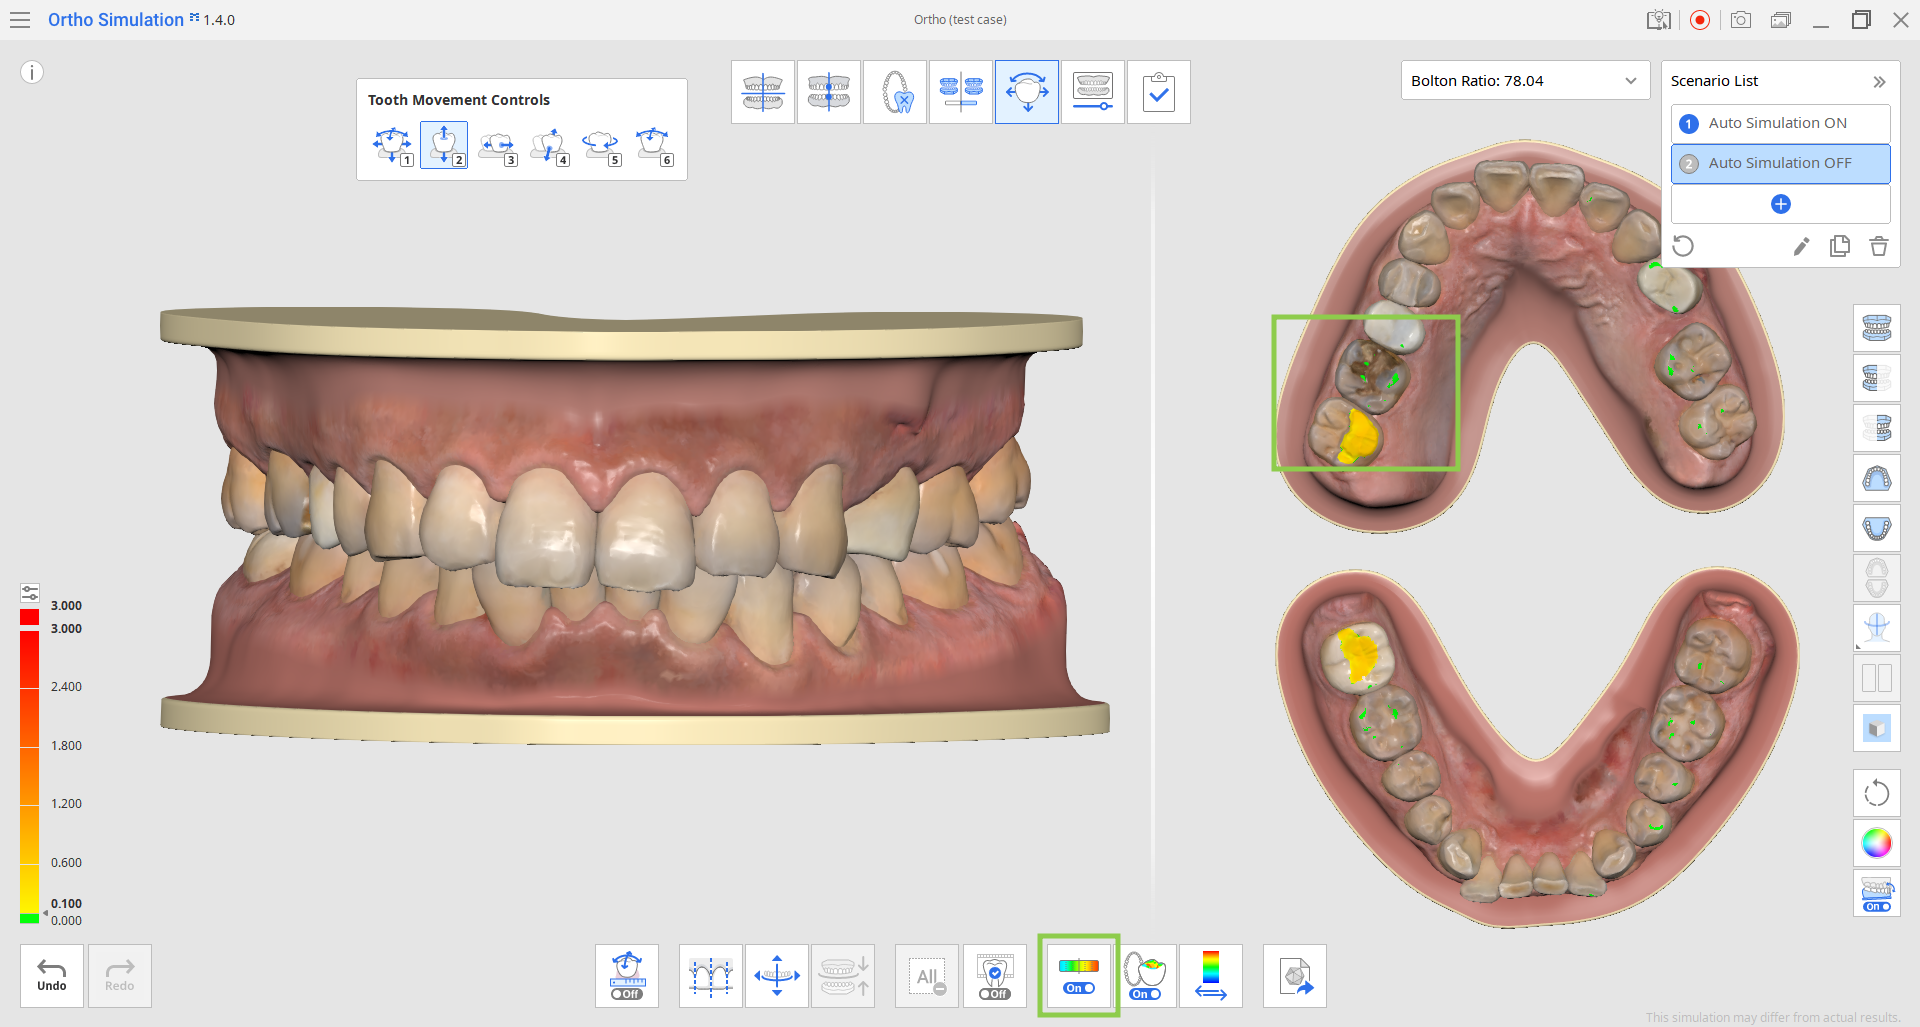
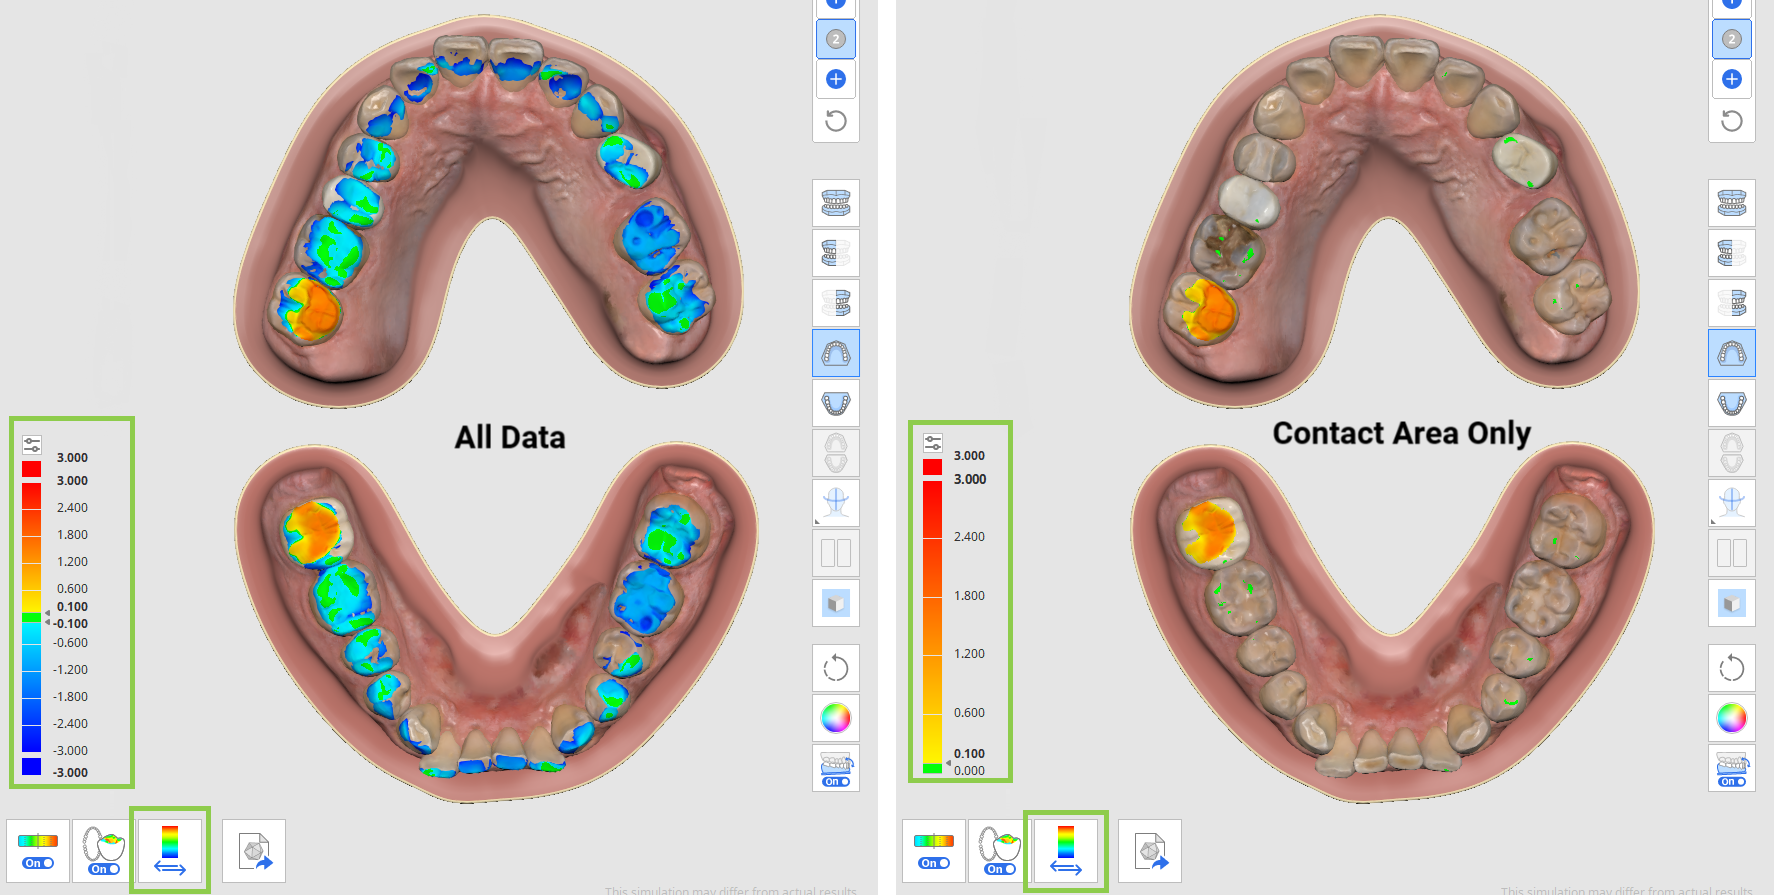
- You can change the scale of the deviation display between all data and the contact area only by clicking "Switch Deviation Display Area." The scale resolution can be adjusted using the small icon at the top of the color bar on the left or by entering different values for the bold numbers.
- The split screen with the occlusal view of the data on the left can be turned off if you click "Occlusion Multi-View."

4. Teeth can also be moved by adjusting the midline and arch line. To do this, choose the "Adjust Guide Lines" tool at the bottom, then modify the guide lines on the model by dragging their control points. Once the guide lines are adjusted, click "Align to Guide Lines" to update the model according to changes.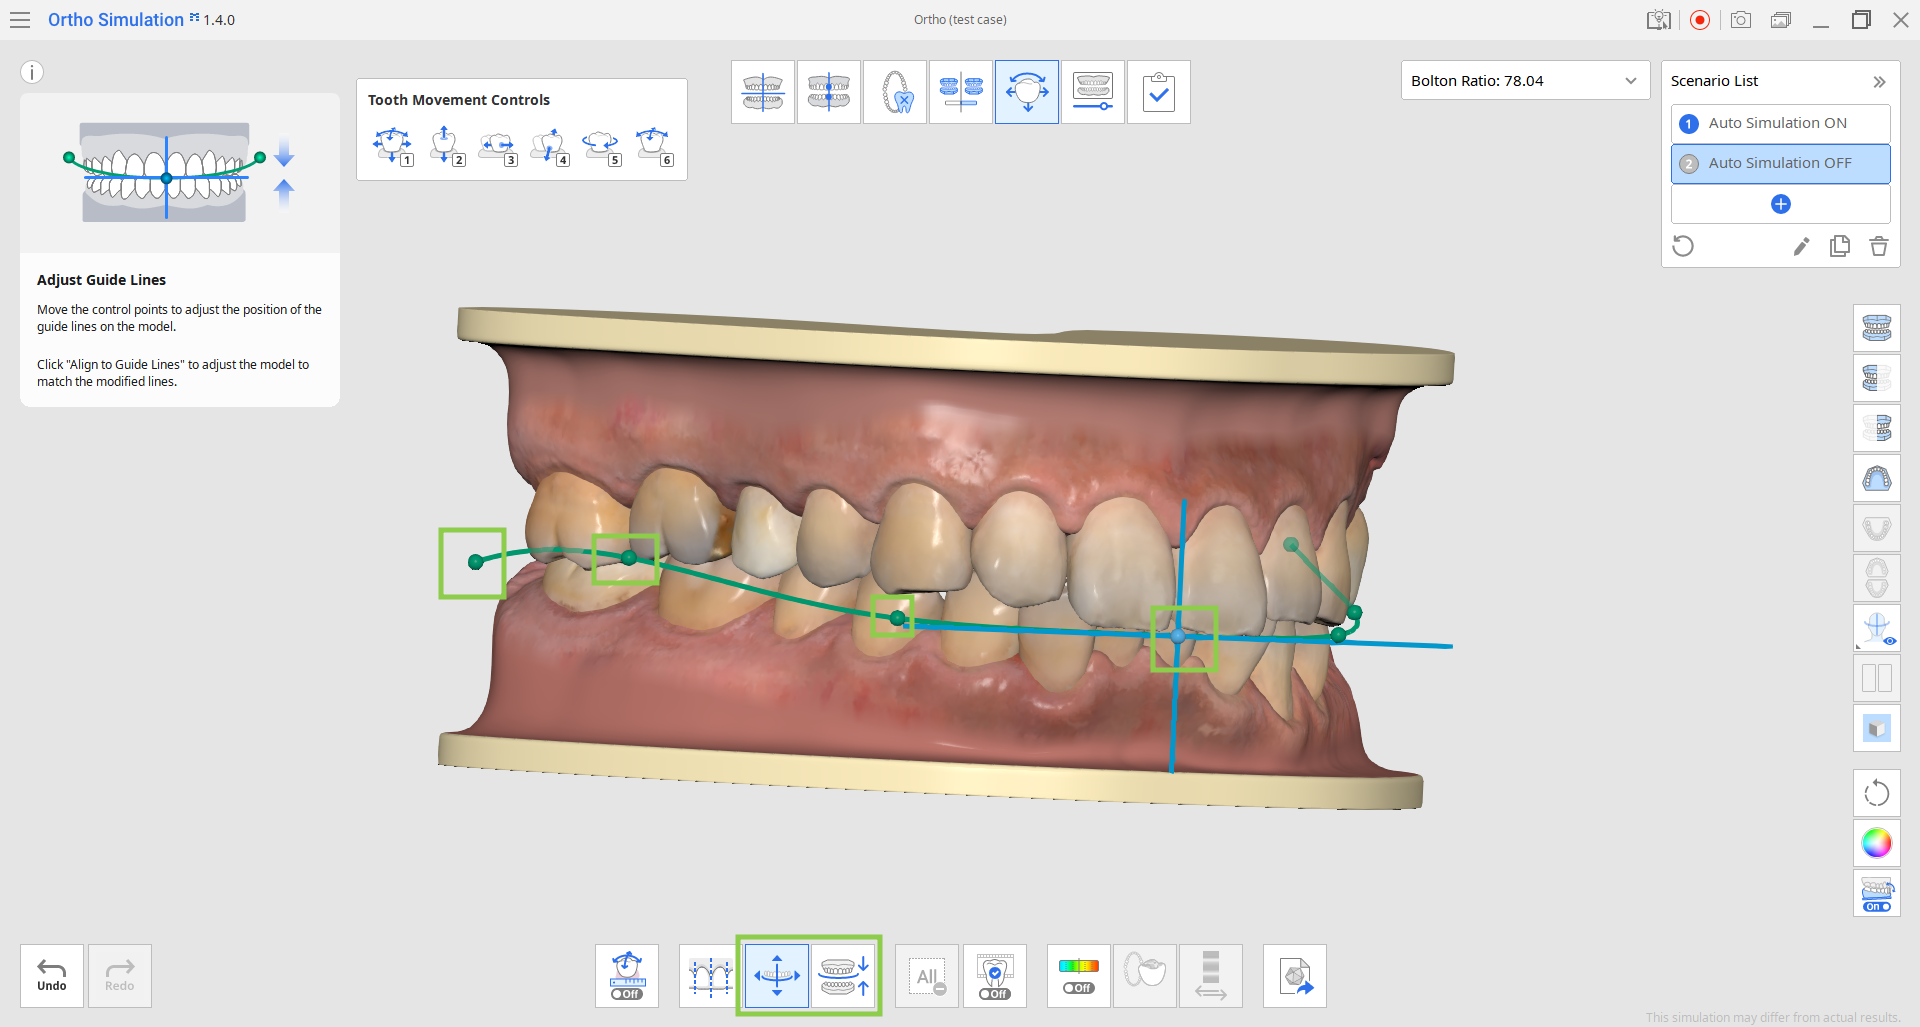
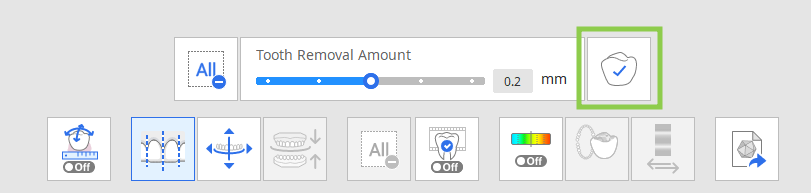
5. The "Preview IPR" feature lets you see a visualized outcome based on a hypothetical interproximal spacing assumption on your current simulation model. First, define a spacing value by moving the slider below. Then, select the circles representing the interproximal areas where reduction is expected. The preview will be available immediately.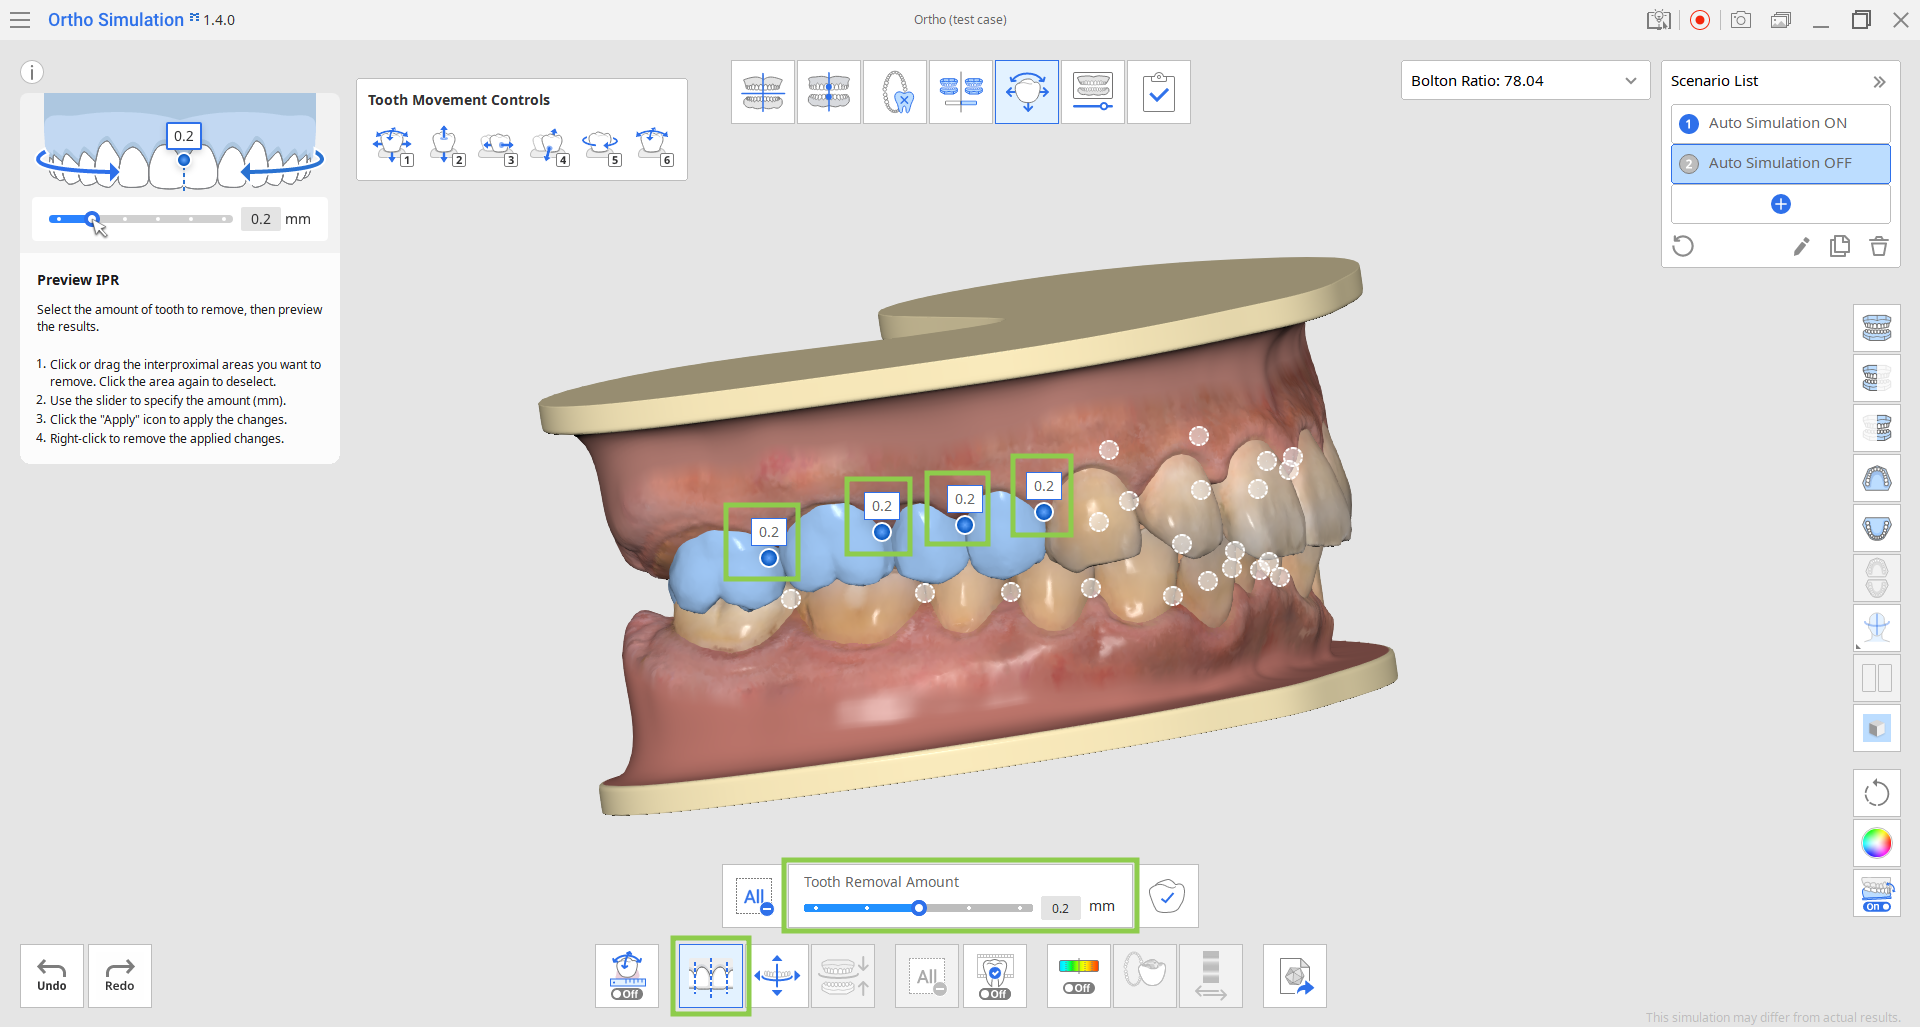
- If you want to apply the previewed IPR to the final simulation model, click "Apply" before deactivating the "Preview IPR" feature.
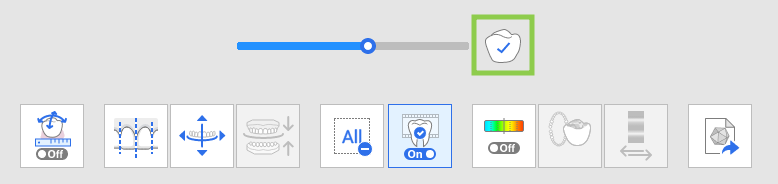
6. The "Selected Simulation" feature lets you check the animated tooth movement for specific teeth. Click on the teeth you're interested in, then drag the slider below to see the progression of their movement.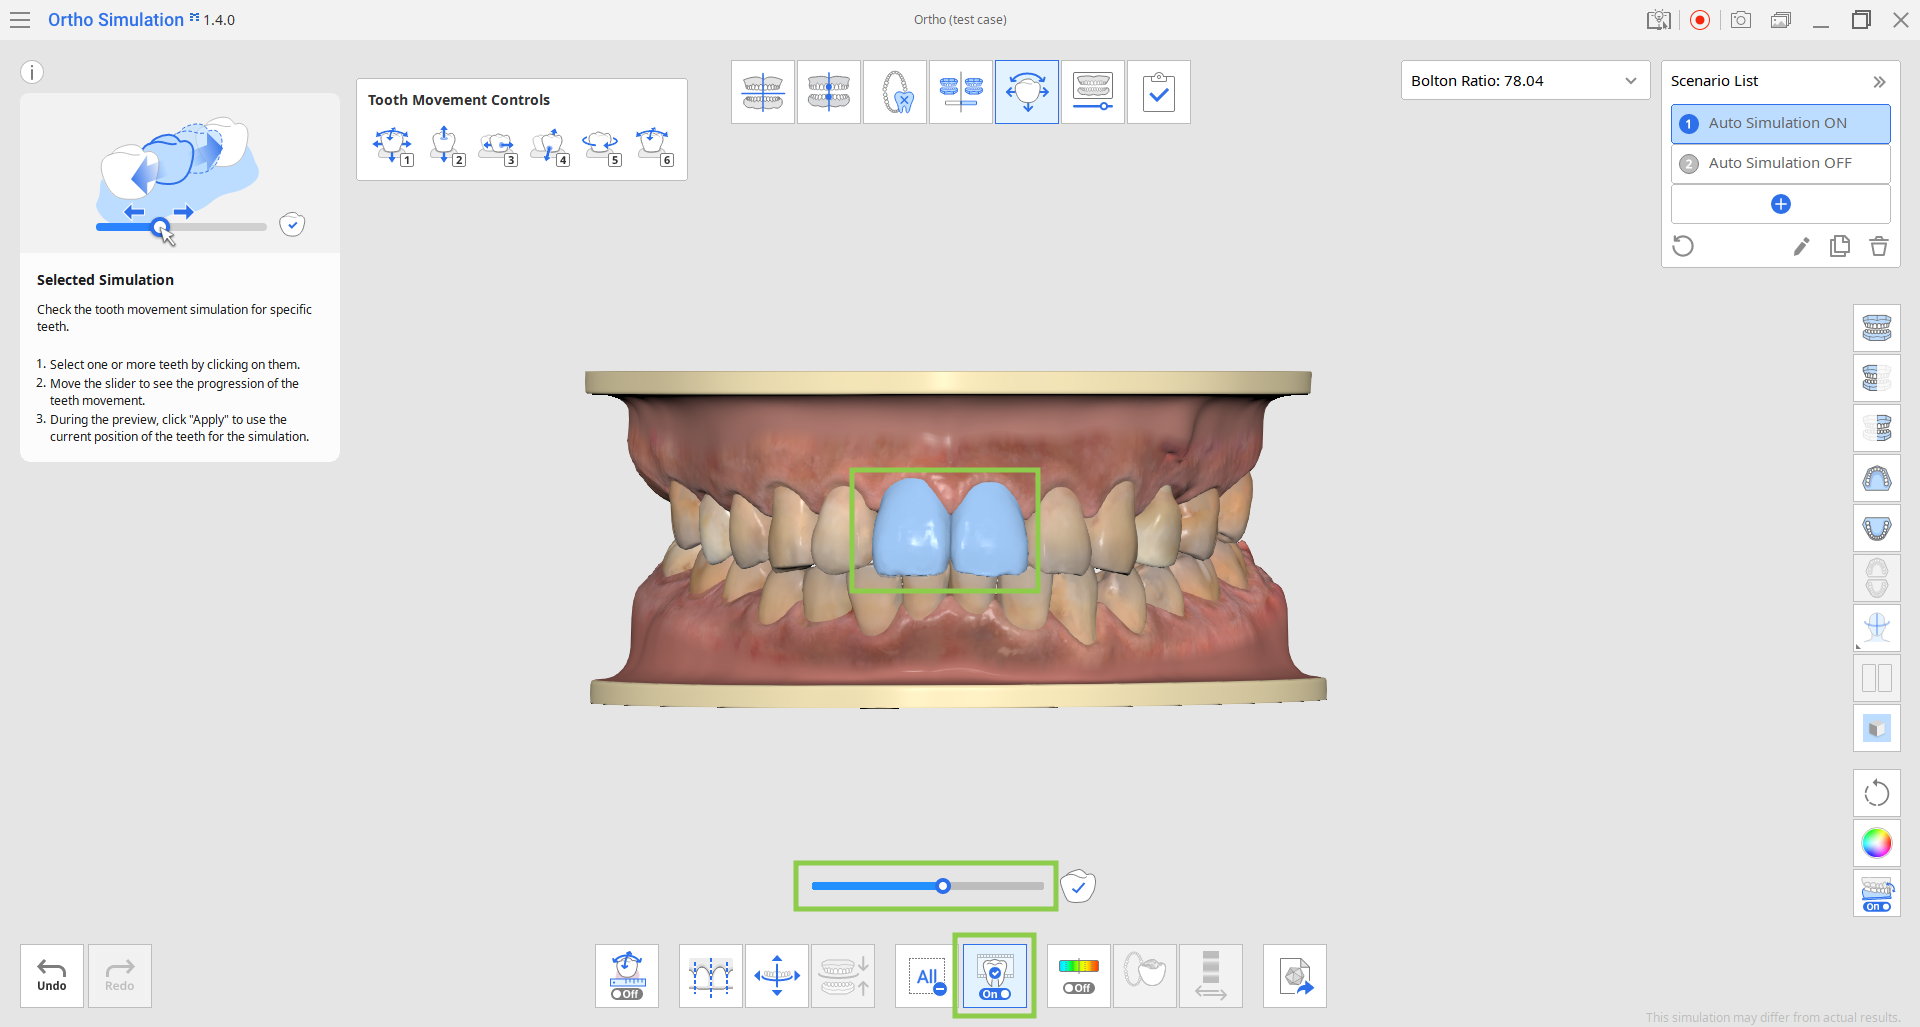
- If you want to apply the current position of the teeth from the replay to the final simulation, click "Apply" before deactivating the "Selected Simulation" feature.
7. Similar to the previous stage, you can review the details of teeth movements calculated and organized in a table for each arch using the "Teeth Movements Data" feature.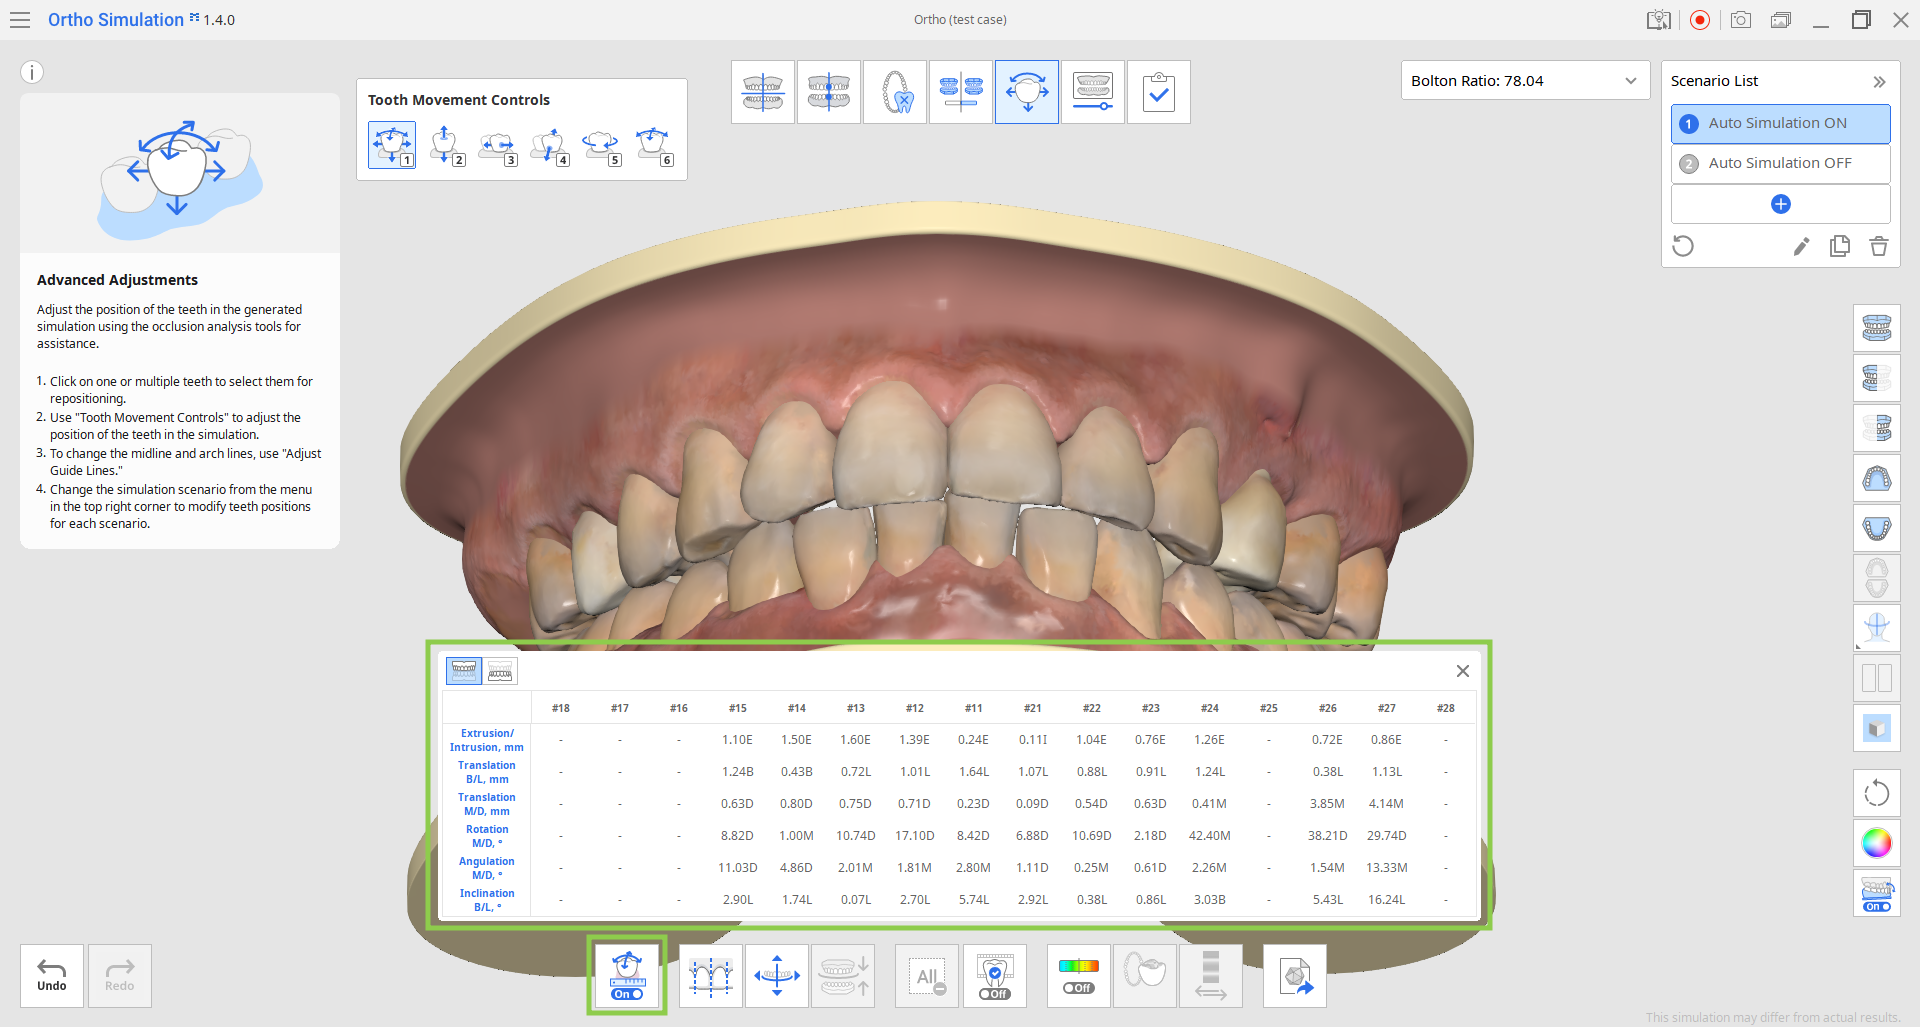
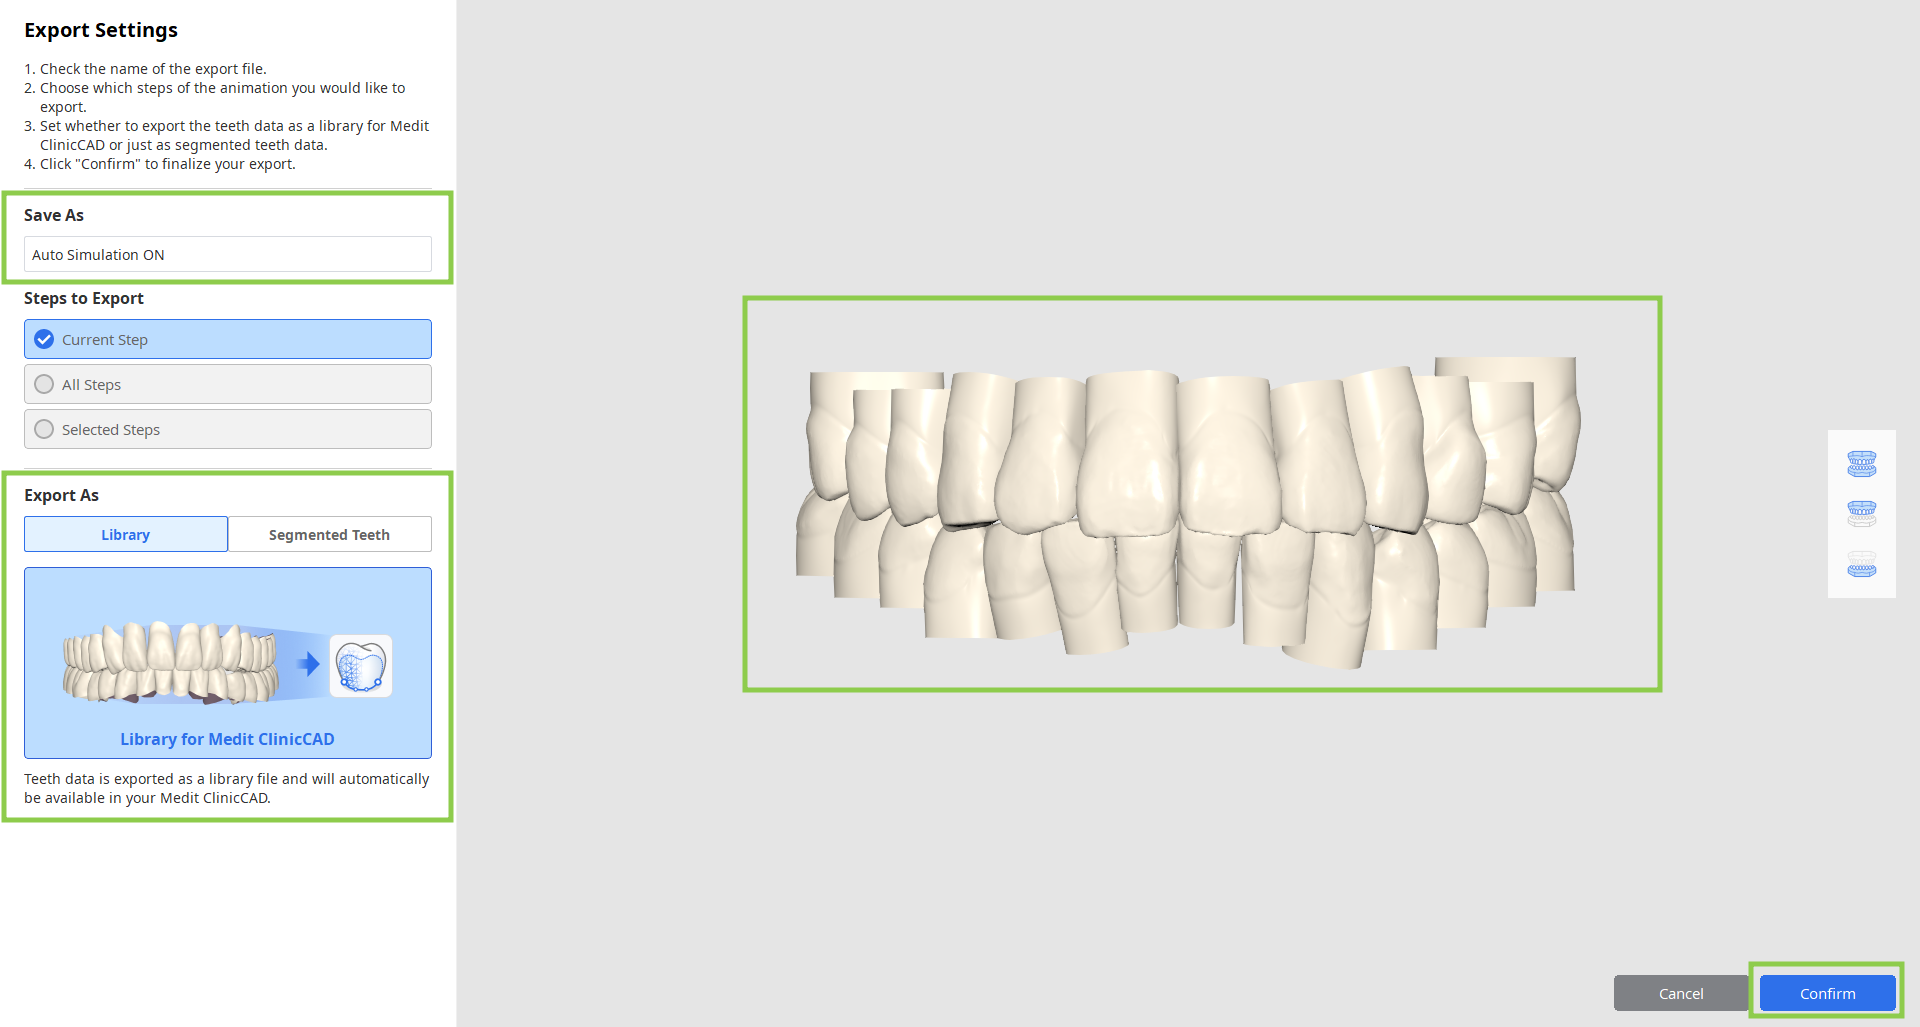
8. This stage also provides a feature for exporting your simulation data. Select a simulation scenario in the top right corner and click "Export to Medit Link" to customize your data export.
You can export data as a library file for further use in Medit ClinicCAD or just as segmented teeth data (open or closed). If you export data as a library, it will be automatically added to your Medit ClinicCAD upon the next app launch. Enter the name for the export file, review the data, and click "Confirm." All exported files will be added to your current Medit Link case.
9. When all work in this stage is completed, click the next stage icon at the top of the screen.