Default Workflows
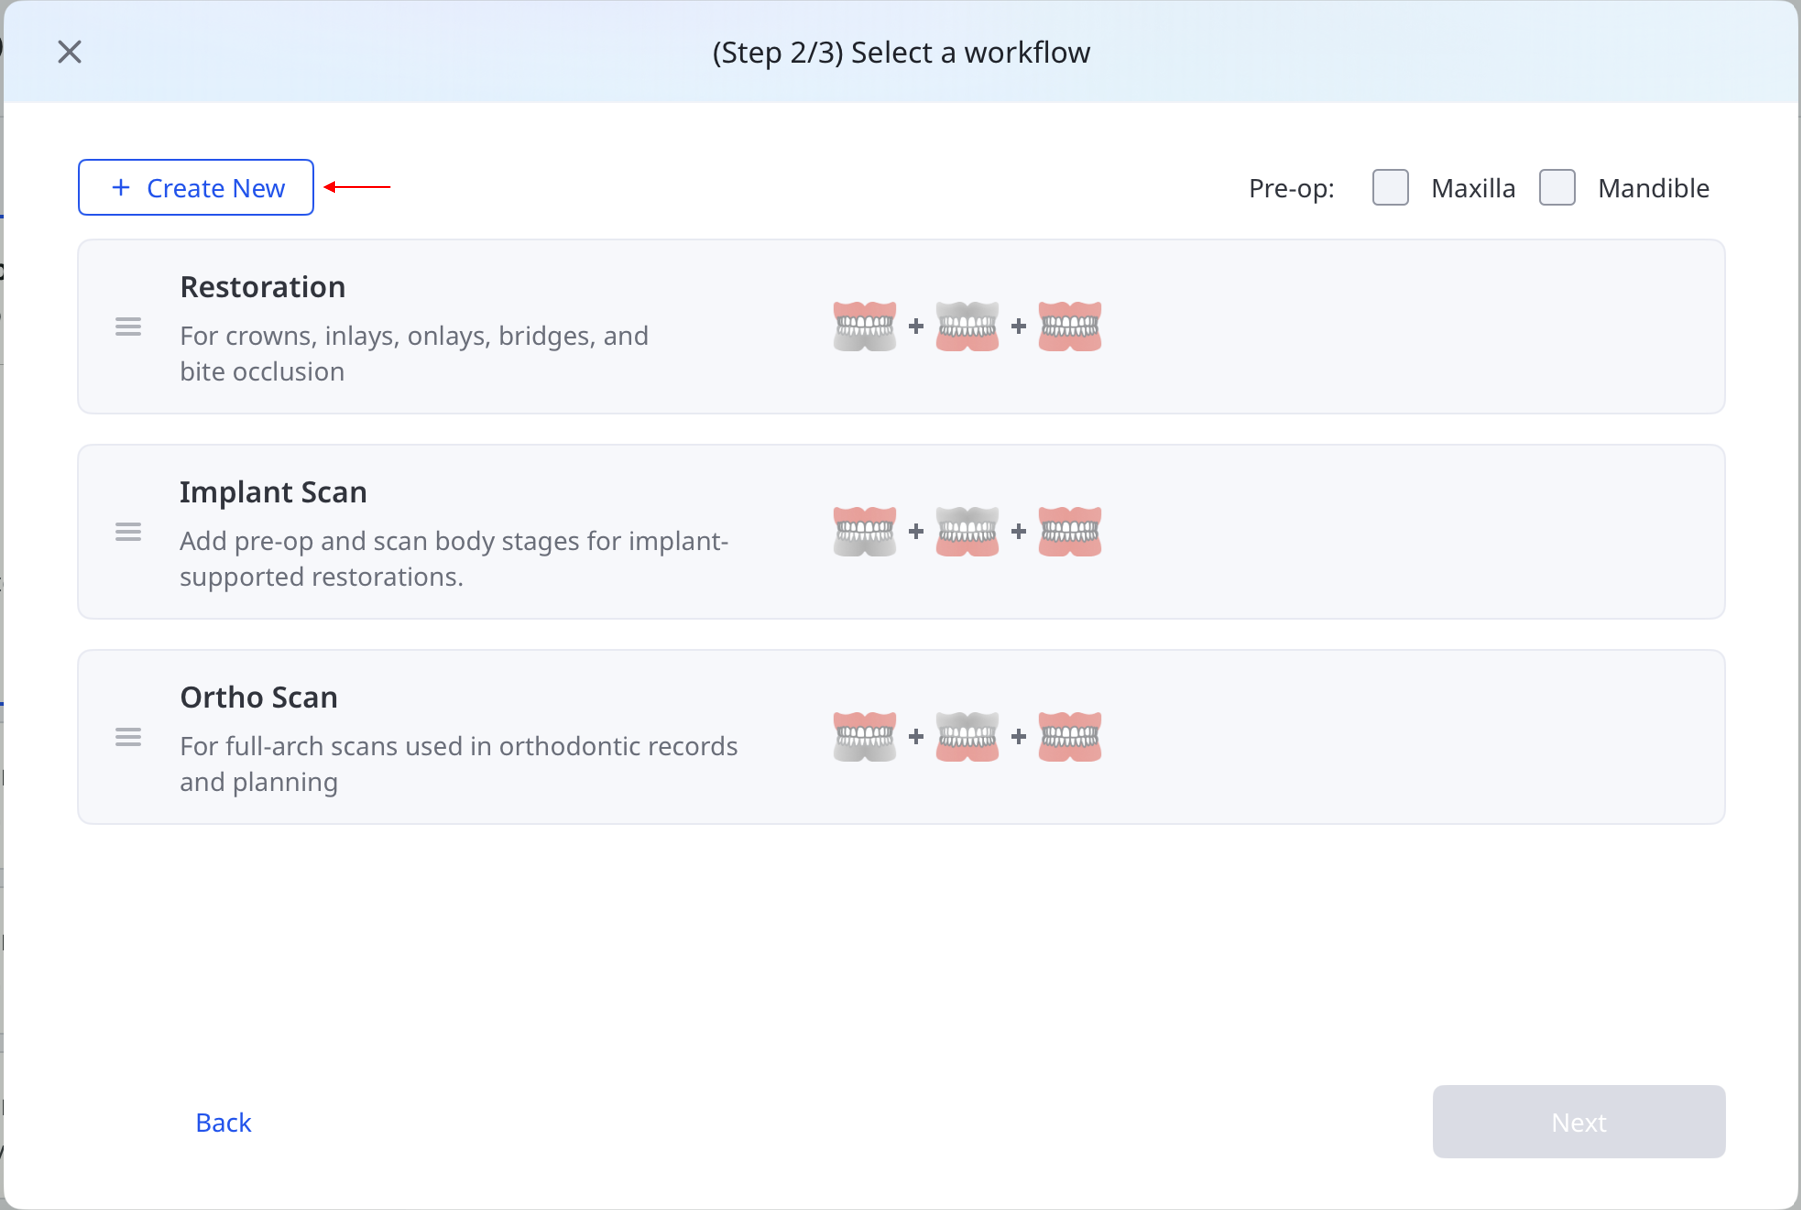
Medit Link Express provides three default workflows to guide you through scanning with minimal setup: Restoration, Implant Scan, and Ortho Scan. The table below shows their scan stage configurations.
Restoration |
| Select Teeth → Maxilla → Mandible → 1st Occlusion → 2nd Occlusion → Review Scan | Applicable for crowns, inlays, onlays, and bridges |
| Select Teeth → Pre-Op Maxilla → Maxilla → Mandible → 1st Occlusion → 2nd Occlusion → Review Scan | ||
| Select Teeth → Maxilla → Pre-Op Mandible → Mandible → 1st Occlusion → 2nd Occlusion → Review Scan | ||
| Select Teeth → Pre-Op Maxilla → Maxilla → Pre-Op Mandible → Mandible → 1st Occlusion → 2nd Occlusion → Review Scan | ||
Implant Scan |
| Select Teeth → Maxilla → Maxilla Scanbody → Mandible → Mandibular Scanbody → 1st Occlusion → 2nd Occlusion → Review Scan | For customized abutments and screw-retained crowns |
| Select Teeth → Pre-Op Maxilla → Maxilla → Maxilla Scanbody → Mandible → Mandibular Scanbody → 1st Occlusion → 2nd Occlusion → Review Scan | ||
| Select Teeth → Maxilla → Maxilla Scanbody → Pre-Op Mandible → Mandible → Mandibular Scanbody → 1st Occlusion → 2nd Occlusion → Review Scan | ||
| Select Teeth → Pre-Op Maxilla → Maxilla → Maxilla Scanbody → Pre-Op Mandible → Mandible → Mandibular Scanbody → 1st Occlusion → 2nd Occlusion → Review Scan | ||
|
| Select Arch → Maxilla → Mandible → 1st Occlusion → 2nd Occlusion → Review Scan | For orthodontic treatments |
| Select Arch → Pre-Op Maxilla → Maxilla → Mandible → 1st Occlusion → 2nd Occlusion → Review Scan | ||
| Select Arch → Maxilla → Pre-Op Mandible → Mandible → 1st Occlusion → 2nd Occlusion → Review Scan | ||
| Select Arch → Pre-Op Maxilla → Maxilla → Pre-Op Mandible → Mandible → 1st Occlusion → 2nd Occlusion → Review Scan |




Custom Workflows
Create custom workflows by adding, removing, and reordering scan stages to suit your needs.
On the workflow selection screen, select Create New.
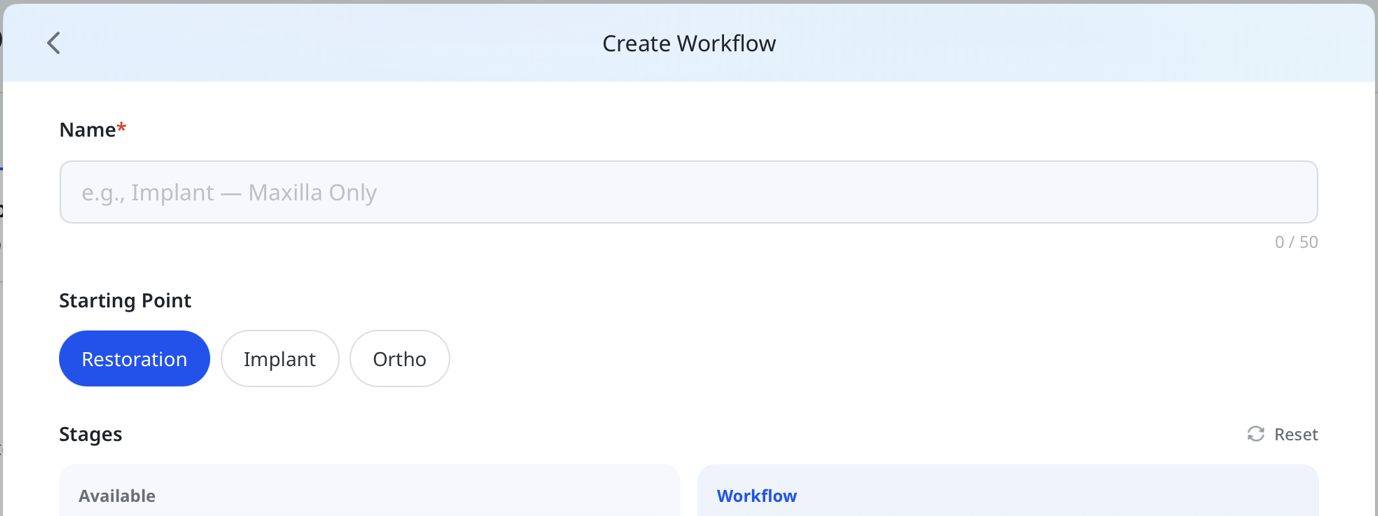
Enter a name and select Restoration, Implant, or Ortho as the starting point.
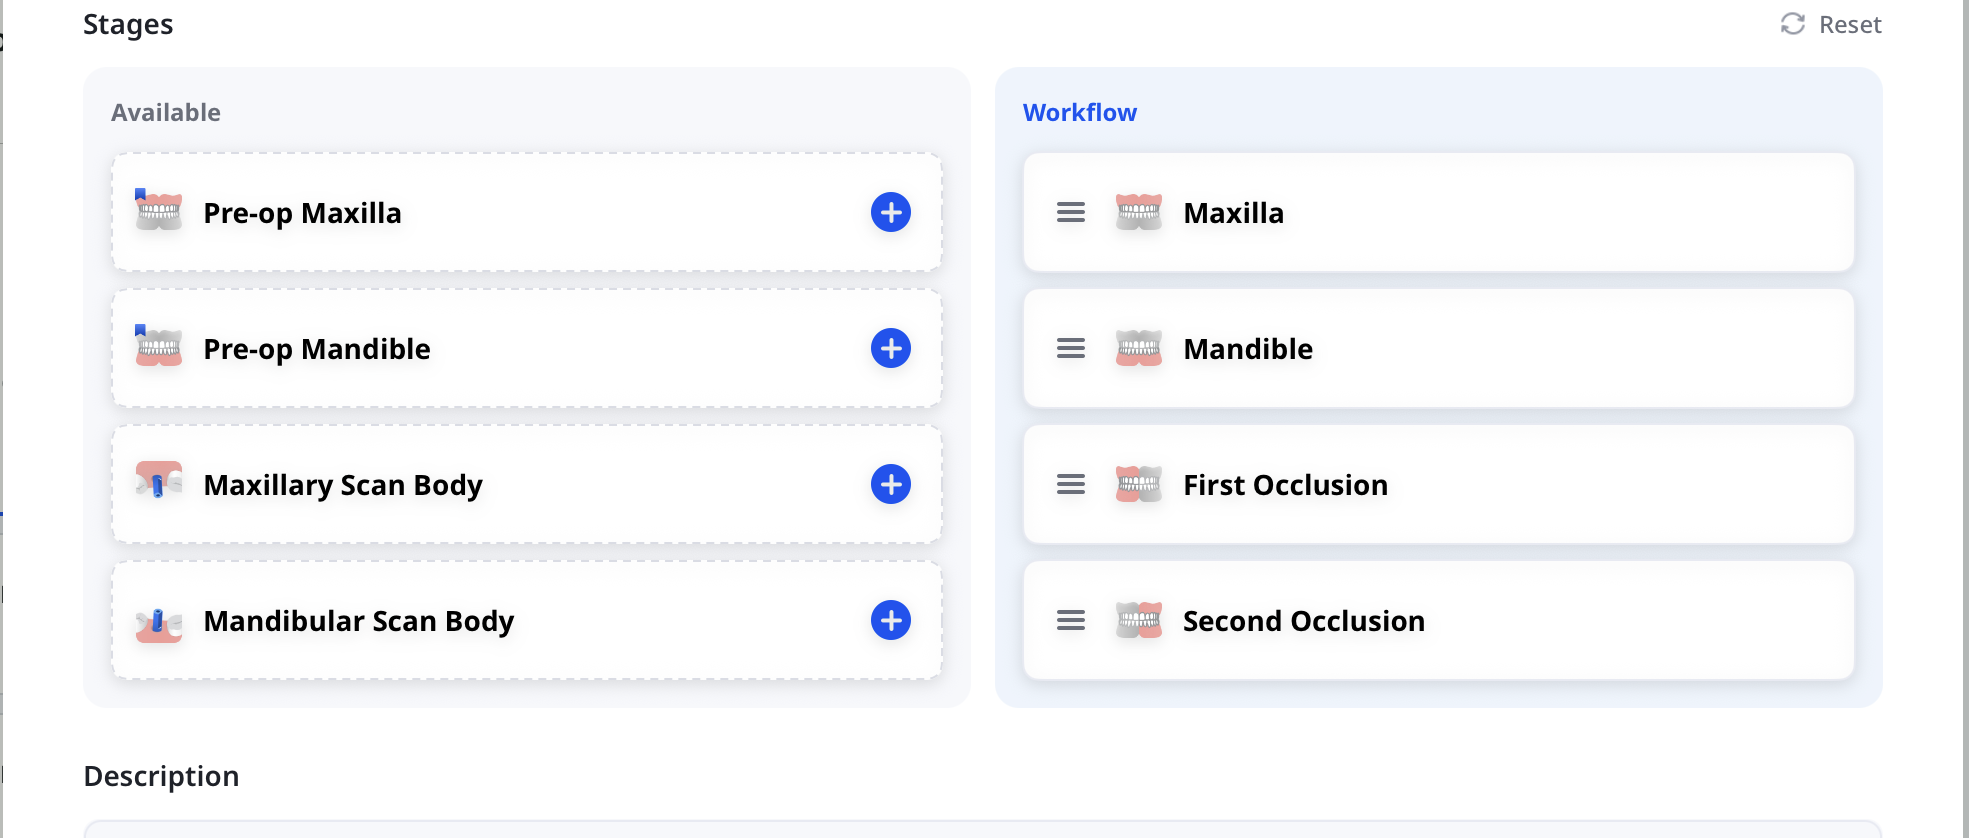
Customize the scan stages:
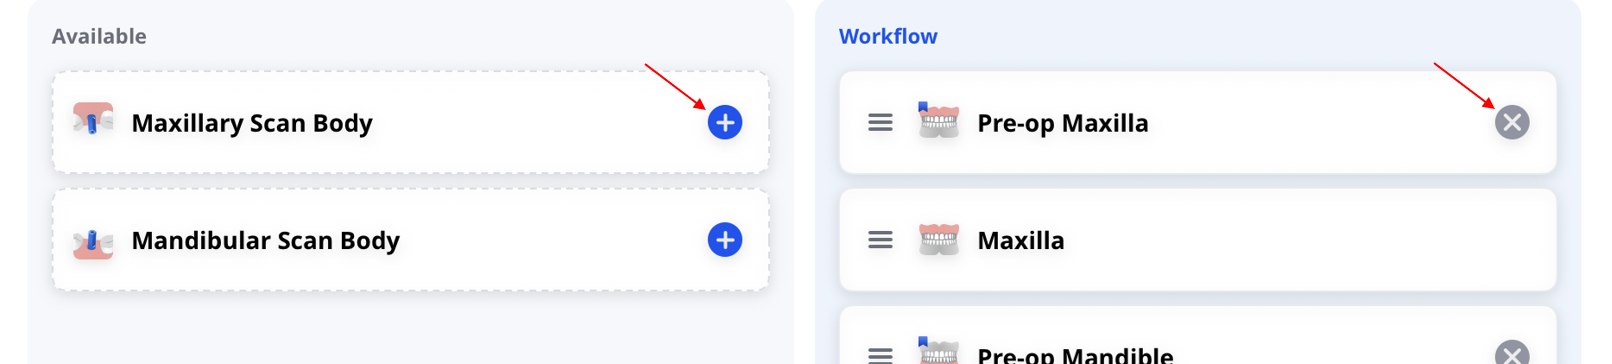
Select + in Available to add a stage or × in Workflow to remove one.
Press and hold a stage in Workflow, then drag to reorder it.
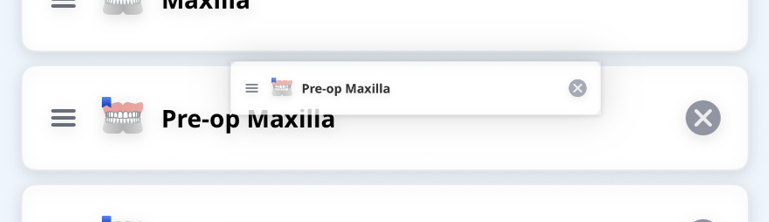
If needed, select Reset to restore the default configuration while keeping the name and description.

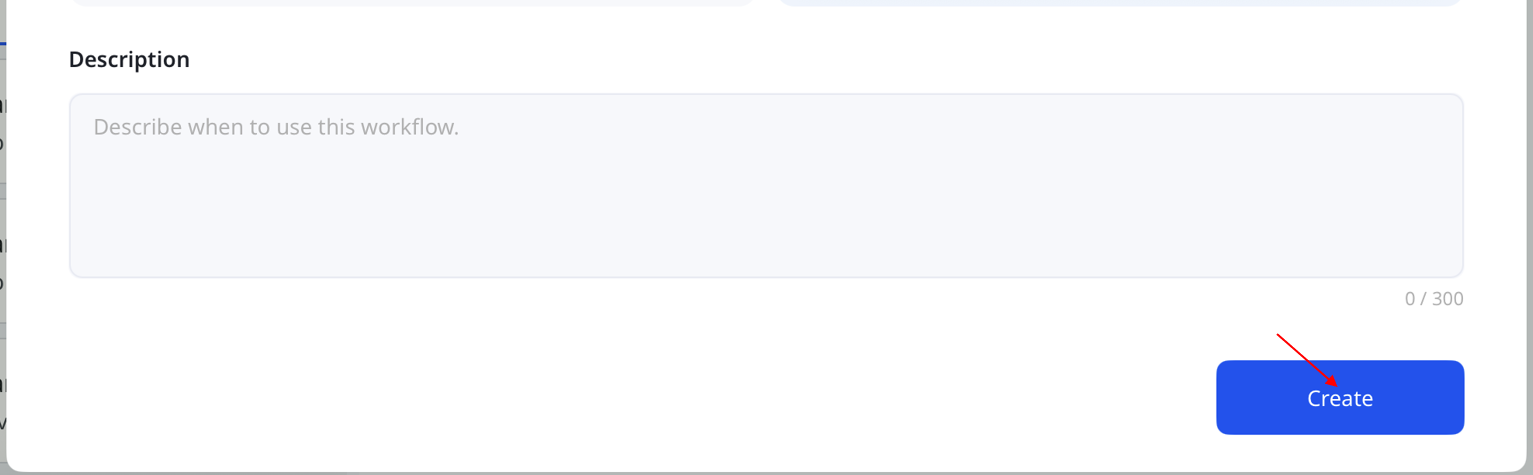
Add a description if needed, then select Create.
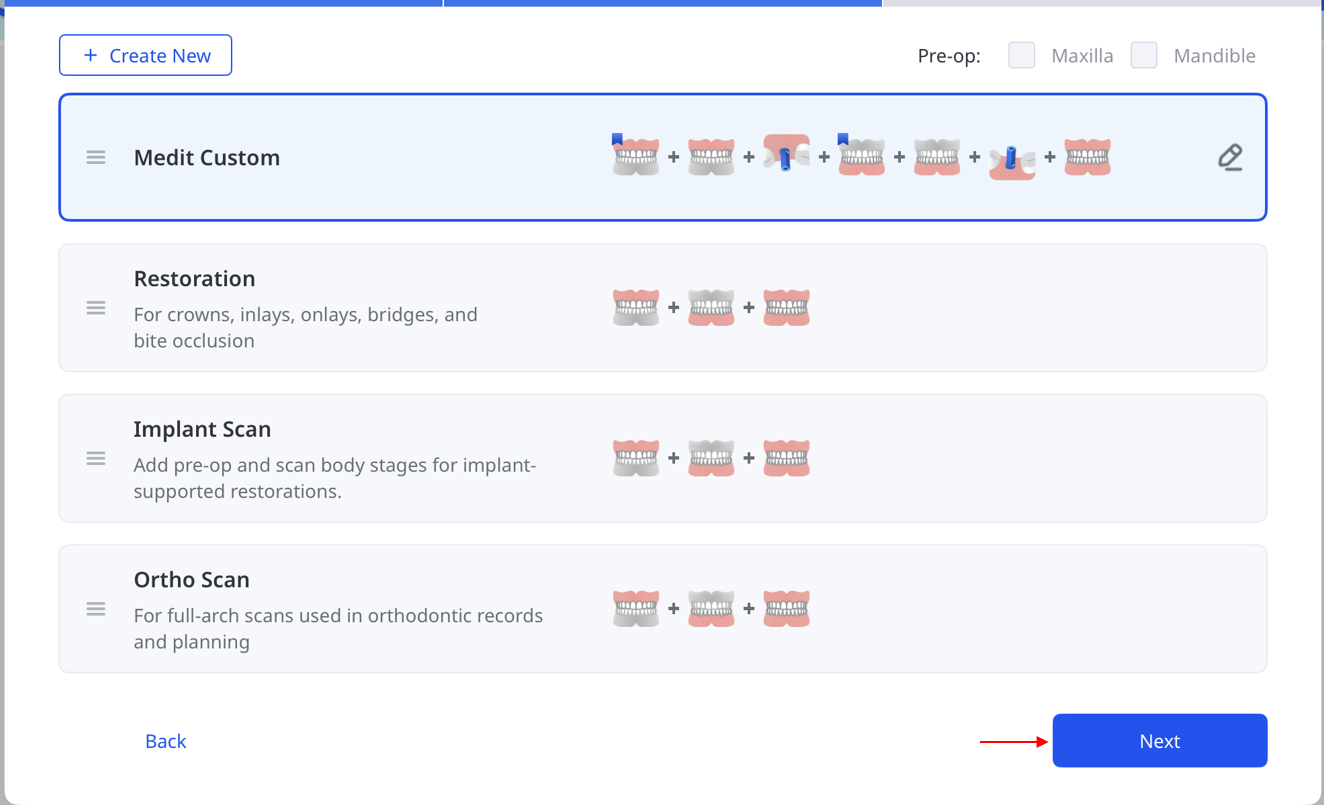
Select Next to continue. Follow the instructions from Step 4 of Treatment Scan in the Quick Guide.
🔎Note
The Maxilla, Mandible, First Occlusion, and Second Occlusion stages cannot be removed.
The starting point cannot be changed when editing an existing workflow.
You can create up to 10 custom workflows. They are saved locally for each account and are not synced across devices.
To edit or delete a custom workflow, select the pencil icon next to it in the workflow list. To reorder workflows, drag them using the handles next to their names.