Scan Process
Based on the entered information, you proceed with scanning.
- Enter/save treatment information and select the necessary scan options.
- Click the "Scan" button in the upper-right corner of the window.
CAD Process
Medit Link provides the DentalCAD integration app to connect Medit Link with DentalCAD.
- Install the DentalCAD Integration app in the App Box.
- Go to the case details and click on the DentalCAD Integration app icon on Quick Launcher.
- Specify the path to the DentalCAD app installed on your PC in the pop-up dialog.
- Enter the case details of the scanned case and click the DentalCAD Integration app icon, which will pop up a dialog to create a dentalProject file.
- Register form information for DentalCAD and click "Open" to open the CAD program.
- If you install the DentalDB Integration app, the CAD results will be automatically delivered to the specified save path in exocad. (Lab accounts only)
Utilize Add-in Apps
Add-in Quick Launcher
You can directly run various add-in apps by clicking on the installed app icons in the Quick Launcher. You can change the order of app icons by dragging them.

App Launcher Management
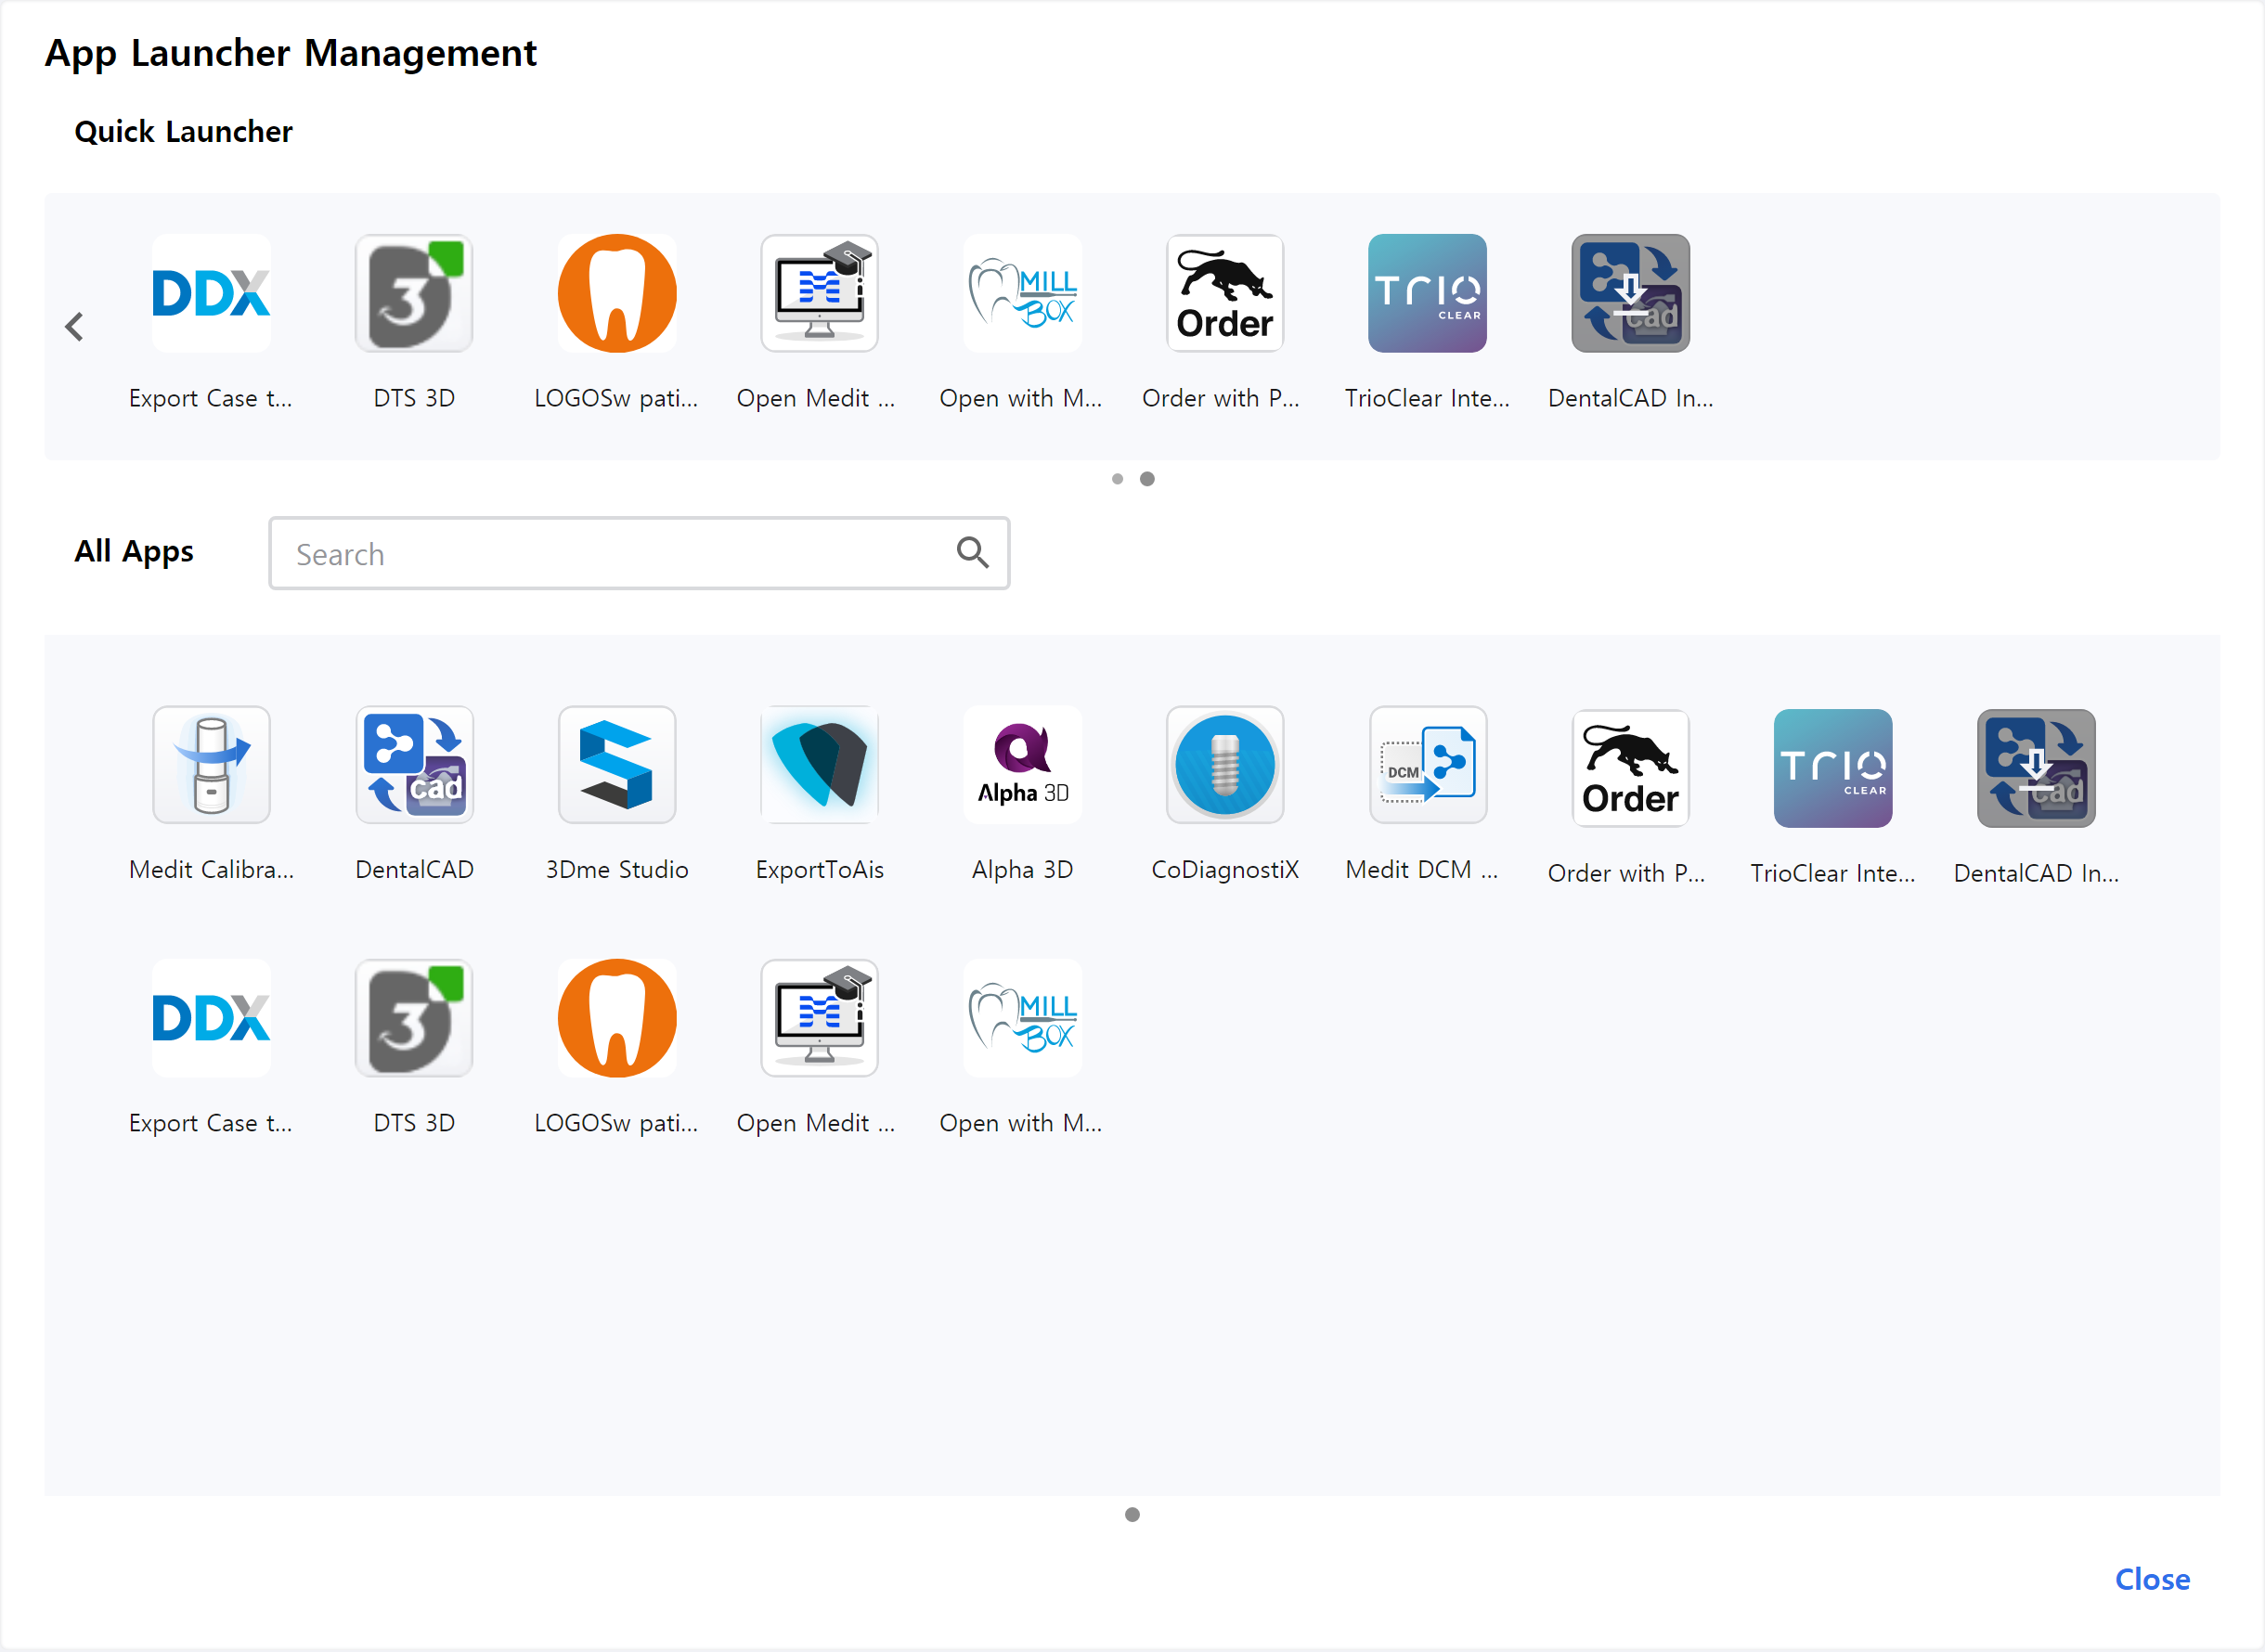
Quick Launcher
You can define which apps appear in the Quick Launcher. You can change the order of app icons by dragging them, or you can create folders to group similar apps together to organize them.
All Apps
All apps you have installed are shown. You can right-click on an app icon to add the app to the Quick Launcher. From the right-click the context menu, you can also select to run, install, or uninstall the app.