The Medit SmartX Workflow is a sequence of scan stages designed to streamline and optimize the scanning process for all-on-X treatment cases, which involves placing a limited number of implant fixtures in fully edentulous patients and further fabrication of the prosthetics. The default workflow guides the user from scanning the scan bodies and arches to pre-operational and occlusion data as shown below.
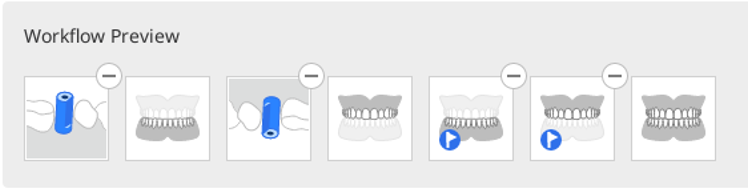
The default workflow is recommended, but users can customize it by rearranging the stages, removing them, or replacing them as needed.
The Medit SmartX Workflow is also available in the Simple UI mode.
🔎Note
If you are working with a single arch, you can skip the data acquisition in the scan body step.
How to Enter Medit SmartX Workflow
There are two ways to start working in the Medit SmartX Workflow. The first is to enter it through a banner in the bottom right corner of the overview screen..png)
And the second is by clicking the "Medit SmartX Workflow" button in Stage Management.(1).png)
⚠️Caution
Any data collected in the scan stages before starting the "Medit SmartX Workflow" will be lost.
Once the scanning sequence is entered, users are greeted by guide messages explaining and introducing the scanning process.
How to Use Medit SmartX Workflow
1. After the introductory messages about enabling the scanning sequence for the all-on-X case, you will enter the Mandibular/Maxillary Scan Body stage. You will be prompted to the Scan Body Library to assign what scan body you're using for this case.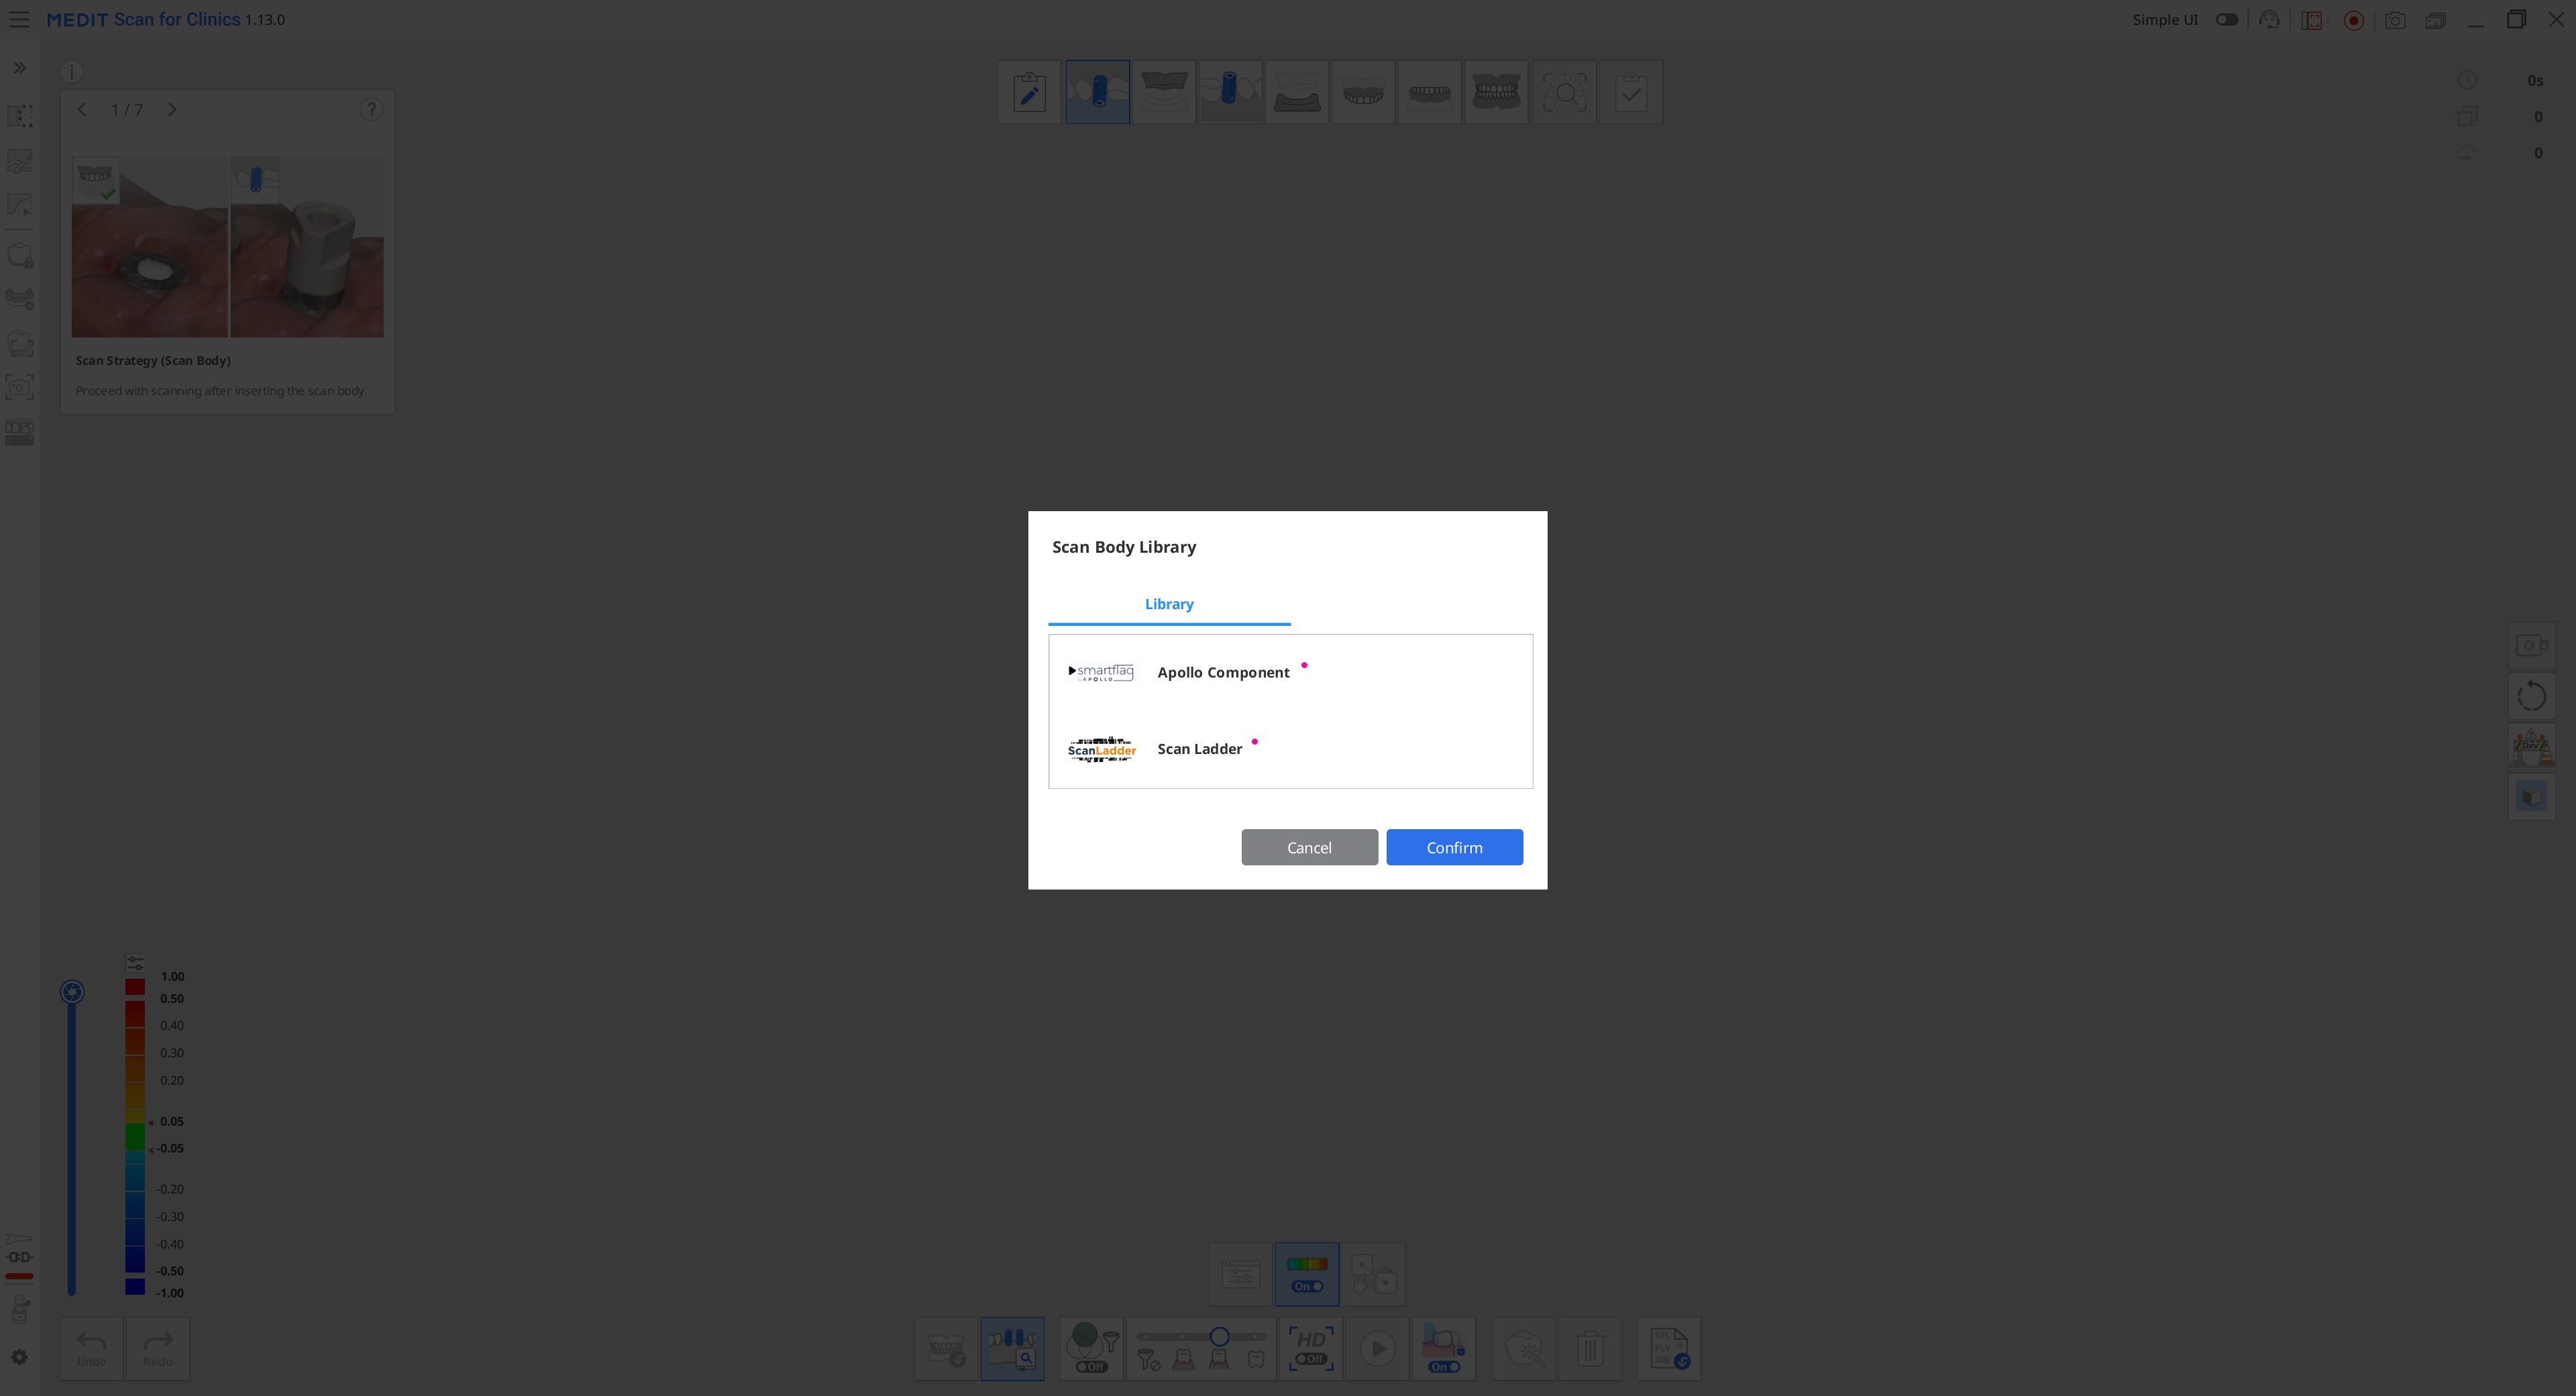
2. Then, begin scanning the physical scan body. Once you have captured enough data, the program will automatically align the scanned data with the corresponding data from the library.
🔎Note
If the automatic alignment fails for any reason, use the "Manual Alignment" tool to select 3 corresponding points on both sets of data and align them.
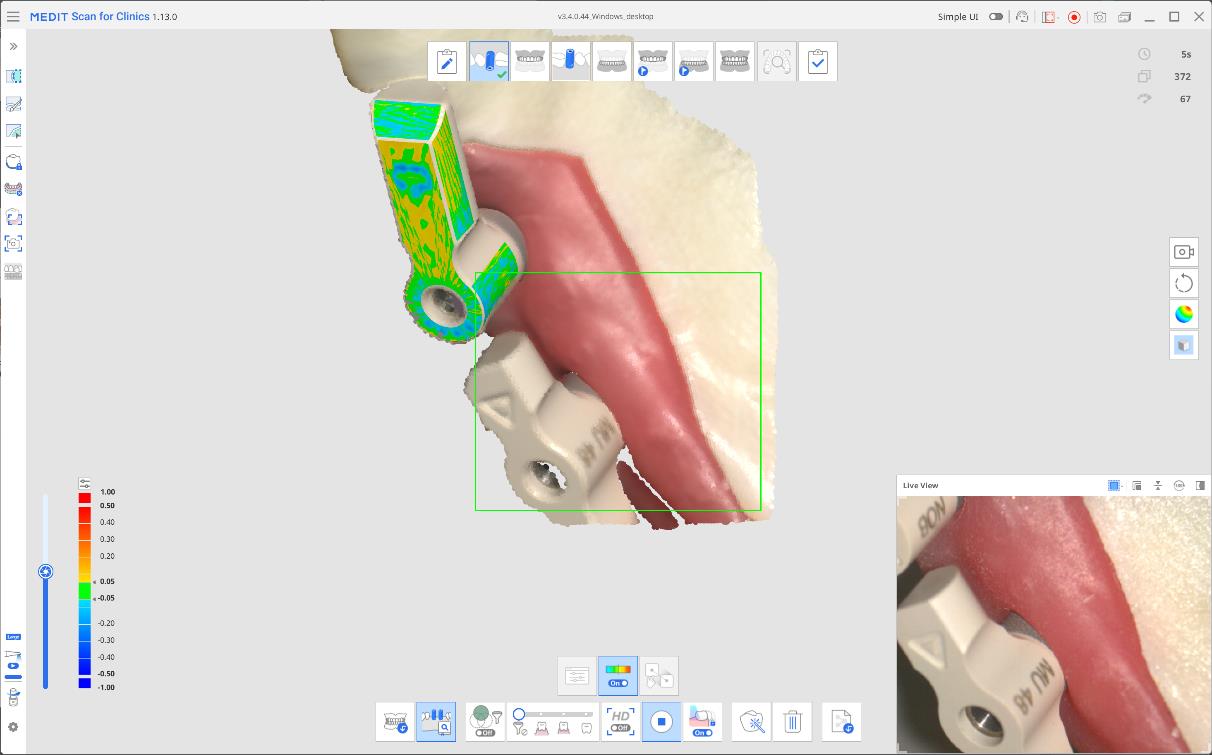
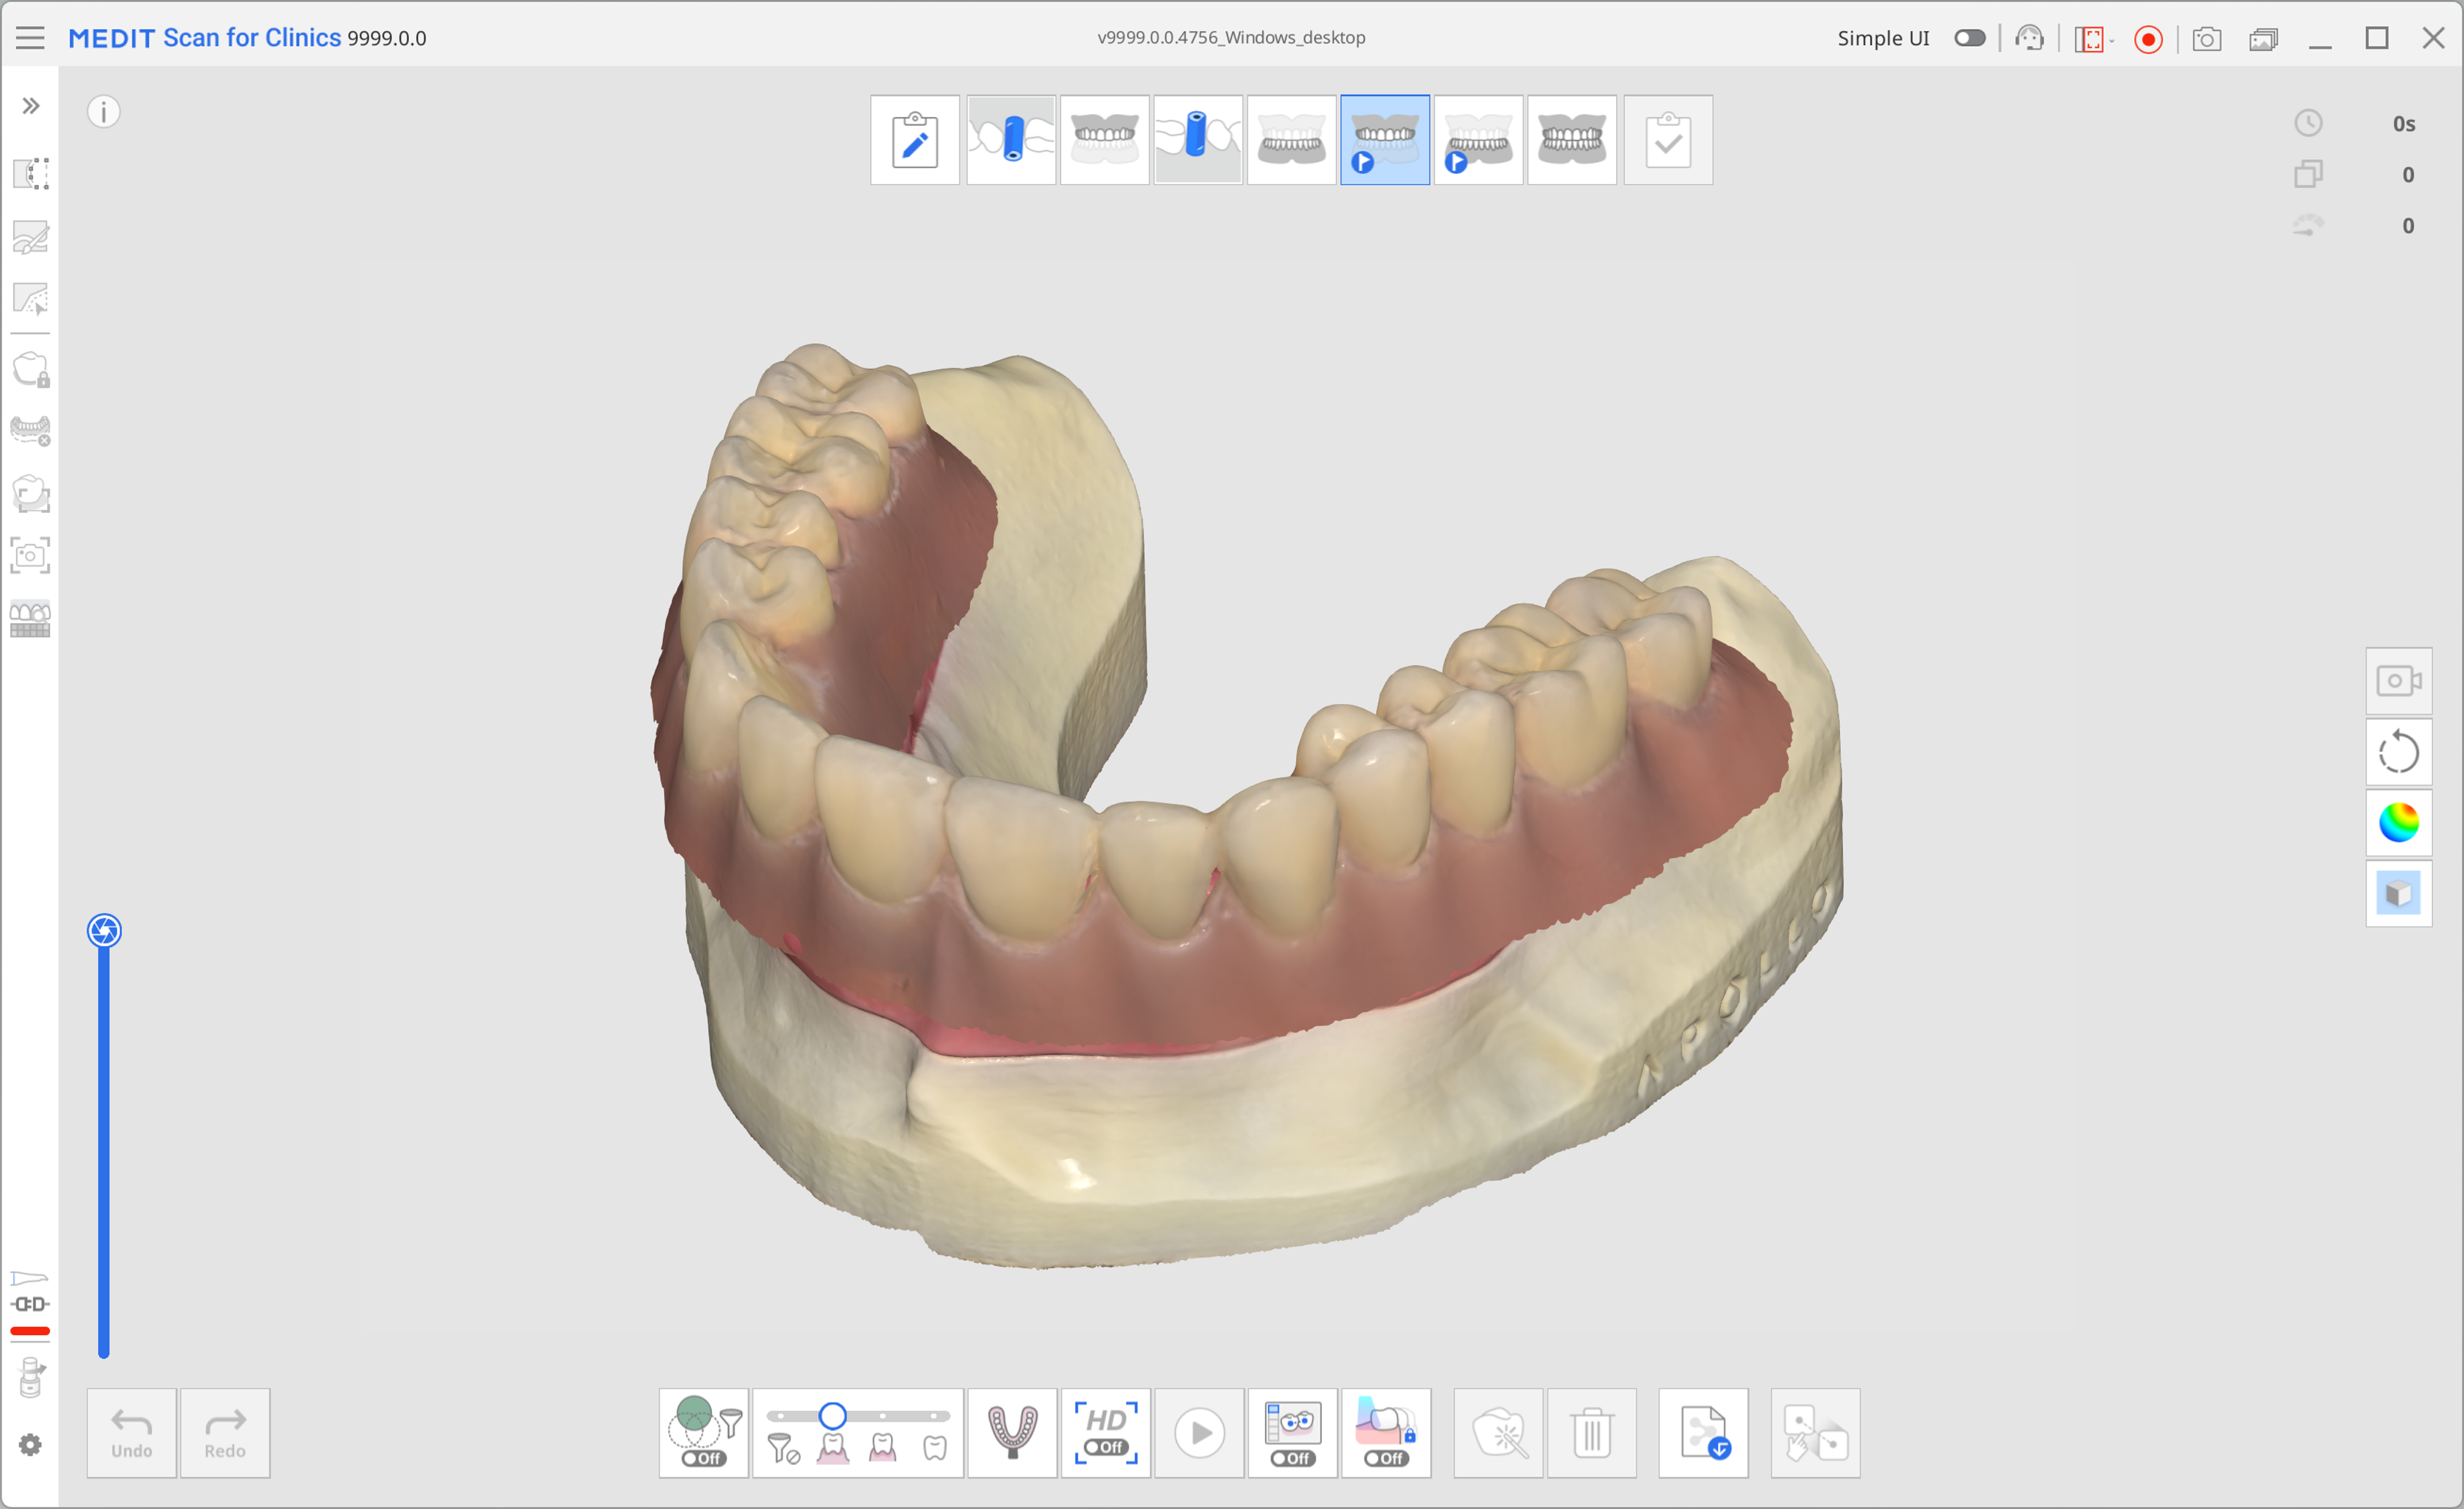
When done, the result will look as shown below.
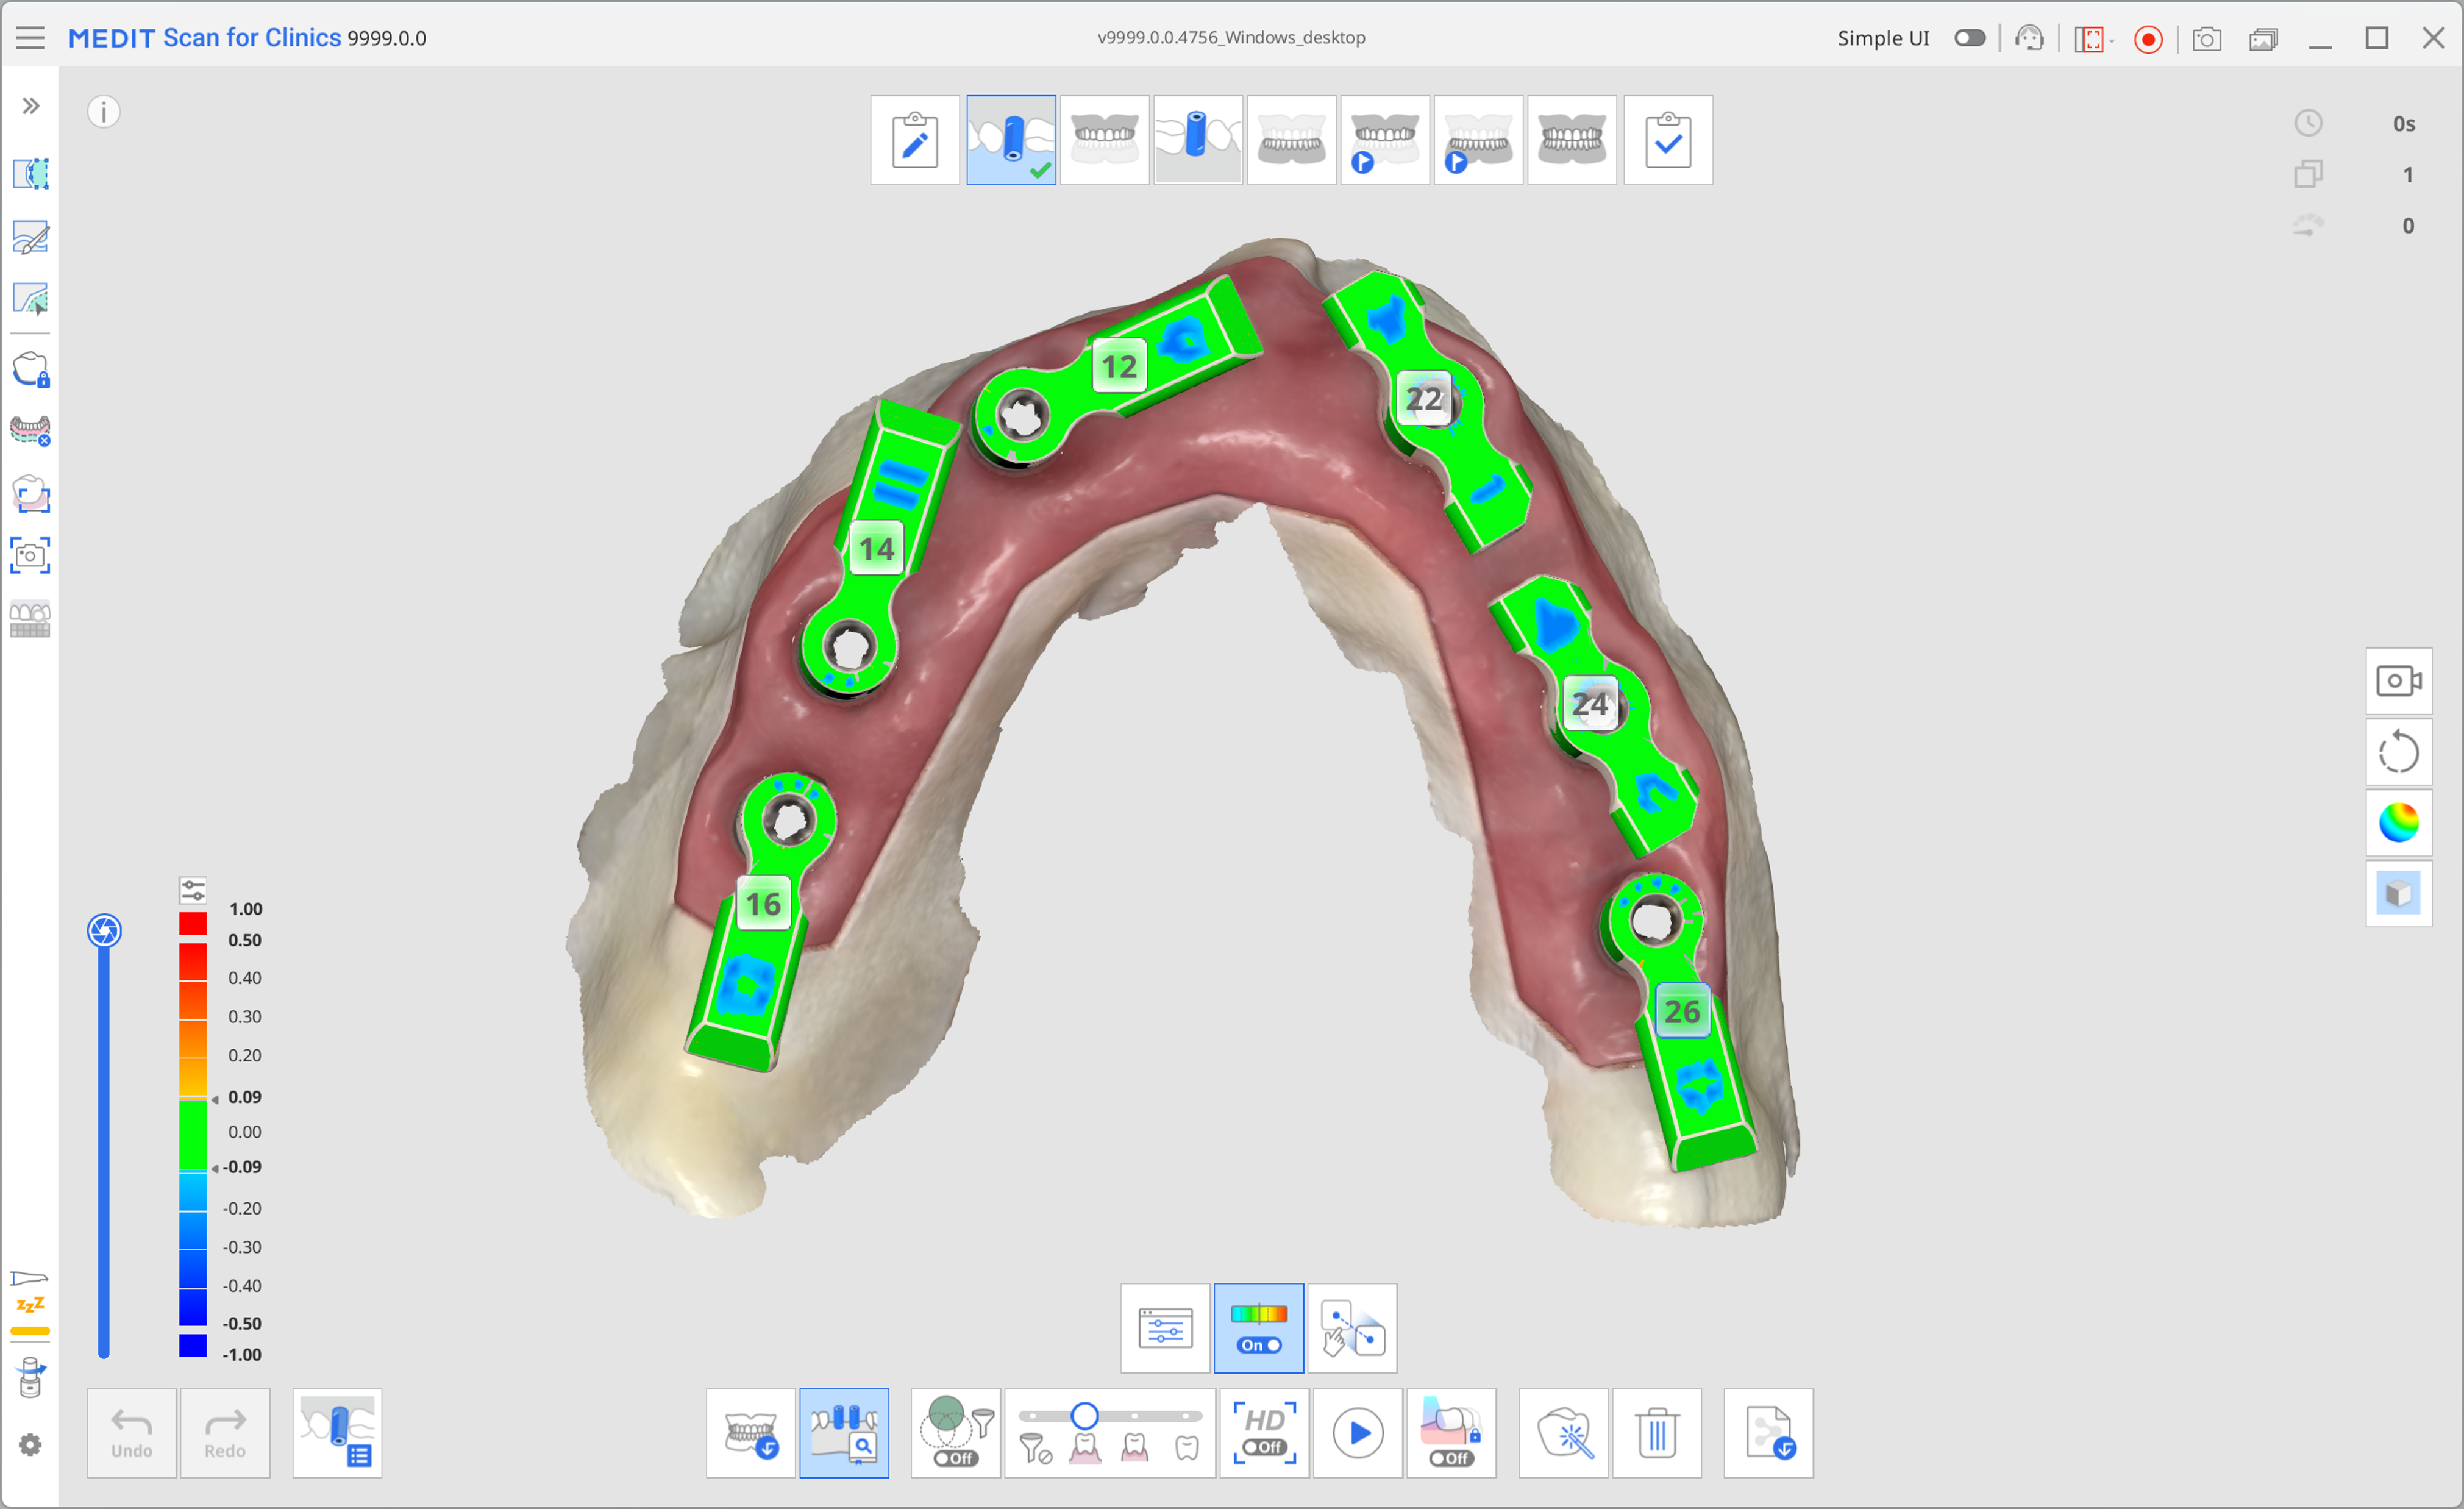
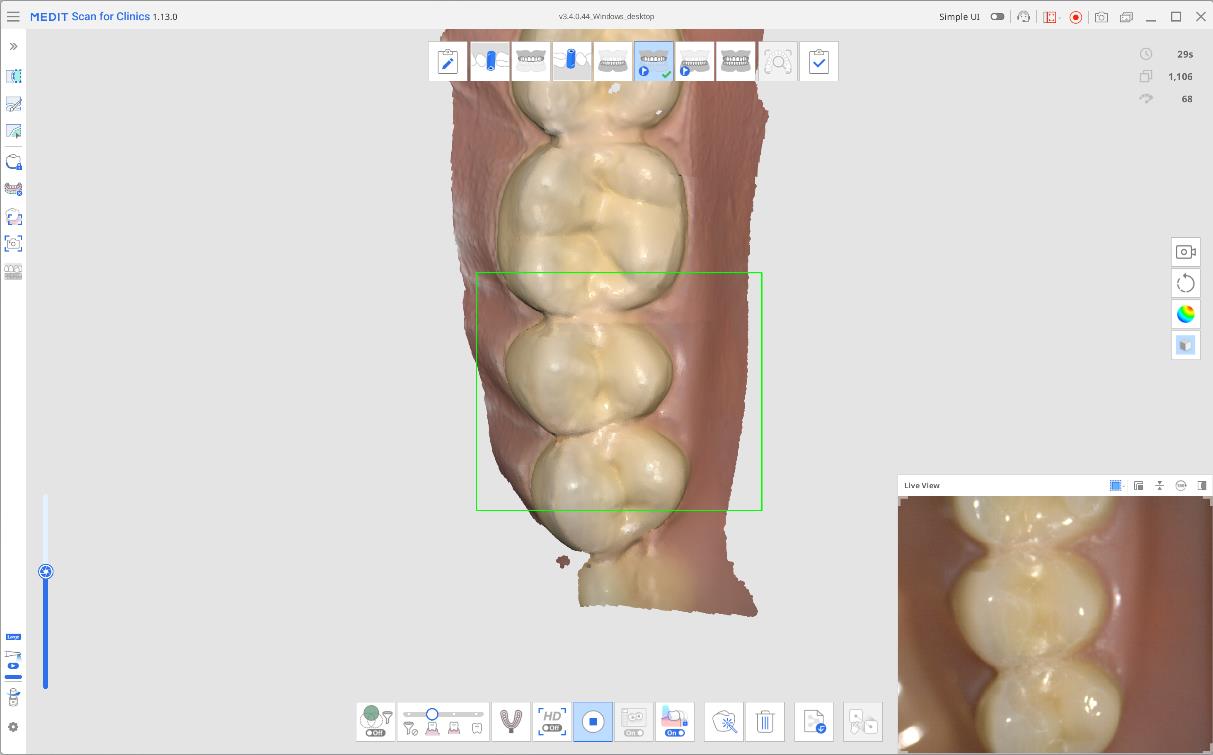
3. When done, move to the next stage at the top of the screen—Mandible/Maxilla. The operational data of the arch that was acquired in the previous step, together with the scan body, is replicated into this stage. Scan again, focusing on the multi-unit abutments (MUAs) and the inner side of the gingiva to complete the data for this stage.
Alignment with the scan body data will be performed automatically.
🔎Tip
Use the trimming tools from the left-side menu to clean up data if needed.

4. The next step depends on what appliance is available to you for scanning.
Upon entering Pre-Op for Mandible/Maxilla, you will be instructed to attach the provisional bridge before scanning. If a provisional bridge is available, secure it in place and scan the oral cavity. Make sure to scan the provisional bridge and the exposed gingival areas not covered by the bridge.
If you plan to use the denture instead, check the confirmation box in the pop-up message before proceeding. The scan stage for acquiring denture data will automatically appear in your workflow at the top of the screen. Scan the entire denture, including the fitting surface, and use the provided tools to align it with the edentulous data.
🔎Note
If you choose to scan the denture, the Mandible/Maxilla scan stage will update to Endentulous Mandible/Maxilla. All previously acquired data is preserved.
5. Finally, in the Occlusion scan stage, acquire the bite scan and align it with the relevant stage (e.g., Mandible/Maxilla, Pre-Op for Mandible/Maxilla, or Mandibular/Maxillary Denture stage).
6. Review your captured data and make sure it is all aligned before clicking the Complete stage and moving to data processing and saving.