To open Settings, select the gear icon in the upper-right corner of the home screen.

For details about the available settings and features, see the table below:
🔎Note
Some settings are available only when a scanner is connected.
Tab | Label | Remarks |
|---|---|---|
General Settings | Language | Follows the iPad system settings. Tapping this option opens the iPad language settings. |
Tooth Numbering System | Sets the tooth numbering system (US or FDI). | |
Send Anonymous Usage Statistics | Enables sending anonymous usage statistics to Medit. Collecting Anonymous Statistics Medit collects anonymous diagnostic and usage data, including device type, iOS version, and app performance. This helps us improve product stability and user experience in future releases. We do not collect personal data (such as your name, contact information, or project details), and we will never attempt to identify you from this information. | |
Clear Cache | Clears cached data stored on the device to free up space. | |
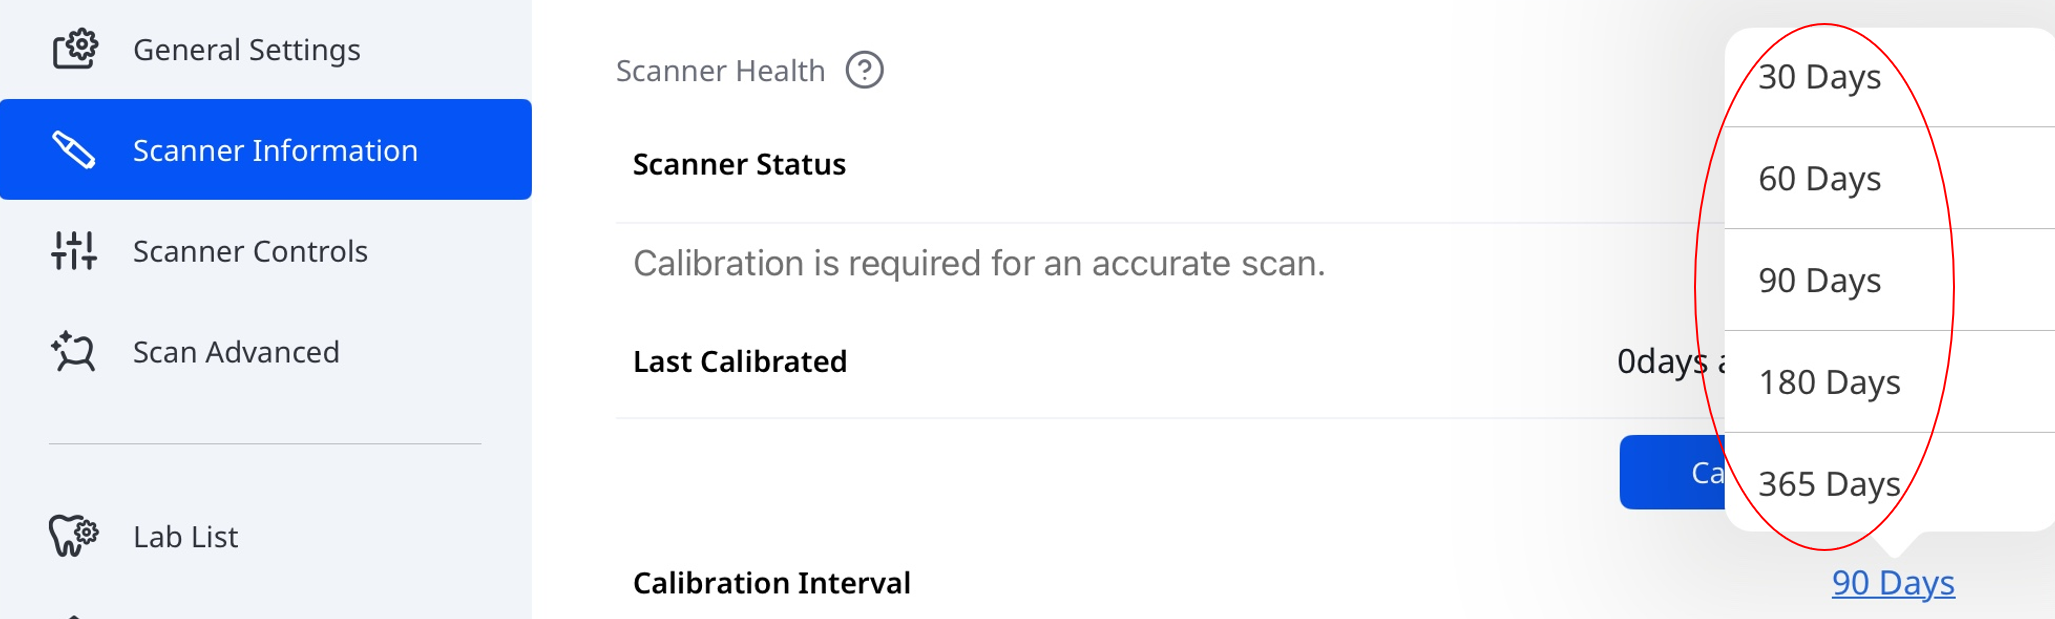
Scanner Information | Scanner Status | Displays the current scanner status. For more information, see Getting Started > Scanner Setup > Scanner Status. |
Last Calibrated | Shows the date and time of the most recent calibration. | |
Calibration Interval | Defines how often the scanner requires calibration. You can choose from 30, 60, 90, 180, or 365 days.
| |
Calibrate Now | Starts calibration immediately. For more information, see Getting Started > Scanner Setup > Scanner Calibration. | |
Warranty Expires On | Displays the expiration date of the scanner warranty. | |
Model (Serial Number) | Displays the scanner model and serial number. | |
Battery Information | Displays battery status and key details such as charge cycles, voltage, temperature, and remaining battery level. | |
Scanner Settings | Start Automatic Scan | The program automatically starts scanning when you enter the scan stages without having to perform any actions to start the scan. |
Show Smart Arrows When Scan Stops | Displays smart arrows when data acquisition is insufficient. | |
Light Color | Sets the LED light color of the scanner (Blue or White). | |
Minimum Scanner Temperature Notification | Enables notifications when the scanner temperature falls below the minimum threshold. | |
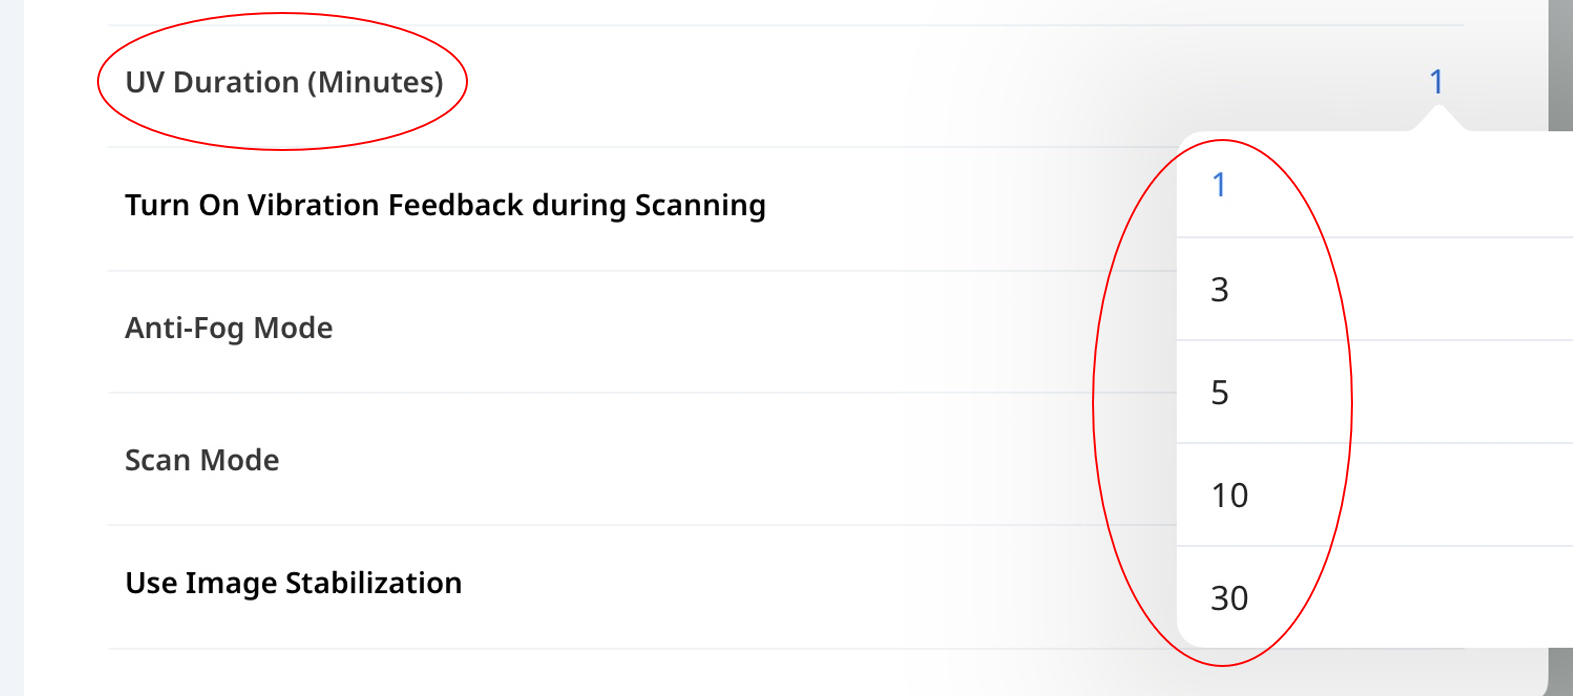
Turn On UV Automatically | Enables the UV light to turn on automatically when the scanner is connected or scanning stops. | |
UV Duration (Minutes) | Sets the time duration for the Turn On UV Automatically option. You can choose from 1, 3, 5, 10, or 30 minutes.
| |
Turn On Vibration Feedback during Scanning | Provides vibration feedback when misalignment is detected during scanning. | |
Anti-Fog Mode | Sets the fan mode to prevent mirror fogging at low temperatures. Options: Silent or Boost. | |
Scan Mode | Sets the scan mode. You can choose from Stable, Automatic, or Performance. | |
Adaptive FPS Mode | Automatically adjusts the scanning frame rate (FPS) to maintain smooth and stable performance. When disabled, FPS fluctuations may occur. | |
Use Image Stabilization | Enables automatic image stabilization during scanning for clearer and more stable images. | |
Advanced Network Search | Extends the search to a wider network range to find scanners that are not detected automatically. | |
Audio Feedback | Provides audio feedback to indicate the scanner status. | |
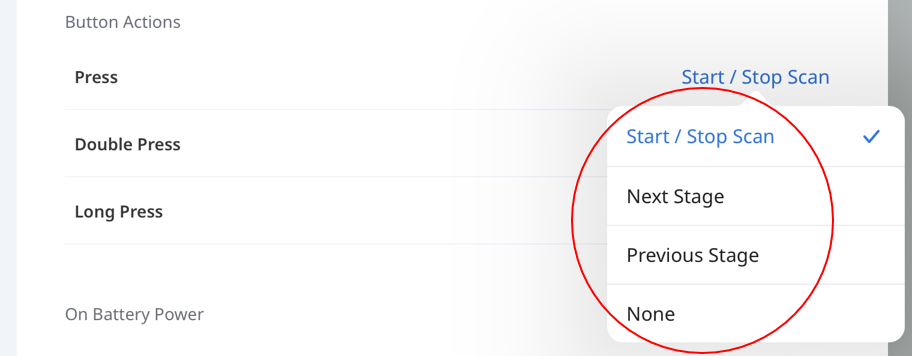
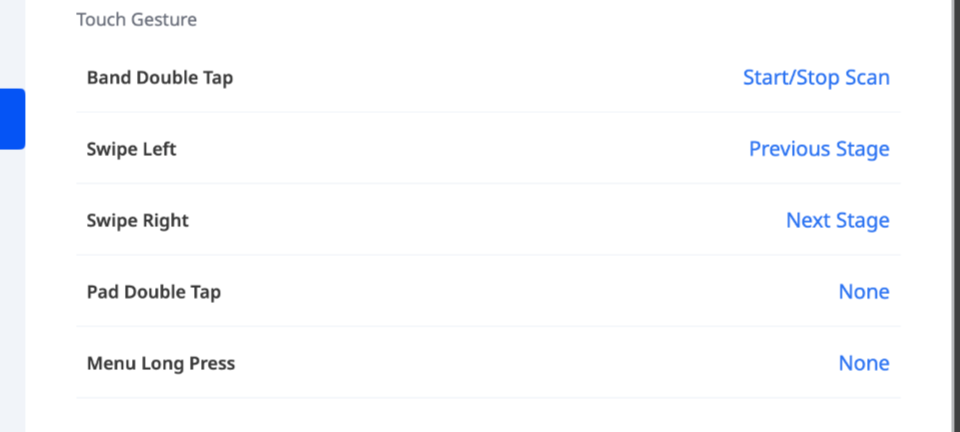
Button and Touch Actions | i900 Mobility & i900 classic
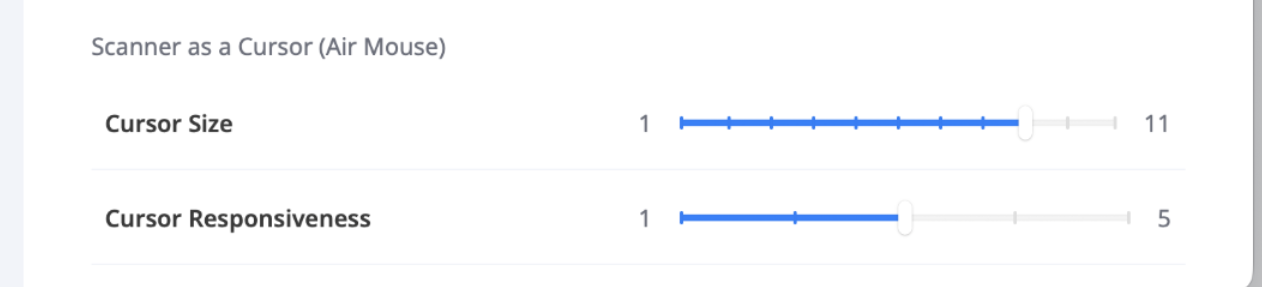
*Cursor Control (Air Mouse) Cursor Control (Air Mouse) lets you move the cursor by moving the scanner, without touching the screen. It can be assigned to the following actions, depending on the model:
| |
Sleep Timeout | Sets the idle time before the scanner enters sleep mode. You can choose from 3, 5, 10, or 15 minutes, or disable sleep mode. | |
Auto Power Off (after Sleep Mode) | Sets the time before the scanner powers off automatically after entering sleep mode. You can choose from 1, 10, 15, or 30 minutes, or 1 hour. | |
Advanced Scan Settings | For advanced scanning options, see Scanning Performance and Post-Processing under Settings in the Medit Scan for Clinics User Guide. | |
Data & Storage | Auto-Upload Raw Data | Automatically uploads raw scan data to the cloud. This backs up the original data and enables seamless scanning on another device using the same Medit Link Express account. |
Local Storage | Displays the amount of scan data stored on the device, including:
Tap Manage Local Storage to:
| |
Cloud Storage | Shows your current cloud storage plan and usage. | |
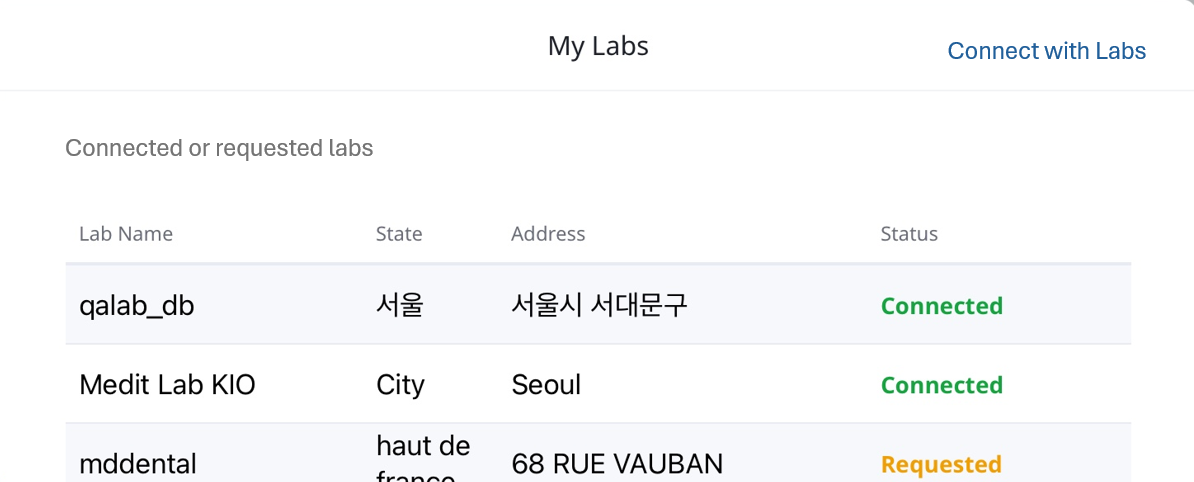
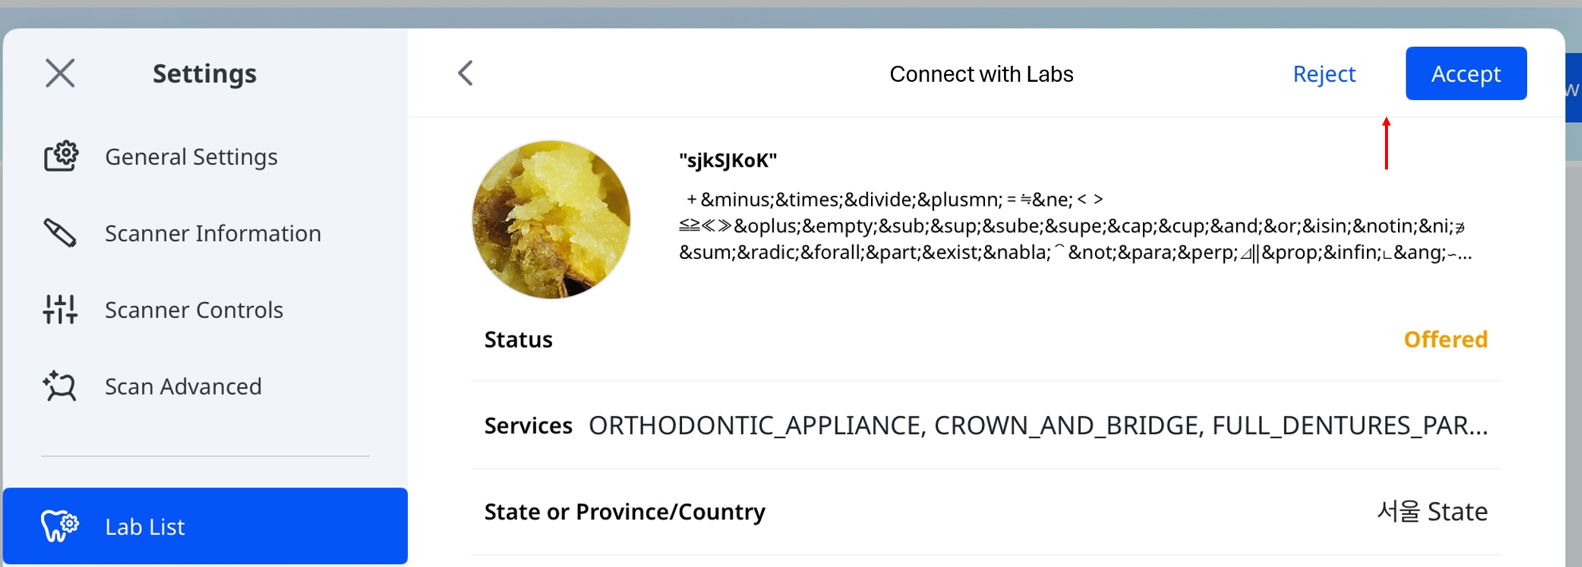
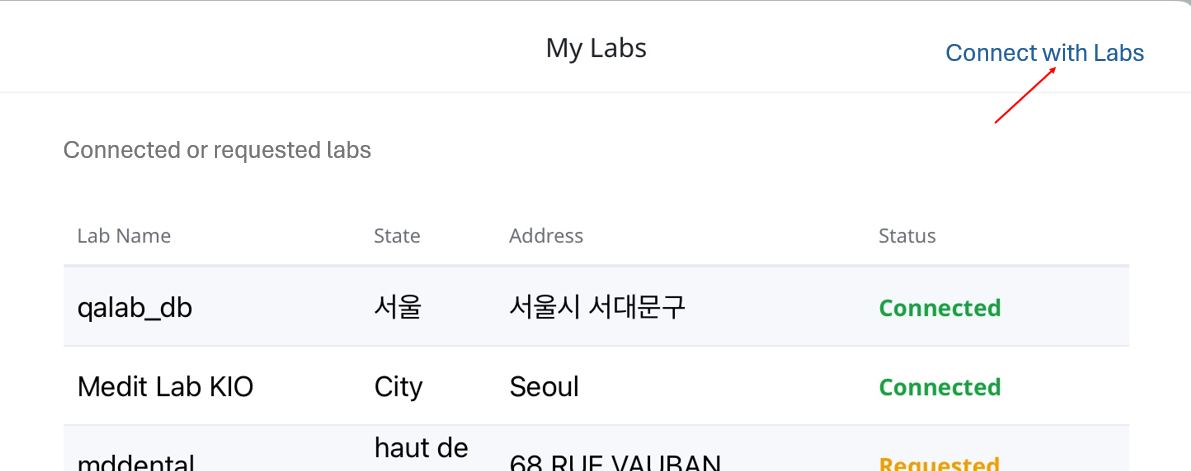
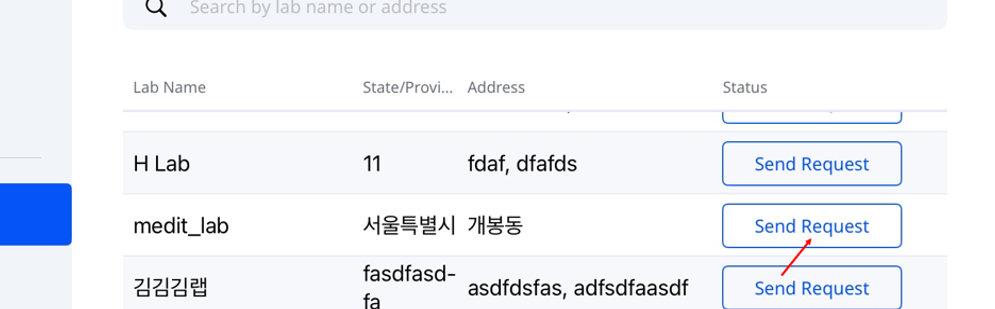
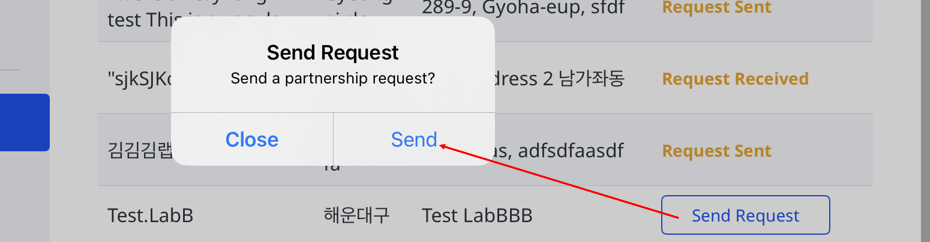
My Labs | Shows labs you interacted with (requested or received offers from), along with their current connection status.
Connection Status
To choose a lab and send a partnership request, follow these steps:
| |
Announcements | Displays updates and announcements available in the app. | |
Get Help | Allows you to submit a support request directly from the app. For additional resources, you can also visit the Medit Help Center. | |