Table Top Scanner Calibration
ℹ️Note
It is recommended to calibrate the device periodically.
Go to Menu > Settings > Table Top Scanner, and configure the calibration period in Calibration Period (Days) option. The default calibration period is 30 days.
Go to Menu > Settings > Table Top Scanner, and configure the calibration period in Calibration Period (Days) option. The default calibration period is 30 days.
Calibration is recommended for proper scanning and performance of the device.
Please calibrate the scanner when:
- The quality of scan data has decreased as compared to the previous scans.
- The external conditions, such as device temperature, changed during use.
- It is already past the configured calibration period.
⚠️Caution
The calibration panel is a delicate component. Please do not touch it.
If the calibration fails, inspect the panel and contact the service provider if it is contaminated.
If the calibration fails, inspect the panel and contact the service provider if it is contaminated.
Calibration of T710/T510/T310
- Turn on the scanner and connect the scanner to the software.
- Click on the scanner icon at the bottom left to start the calibration process.
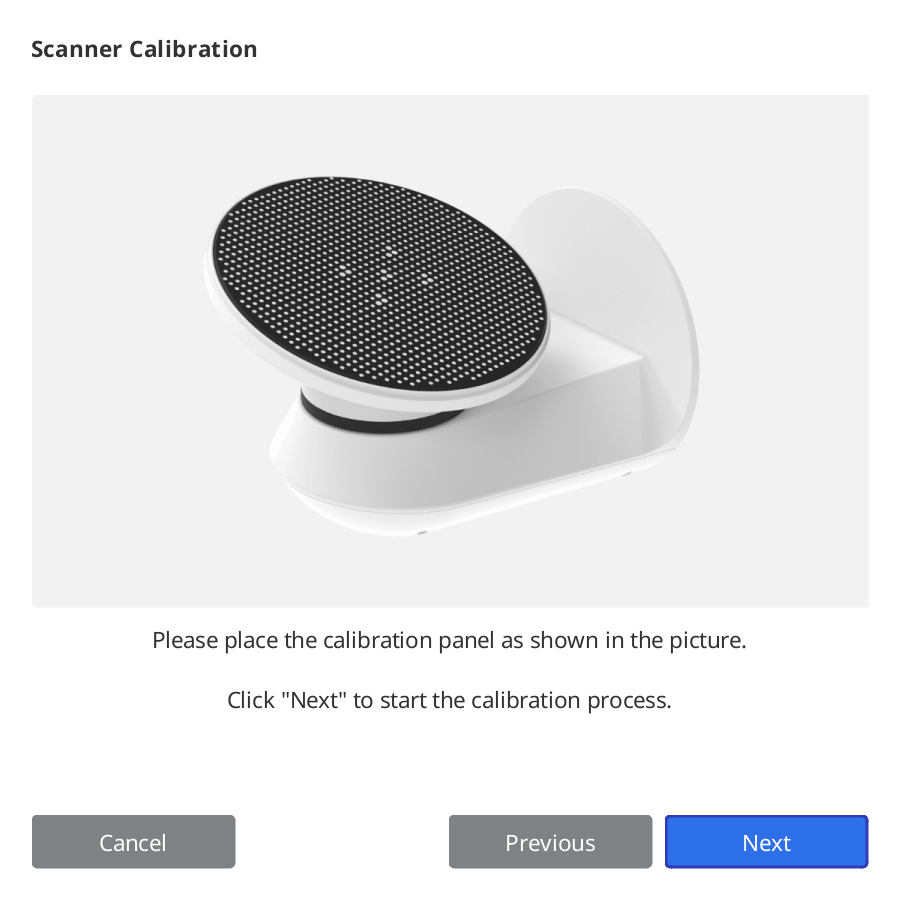
- Prepare and place the calibration panel.
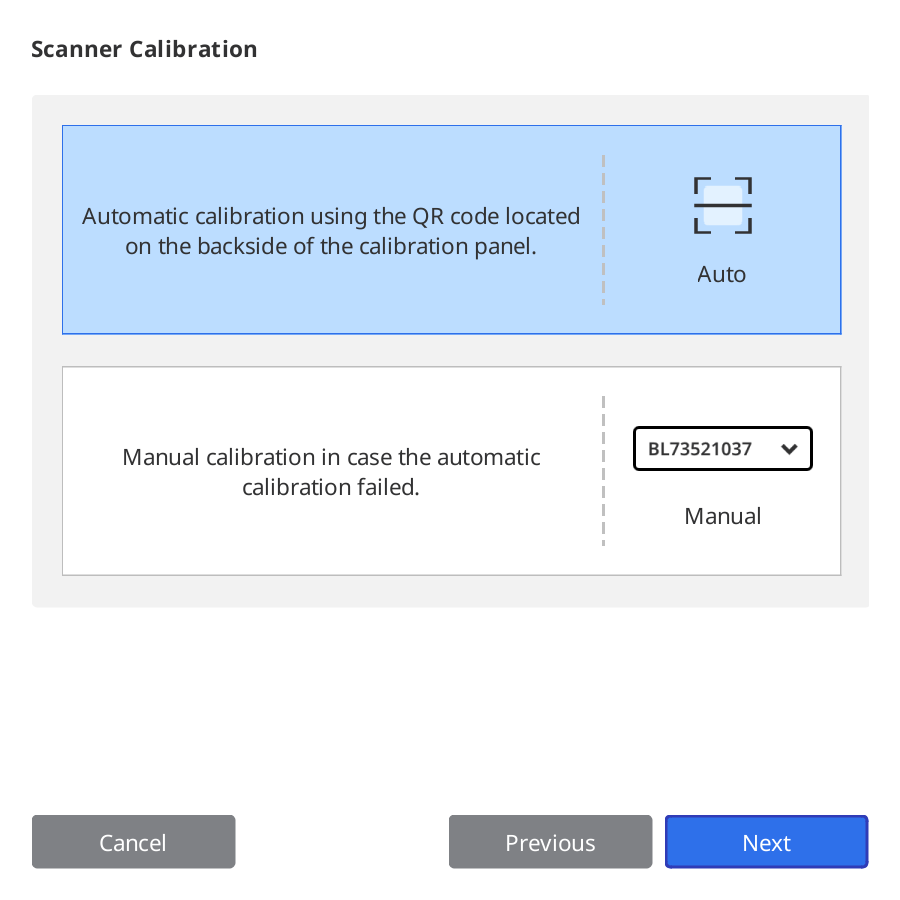
- Select one of the two calibration options and click Next.
- Auto calibration: Automatic calibration is conducted with the QR code on the back side of the calibration panel.
- Manual calibration: The corresponding PNL file is required to conduct manual calibration.
- Please enter the serial number of the calibration panel according to the option you chose above.
- Auto calibration:
- The scanner will scan the QR code on the back side of the calibration panel, and the calibration process starts automatically.
- Manual Calibration:
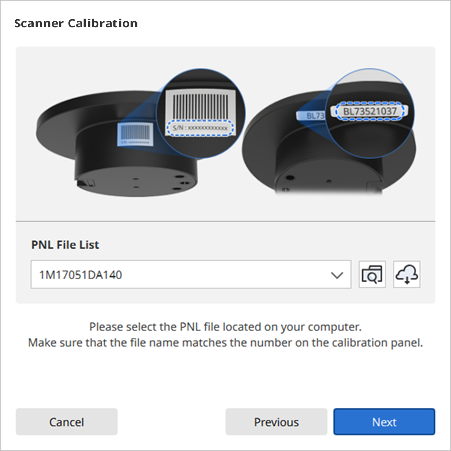
- Check the serial number on the calibration panel and select the corresponding PNL file from the file list.
- If you cannot find the serial number on the list, please check if you have a PNL file on the PC or installation USB.
- If you have a PNL file, click
 to search for it.
 - If you do not have a PNL file, click
 and enter the serial number.
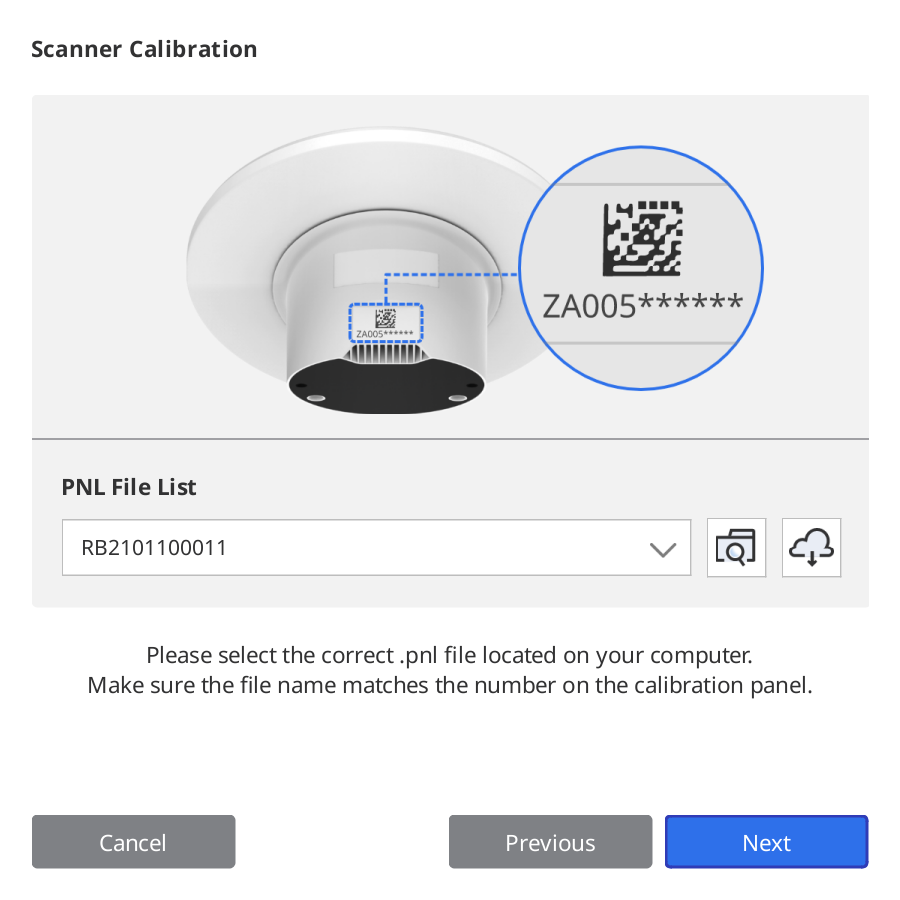
- If you have a PNL file, click
- Auto calibration:
- Place the calibration panel on the scanner as shown in the picture.
- The calibration process might take a few minutes. Please do not touch the scanner.

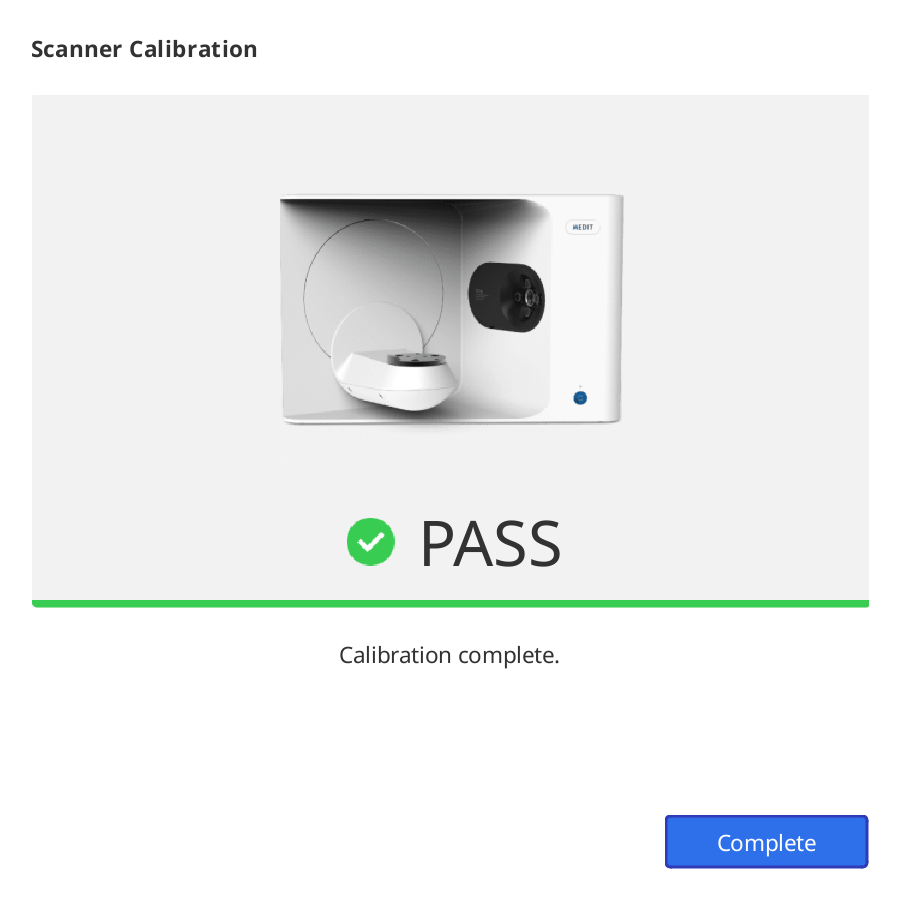
- Wait until the calibration is completed successfully.
Calibration of T500/T300
- Turn on the scanner and connect the scanner to the software.
- Click on the scanner icon at the bottom left to start the calibration process.
- Prepare and place the calibration panel as shown on the picture.
- Select one of the two calibration options and click Next.
- Auto calibration: Automatic calibration is conducted with the QR code on the back side of the calibration panel.
- Manual calibration: The corresponding PNL file is required to conduct manual calibration.
- Please enter the serial number of the calibration panel according to the option you chose above.
- Auto calibration:
- The scanner will scan the QR code on the back side of the calibration panel, and the calibration process starts automatically.
- Manual Calibration:
- Check the serial number on the calibration panel and select the corresponding PNL file from the file list.
- If you cannot find the serial number on the list, please check if you have a PNL file on the PC or installation USB.
- If you have a PNL file, click to search for it.
- If you do not have a PNL file, click and enter the serial number.
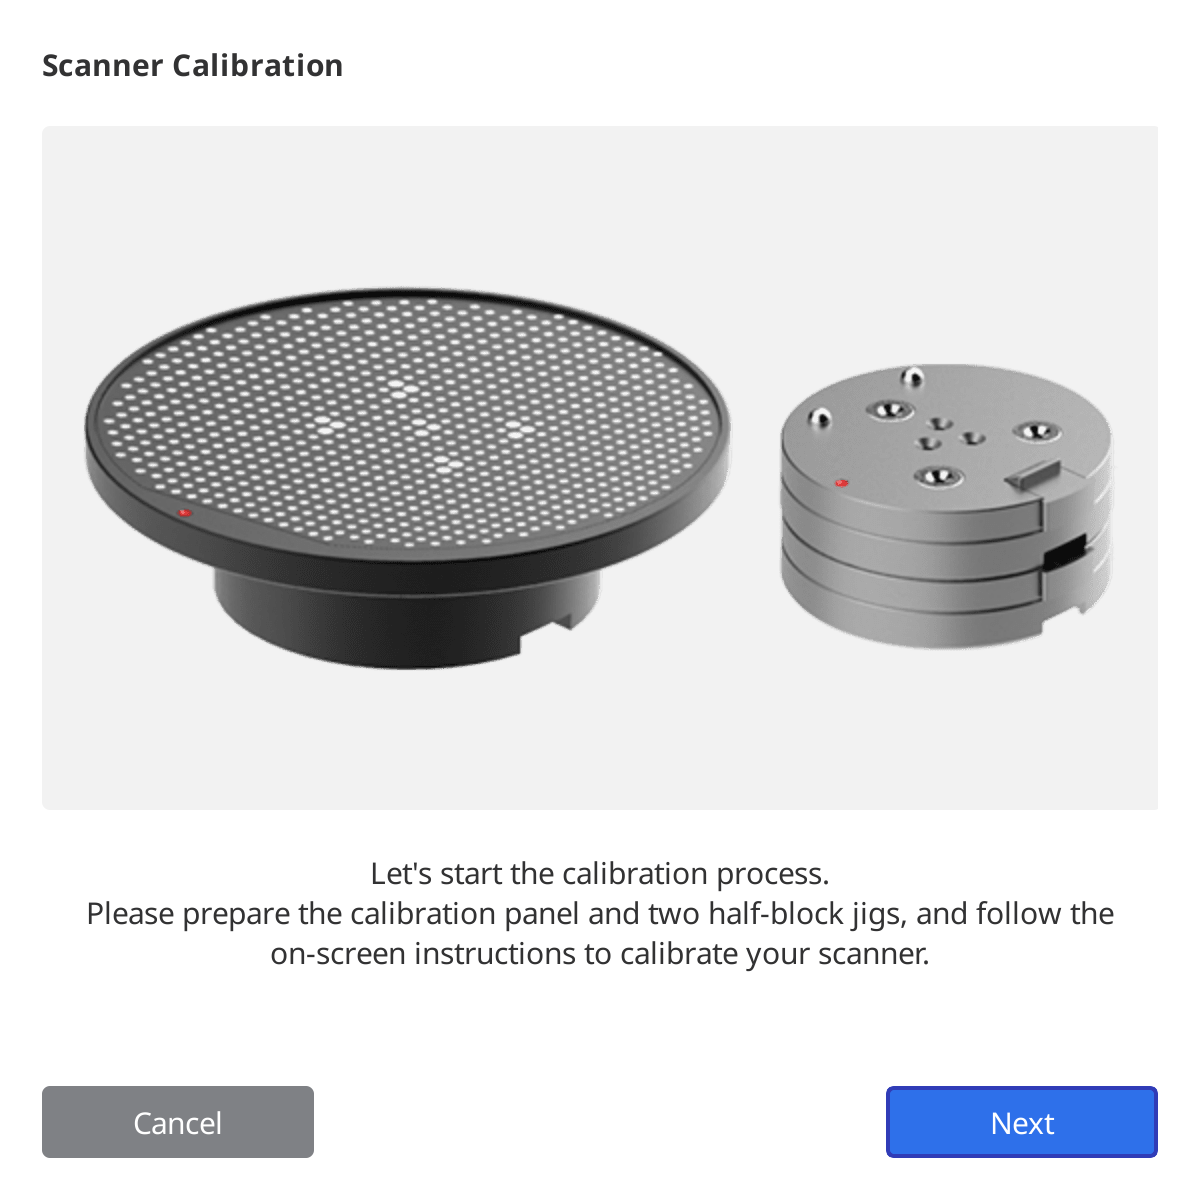
- Auto calibration:
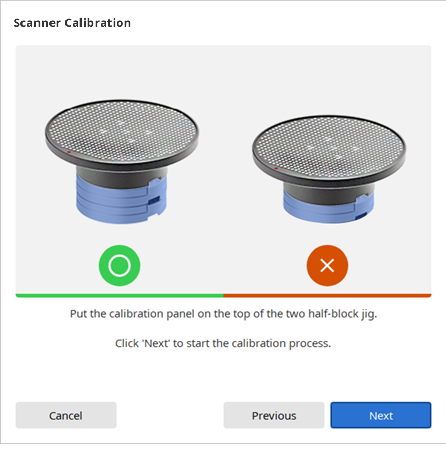
- Put the calibration panel on top of the two half-block jigs.
- The calibration process might take a few minutes. Please do not touch the scanner.
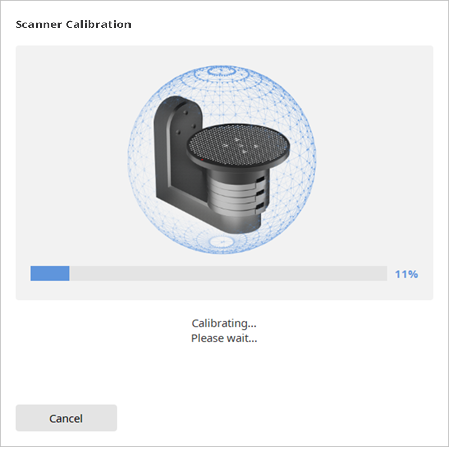
- Wait until the calibration is completed successfully.
Intraoral Scanner Calibration
🔎Note
It is recommended to calibrate the device periodically.
Go to Menu > Settings > Scanner, and configure the calibration period in Calibration Period (Days) option.
Go to Menu > Settings > Scanner, and configure the calibration period in Calibration Period (Days) option.
Calibration is recommended for proper scanning and performance of the device.
Please calibrate the scanner when:
- The quality of scan data has decreased as compared to the previous scans.
- The external conditions, such as device temperature, changed during use.
- It is already past the configured calibration period.
⚠️Caution
The calibration panel is a delicate component. Please do not touch it.
If the calibration fails, inspect the panel and contact the service provider if it is contaminated.
If the calibration fails, inspect the panel and contact the service provider if it is contaminated.
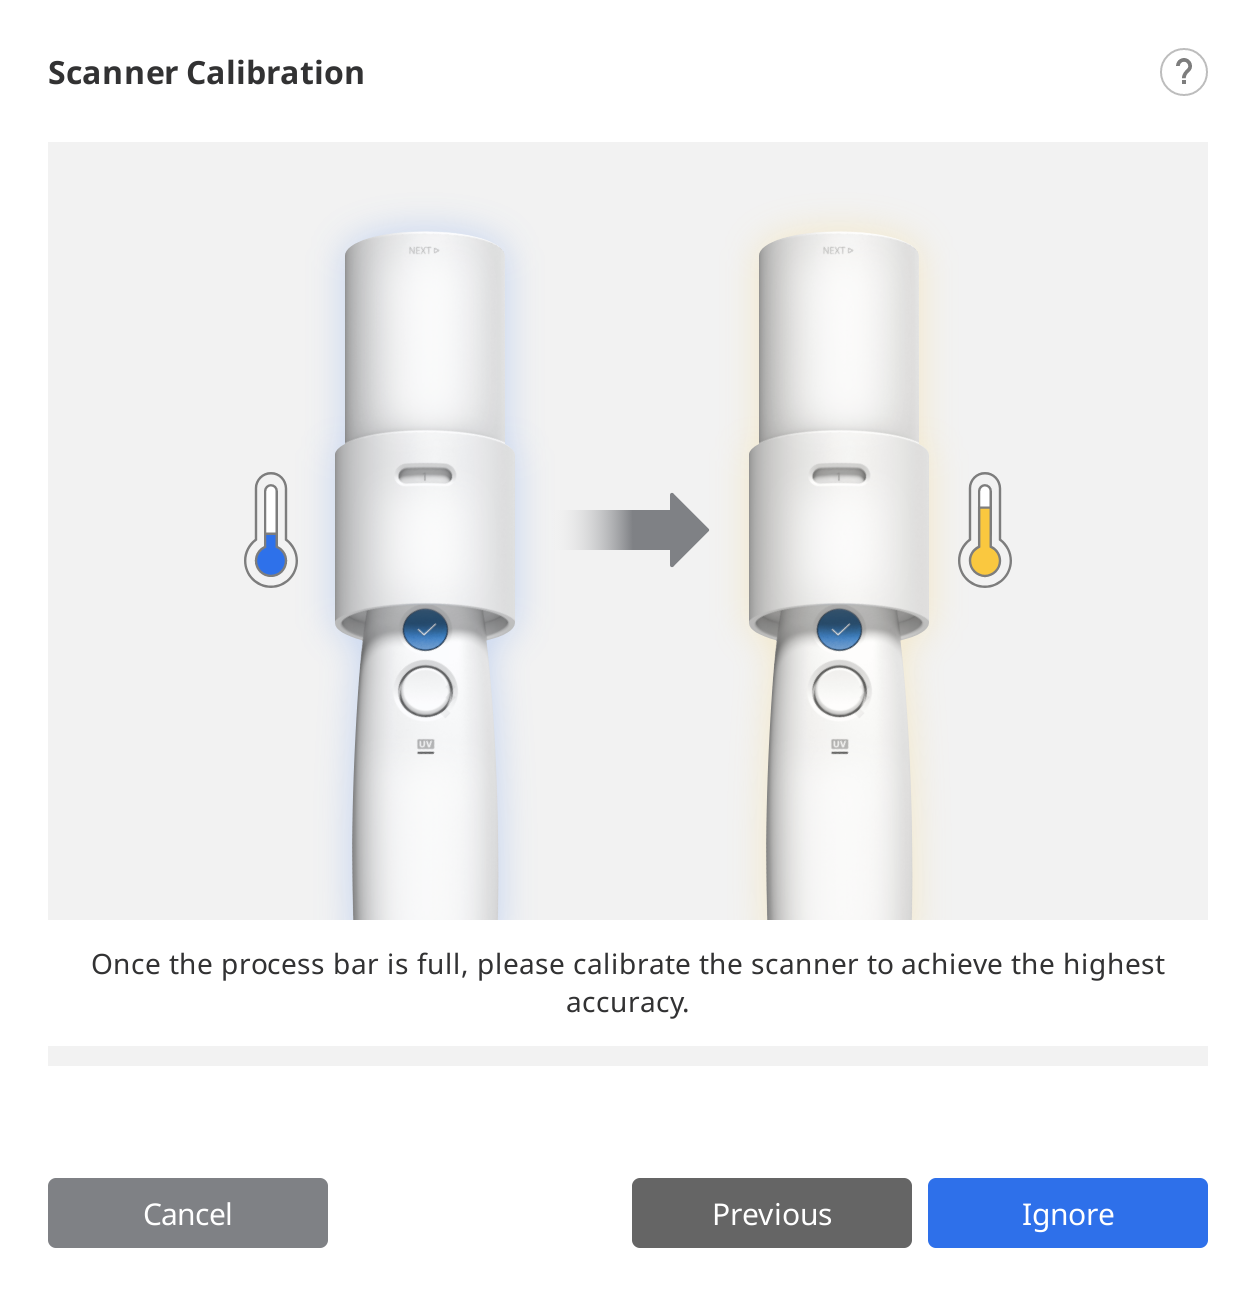
Please note that the accuracy of scan data increases if the temperature of the scanner during calibration is similar to that of while scanning.
Let your scanner warm up before calibration to reach the same temperature to the same temperature as during scanning.
How to Calibrate
The following describes how to calibrate based on the i700. Other Medit intraoral scanners, except for the i900, can be calibrated in the same way.
🔎Note
The user can select "Next" or "Complete" by pressing the Scan button on the scanner.
- Turn on the scanner and connect the scanner to the software.
- Click the "Calibrate" icon at the bottom left corner of the program.You can just insert the scanner into the calibration tool to start calibration. (unavailable with i500)

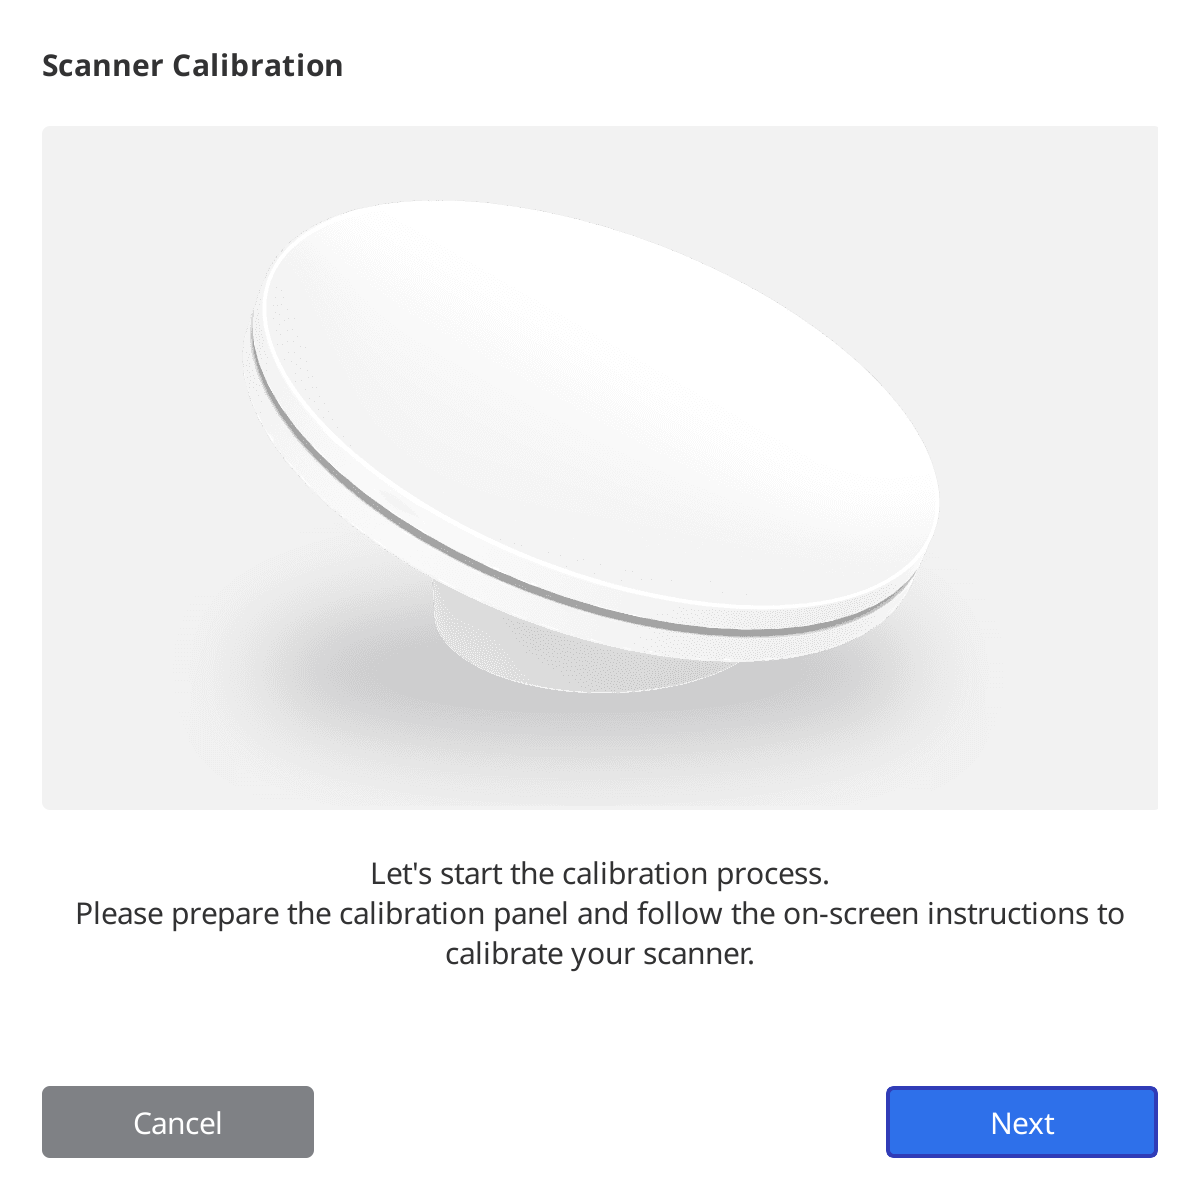
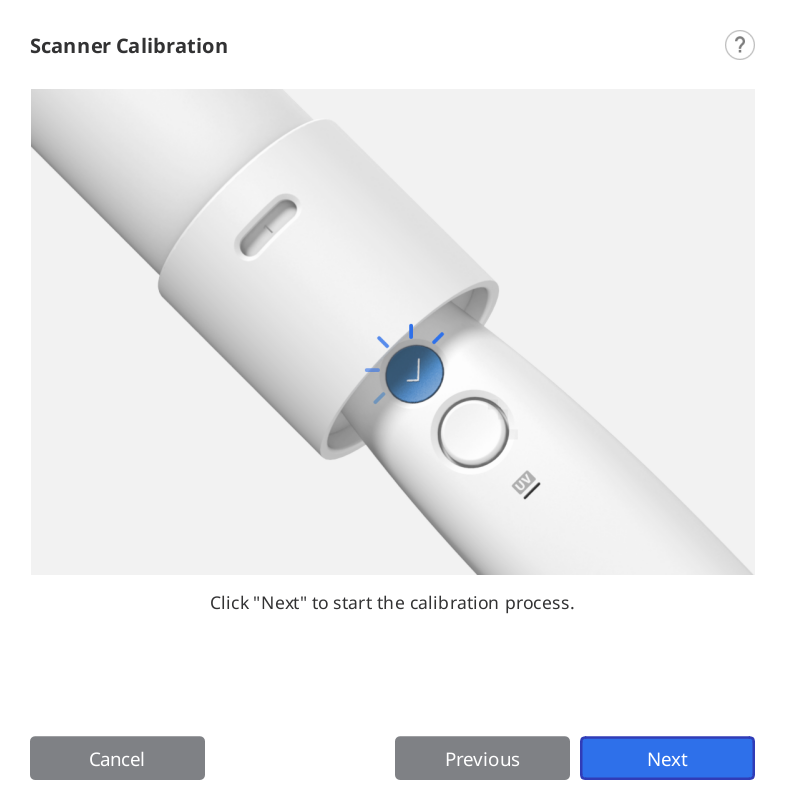
- Prepare the calibration tool and click "Next" to start the calibration process.

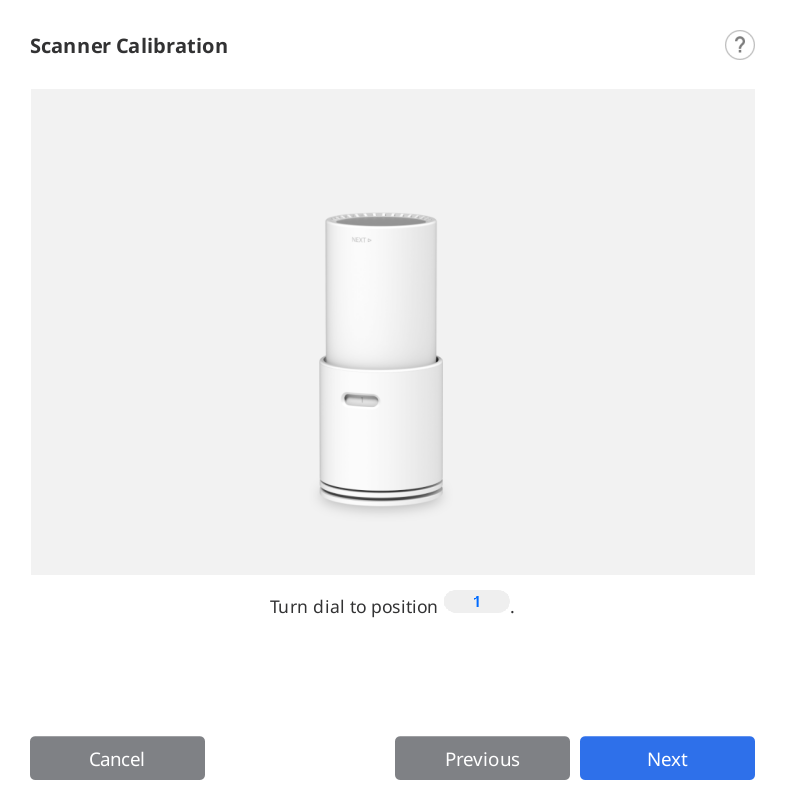
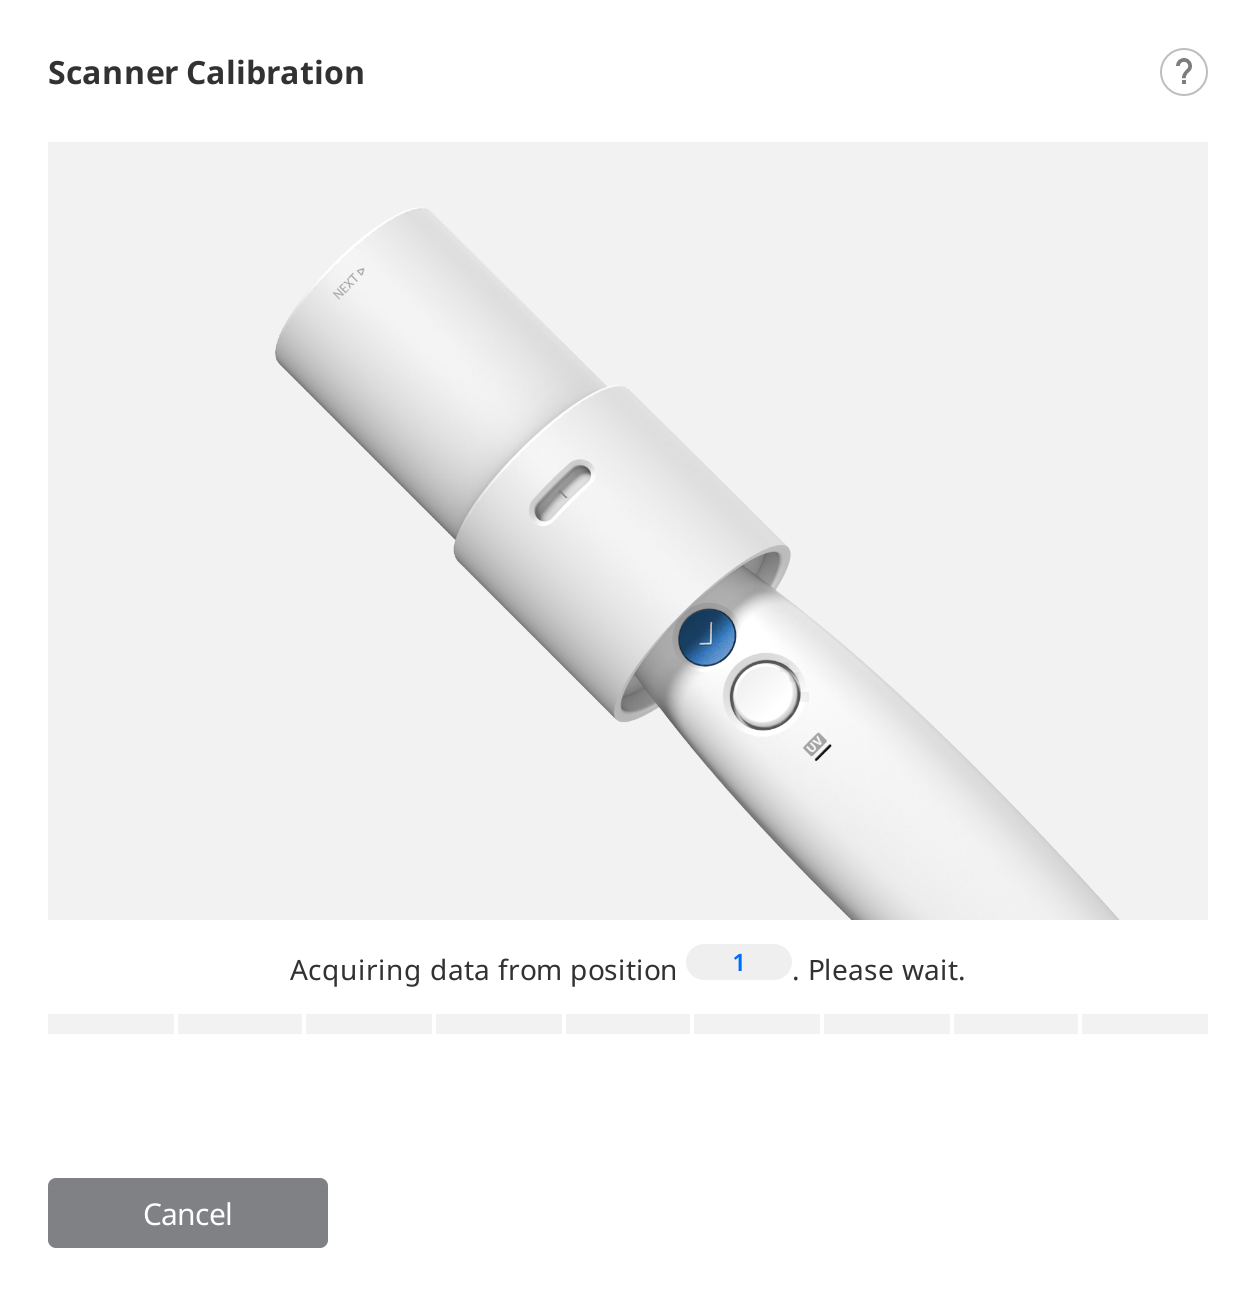
- Set the dial of the calibration tool to position 1.
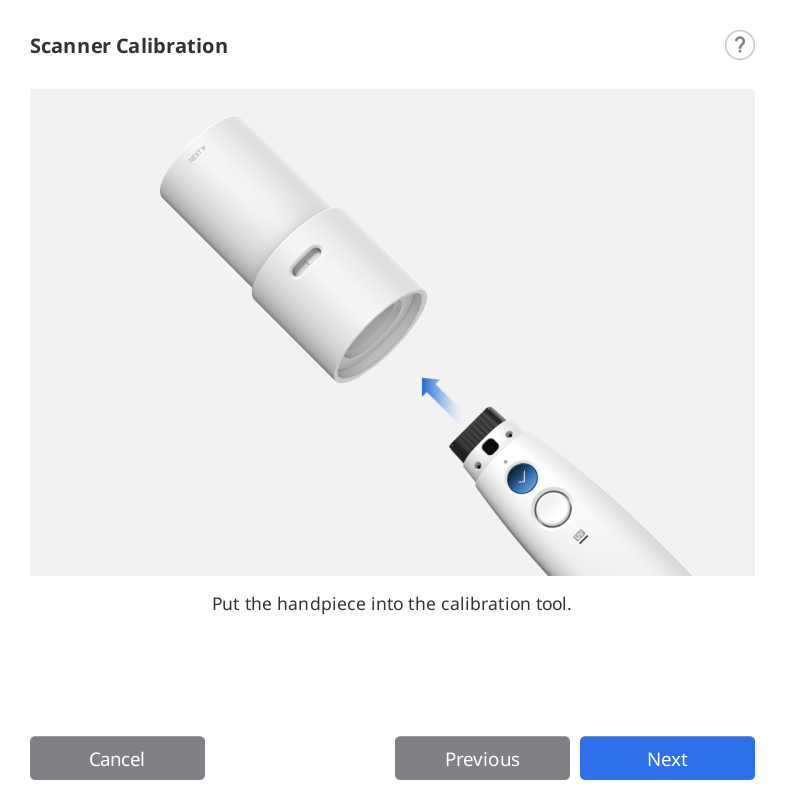
- Insert the handpiece into the calibration tool.
- Click "Next" to start the calibration.
- If the scanner's temperature is too low, pre-heating will be required to provide the best performance.
- If the handpiece is mounted correctly, the system will automatically acquire the data at position 1.
- After completing data acquisition at position 1, turn the dial to the next position according to on-screen instructions.
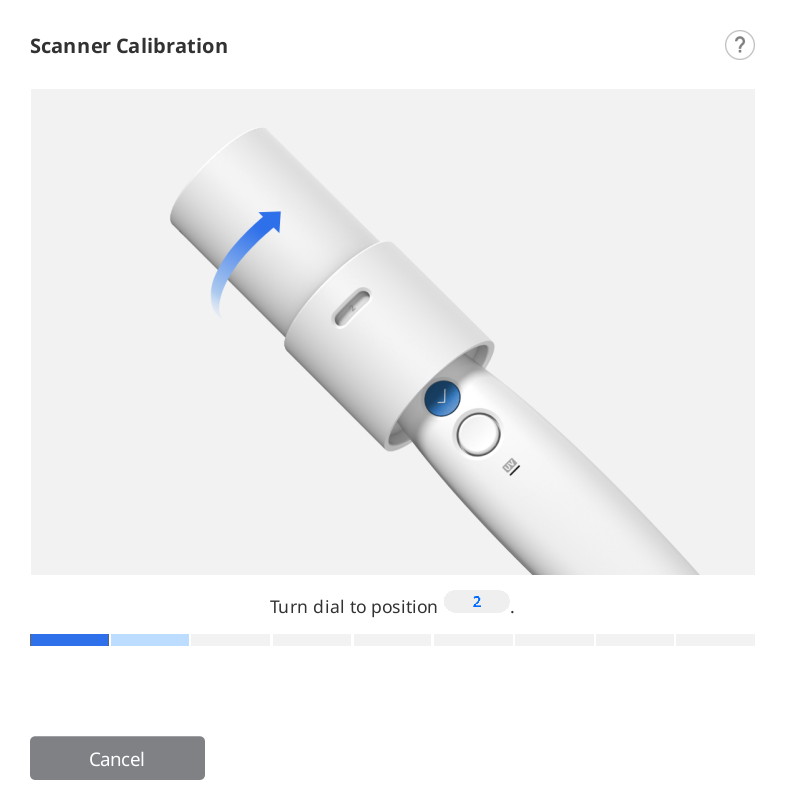
- Repeat the above process for positions 2 to 8 and the LAST.
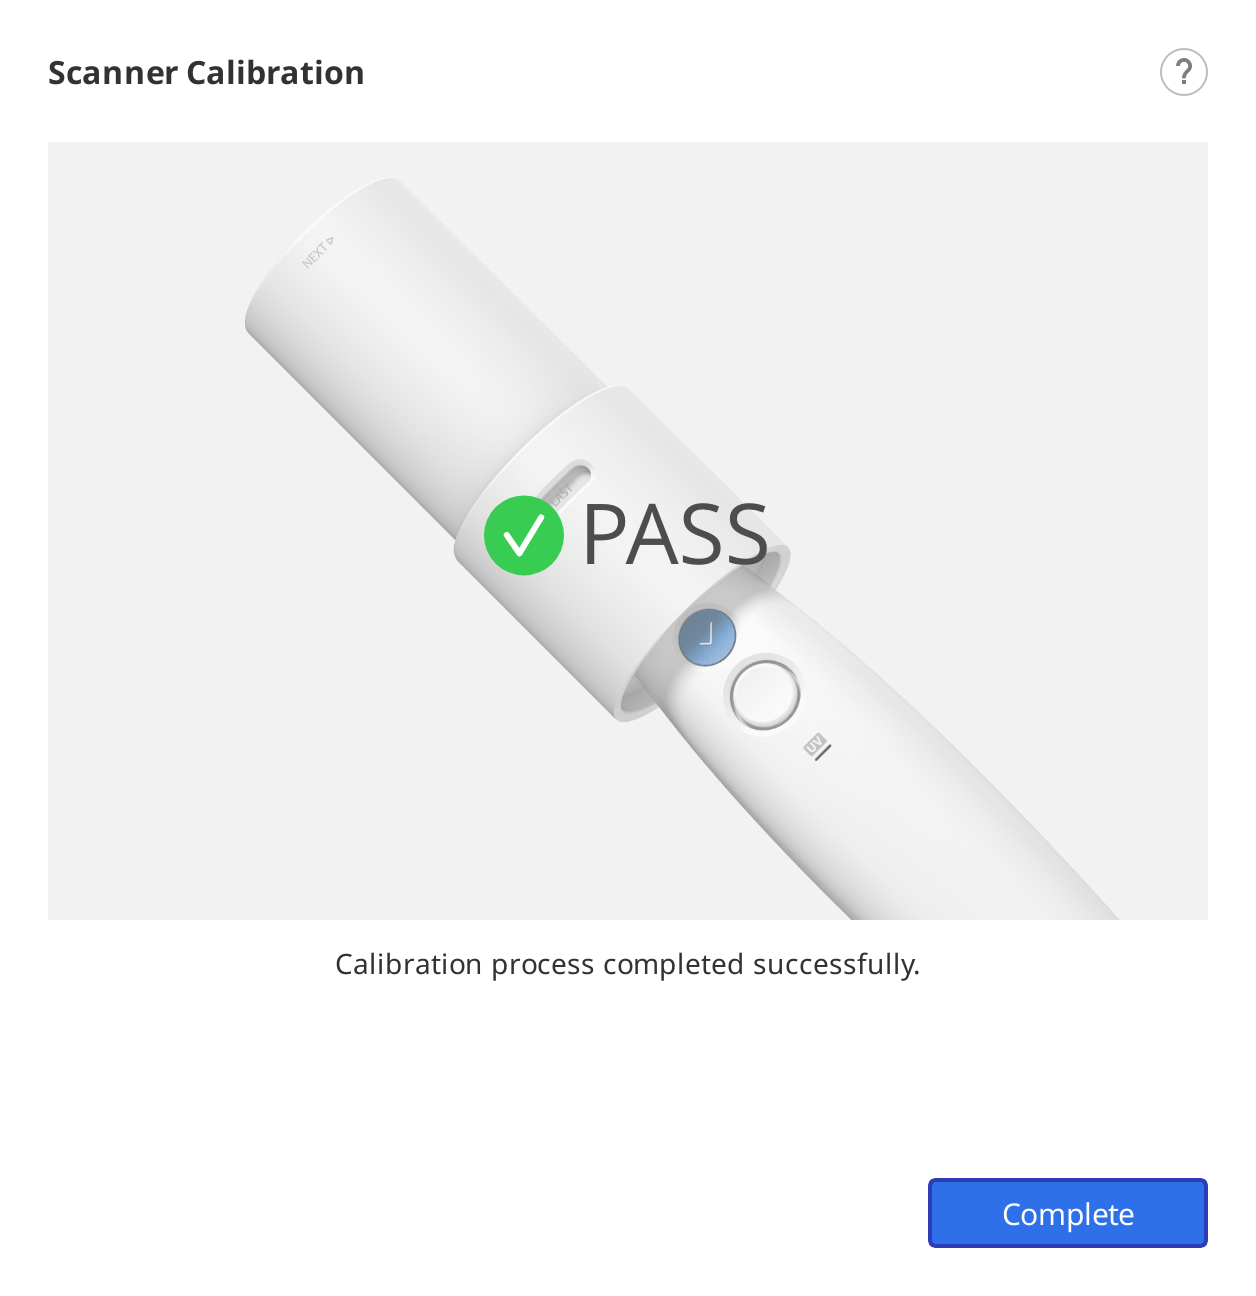
- After data acquisition at the LAST position is completed, the calibration result will be displayed.