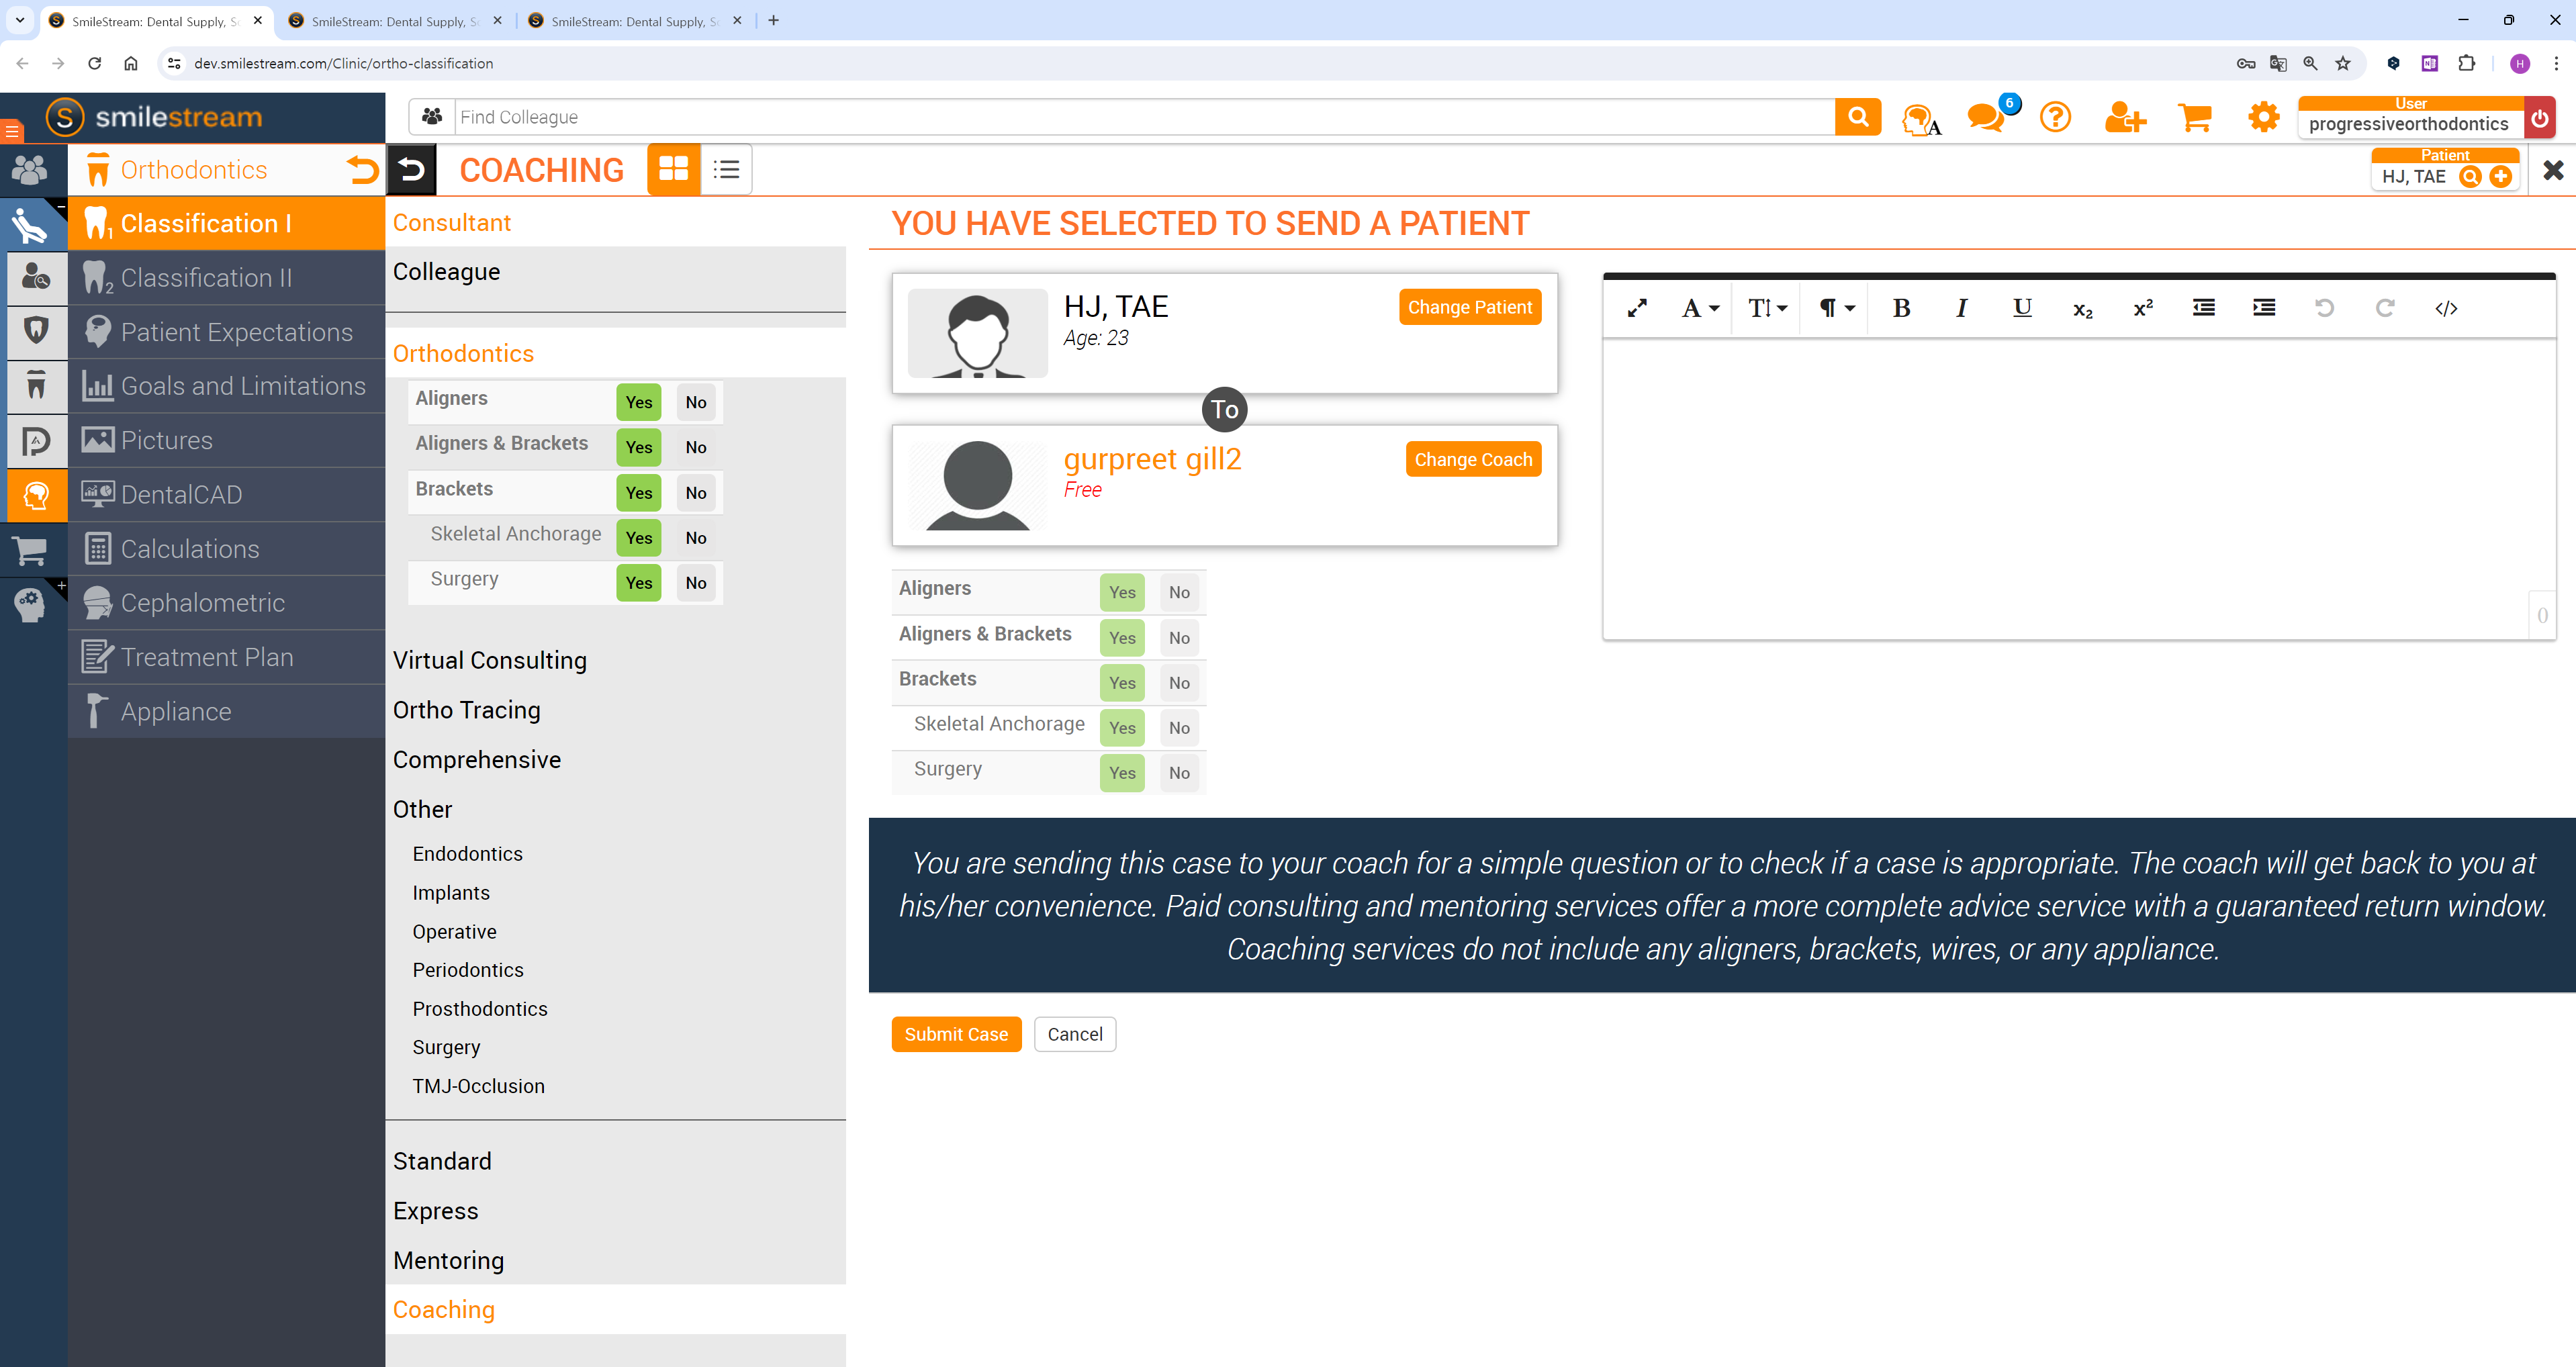
Краткий обзор пользовательского интерфейса
.png)
A | Строка заголовка |
B | Информационное окно |
C | Дерево данных |
D | Кнопки управления действиями |
E | Рабочий процесс |
F | 3D-данные |
G | Панель инструментов |
H | Боковая панель инструментов |
I | 3D-куб |
J | Запрос на коучинг |
Примечание
Обратите внимание! Здесь представлен общий обзор основных элементов. Некоторые элементы интерфейса могут незначительно отличаться в зависимости от цели каждого этапа рабочего процесса.
Строка заголовка
Строка заголовка — это панель в верхней части окна приложения, которая содержит основные элементы управления справа и меню программы слева. Также здесь отображается название приложения и название открытого проекта.
| Меню | Управление открытым проектом, доступ к имеющимся вспомогательным ресурсам, а также просмотр сведений о приложении. |
| Справочный центр | Переход на страницу Справочного центра Medit, посвященную этому приложению. |
| Выбрать область записи видео | Определение области, которая должна быть захвачена для видеозаписи. |
| Начать запись видео | Запуск и остановка видеозаписи экрана. |
| Скриншот | Сделать снимок экрана. Сделайте скриншот приложения со строкой заголовка или без нее, используя автоматический выбор, или нажмите и перетащите, чтобы захватить только нужную область. |
| Управление скриншотами | Просмотр, экспорт или удаление скриншотов. По завершении все полученные изображения будут автоматически сохранены в проекте. |
| Свернуть | Сворачивает окно приложения. |
| Восстановить | Разворачивает или восстанавливает окно приложения. |
| Выход | Закрывает приложение. |


Дерево данных
Дерево данных находится в левой части экрана под информационным окном и отображает данные, которые вы используете, по группам. Вы можете управлять видимостью данных, нажимая на соответствующий значок в дереве, или изменять их прозрачность, перемещая ползунок.
Примечание
Обратите внимание, что наличие и структура дерева данных зависят от целей каждого этапа.
Кнопки управления действиями
Управление общим рабочим процессом осуществляется с помощью четырех кнопок. Они расположены в нижних углах окна приложения.
Кнопка «Завершить» появится только на завершающем этапе.
Отменить действие | Отменяет предыдущее действие. |
Повторить | Повторить предыдущее действие. |
Далее | Применяет изменения и перемещает к следующему шагу. |
Завершение | Завершение работы над проектом и сохранение результатов в Medit Link. |
Готово (доступно в рамках функций «Ориентация зубов» и «Доработка лечения») | Сохранение изменений, внесенных с помощью текущего инструмента, и возврат к предыдущему этапу рабочего процесса. |
Панели инструментов
Панель инструментов каждого этапа включает в себя функции, необходимые для выполнения основной цели этого этапа. Ниже приведены пояснения к функциям, представленным на панелях инструментов во всем рабочем процессе.
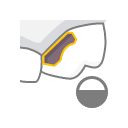
Редактирование данных
| Инструмент обрезки | Используйте различные инструменты выделения, чтобы выбрать и удалить ненужные данные. |
| Заполнить дырки | Заполняет пустые пространства в данных 3D-сетки. |
| Моделирование | Моделирование данных с помощью инструментов для добавления, удаления, морфинга или сглаживания их частей. |


Окклюзионное поле/Наложение цефалограммы
| Удалить точку | Удаляет последнюю добавленную точку. |
| Разъединить данные | Сбрасывает сопоставление и перемещает данные в исходное положение. Выберите точки на данных, чтобы сопоставить их вручную. |


Идентификация зубов
| Настройки растущего пациента | Предоставляет информацию о пациенте, включая пол (мужской/женский), возраст и зрелость зубов. |

Цефалометрическая трассировка
| Редактировать | Изменение автоматически созданных линий трассировки. |
| Сброс | Восстановление результатов автоматической трассировки. |


Выбор формы дуги
| Симметрия | Отображение перпендикулярных линий для оценки симметричности левой и правой сторон дуги относительно средней линии. |

Предварительный просмотр симуляций
| Ориентация зубов | Анализ и корректировка ориентации зубов на основе симуляции 1.1. Вспомогательные инструменты позволяют пользователям выполнять следующие действия с зубами: ротация, ангуляция (наклон) и инклинация (торк). |
| Дентальная компенсация | Отрегулируйте угол передней компенсации в соответствии с типом скелета пациента. |


Обзор выходных данных
| Доработка лечения | Улучшение полученных результатов лечения с помощью точной регулировки перемещения зубов, формы дуги, значений IPR и стандартных аттачментов. |
| План лечения | Просмотр подробного плана лечения. |


Боковая панель инструментов
Боковая панель инструментов предоставляет набор инструментов для управления данными и их визуализации, а также некоторые инструменты, специфичные для конкретных этапов. Структура боковой панели инструментов зависит от целей текущего этапа.
Управление изображениями
| Ортодонтические фотографии | Фотографии и рентгеновские снимки, импортированные из проекта. |

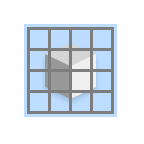
Инструменты отображения данных
| Режим отображения данных | Переключение между различными вариантами отображения данных. (глянцевый/матовый/матовый с гранями/монохромный/монохромный с гранями) |
| Показать сетку (mm) | Отображение сетки, наложенной на данные. |

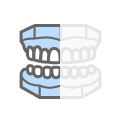
Инструменты просмотра
| Вид спереди | Показывает переднюю сторону данных. |
| Вид справа | Показывает правую боковую сторону данных. |
| Вид слева | Показывает левую боковую сторону данных. |
| Вид спереди (верхняя челюсть) | Отображение только передней стороны верхней челюсти. |
| Вид спереди (нижняя челюсть) | Отображение только передней стороны нижней челюсти. |
| Вид на окклюзионную поверхность | Показывает окклюзионные поверхности верхней и нижней челюсти. |


Инструменты визуализации
| Цветовая маркировка | Цветовая маркировка зубов в соответствии с их типом. |
| Подогнать | Подгонка данных под размер экрана. |


Инструменты просмотра симуляций (предварительный просмотр симуляций и обзор выходных данных)
| Данные движения зубов | Просмотр того, как планируется перемещать каждый зуб во время лечения, включая смещения, наклоны и повороты. |
| Анализ Болтона | Просмотр таблицы результатов анализа Болтона. |
| Анимация | Просмотр анимированных симуляций. |
| Суперимпозиция | Наложение исходных данных сканирования и симуляции. |
| Сравнение наложения цефалограмм | Сопоставление симуляций с цефалограммой. |
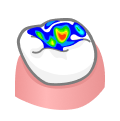
| Окклюзионное взаимоотношение | Просмотр окклюзионных контактов, отображаемых с помощью цвета. |

.png)
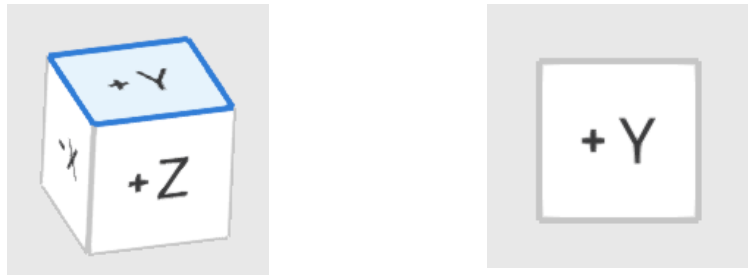
3D-куб
3D-куб показывает ориентацию 3D-изображения; он вращается одновременно с 3D-данными, чтобы помочь понять расположение данных в трехмерном пространстве. Вы можете щелкнуть по видимым граням куба, чтобы повернуть данные и увидеть их с нужной точки зрения.
Запрос на коучинг
Пользователи могут получить доступ к функции «Запрос на коучинг» в правом нижнем углу каждого этапа. При нажатии этой кнопки пользователи перенаправляются в систему SmileStream и получают доступ ко всей текущей информации по проекту для изучения вместе с одним из опытных инструкторов Progressive Orthodontic Seminars, которые являются квалифицированными стоматологами с многолетним опытом в области ортодонтии и работы с программным обеспечением. Затем пользователи могут выбрать вид технической поддержки, которую они хотят получить: консультирование или наставничество. Ознакомьтесь с общей информацией о доступных типах обслуживания ниже.
Тип услуги | Средняя стоимость | Период | Описание |
|---|---|---|---|
Консультирование | 300 долл. США | 1–2 часа | Обеспечивает техническую поддержку во время первоначальной диагностики. |
Наставничество | 600 долл. США | 3–4 часа | Оказывает техническую поддержку на этапе первоначальной диагностики и обеспечивает постоянную поддержку. |
Предостережение
Это общая информация об услугах SmileStream; для получения более подробной информации или при возникновении вопросов посетите веб-сайт SmileStream или свяжитесь со службой поддержки по адресу support@posortho.net.