The primary goal of the first workflow step is to identify implant locations on the scan data. Upon entering this step, library crown data is automatically positioned on the target teeth registered in Medit Link. Users should also review the scan data for necessary edits (e.g., filling holes or trimming) and verify the crown positioning to ensure proper implant placement.
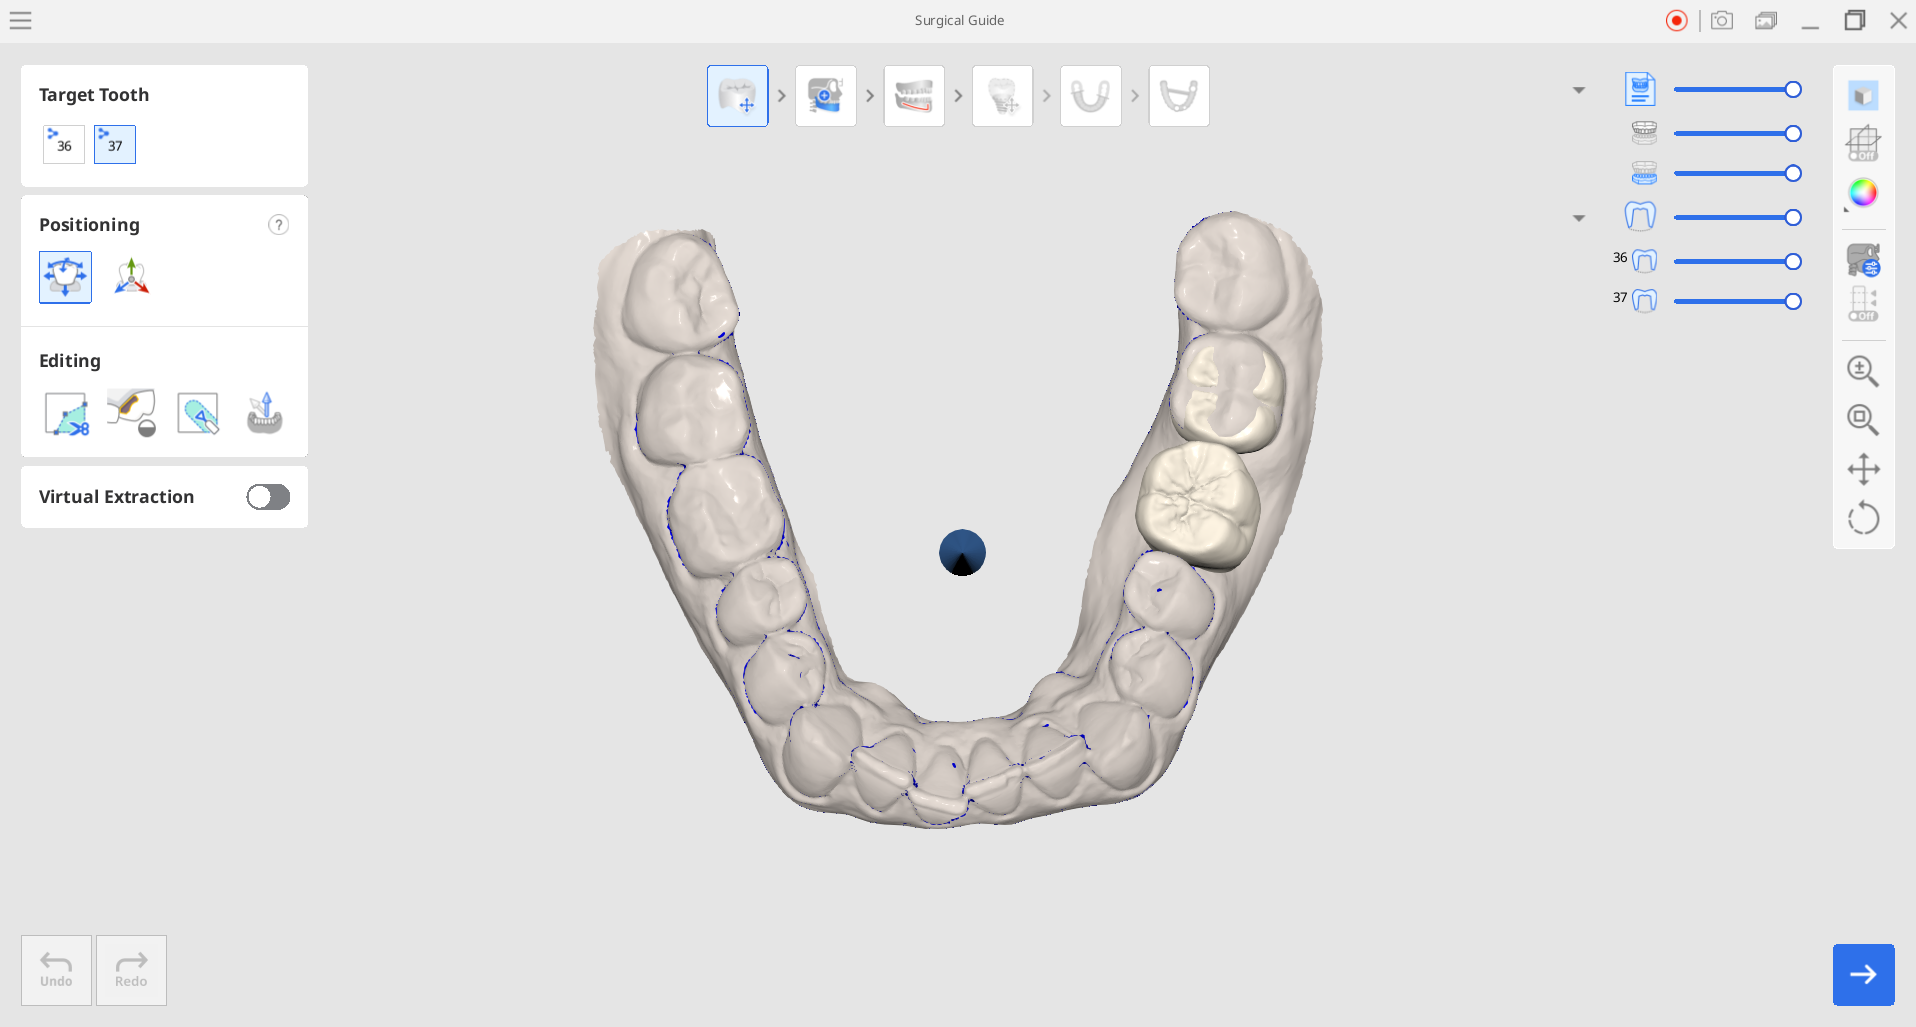
1. Start by reviewing your scan data. Check if it needs to be trimmed or sculpted or if any holes need to be filled. Having clean data ensures the accuracy of the automated processes and a quicker and smoother design process. To make any necessary edits, use the "Editing" tools.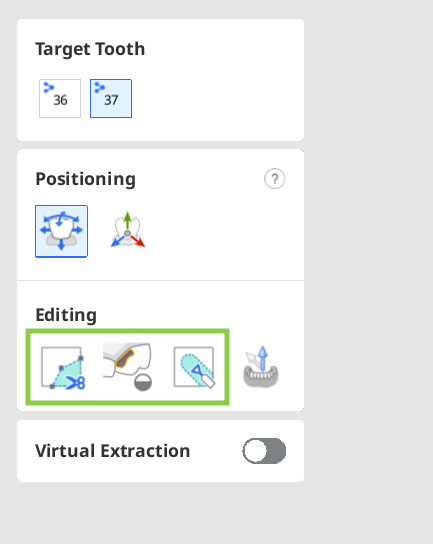
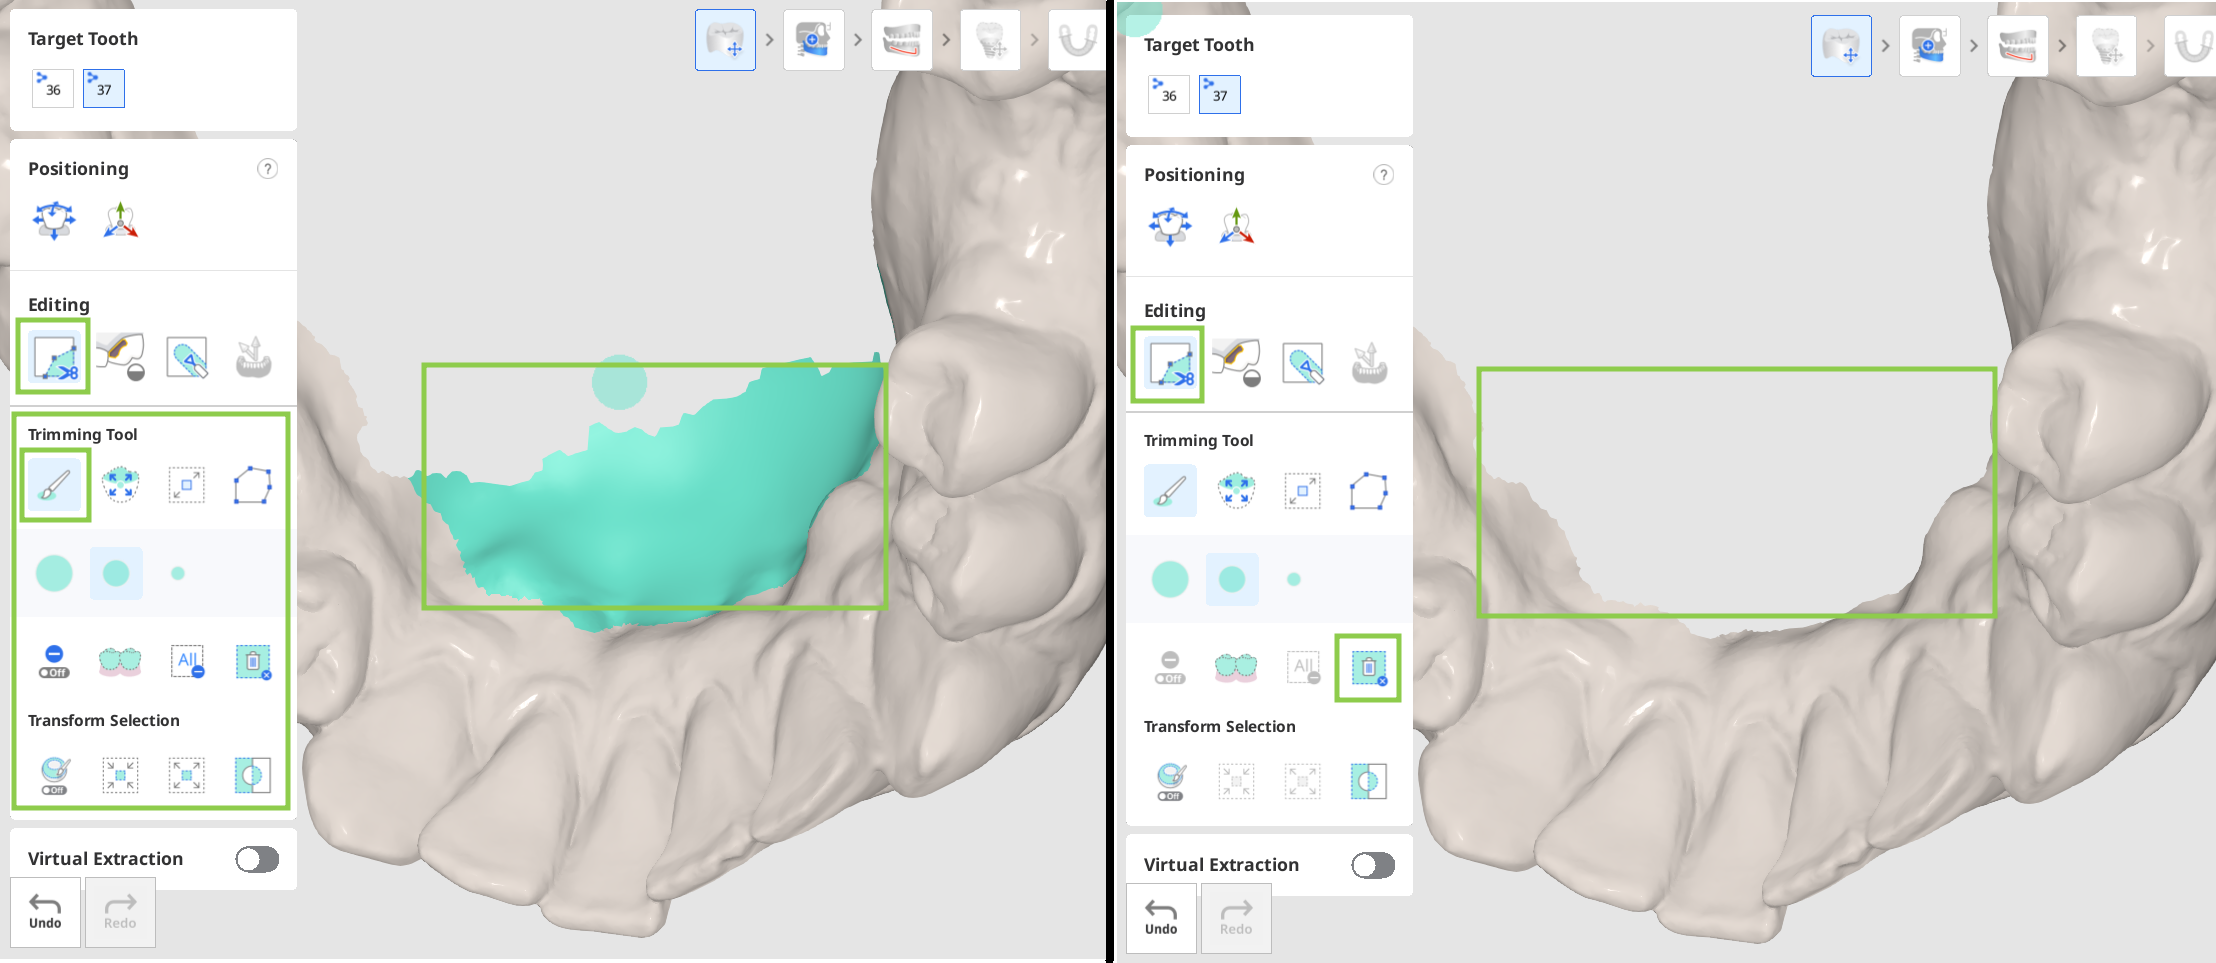
How to trim data
Trimming is performed by selecting the unnecessary data parts and deleting them.
- Choose one of the features below to designate the data that will be removed.

Brush Selection Select all entities on a freehand-drawn path on the screen. Only the front face is selected. The brush comes in 3 different sizes. .png)
Smart Single Tooth Selection Automatically select the area of a single tooth with a click. (1).png)
Smart Teeth Selection Automatically select all teeth of the arch, leaving out gingiva parts. .png)
Flood Fill Selection Select the connected area based on mouse movement. (1).png)
Polyline Selection Select all entities within a polyline shape drawn on the screen. - If needed, modify the selected area using the following options.
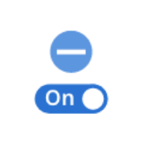
Deselection Mode When on, the user can deselect areas using the selection tools. 
Clear All Selection Clear all selected areas. .png)
Autofill Selected Area Automatically fill in the selected area. .png)
Shrink Selected Area Reduce the selected area each time you press the button. .png)
Expand Selected Area Expand the selected area each time you press the button. .png)
Invert Selected Area Invert the selection. - To complete the trim, click "Delete Selected Area."
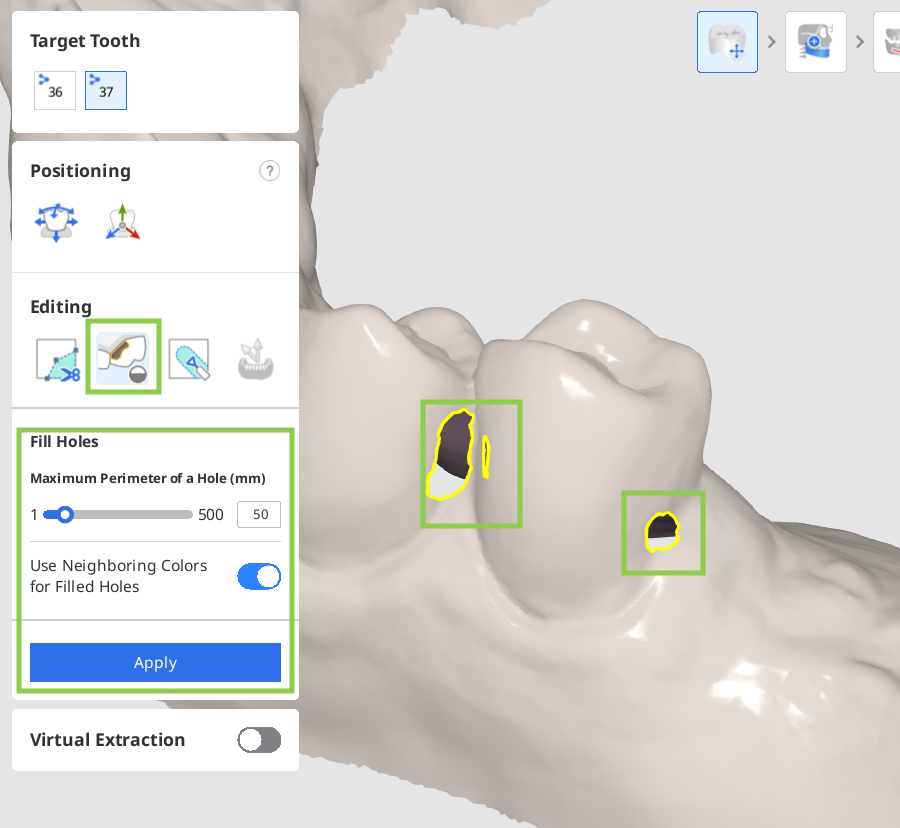
How to fill holes
Find an area where data is missing and adjust the "Maximum Perimeter of a Hole" slider. If the "Use Neighboring Colors for Filled Holes" option is on, the program will use the matching color palette to fill the area; otherwise, it is filled in grey. Click "Apply" to fill the holes with the new mesh.
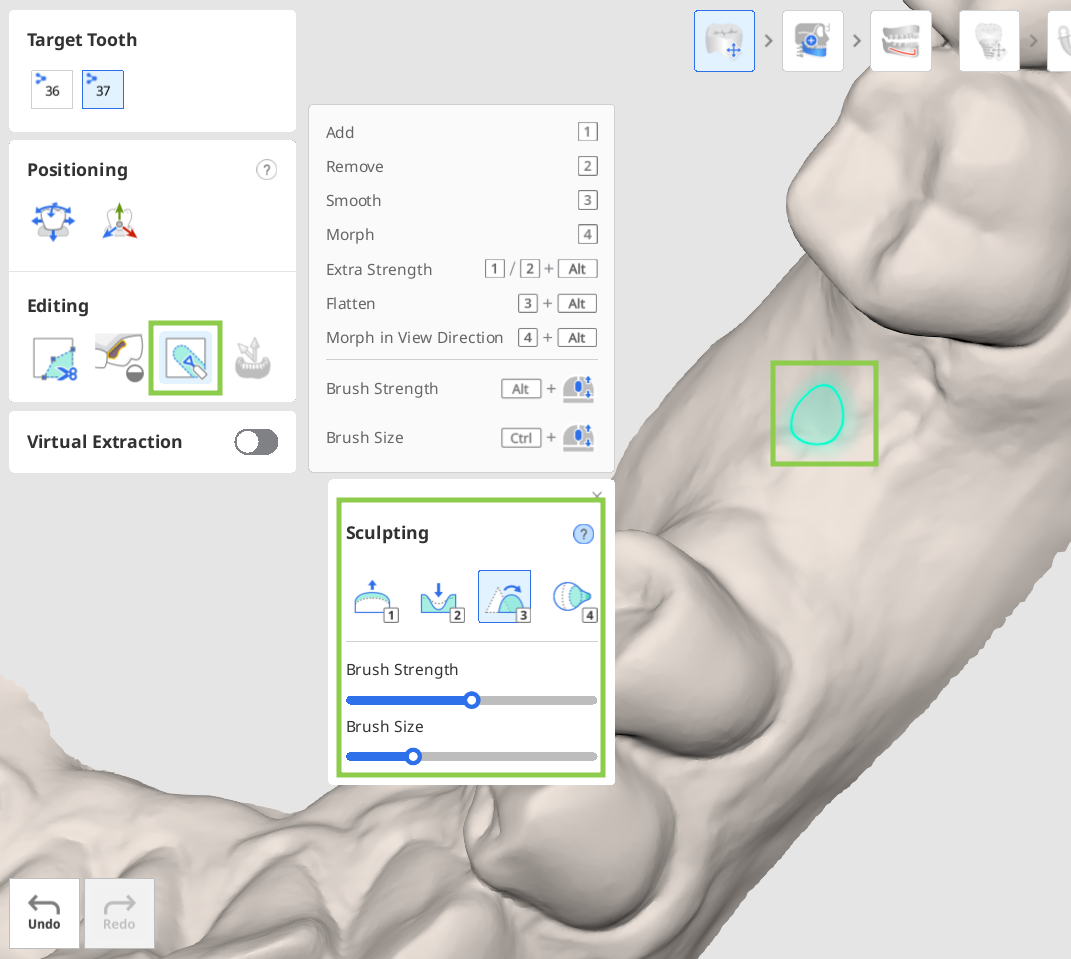
How to sculpt data
Find the area of data you want to modify, then use the provided tools to add or remove data or to smooth and morph parts of it. Note that the strength and size of the sculpting brush is adjustable.
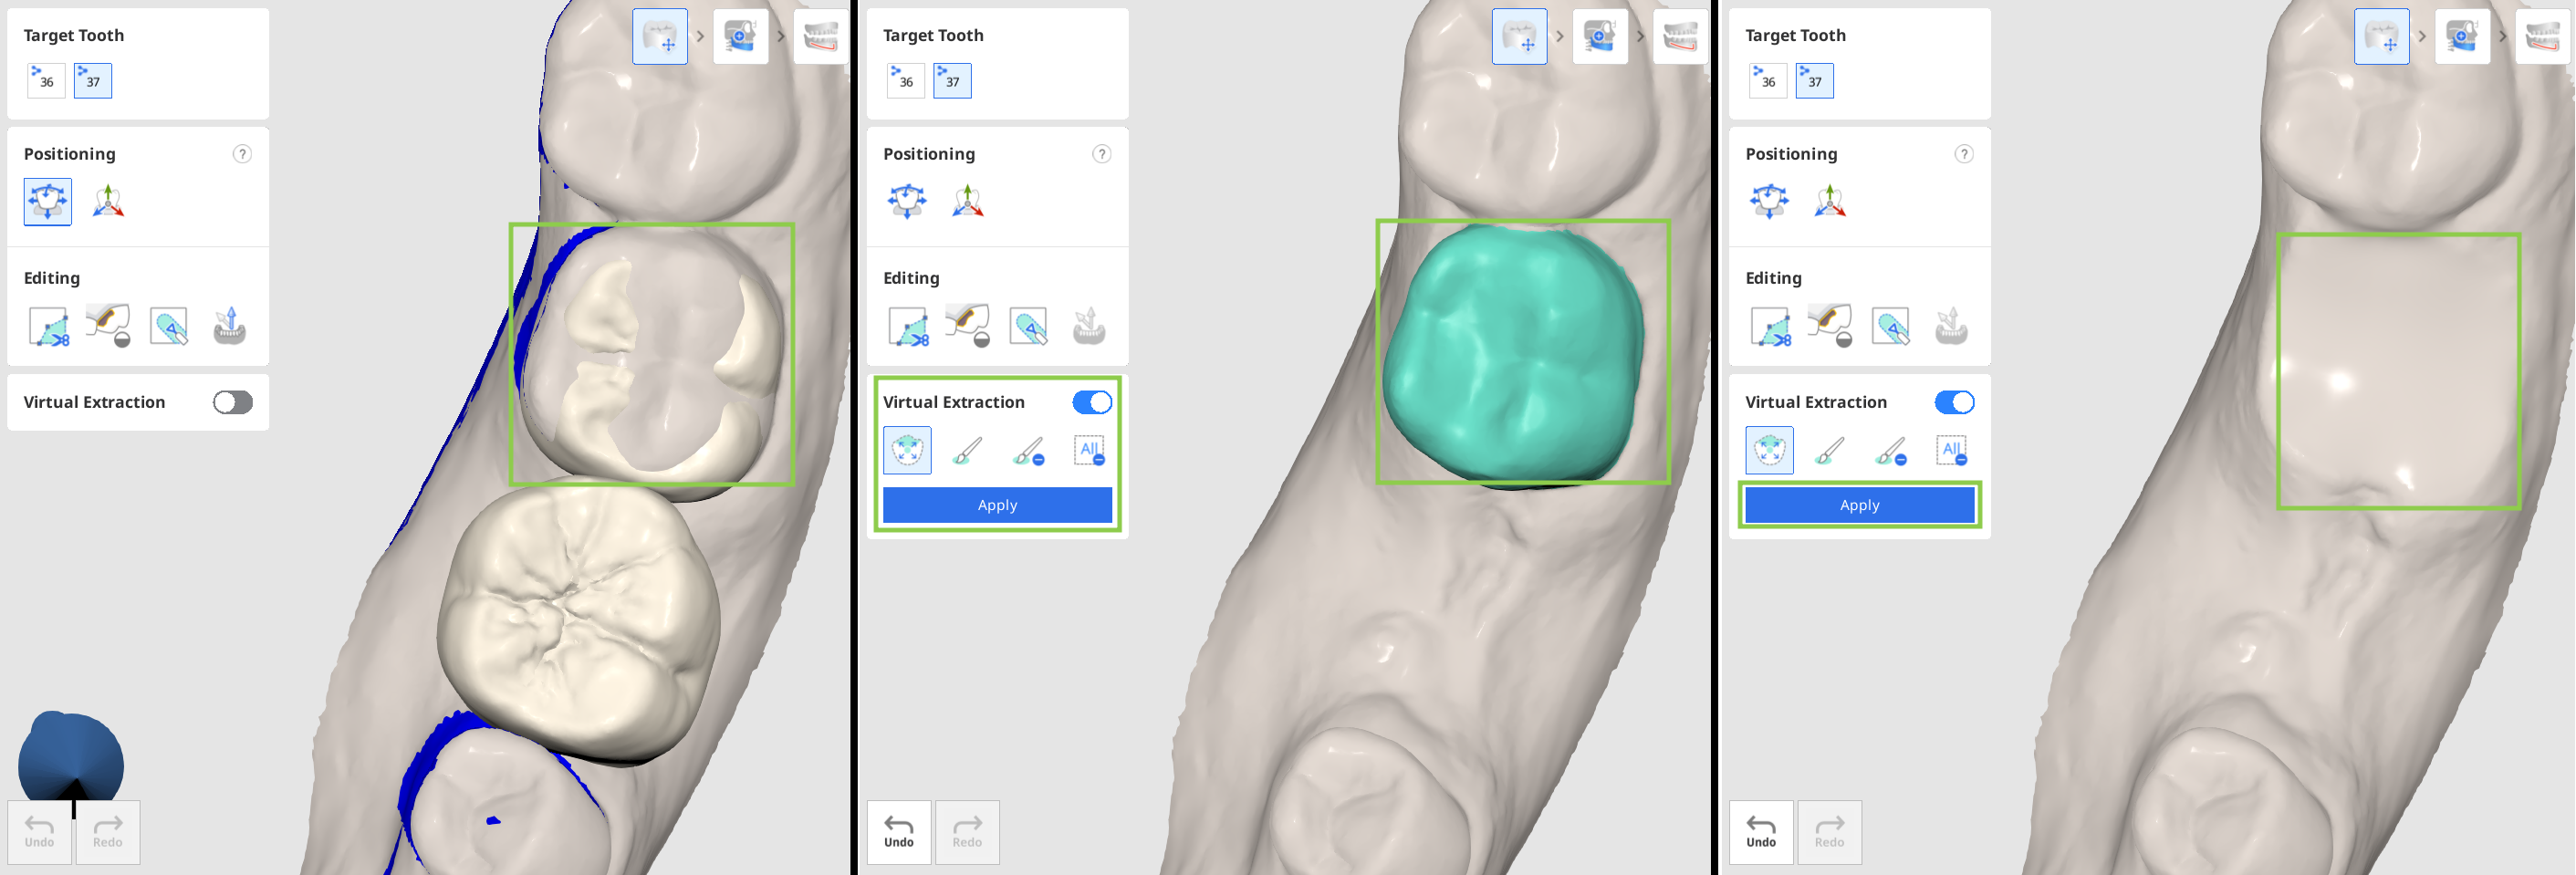
2. If your scan data includes teeth planned for extraction, you can simulate this treatment step by using the "Virtual Extraction" feature. Activate the toggle, select the tooth to be removed using the selection tools, and click "Apply." Review the extraction area for any necessary edits, such as filling holes or sculpting the data.
3. The blockout undercut arrow will be automatically set when you enter the first step, highlighting the undercut area in blue. Review these automatically designated areas to determine if adjustments are needed. If changes are necessary, move and rotate the data, then use the "Set Arrow to Your Viewpoint" tool to align the arrow to face toward you and reset the undercut accordingly. Alternatively, you can click and drag the arrow itself.

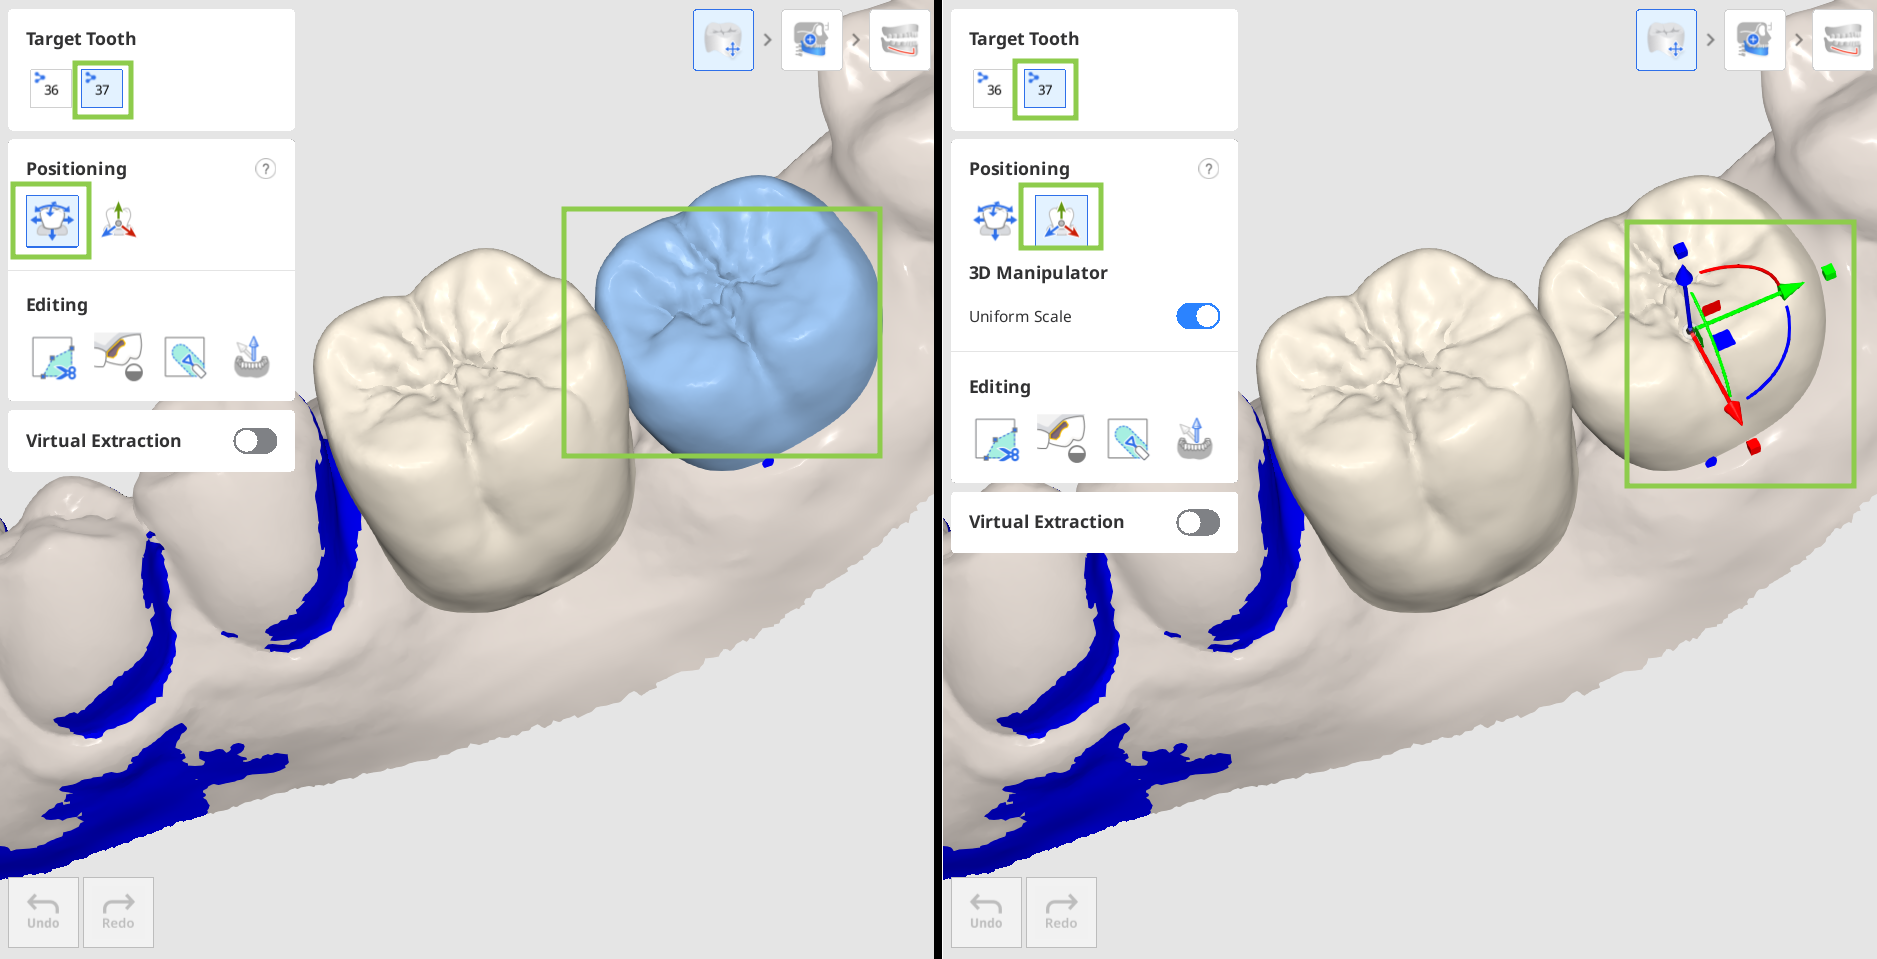
4. Finally, you must verify the crown positioning for the target teeth on the scan data to ensure proper implant placement in the following steps. You can move or change the size of the crown data by using the "Free Move/Scale" or "3D Manipulator" tools.
Select a tooth number in the upper left corner and use the "Free Move/Scale" to move or resize data without any constraints or the "3D Manipulator" to scale, move, or rotate data along axes.
5. When done, click "Next" in the bottom right corner or click the icon of the next step at the top of the screen.