Preparing Data
Users must have two types of data to work in the program: CBCT and digital impression scan.
The CBCT data must be gathered in one folder and stored on a local computer to import it later after running the program. The only supported file format is .dcm (DICOM).
The impression scan data must be available in the Medit Link case. Either complete scanning in Medit Scan for Clinics/Labs or import locally stored data into the Medit Link case. The supported file formats are STL, OBJ, and PLY.
🔎Tip
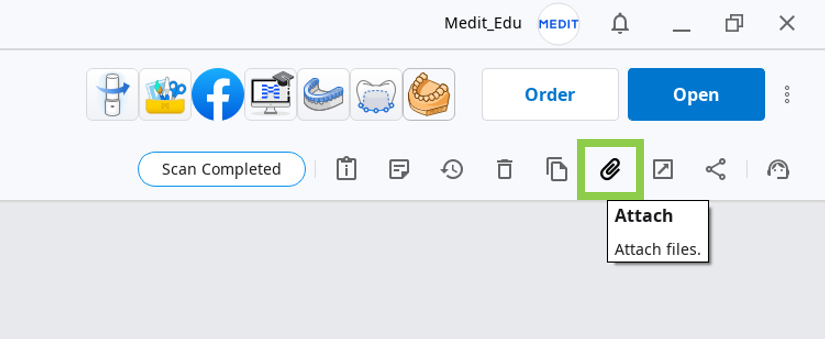
To import scan data into the Medit Link case, use the "Attach" feature in the Case Detail window.
3D Data Control
Users can control the 3D data using a mouse alone or both mouse and keyboard.
3D data control using a mouse
Zoom | Scroll the mouse wheel. |
|
Zoom Focus | Double-click on the data. |
|
Zoom Fit | Double-click on the background. |
|
Rotate | Right-click and drag. |
|
Pan | Hold both buttons (or wheel) and drag. |
|


3D data control using a mouse and keyboard
Windows | macOS | |
|---|---|---|
Zoom |
|
|
Rotate |
|
|
Pan |
|
|
.png)
.png)
.png)
.png)
.png)
.png)
Saving Data
Users can either save a completed project or pause and save their progress so they can resume working on it later.
Saving finished project
The "Complete" button in the bottom right corner of the final step saves the final design results. Two files are created in the Medit Link case: the finalized project file(B) and the guide design file(A). The latter can be further used to print the created surgical guide.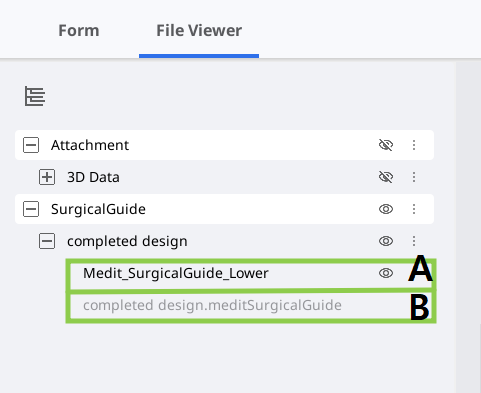
Saving unfinished project
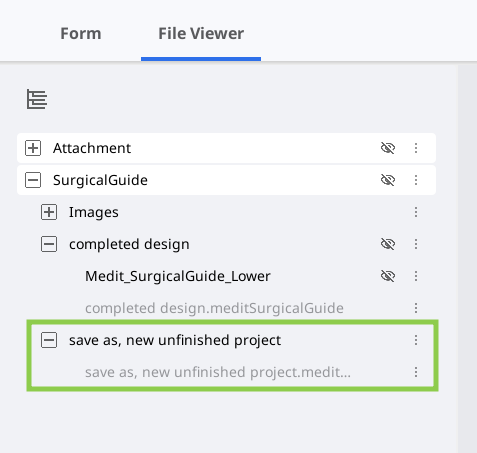
There are two features in the program menu to save the ongoing project. The "Save As" option allows users to save the current project as a new project file (no printable file), preserving current progress, while the "Save" option overwrites the currently open project file with the latest changes.
🔎Note
Users are also prompted to save changes in the project file when they terminate the program.
.png)