Overzicht van opmerkingen bij een dossier
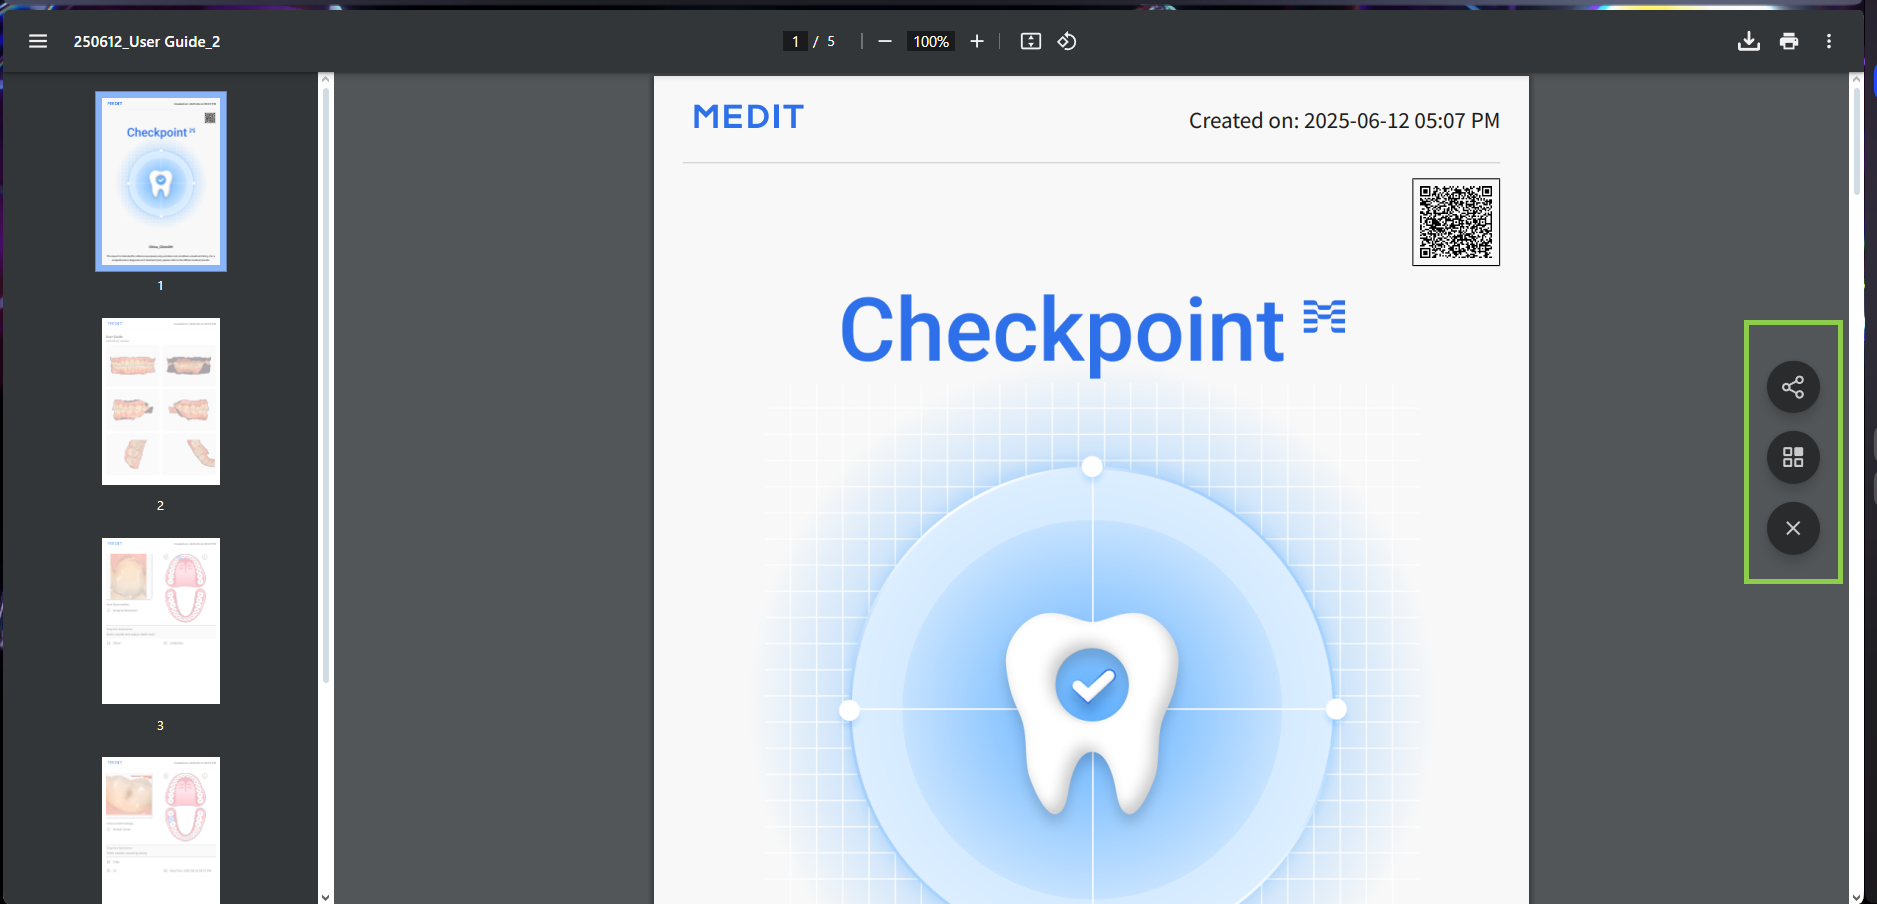
Nadat de applicatie vanuit Medit Link is gestart, krijgt de gebruiker een overzichtsscherm te zien met alle opmerkingen die bij het huidige dossier horen, zowel afgeronde (of GEREED) als nog niet afgeronde.
🔎Opmerking
Het kan enkele minuten duren voordat het programma is geladen, omdat de scangegevens worden geconverteerd naar een webcompatibel formaat.
De titels voor opmerkingen worden automatisch gegenereerd op basis van hun aanmaakdatum, de naam van het dossier en een volgnummer. U kunt uw opmerkingen bij een dossier vanuit dit venster bekijken en beheren.
Om een opmerking te verwijderen: klik op de menuknop naast de opmerking in de lijst.
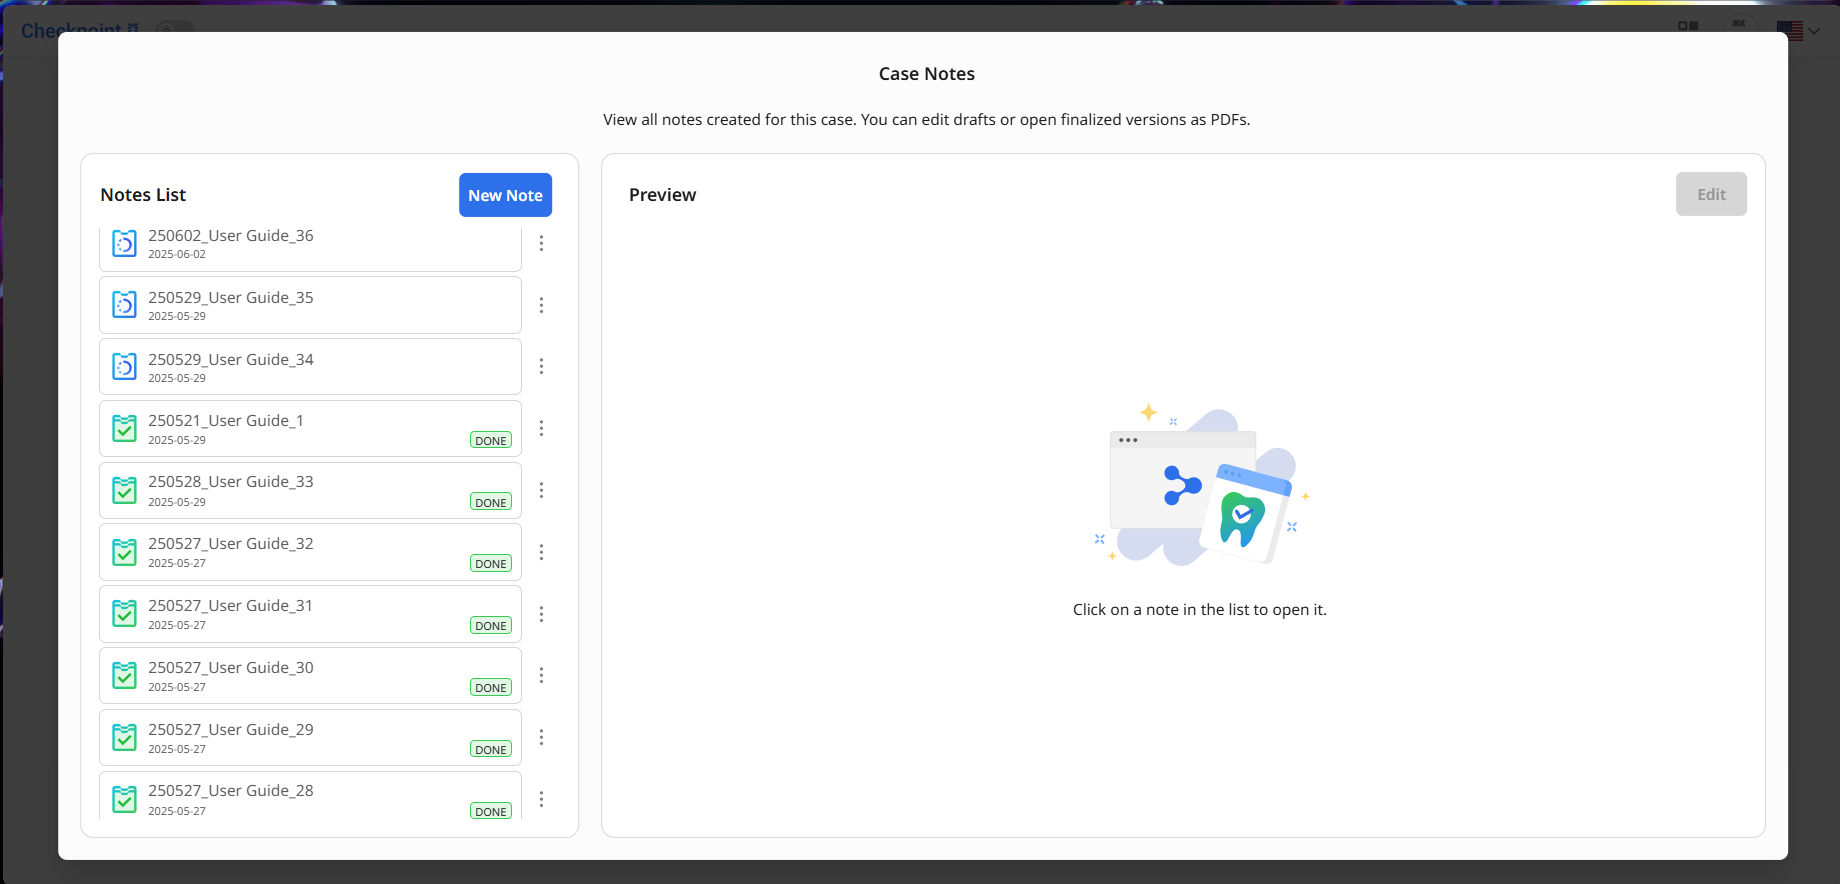
Om een opmerking te bekijken: selecteer deze in de lijst. De inhoud van een concept verschijnt aan de rechterkant. U kunt doorgaan met bewerken door op de knop "Wijzigen" te klikken.
Als de opmerking is afgerond, wordt deze geopend als een PDF-bestand, dat u kunt delen met de patiënt of kunt afdrukken. Afgeronde opmerkingen kunnen niet worden bewerkt.
Om een nieuwe opmerking aan te maken: Klik op de knop "Nieuwe opmerking".
Opmerkingen aanmaken of bewerken
Een opmerking wordt aangemaakt door punten van aandacht op te sommen in het opmerkingenpaneel aan de linkerkant van het scherm. Er kunnen maximaal 50 opnames tegelijk worden toegevoegd.
Begin met het bekijken van uw scangegevens voor gebieden die mogelijk behandeling vereisen. U kunt de knoppen voor Gegevensbeheer in de Toolbox onderaan het scherm gebruiken, of navigeren met de muis (lees later verder in het hoofdstuk Gegevensbeheer). Voor extra gebruiskgemak kunt u de zichtbaarheid van gegevens ook beheren in het paneel Gegevensboom aan de rechterkant. Het opmerkingenpaneel aan de rechterkant kan indien nodig ook worden ingeklapt.
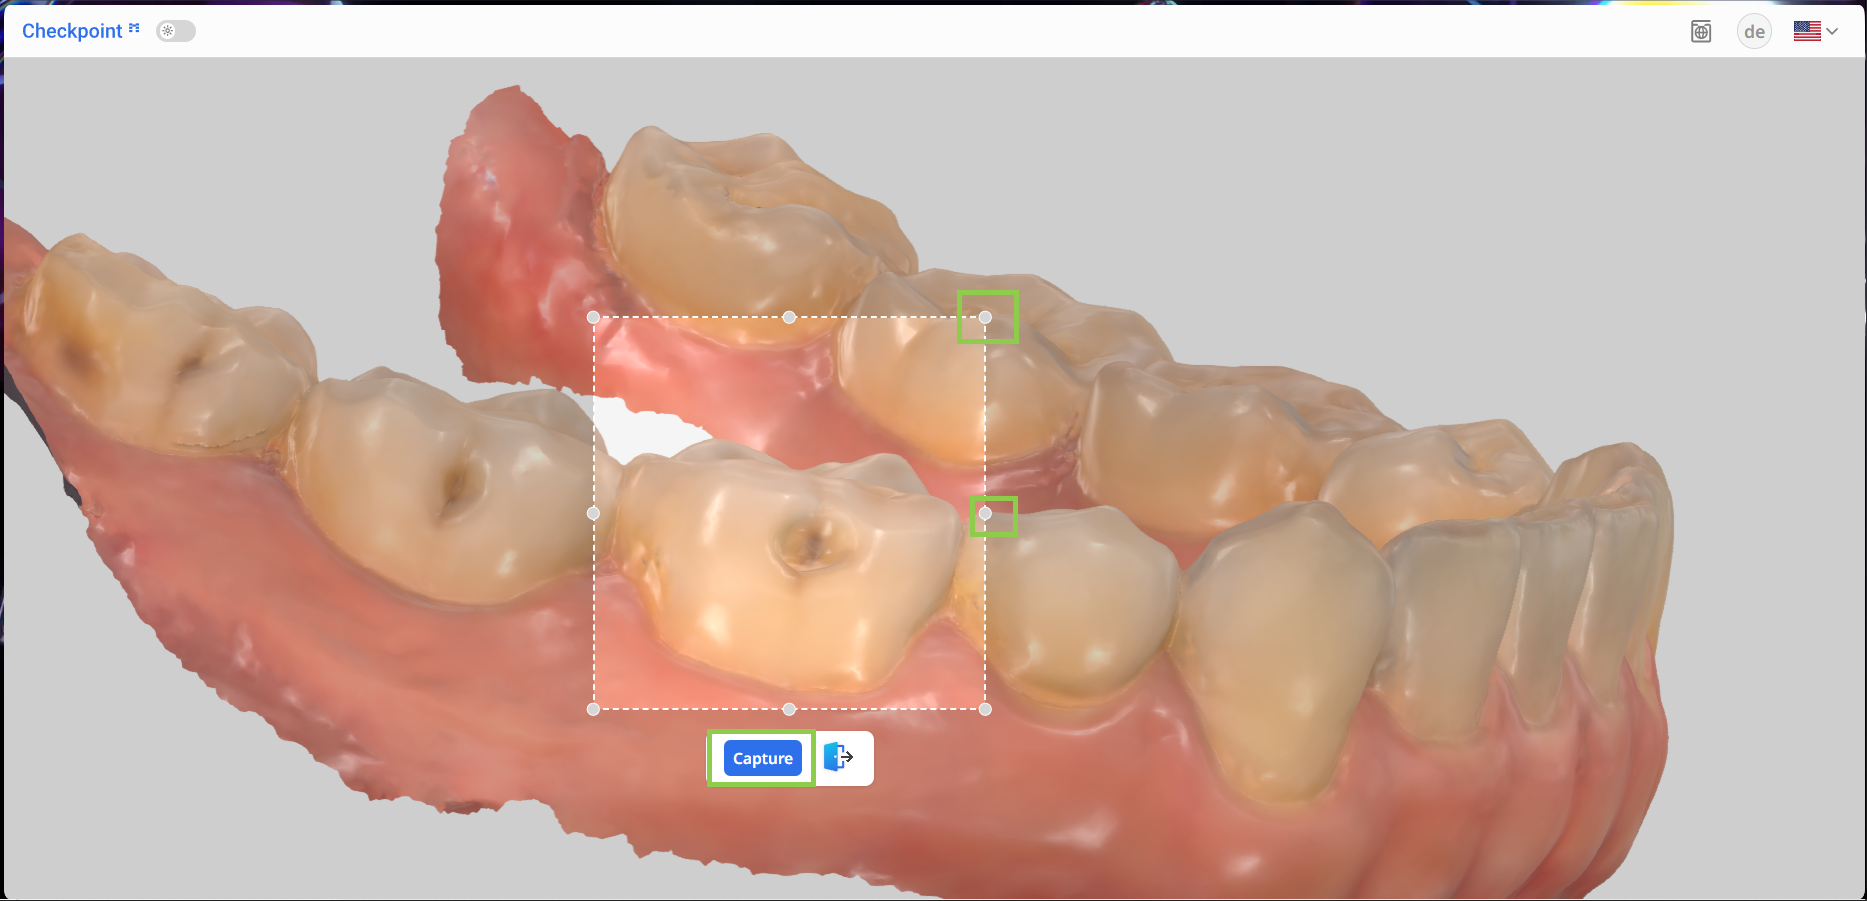
Zodra u een gebied heeft geïdentificeerd dat in de opmerking moet worden opgenomen, klikt u op het instrument "Vastleggen".(1).png)
Klik en sleep de bedieningspunten langs de rand om de grootte van het opnamegebied aan te passen. Als u tevreden bent, klikt u op de knop "Vastleggen" om te bevestigen.
De vastgelegde afbeelding verschijnt in het opmerkingenpaneel aan de linkerkant. Vervolgens moet u het bijbehorende formulier invullen. Verschillende velden zijn verplicht, waaronder het tandnummer (rechts), diagnose en behandeling. Als u voor diagnose of behandeling "Overig" selecteert, is een aangepaste invoer vereist.
.png)
Het formulier bevat ook optionele velden waar u de geschatte behandelingskosten, de behandelingsdatum en eventuele extra notities kunt invoeren.
.png)
Let op: als bij een opname vereiste informatie ontbreekt, wordt de knop "Voltooien" uitgeschakeld. Scroll door het opmerkingenpaneel om te controleren of alle formulieren zijn ingevuld; zoek naar opname die moeten worden bewerkt.
.png)
Gebruik de knop "Visuele aanwijzingen weergeven" om gebieden van de scangegevens die mogelijk nader onderzoek nodig hebben te markeren (blauw markeren).
.png)
Om te bekijken welke delen van de scangegevens in het overzicht zijn opgenomen, gebruikt u de knop "Gemarkeerde gebieden weergeven". Het markeert visueel alle vastgelegde gebieden op de scan, waardoor het gemakkelijker wordt om een laatste controle uit te voeren voordat de opmerking wordt voltooid.
.png)
Als u klaar bent, klikt u op "Voltooien".
.png)
Opmerkingen voltooien
Zodra u op de knop "Voltooien" klikt, verschijnt er een voorbeeldvenster waarin u de inhoud van de opmerking kunt verifiëren en de opmerking kunt voltooien voordat u deze deelt of exporteert.
Beweeg de muis over de afbeelding om de ingevoerde informatie te controleren.

Vermeld alle verplichte gegevens voor de definitieve versie van de opmerking, inclusief de titel, de aanmaakdatum, de naam van de arts en de handtekening. Het systeem genereert een standaardtitel, maar u kunt deze wijzigen.
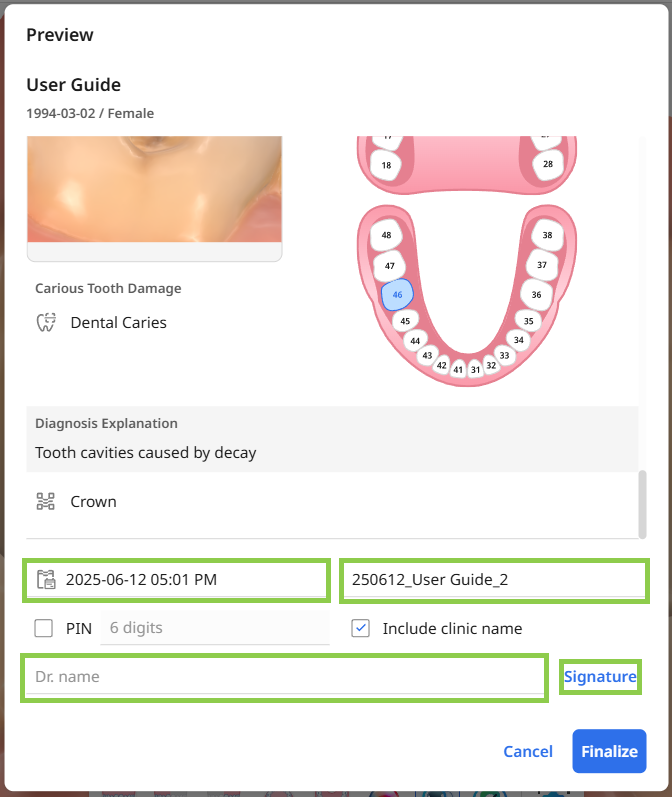
U kunt de opmerking eventueel beveiligen met een pin, die de patiënt moet invoeren om de inhoud te kunnen bekijken. De praktijknaam wordt automatisch opgenomen in de definitieve opmerking.
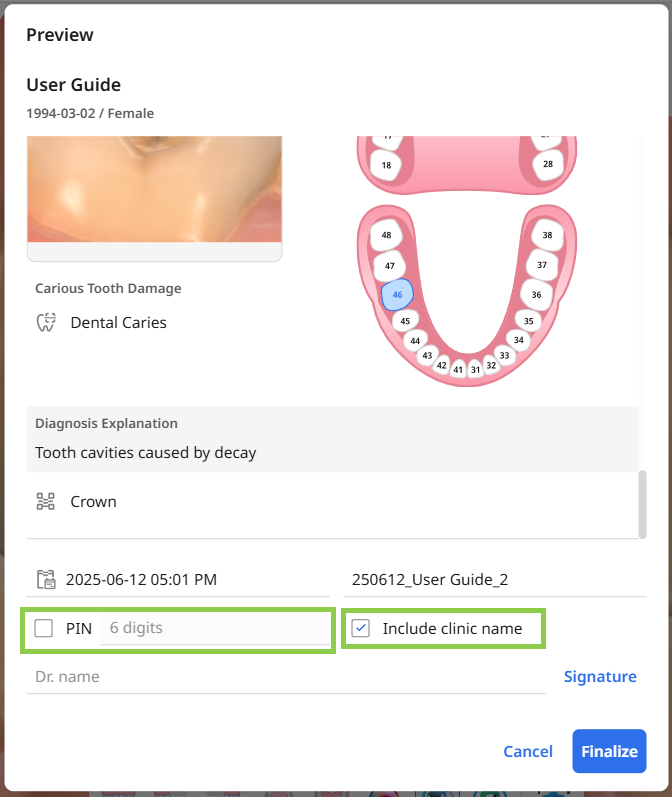
Wanneer alle onderdelen gereed zijn, bevestigt u het voltooien van de opmerking door op "Voltooien" te klikken.
⚠️Let op
Het genereren van de definitieve PDF kan enkele minuten duren. Zorg ervoor dat u de webpagina open houdt totdat het bestand met succes is aangemaakt.
Voltooide opmerkingen delen
De voltooide opmerking wordt automatisch als PDF-bestand in uw browser geopend. U kunt het met de patiënt delen via een QR-code of e-mail. Als u klaar bent, kunt u het browser- of applicatietabblad sluiten — de PDF wordt automatisch bij het dossier opgeslagen.
⚠️Let op
De voltooide opmerking is uitsluitend bedoeld ter referentie en vormt geen medische geschiedenis. Voor een volledige diagnose en behandelplan verwijst u naar de officiële medische gegevens.