The Impression Scan provides seamless scanning, combining intraoral and impression scan.
You can easily merge the intraoral and impression data with an integrated scan.
How to Acquire Impression Scan
- Scan intraoral scan data in the Maxilla or Mandible stage.
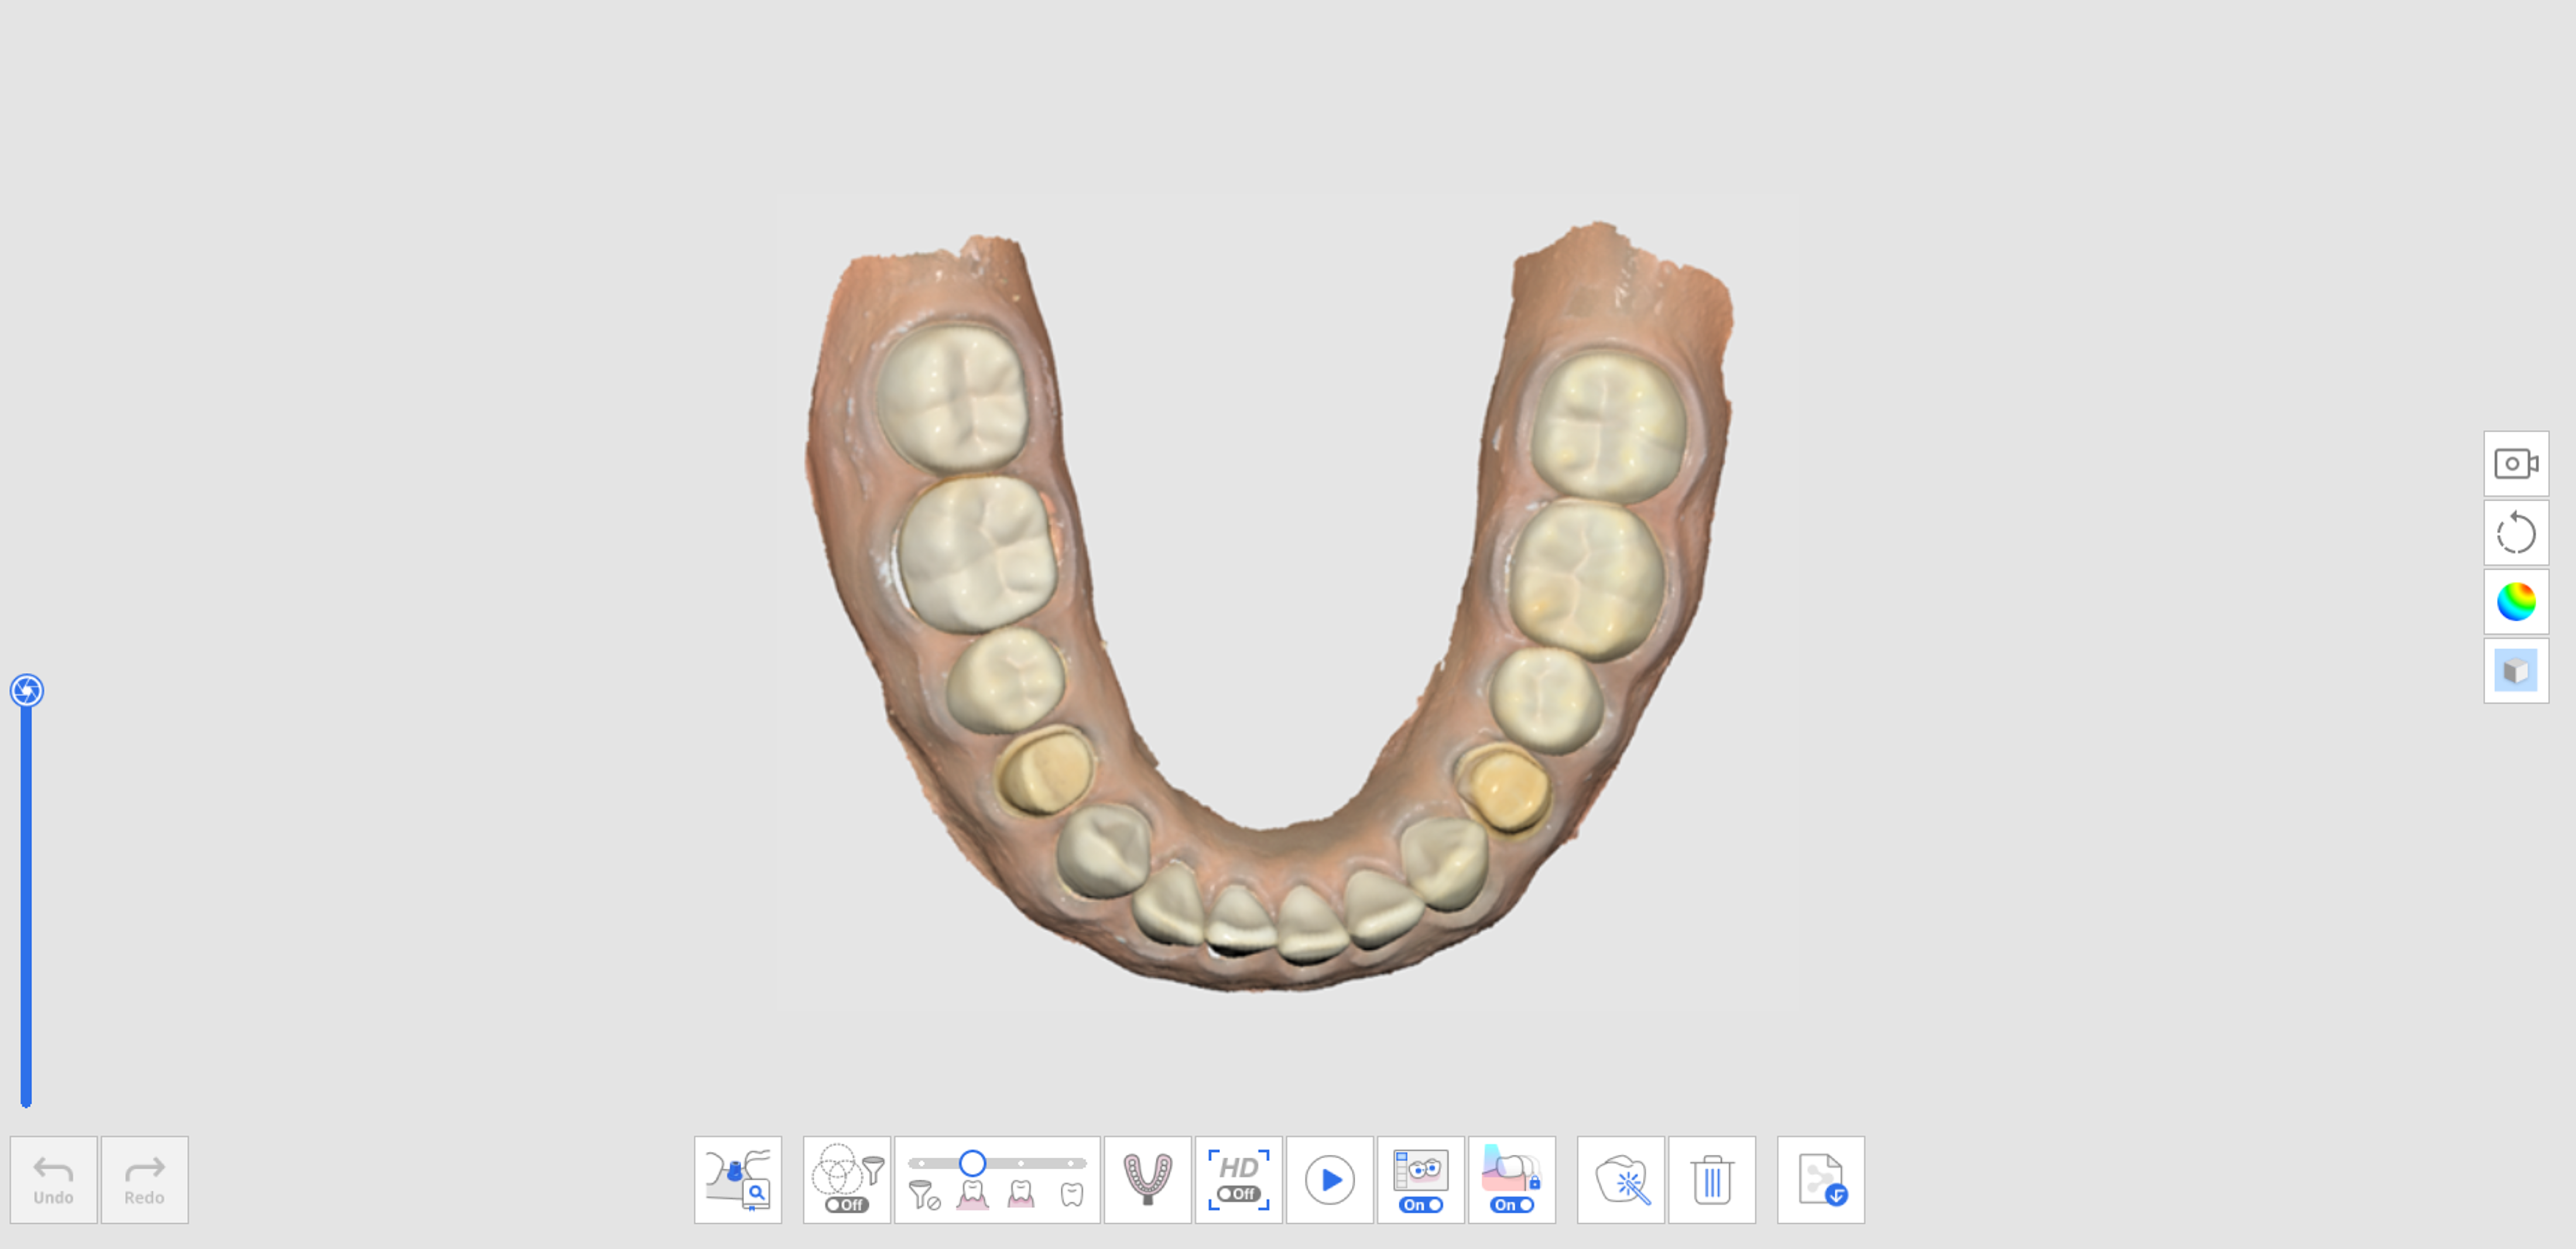
- Click the "Impression Scan" icon at the bottom.

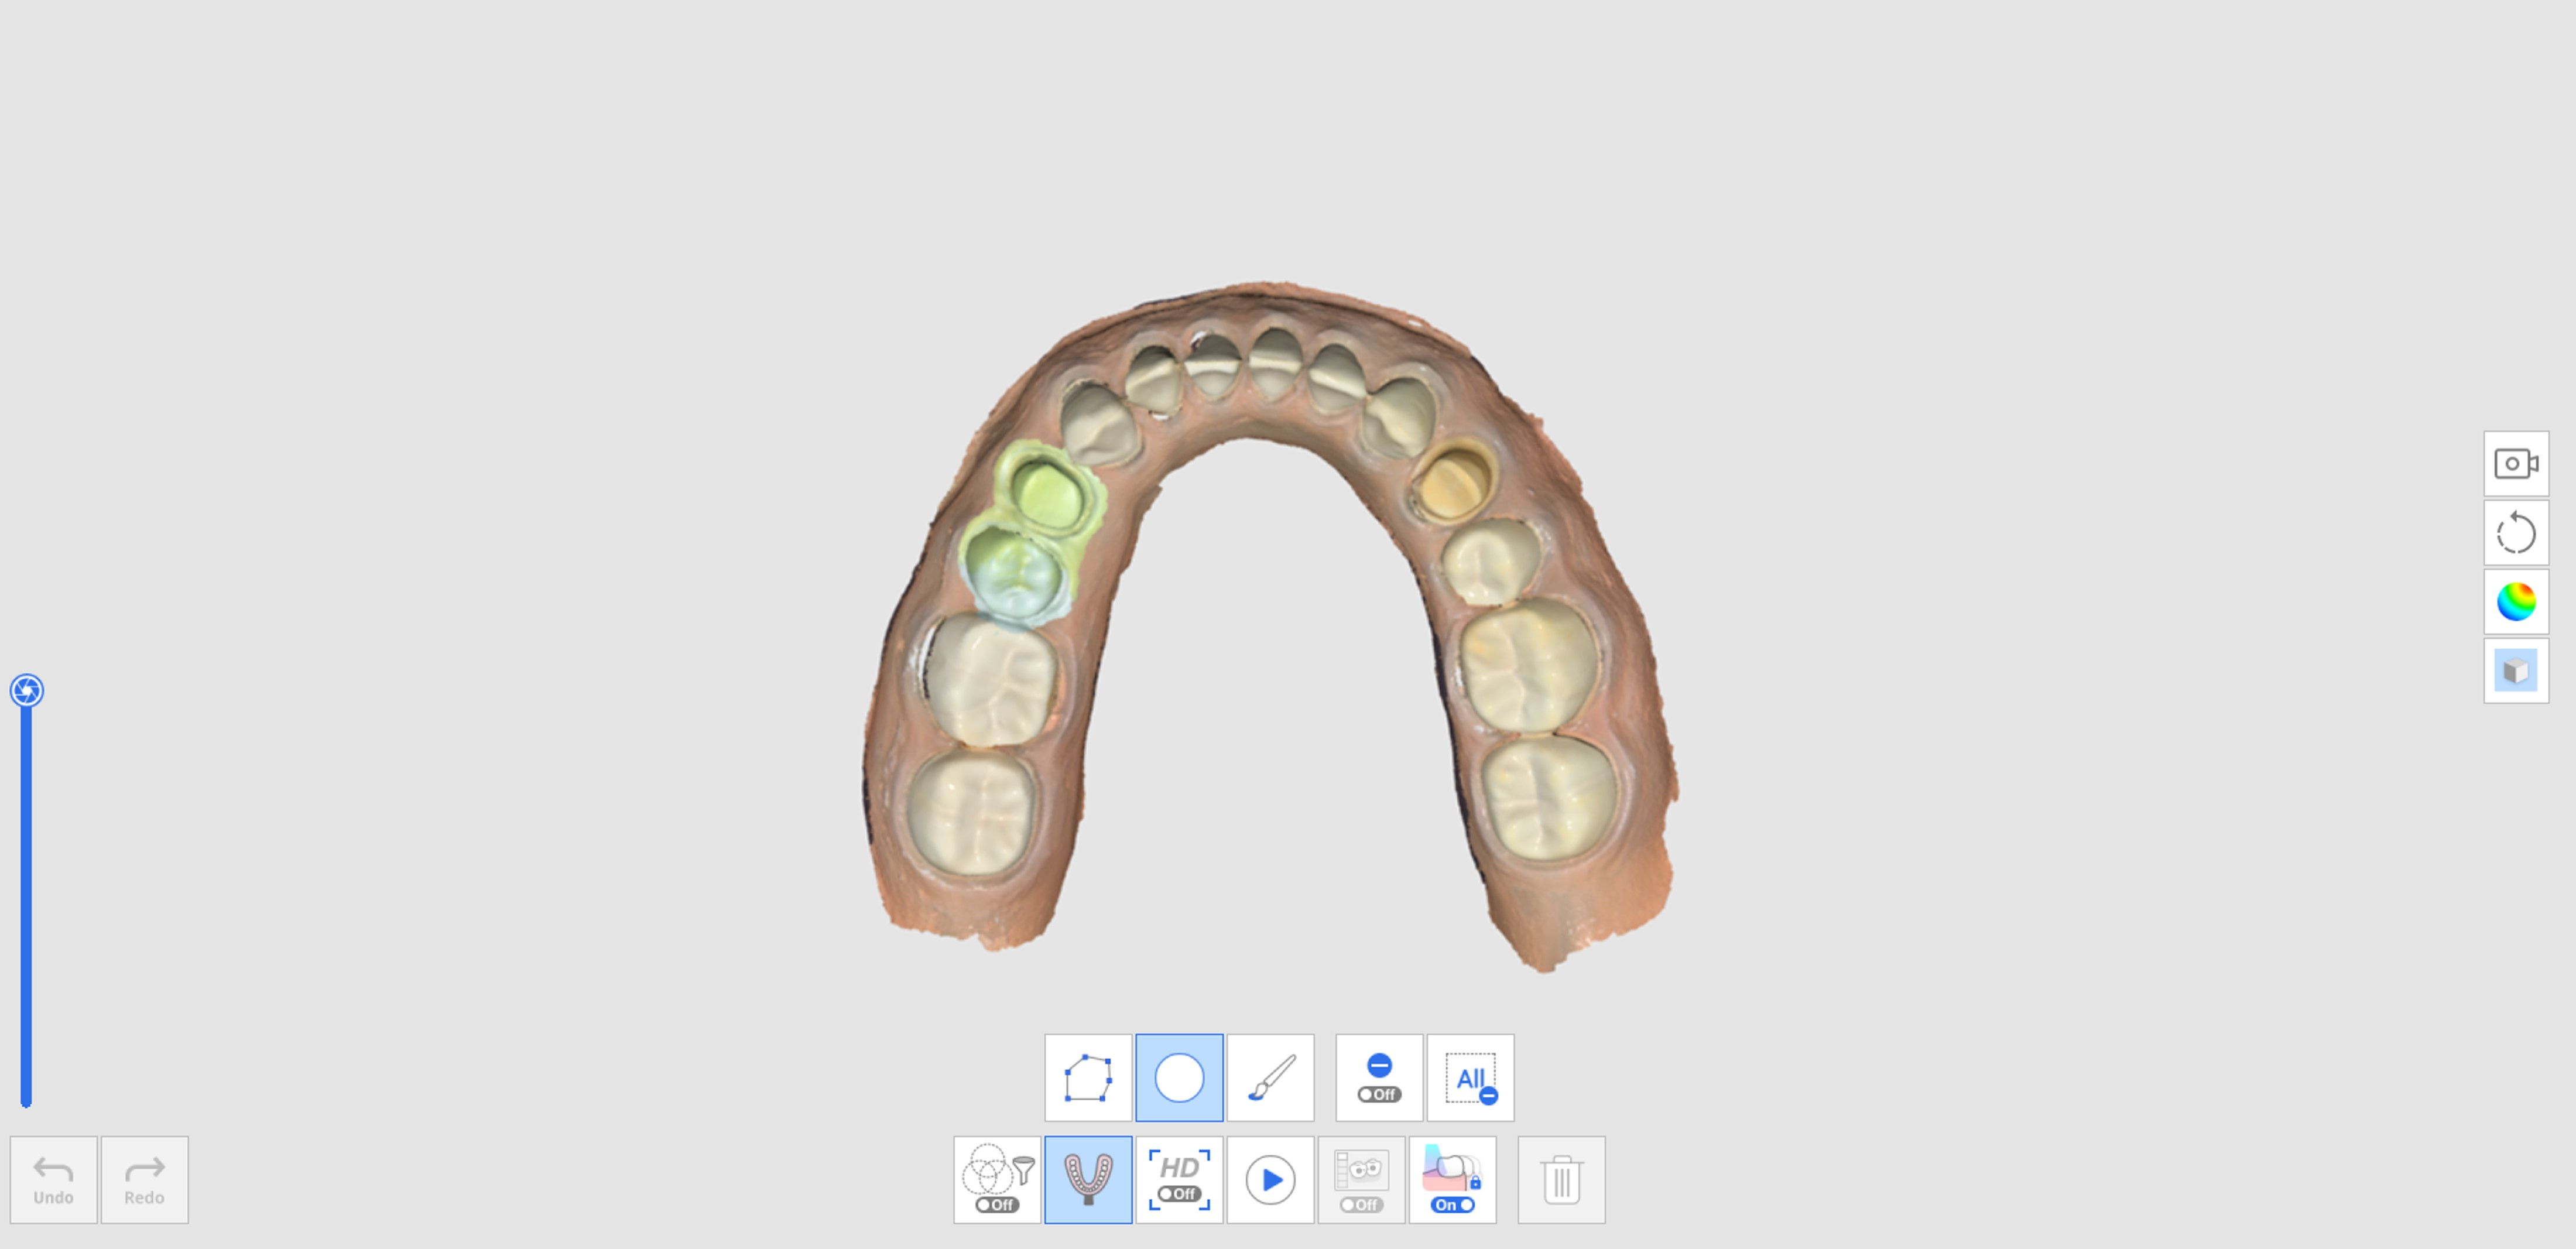
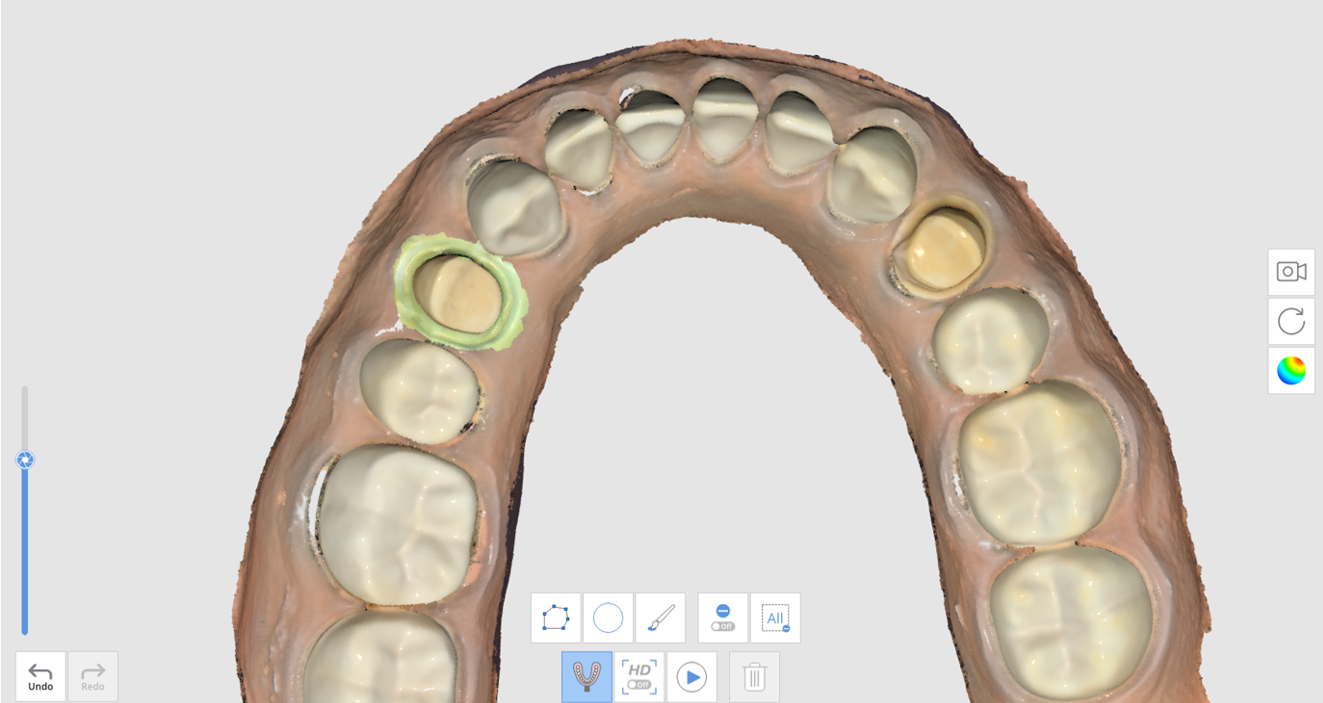
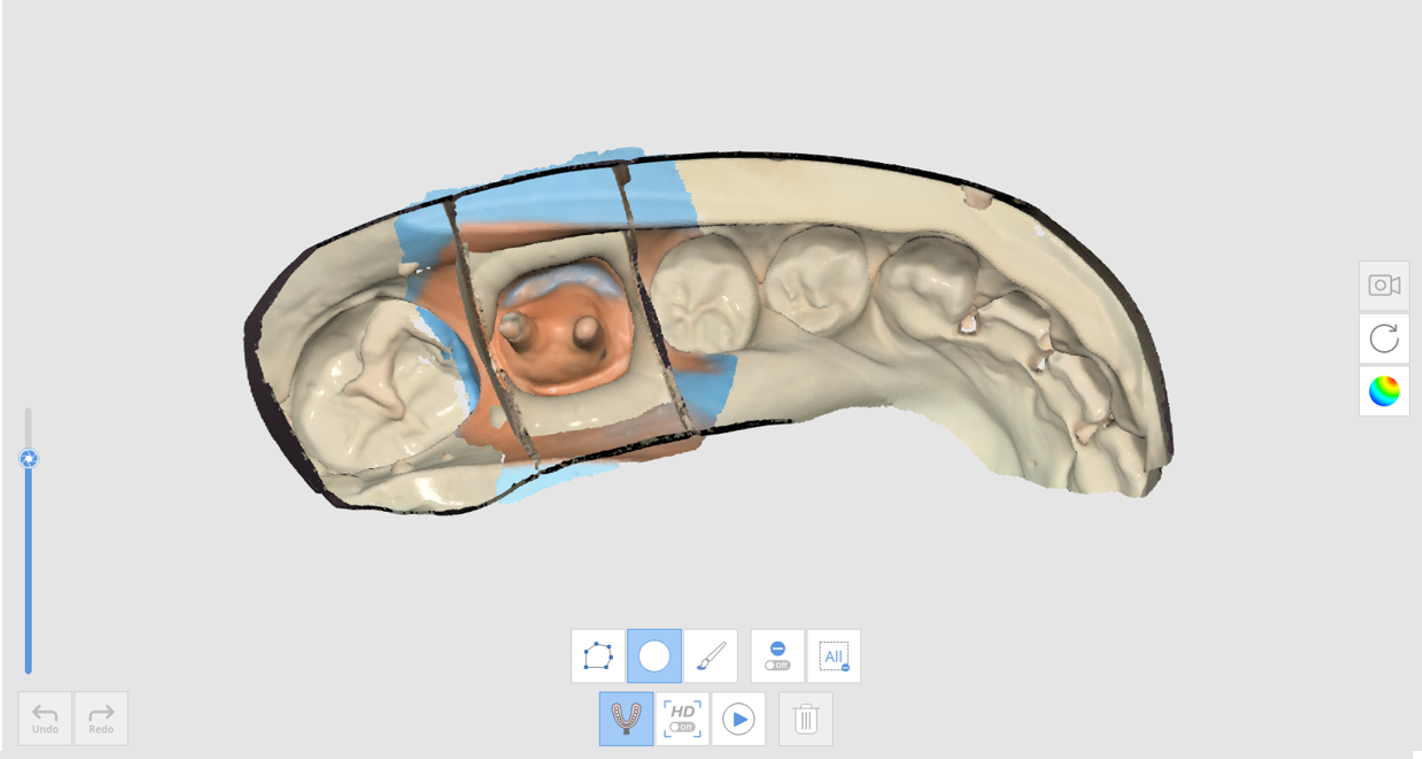
- Mark the area to replace intraoral data with impression data.🔎NoteThis function is useful to limit the area to be replaced.
If the user skips the marking process, the entire data will be replaced by the impression data.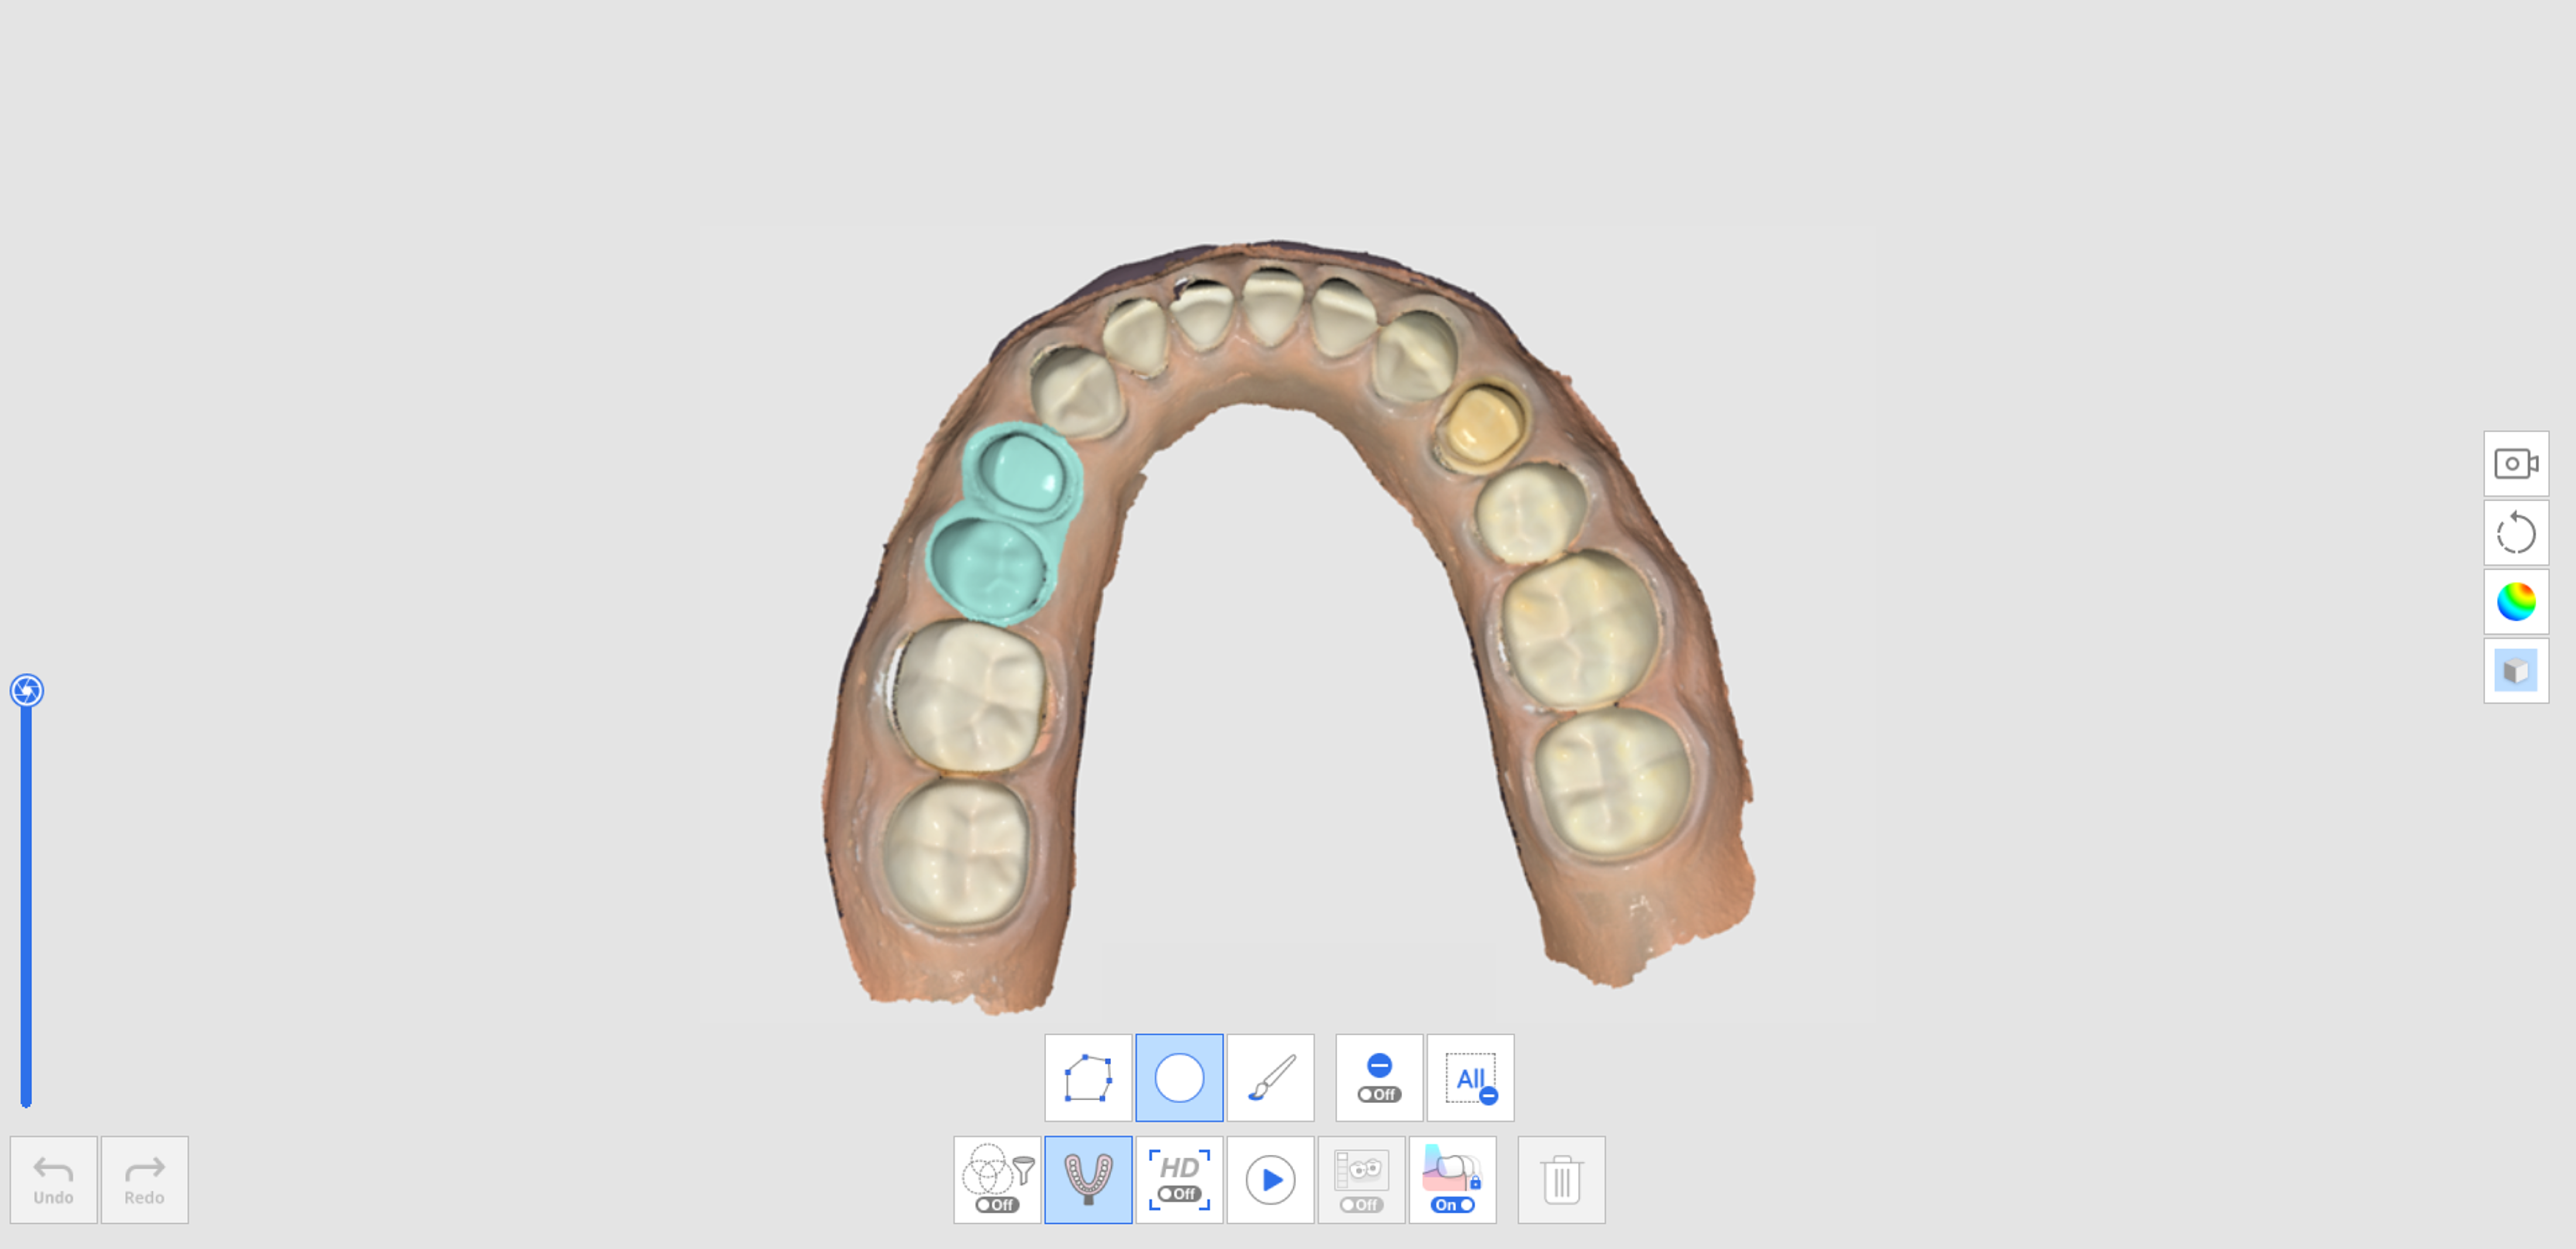
- Scan the impression model for the marked area. The impression data will be aligned with intraoral data automatically.
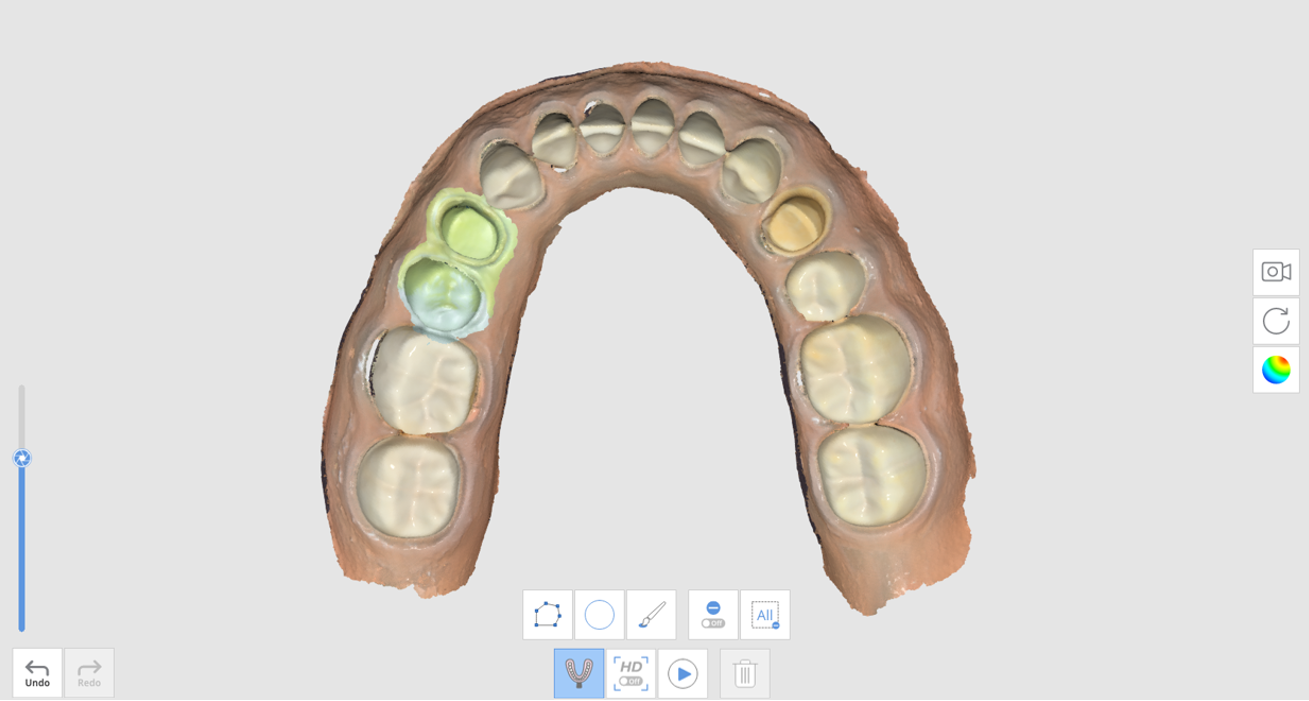
- With the "Impression Scan" feature turned on, use the trimming tools to display only impression data.
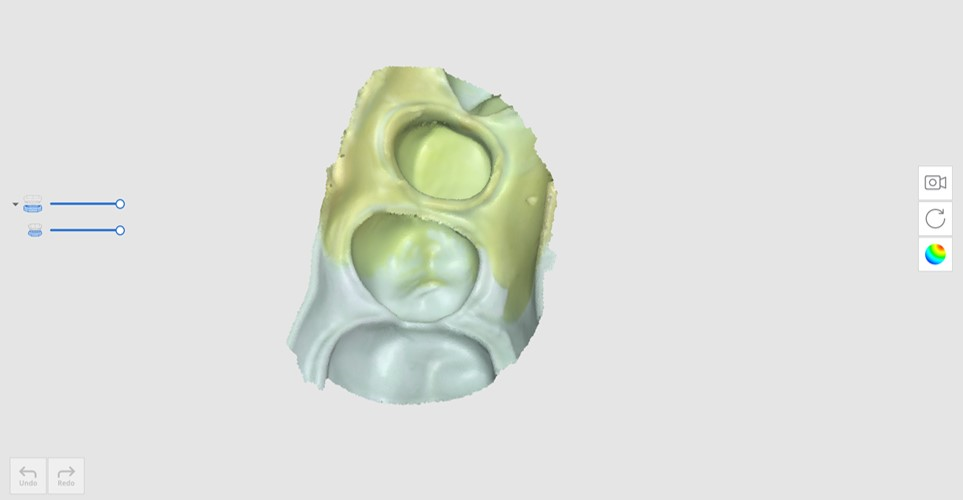
- Delete any unnecessary areas in the impression data.
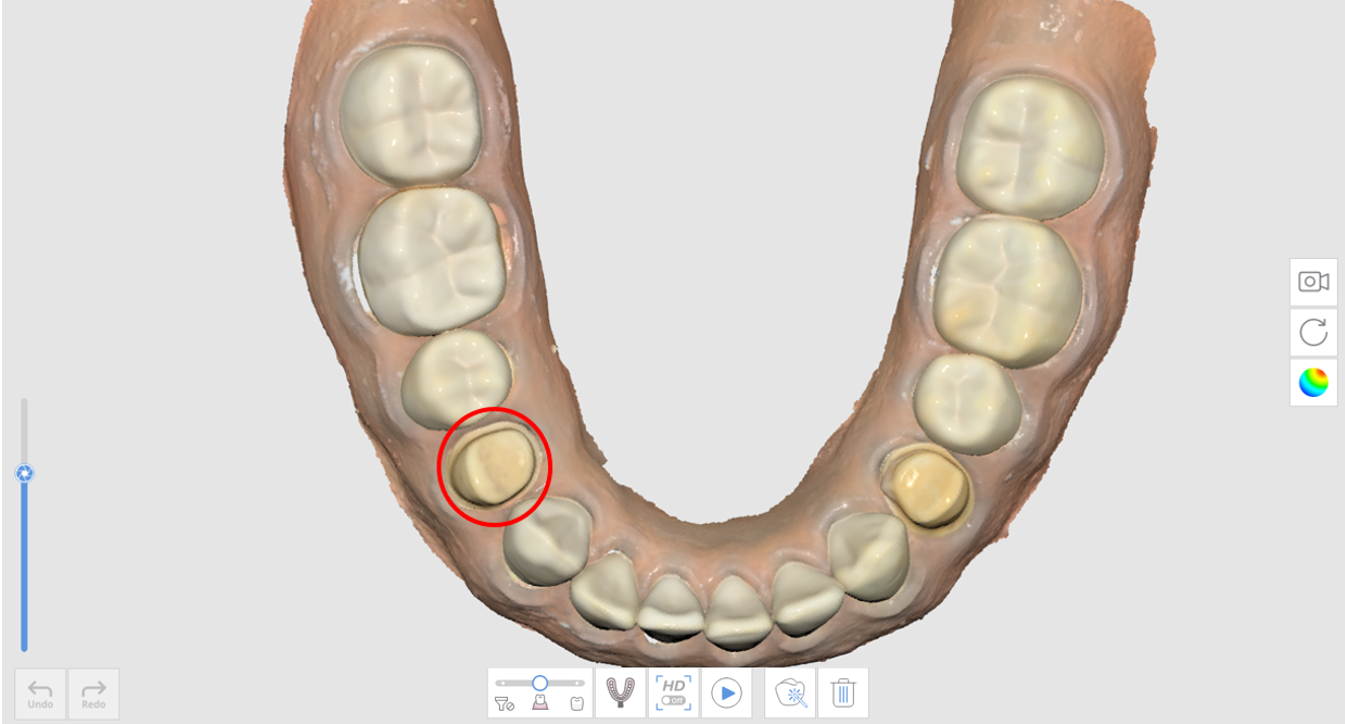
- The result will appear as shown below.
How to Utilize Impression Scan for Margins
- Scan intraoral scan data in the Maxilla or Mandible stage.
- Click the "Impression Scan" icon at the bottom.

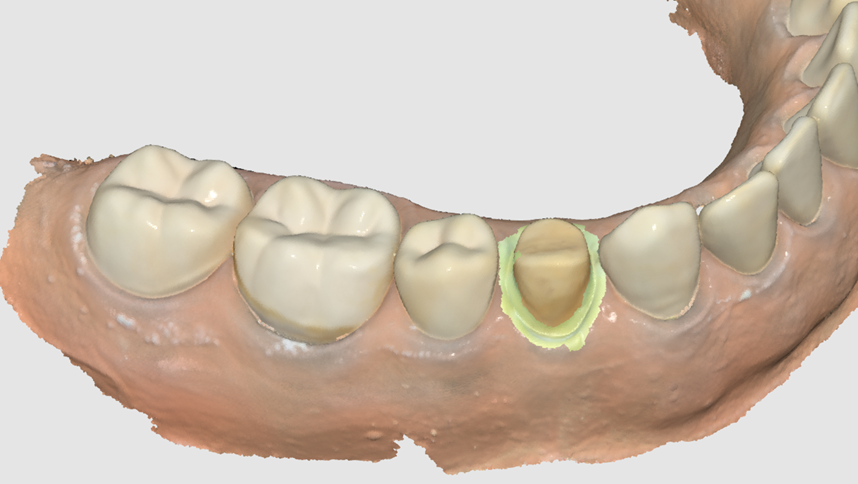
- Mark the margin area with a trimming tool.
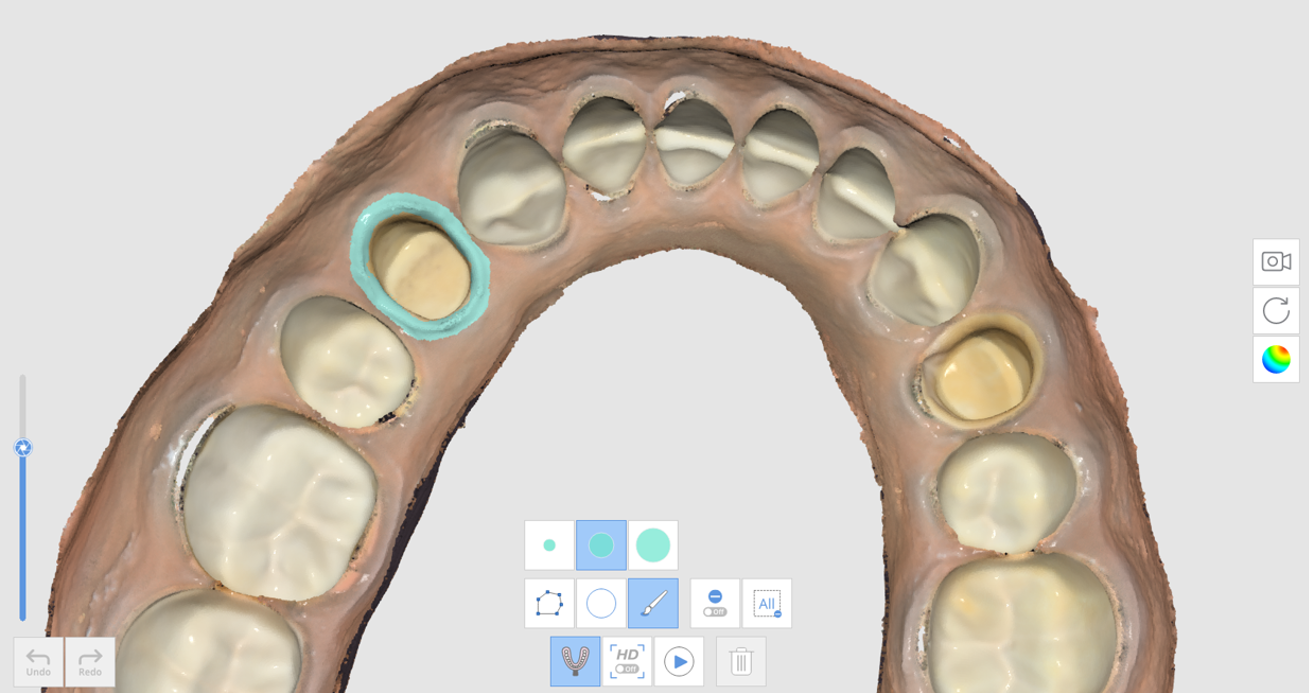
- Scan the impression.
- The result will appear as shown below.
How to Utilize Impression Scan for Post & Core Case
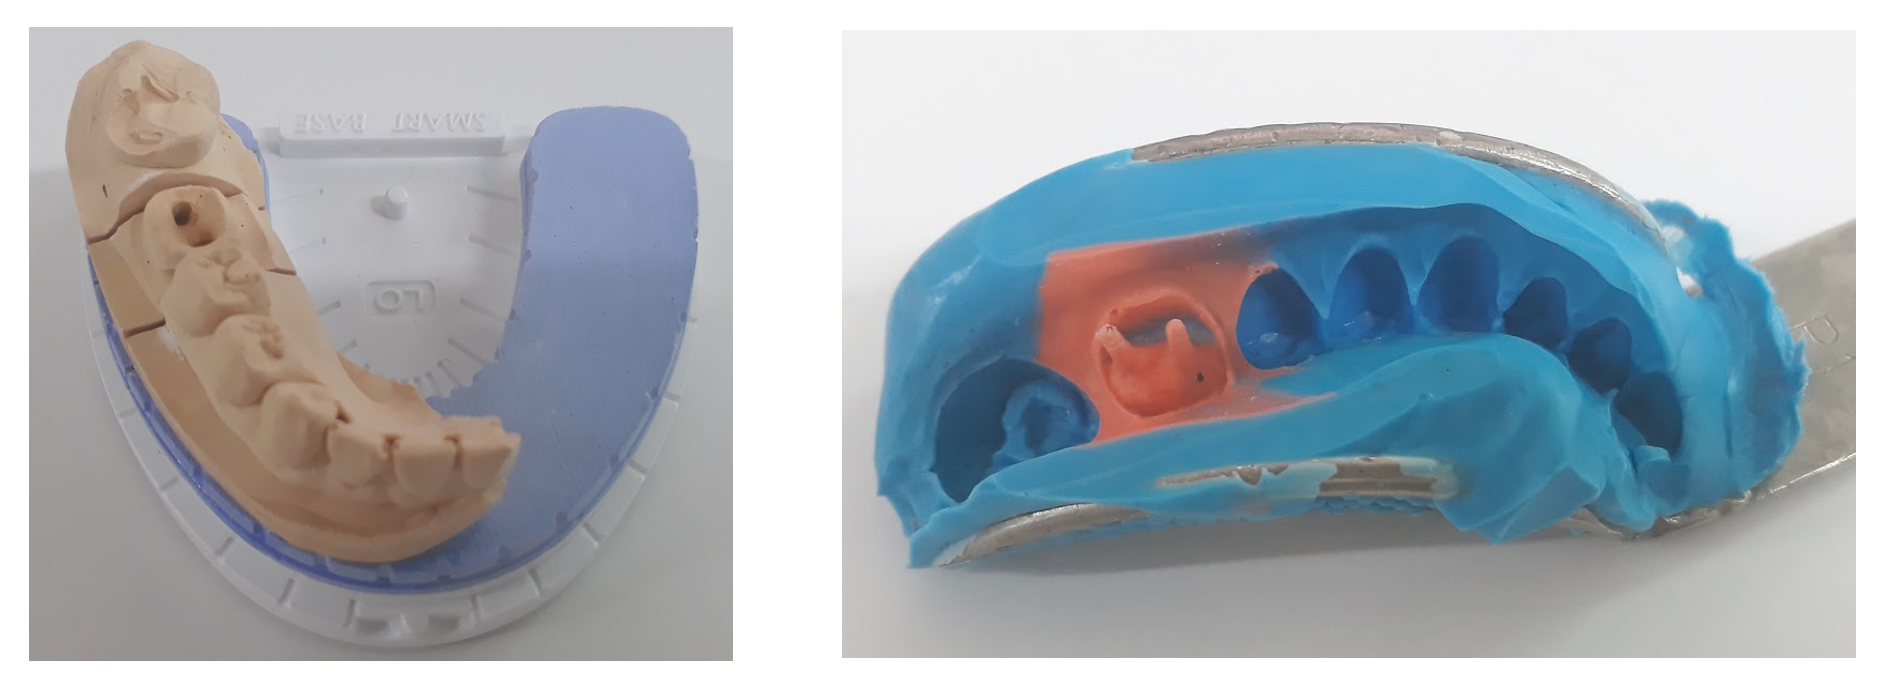
In some cases of Post & Core, it is very difficult to get the data for the post area due to the area being very deep and hard to scan. The "Impression Scan" feature is useful for these cases.
- Prepare the base model and impression for the post.
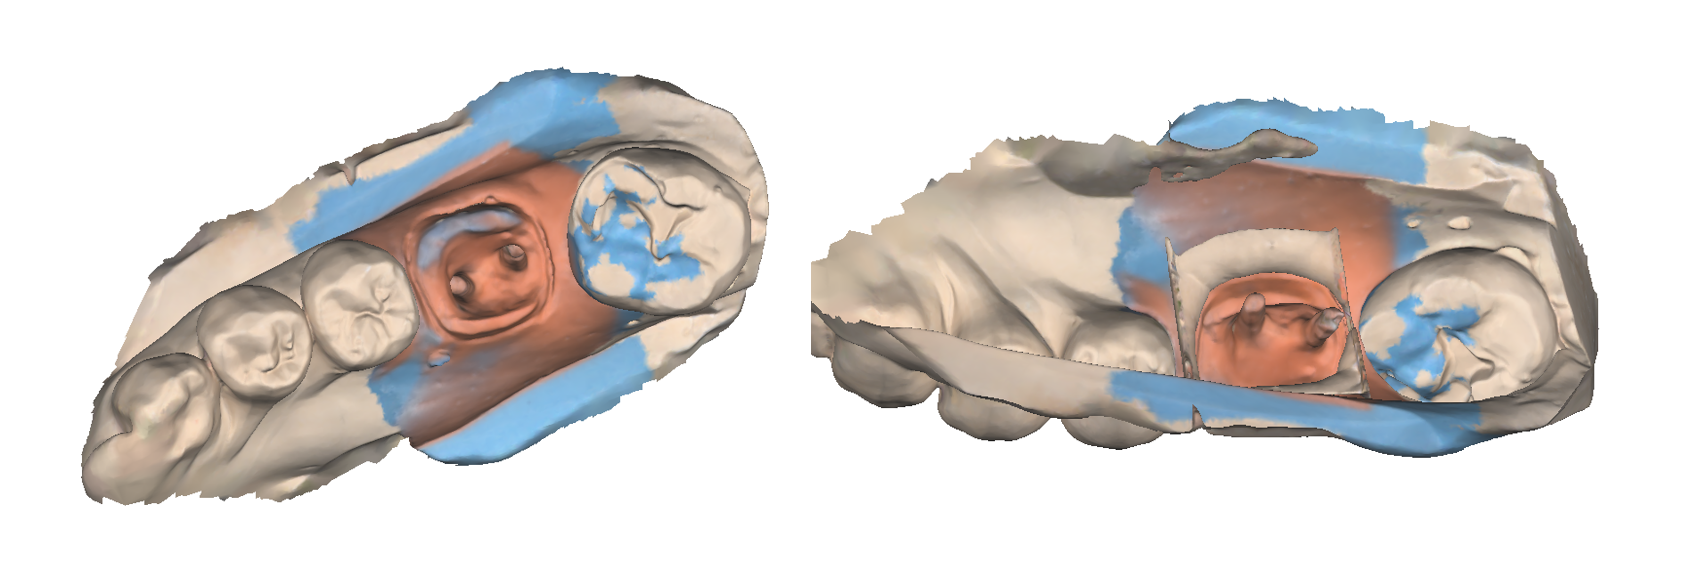
- Scan the base model. You can see that the post area is deep and not fully scanned.
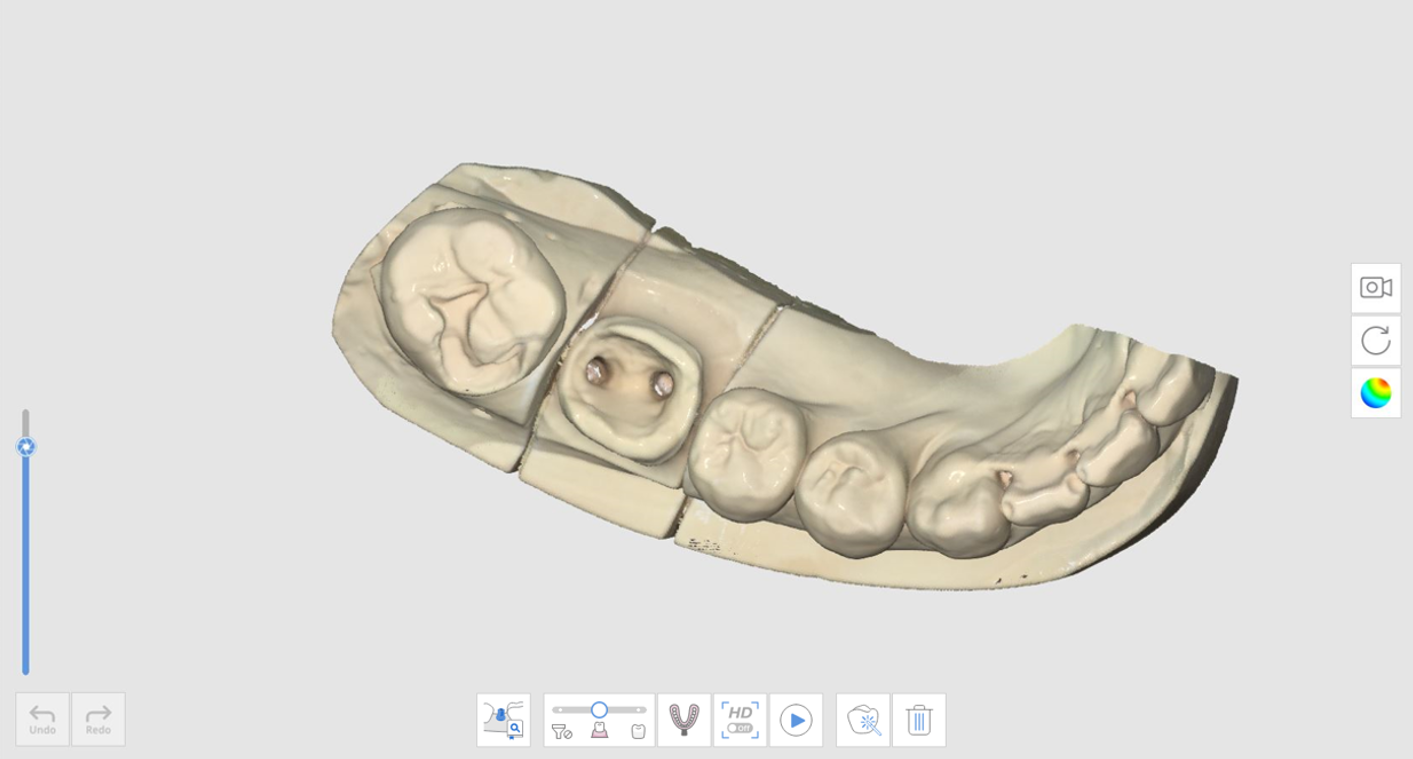
- Click the "Impression Scan" icon and scan the impression model.
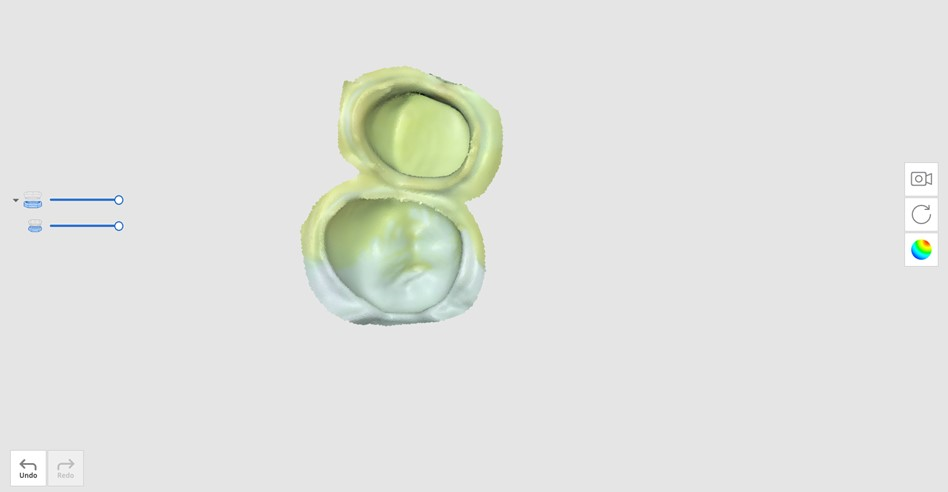
- The result will appear as shown below.
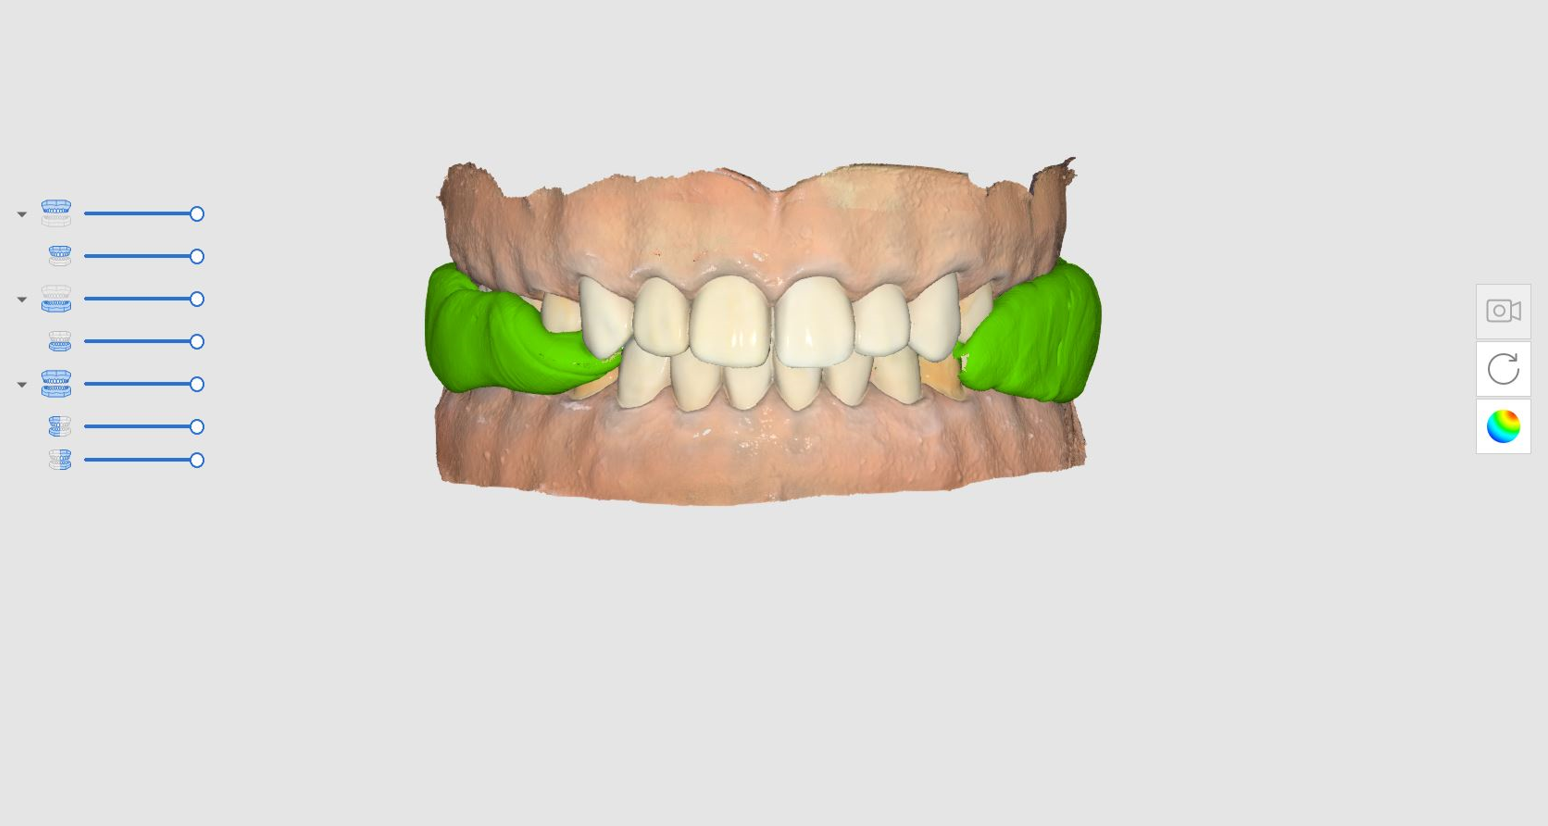
How to Utilize Impression Scan for Occlusion Case
You can use the "Impression Scan" feature for occlusion alignment.
- Prepare the impression model.
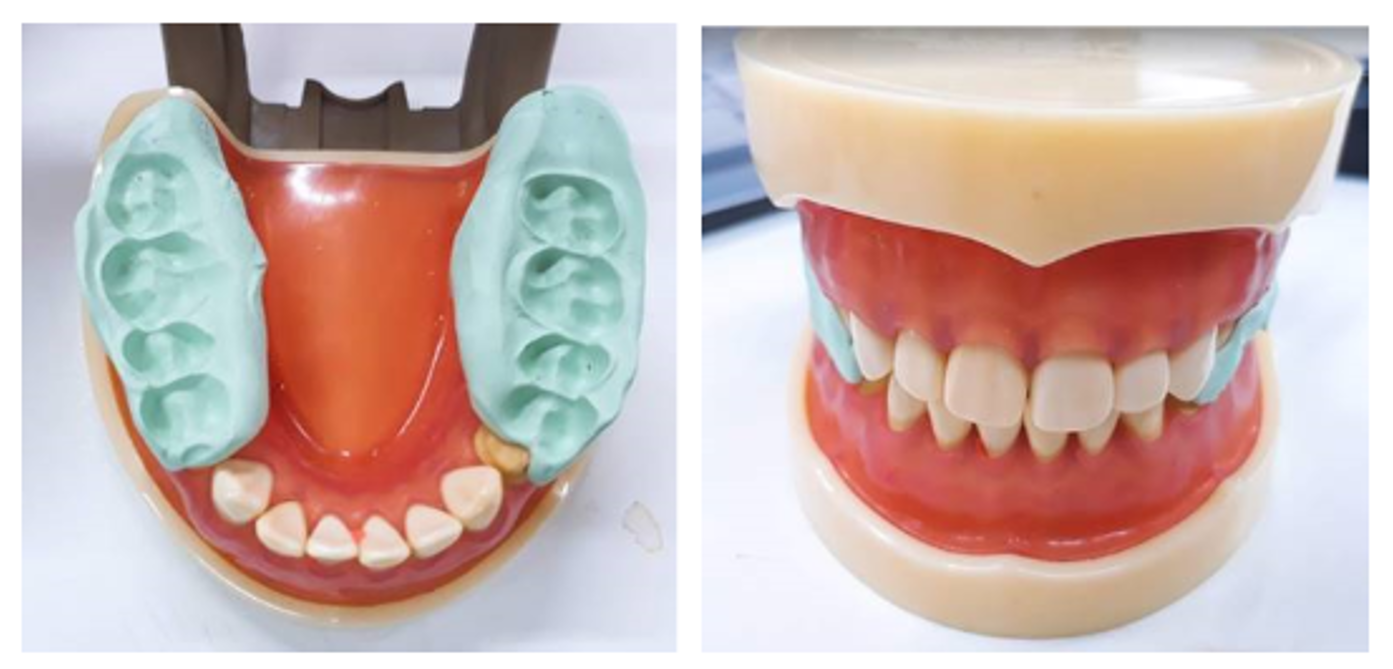
- Scan the maxilla and mandible in the Maxilla and Mandible stages.
- Click the "Impression Scan" icon at the Occlusion stage.
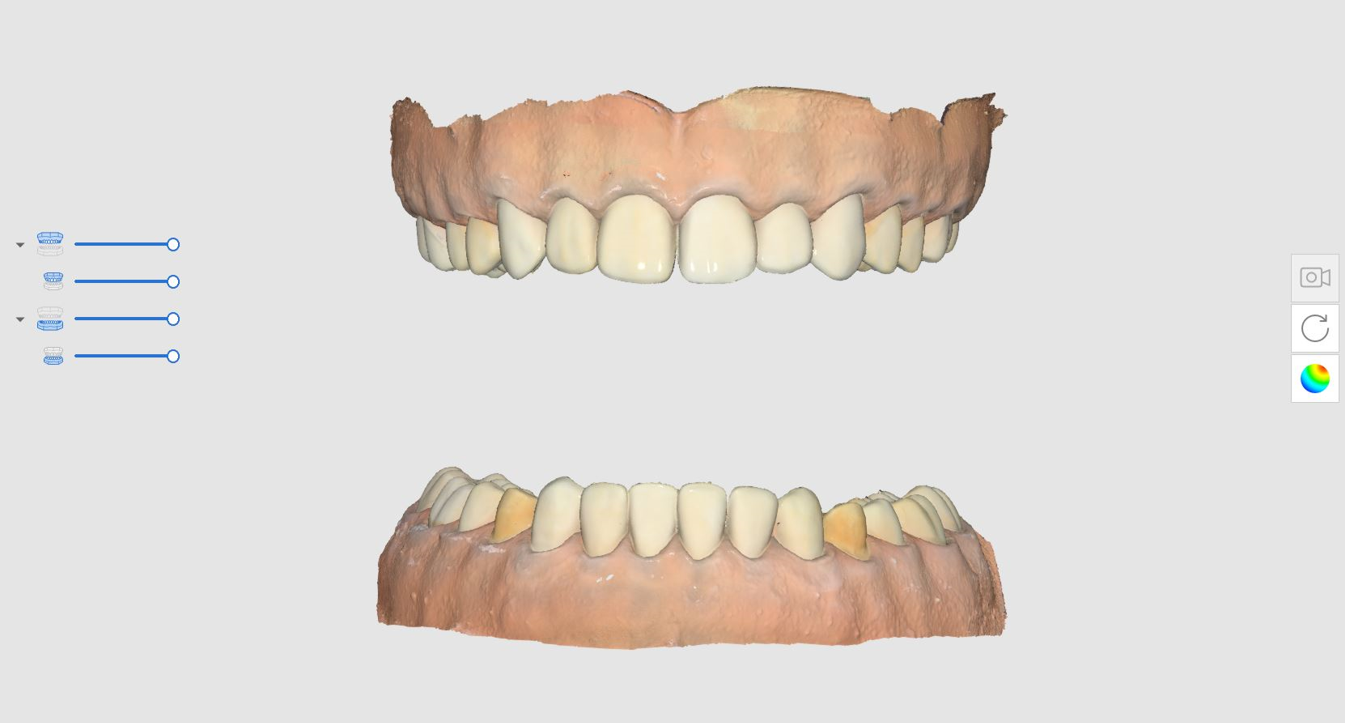
- Acquire the occlusion data using the impression model. In this case, the impression must be scanned from all angles of 360 degrees for each bite.
🔎Note
The High Resolution Scan feature is available in Impression Scan.
When impression data is acquired with high resolution, it will be shown in different colors if the Model Display Mode is set to "Texture Off."
When impression data is acquired with high resolution, it will be shown in different colors if the Model Display Mode is set to "Texture Off."