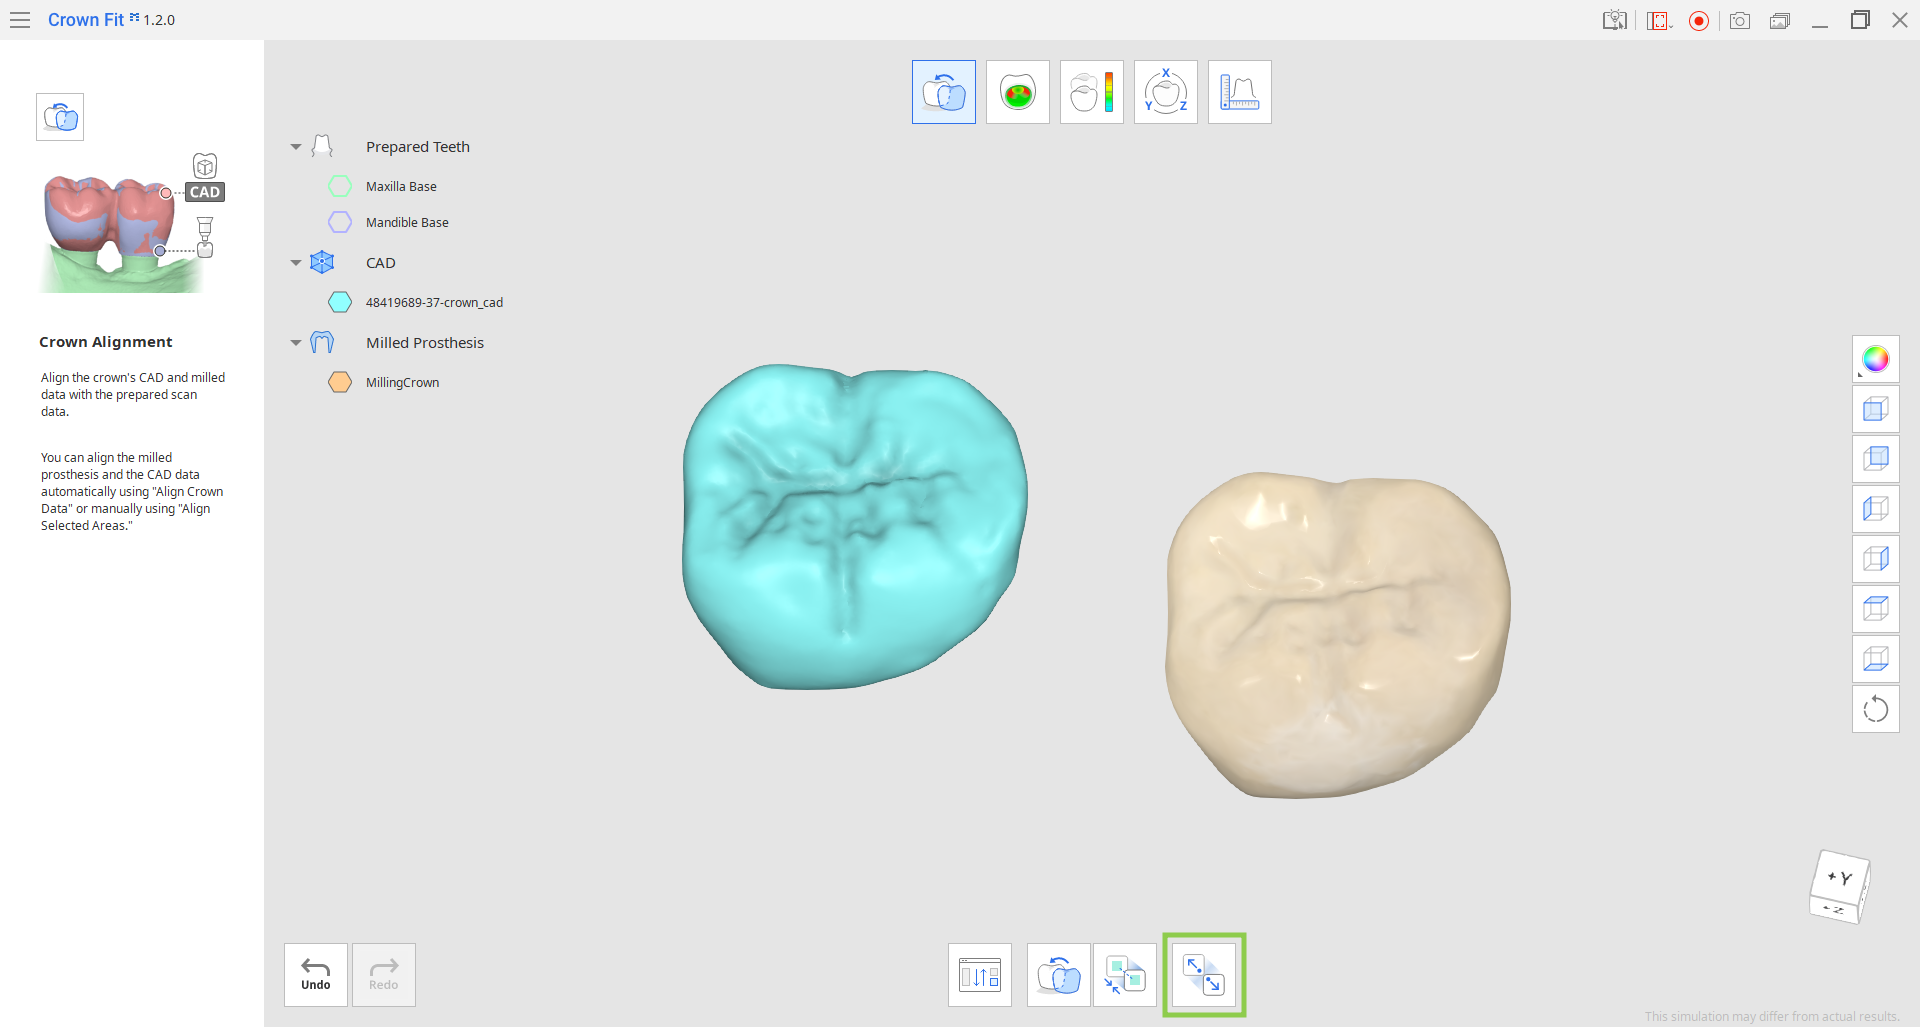
In this step, the user can align all imported data to see a simulation of the crown fit test. Aligning data ensures that it is properly positioned and integrated for further analysis.
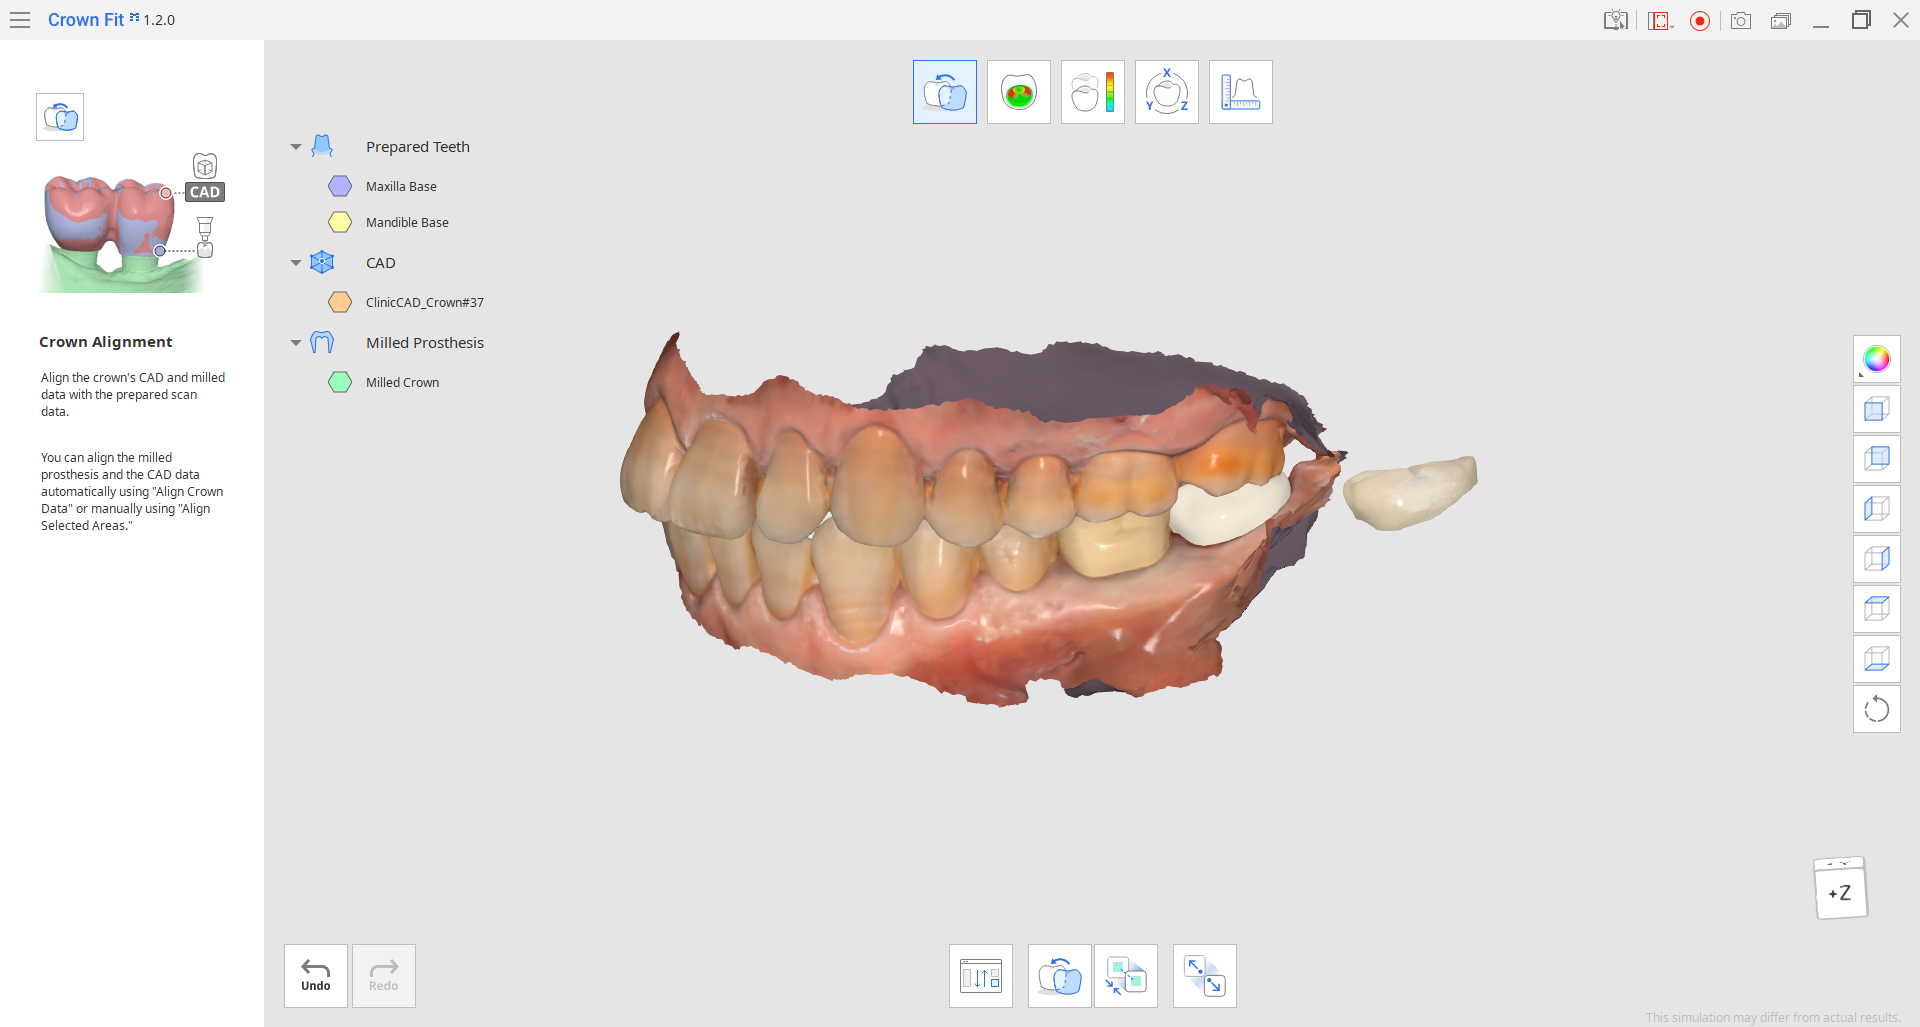
- First, you must align all crown data - the CAD design and the milled/printed crown scan data. This can be done automatically using "Align Crown Data" or manually using "Align Selected Areas."🔎TipHide the prepared teeth data in the Data Tree for more comfort.
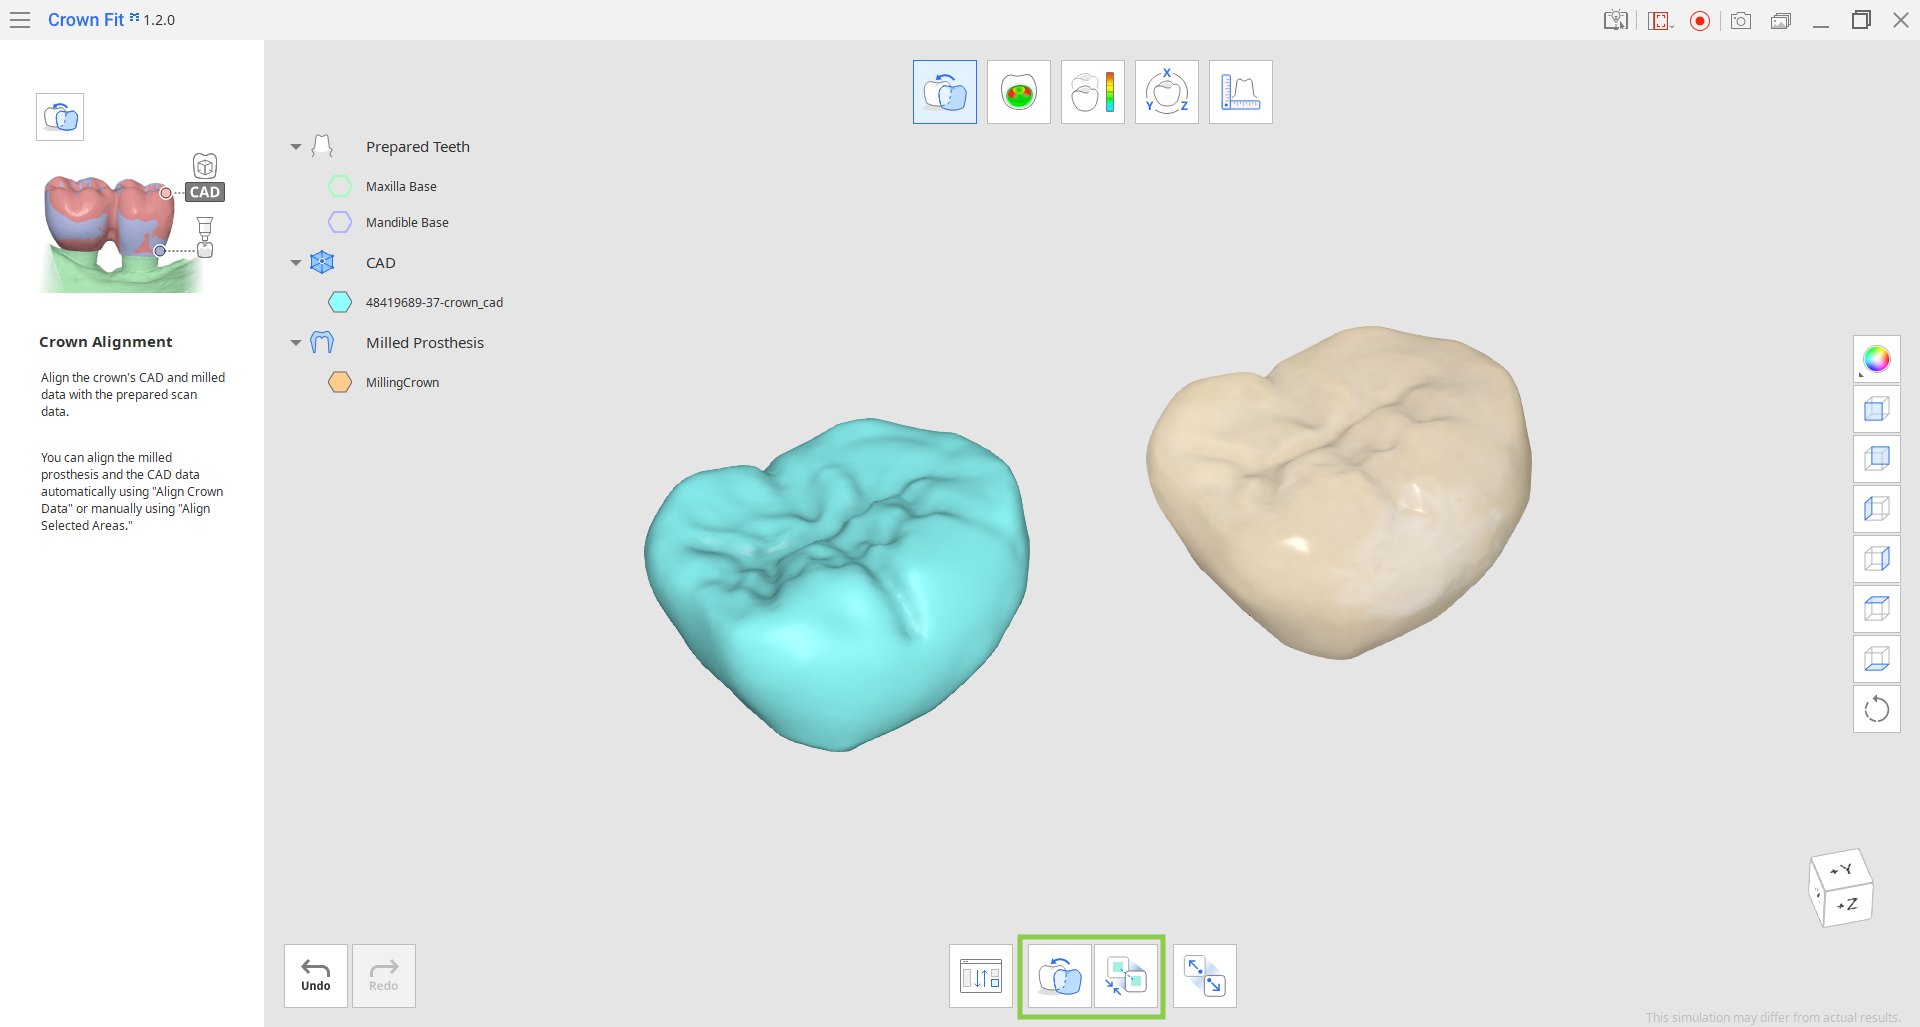
When aligning crown data manually, you need to select the same areas on the two data to complete the alignment.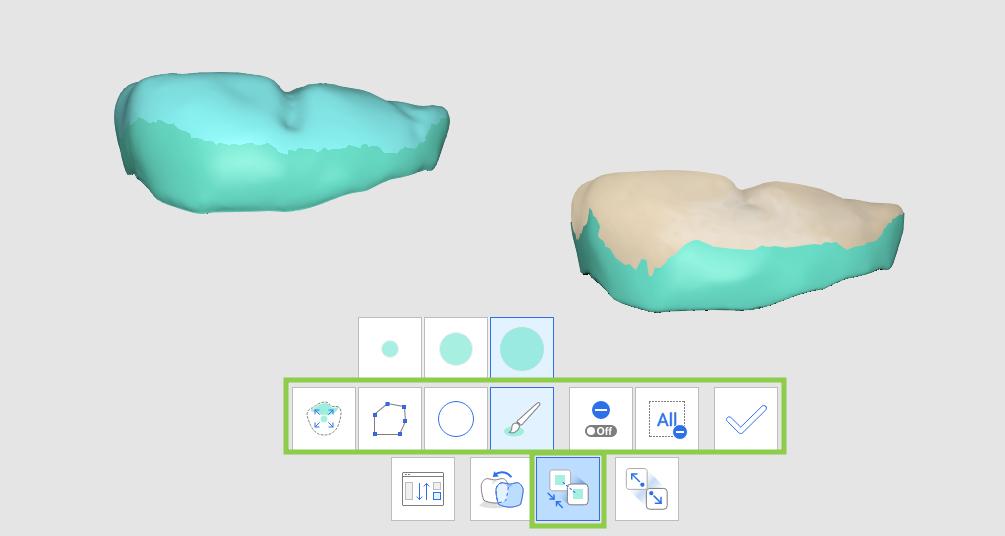
Use one of the below selection tools to designate an area on the data and click "Apply."
 | Smart Single Tooth Selection | Automatically select the area of a single tooth with a click. You can click or drag on the tooth. |
 | Polyline Selection | Select all entities within a polyline shape drawn on the screen. |
 | Circle Selection | Select all entities within the circular area. |
 | Brush Selection | Select all entities on a freehand-drawn path on the screen. Only the front face will be selected. The brush comes in 3 different sizes. |
 | Apply | Complete alignment based on the selected areas. |
If needed, the selection tools can also be used to deselect by turning on "Deselection Mode." You can also remove all selections at once with "Clear All Selection."
 | Deselection Mode | When on, the user can deselect areas using selection tools. |
 | Clear All Selection | Clear all selected areas. |
- If the alignment is not satisfactory, use the "Detach Data" feature to start over.
⚠️Caution
If you detach the data after creating section lines and making measurements in the Measurements step, you will lose all section lines and measurement results.