Stages Management
Scan for Clinics offers Maxilla, Mandible, and Occlusion as default scan stages.

The Stage Management icon allows users to add or delete the stages to/from their workflow and change the order regardless of the form information registered in Medit Link.

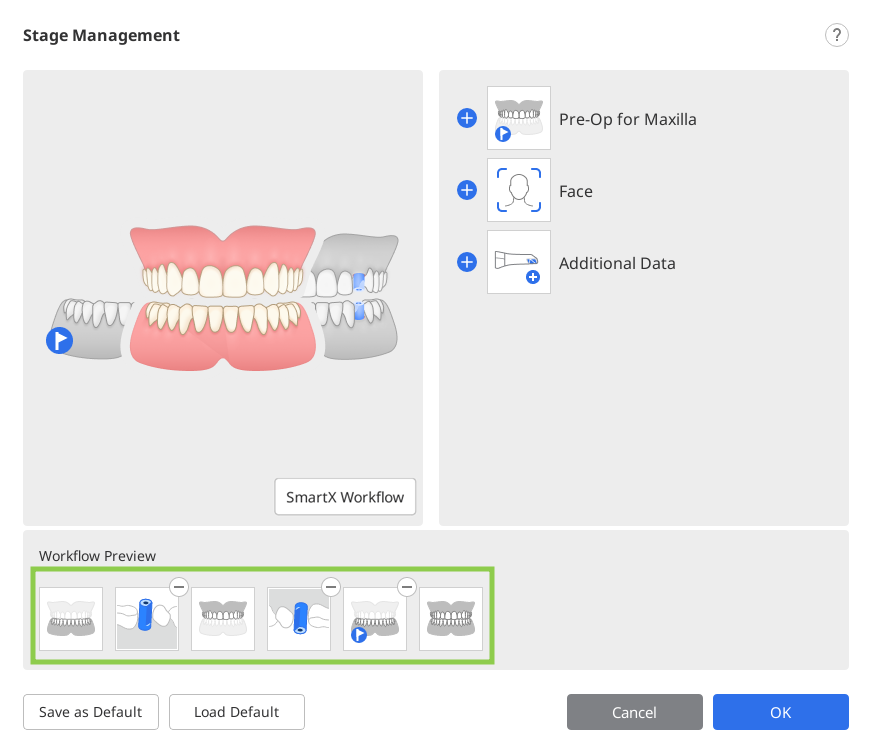
In the Stage Management dialog, you can configure your workflow by adding or removing stages.
- You cannot change the order of the Face and Additional Data stages in the workflow.

- You cannot change the order of the Smart Scan Review stage, but you can remove the stage on Settings > Scan Data Analysis > Smart Scan Review.
- You cannot change the order of the Complete stage or remove the Mandible/Maxilla stage.
Scan Stages
The following scan stages can be set in the Scan Management stage:
| Pre-Op for Maxilla | Acquire a 3D image of the pre-op for the maxilla. |
| Pre-Op for Mandible | Acquire a 3D image of the pre-op for the mandible. |
| Maxilla | Acquire a 3D image of the maxilla. |
| Maxillary Scan Body | Acquire a 3D image of the scan body of the maxilla. |
| Mandible | Acquire a 3D image of the mandible. |
| Mandibular Scan Body | Acquire a 3D image of the scan body of the mandible. |
| Edentulous Maxilla | Acquire a 3D image of the edentulous maxilla. |
| Maxillary Denture | Acquire a 3D image of the maxillary denture. |
| Edentulous Mandible | Acquire a 3D image of the edentulous mandible. |
| Mandibular Denture | Acquire a 3D image of the mandibular denture. |
| Occlusion | Acquire a 3D image of the occlusion alignment. |
| Face | Acquire 3D data of the teeth, mouth, nose, etc. |
| Additional Data | Acquire additional data for the scanning process. You can scan patients' existing restorations, temporary restorations, etc. |


- The Maxillary/Mandibular Denture stage is available when Full Denture, Replica Denture, or Implant Supported Denture is specified in the form information on Medit Link.
- The Edentulous Maxilla/Mandible stage is available when Full Denture or Implant Supported Denture is specified in the form information on Medit Link.
Add/Remove Stages
- Click the Stage Management icon.

- The Stage Management dialog appears.
- Click the stages you want to add from the list in the right section.
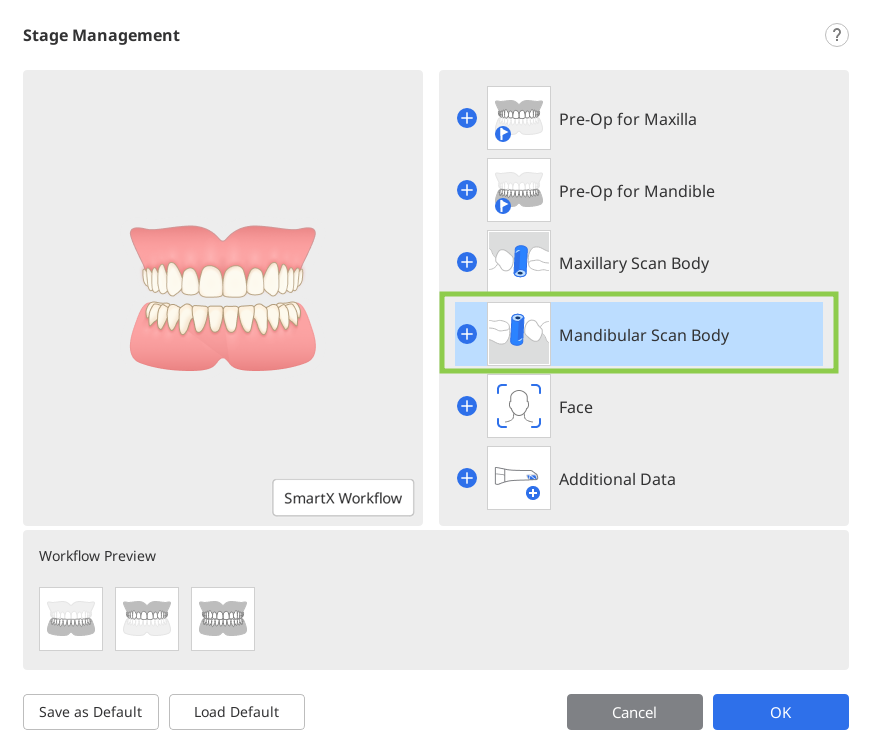
- The selected stage is added to the Workflow Preview section at the bottom.
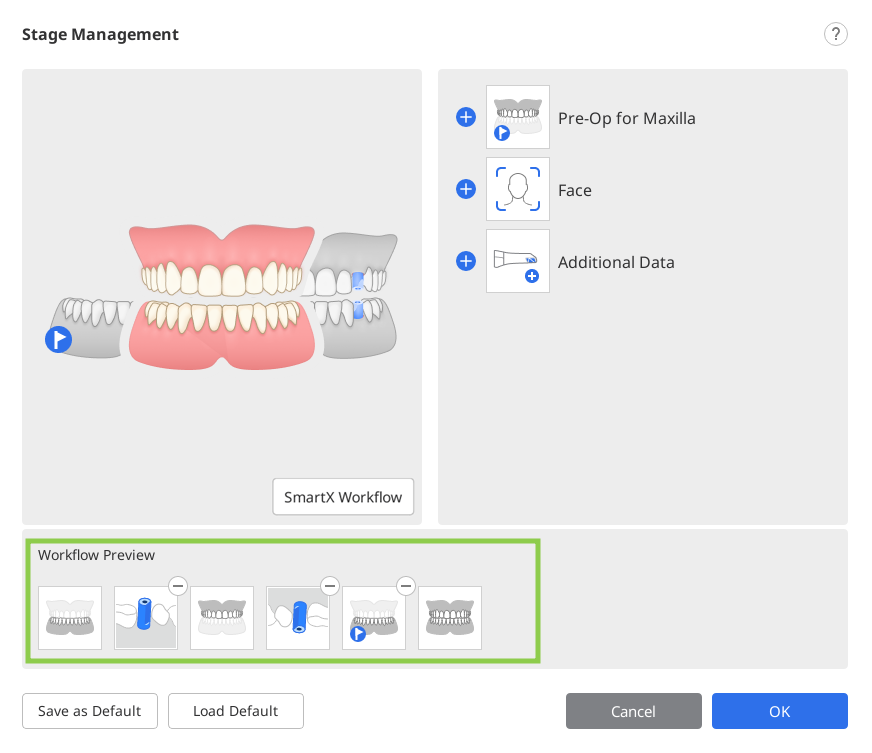
- You can change the order of stages in the workflow by dragging the stage icons in the Workflow Preview. Clicking ⊖ in the upper right corner of the stage icon will delete the stage from the workflow.
- Click "OK" to save the changed workflow.
- The Stage Management dialog disappears, and the stage icons at the top of the screen update according to the changed workflow.

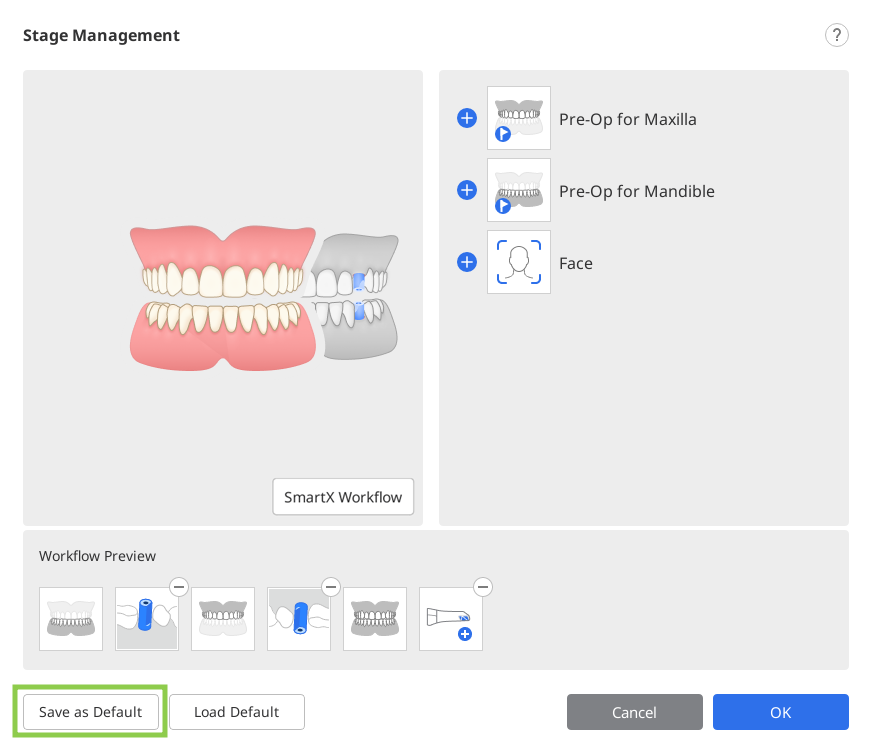
Save as Default Workflow
- Click the Stage Management icon to run Stage Management.

- Add the desired stages from the stage list to the Workflow Preview.
- Click "Save as Default" at the bottom to save the changed workflow.
- Click "Confirm" to continue.
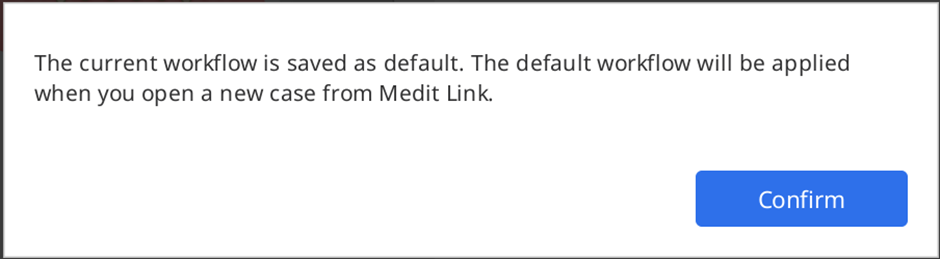
- The default scan stages are displayed at the top of the screen when you open a new case.

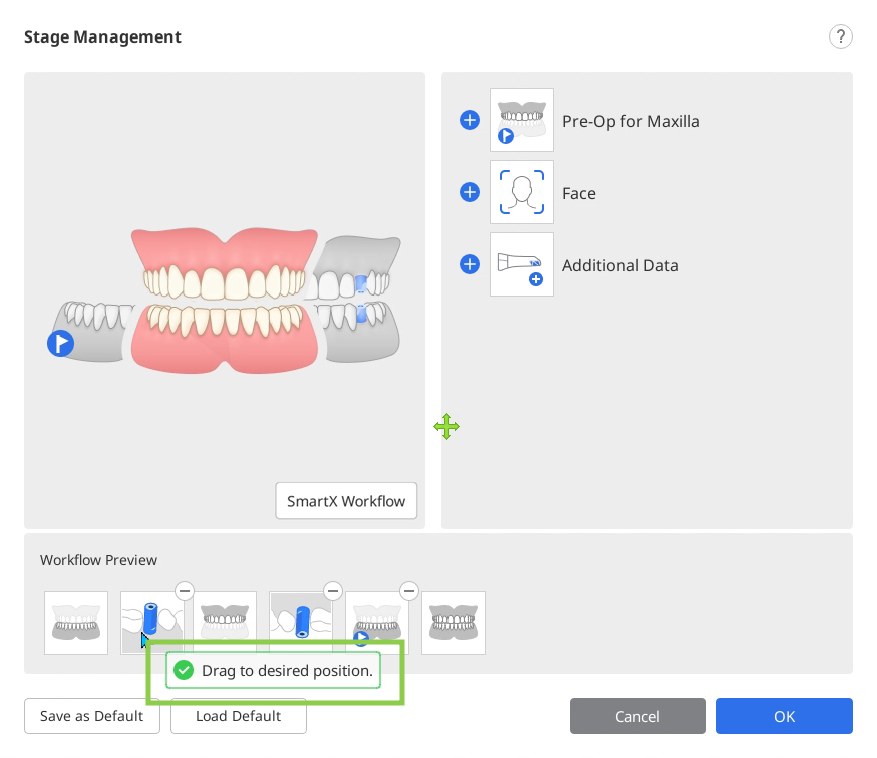
Change Stage Order
You can move a stage icon to the desired position where blue bars appear.
Let's say you want to stage a Mandible stage to the frontmost position.
- Check the stage icons at the top of the screen.

- Click and drag the Mandible stage icon. Then, the blue bar appears where the scan stage can be moved.
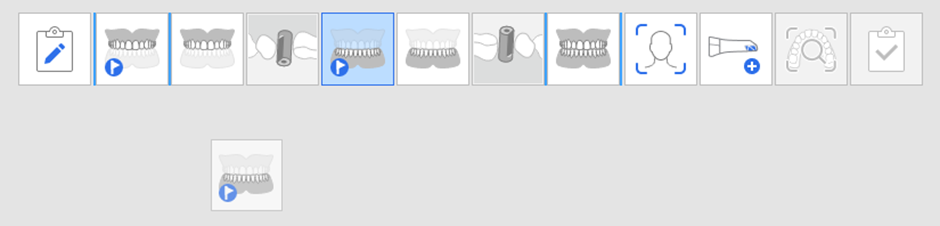
- Move the scan stage to the desired location.

- Once changed, the program will continue to start with the changed order from then on.
For example, if you drag the Mandible stage to the leftmost position, the Mandibular Scan Body stage moves with it, as shown below.

