The complete workflow consists of 9 steps, guiding users from data editing to simulation generation and finally to reviewing and ordering the treatment appliance. Users must complete these steps in the given order.
Note
If the ceph data was not assigned in the beginning, the workflow will not include the Ceph Tracing and Ceph Overlay steps.
Overview | Check your scan data. | |
| Data Editing | Edit and trim data using the wide array of functions provided. |
| Occlusal Table | Align scan data to a plane to set the position of the occlusal table. |
| Tooth Identification | Chart the patient's dentition. |
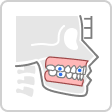
| Ceph Tracing | Examine the automatically traced lateral cephalogram. |
| Ceph Overlay | Align scan data to the cephalogram. |
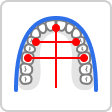
| Arch Form Selection | Select an arch form for the maxilla and mandible. |
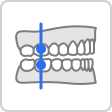
| Bite Classification | Classify the bite based on the relationship between the teeth. |
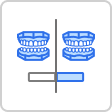
| Simulations Preview | Examine the generated simulations to choose a treatment scenario. |
| Output Overview | Review treatment details for the chosen scenario. |
In addition to the manual workflow, the user can use Auto Design to automatically complete the treatment planning and simulation generation. When this toggle is enabled during the data assignment process, the user proceeds directly to the final workflow step to review the results.
IMG
The user can also use the Retainer Only workflow for quick retainer creation. This workflow consists of only two steps and allows the user to proceed directly to Output Overview to review and export the retainer. For more information, see the appendix of this guide.