- 12 Jun 2024
- 4 Minutes to read
- Print
- DarkLight
- PDF
Case Talk
- Updated on 12 Jun 2024
- 4 Minutes to read
- Print
- DarkLight
- PDF
Cases created in the Medit Link can be shared with specific people you specify, anyone with the shared link or registered members of Medit Link.
The user can see a list of all shared cases through "Case Talk" in Medit Link App and Medit Link Web.
 Shared cases can be viewed via a web browser without installing a separate program, enabling easy communication over the 3D data on various devices.
Creating a Case Talk
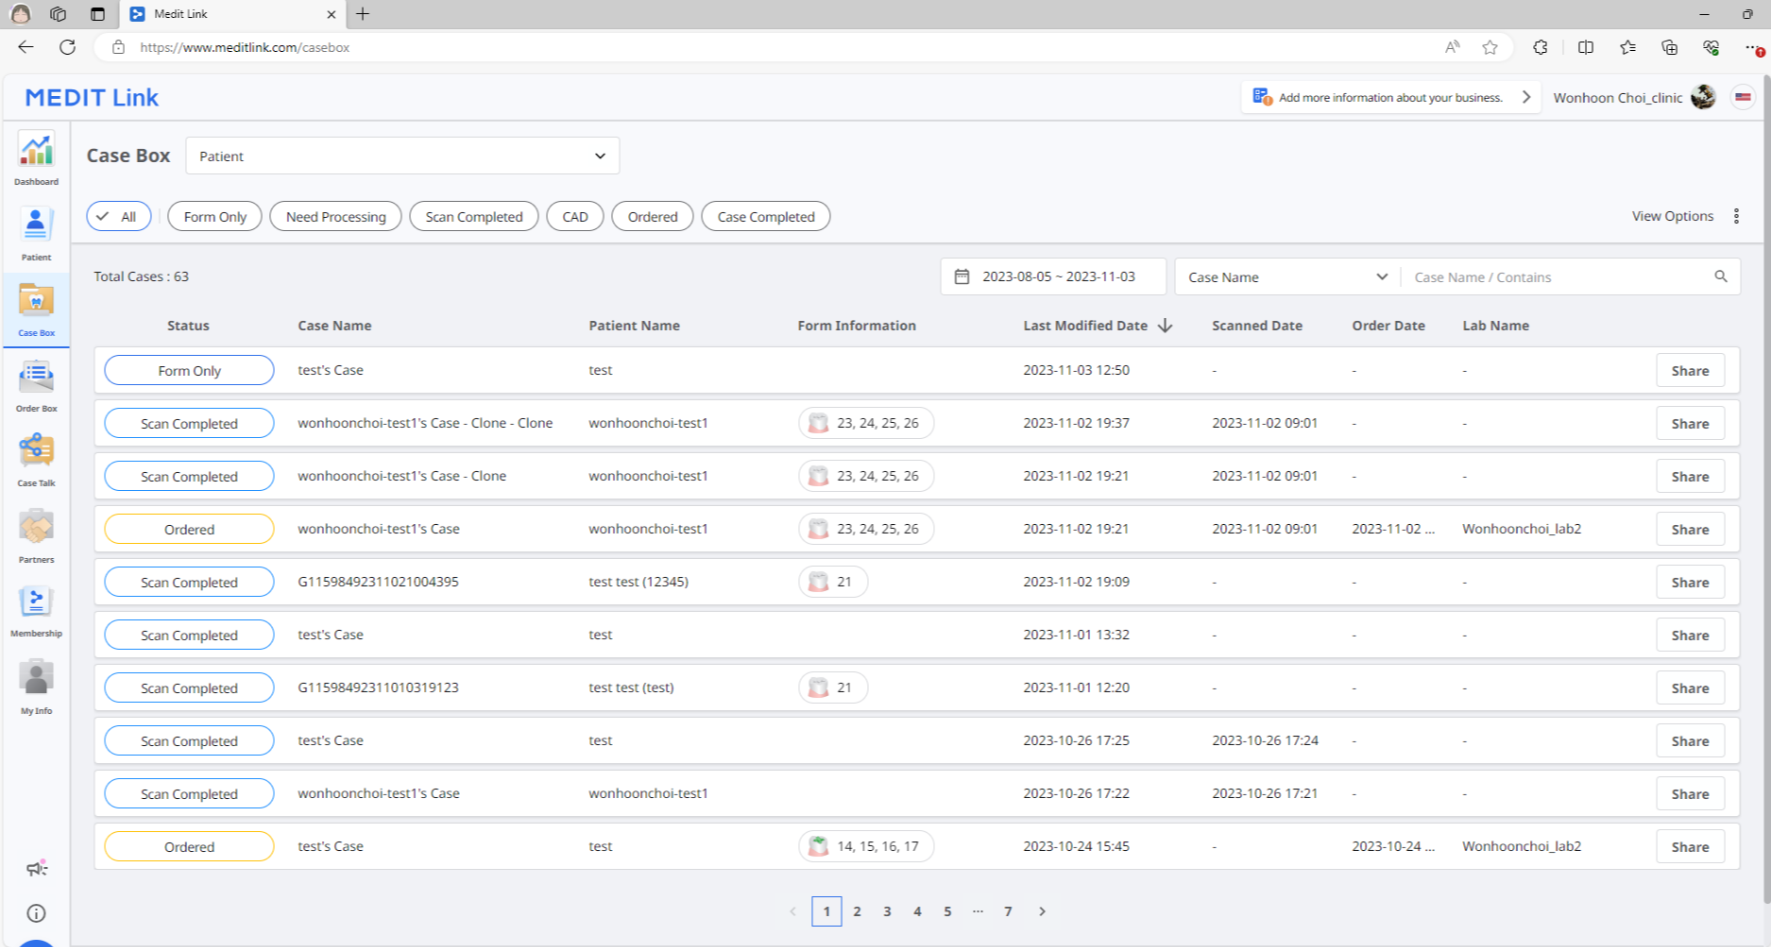
You can create a shared link to a case that was created in Case Box/Work Box.
- Find a case you want to share and click the "Share" button on the right.
- Select the files you want to share.
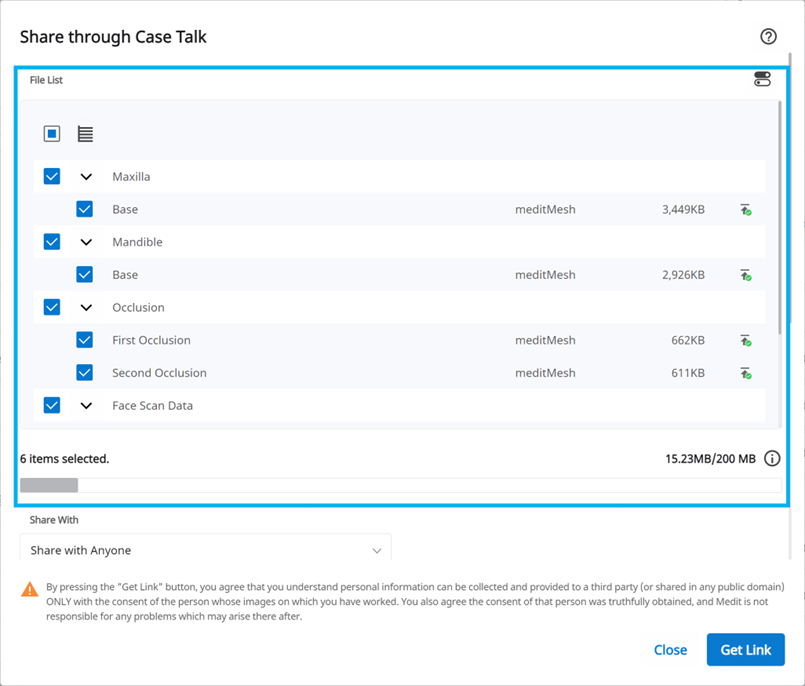
- Set the sharing permission type and sharing options.
- Click "Get Link" to create a shared link.
Setting the sharing permission type and sharing options

| Share With |
|
| Share via | If you select "Share with specific people," you can share the link with specific people in various ways.
|
| Expiration Date | Set the expiration date for the link. After the link expires, the people you shared it with will no longer have access to files. You can extend the expiration period up to 90 days from today. |
| PIN Code | Set a 6-digit access code to ensure data security. |
| Share the patient's name | If you check this option, all people with the link will see the patient's name. |
| Grant Download Permission | If you check this option, all users with the link can download the files. |
| Allow comments |
|
| Comment | You can leave a message in the comment section. |
Case Talk details
You can see files in the shared case. The following functions are available on the Case Talk details page.
 | Download | Download all the files in the case to the local PC. |
 | Case Information | Show detailed information about the case. |
 | Share | Modify the share setting. |
 | QR Code | Share the case with a QR code. |
 | Copy Link | Copy the shared link to the clipboard. The copied link shows the shared files on your web browser. |
 | Live | Share your screen with the connected users. The screen sharing is synchronized with the connected users. |
 | Attendees | Show all users who are accessing the shared link. |
 | Delete | Delete the shared link. The deleted shared link is no longer accessible. |
- Live
- Attendees
Web Viewer
You can view shared data through Case Talk in a web browser.
It is possible to communicate with the people who have access to the link using annotations and comments.
 | Download | Download all the files in this case to the PC. |
 | Case Information | Show detailed information about the case. |
 | Share | Modify the share settings. |
 | QR Code | Share the case with a QR code. |
 | Live | Share your screen with the connected users. |
 | Attendees | Show all users who are connected to the shared link. |
 | Tooth Labeling | Change the teeth labeling system. |
- Live
- Attendees
Annotation
You can add annotations to a specified location on the 3D model. Anyone with the link can view the annotations you add.
- Annotation
- Find the menu icon in the top left corner and select the "Annotation" tab. Use the “New Annotation” button to add an annotation anywhere on the data with a click.
- Type the message, then click “OK” to save it.
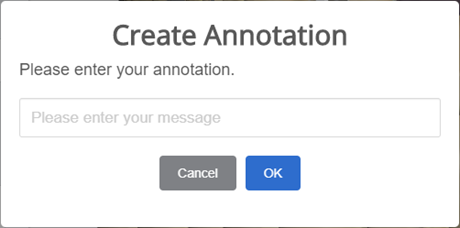
- You can use annotations as a simple communication channel.
Click the created annotation to enter a reply and hit "Send."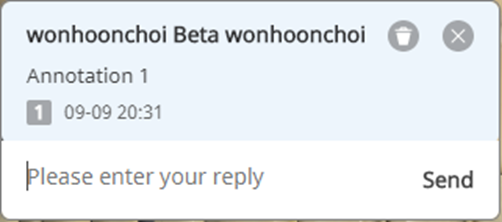
Comments
You can communicate with users who have access to the link through the "Comment" tab in the Web Viewer menu.
- Comment
Real-time screen sharing
You can share your screen in real-time.
- Live
- Click "Live" to share your Web Viewer screen with the connected users.
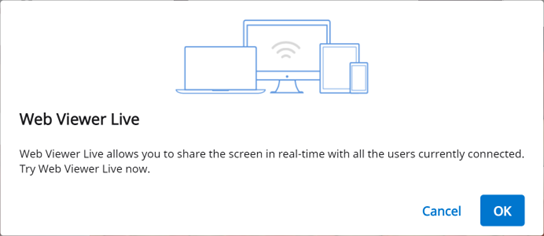
- Click "OK" to start sharing your screen.
- Other people who have accessed the link must accept the screen sharing.
- The screen of the user who initiated screen sharing is displayed in sync with the screen of the person who received the request.
Data Tree
All data is grouped and displayed according to attributes in the data tree. You can show or hide data, adjust opacity, and so on.
Data Tree Controls
| Show/Hide | Click the 'eye' icon to show or hide data from the view. Control data visibility as a group or individual file. |
| Opacity | Hover the mouse over a visible element to see the opacity slide bar.  |
| Extended Menu | The extended menu is provided on the right side of each Data Tree element. It includes the following options:
|
3D Model Controls
 | Pan | Move the model. | |
 | Rotate | Rotate the model. | |
 | Zoom In/Out | Zoom in and out on the model. | |
 | Zoom Fit | Position the model in the center of the screen. | |
 | Model Display Mode | Texture On | Show data in real texture colors. |
 | Texture Off | Show data in a single color. | |


