Preparing Data
Users must have the following data to use the app:
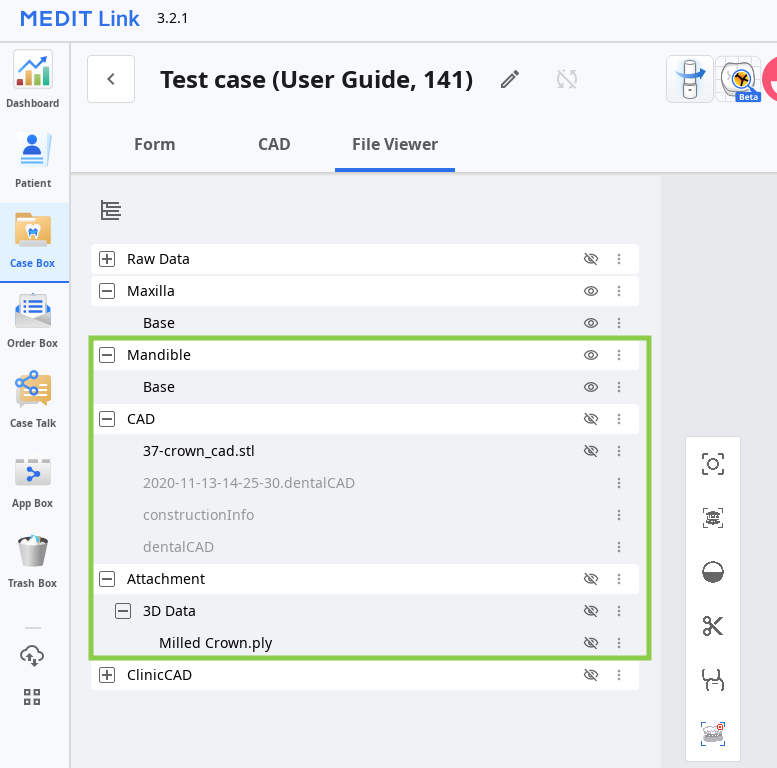
- CAD design data of the prosthesis (crown/bridge)
- scan data of a milled or printed prosthesis
- intraoral scan data of the corresponding arch
All the above data should be gathered within the same Medit Link case to ensure automatic import into the app upon launch. There are two ways to gather data in one case:
1. Complete scanning and design via Medit Link
Complete intraoral scanning in the Medit Scan for Clinics or Labs and design the prosthesis in Medit ClinicCAD or exocad. All created data will be automatically saved within the corresponding case.

2. Attaching data to the case
Use the "Attach" in the Case Detail window to import local files into the Medit Link case.
.png)
3D Data Control
Users can control the 3D data using a mouse alone or both mouse and keyboard.
3D data control using a mouse
| Zoom | Scroll the mouse wheel. |  |
| Zoom Focus | Double-click on the data. |  |
| Zoom Fit | Double-click on the background. |  |
| Rotate | Right-click and drag. |  |
| Pan | Hold both buttons (or wheel) and drag. |  |
3D data control using a mouse and keyboard
| Windows | macOS | |
|---|---|---|
| Zoom | .png) | .png) |
| Rotate | .png) | .png) |
| Pan | .png) | .png) |
Saving Project
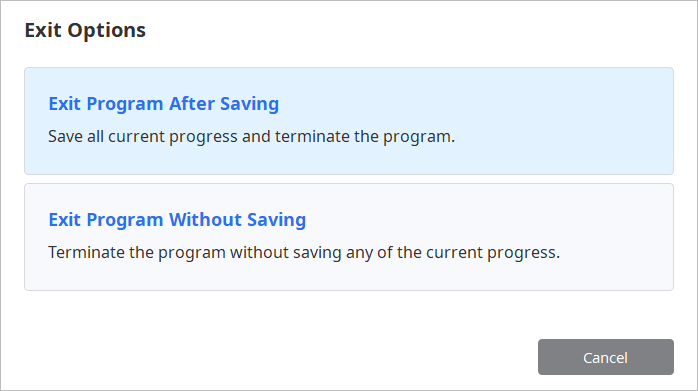
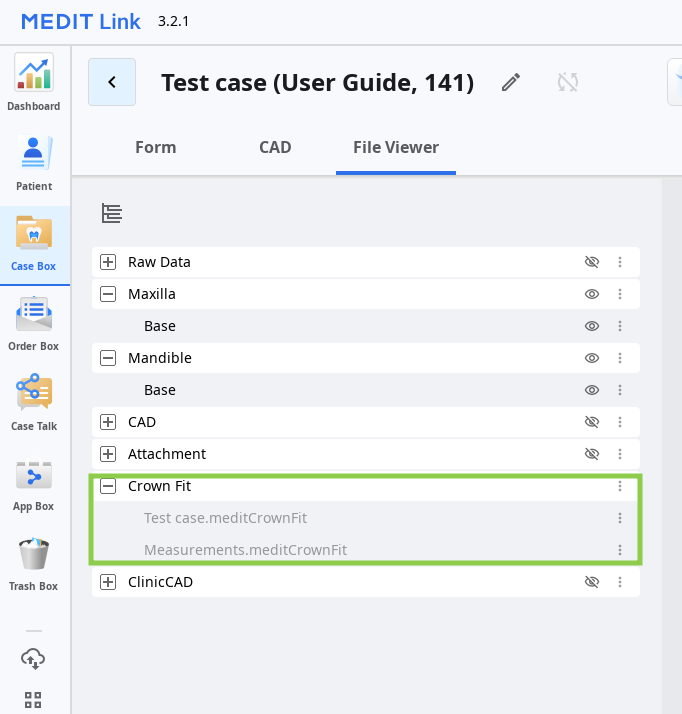
Medit Crown Fit does not produce any outcome that can be saved as a result file. However, users can preserve their work progress if needed by saving the project when exiting the program.

If you choose to save your progress, a project file will be created in the case, containing details on data alignment, transformation, and measurement results. To reopen an existing project, run the app from the same case.
